Note
Access to this page requires authorization. You can try signing in or changing directories.
Access to this page requires authorization. You can try changing directories.
This quickstart shows you how to use the Content Understanding service in the Azure AI Foundry portal to extract structured information from your data. Azure AI Foundry enables you to build and deploy generative AI applications and APIs responsibly.
Suppose you have files—such as documents, images, audio, or video—and you want to automatically extract key information from them. With Content Understanding, you can create a task to organize your data processing, define a field schema that specifies the information to extract or generate, and then build an analyzer. The analyzer becomes an API endpoint that you can integrate into your applications or workflows.
In this guide, we walk you through building and testing an analyzer for your scenario. You can start from scratch or use suggested templates for common use cases.

Prerequisites
To get started, make sure you have the following resources and permissions:
An Azure subscription. If you don't have an Azure subscription, create a free account.
An Azure AI Foundry hub-based project created in one of the following supported regions:
westus,swedencentral, oraustraliaeast. A project is used to organize your work and save state while building customized AI apps. You can create a project from the home page of AI Foundry, or the Content Understanding landing page.
Note
You must use a hub based project for this feature. A Foundry project isn't supported. See How do I know which type of project I have? and Create a hub based project.
Create your single-file task powered by Content Understanding Standard mode
Follow these steps to create a custom task in the Azure AI Foundry. This task is used to build your first analyzer.
- Go to the Home page of Azure AI Foundry.
- Select your hub based project. You might need to select View all resources to see your project.
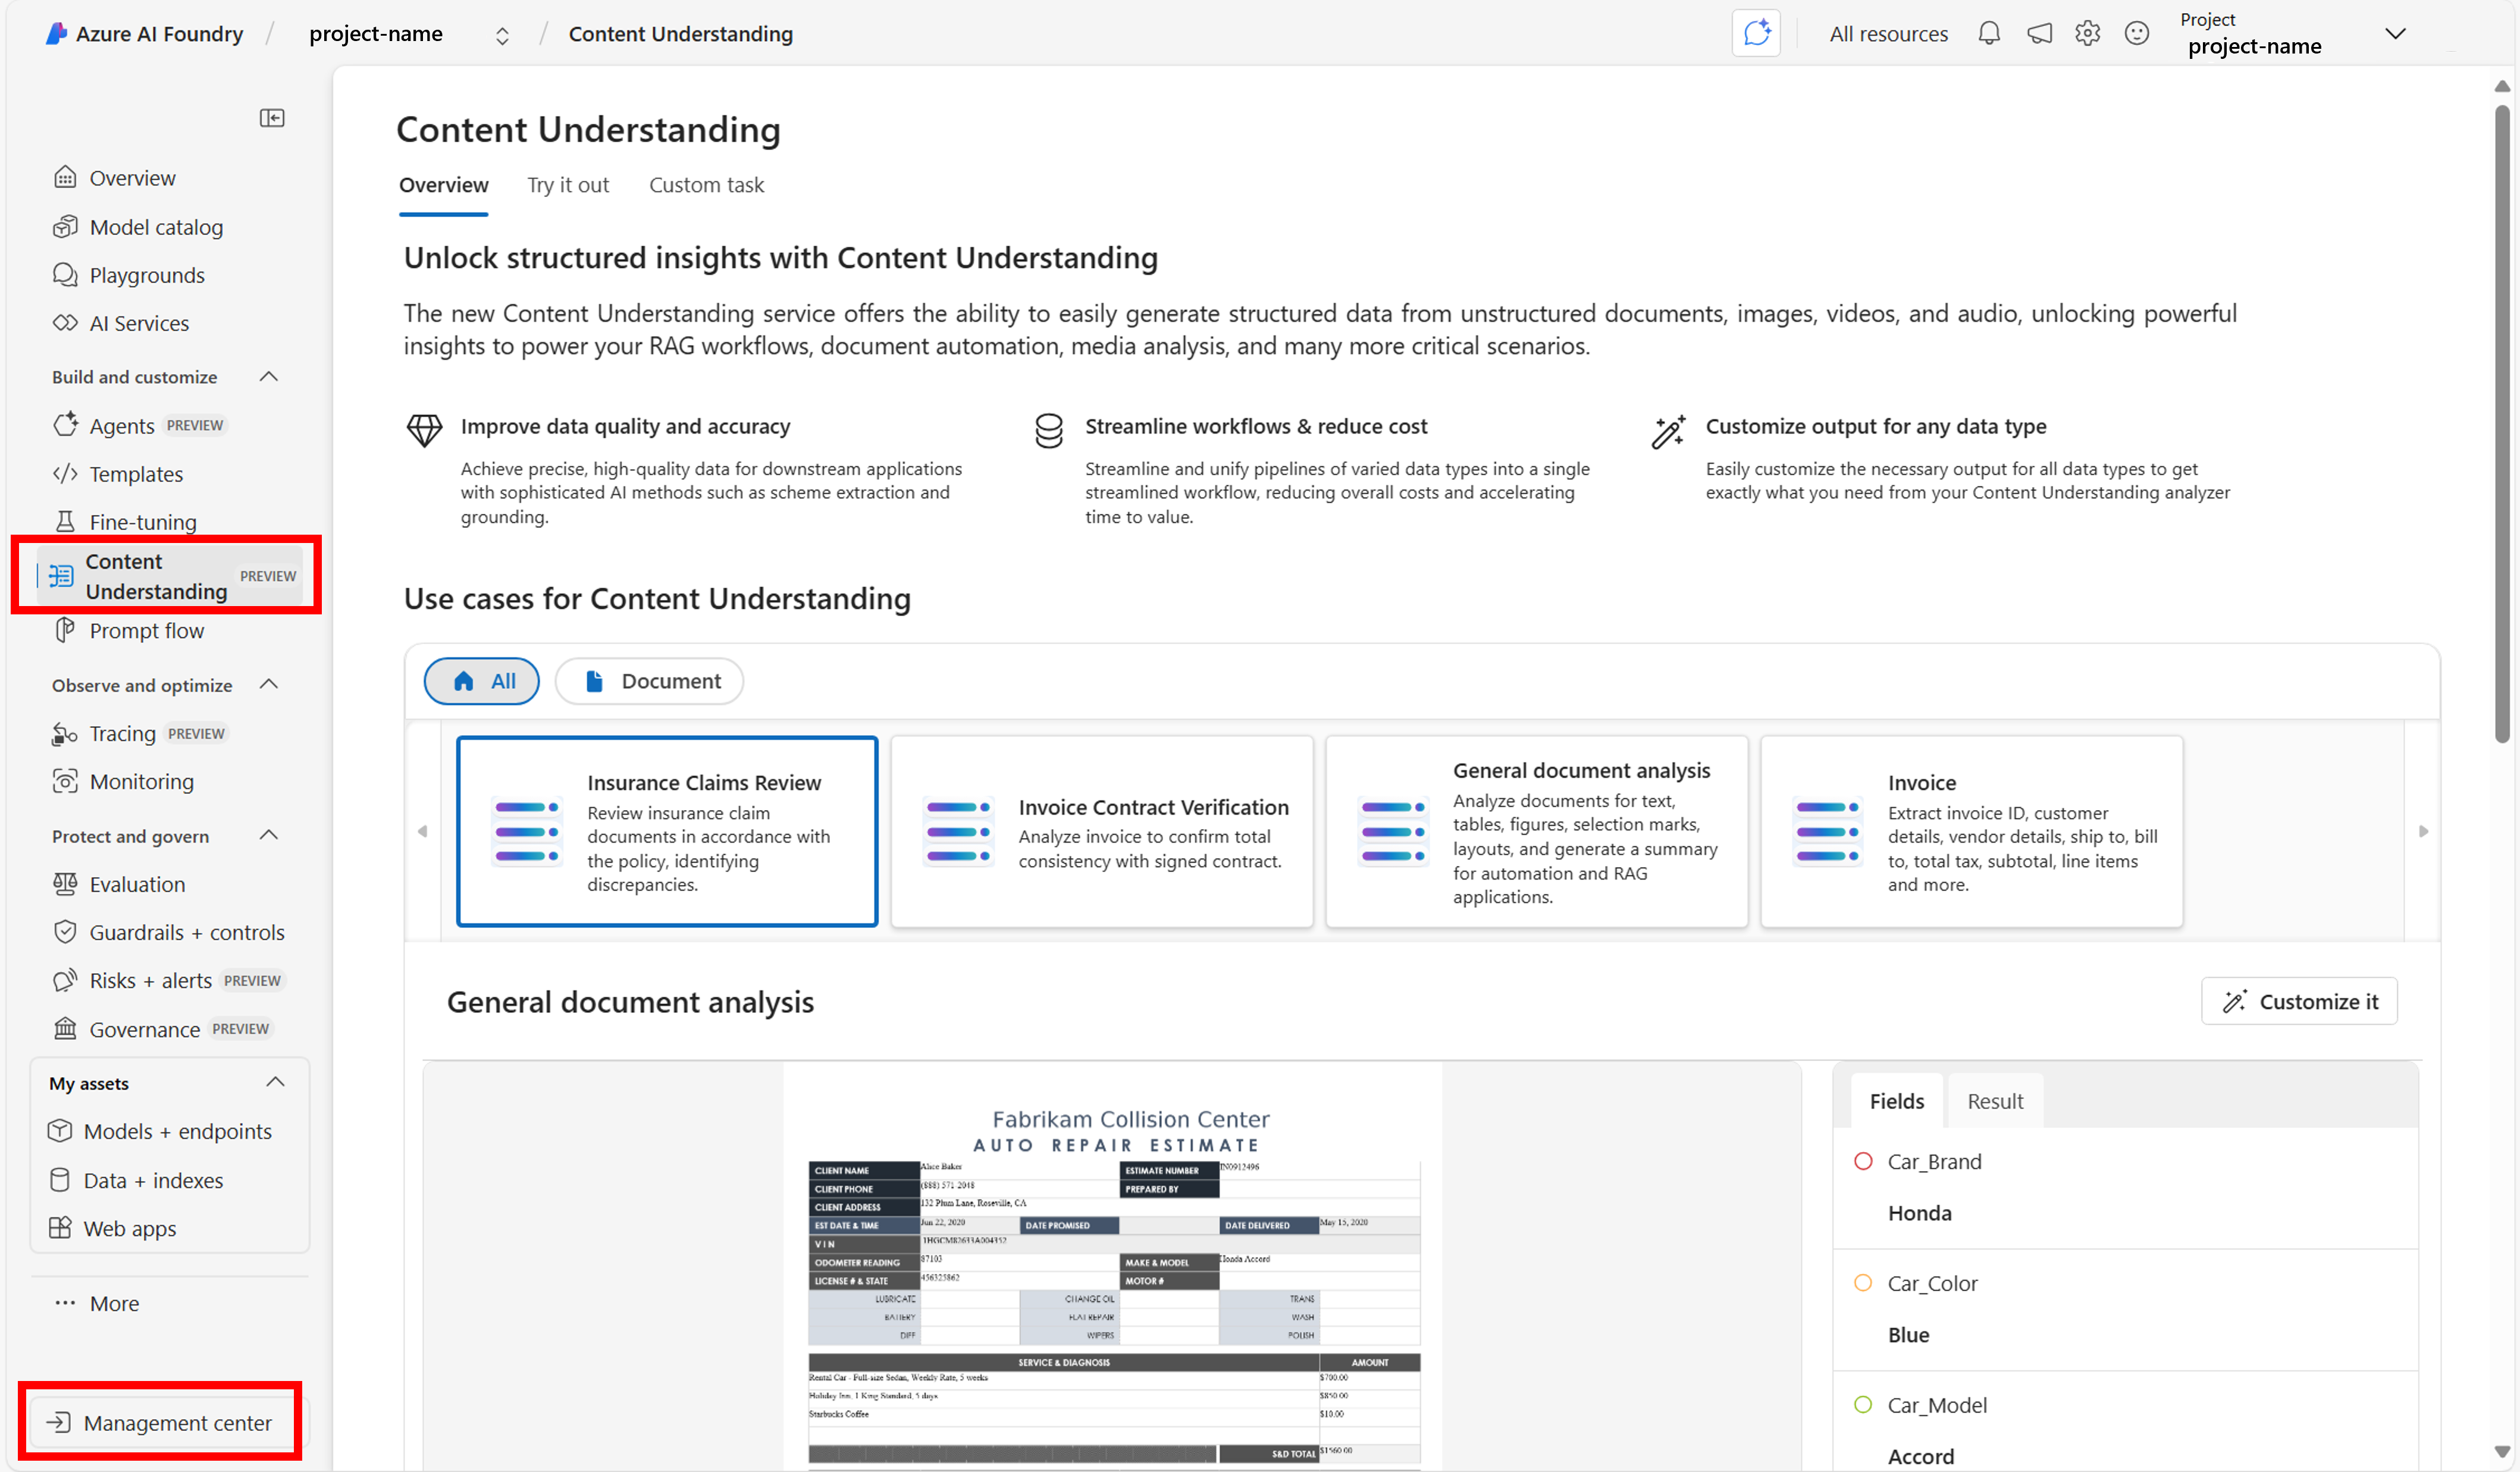
- Select Content Understanding from the left navigation pane.
- Select + Create.
- In this guide, you create a
Single-file taskutilizing Content Understanding Standard mode, but if you're interested in creating a multi-file task utilizing Pro mode, refer to Create an Azure AI Content Understanding multi-file task in the Azure AI Foundry portal. For more information on which mode is right for your scenario, check out Azure AI Content Understanding pro and standard modes. - Enter a name for your task. Optionally, enter a description and change other settings.
- Select Create.
Create your first analyzer
Now that everything is configured to get started, we can walk through how to build your first analyzer.
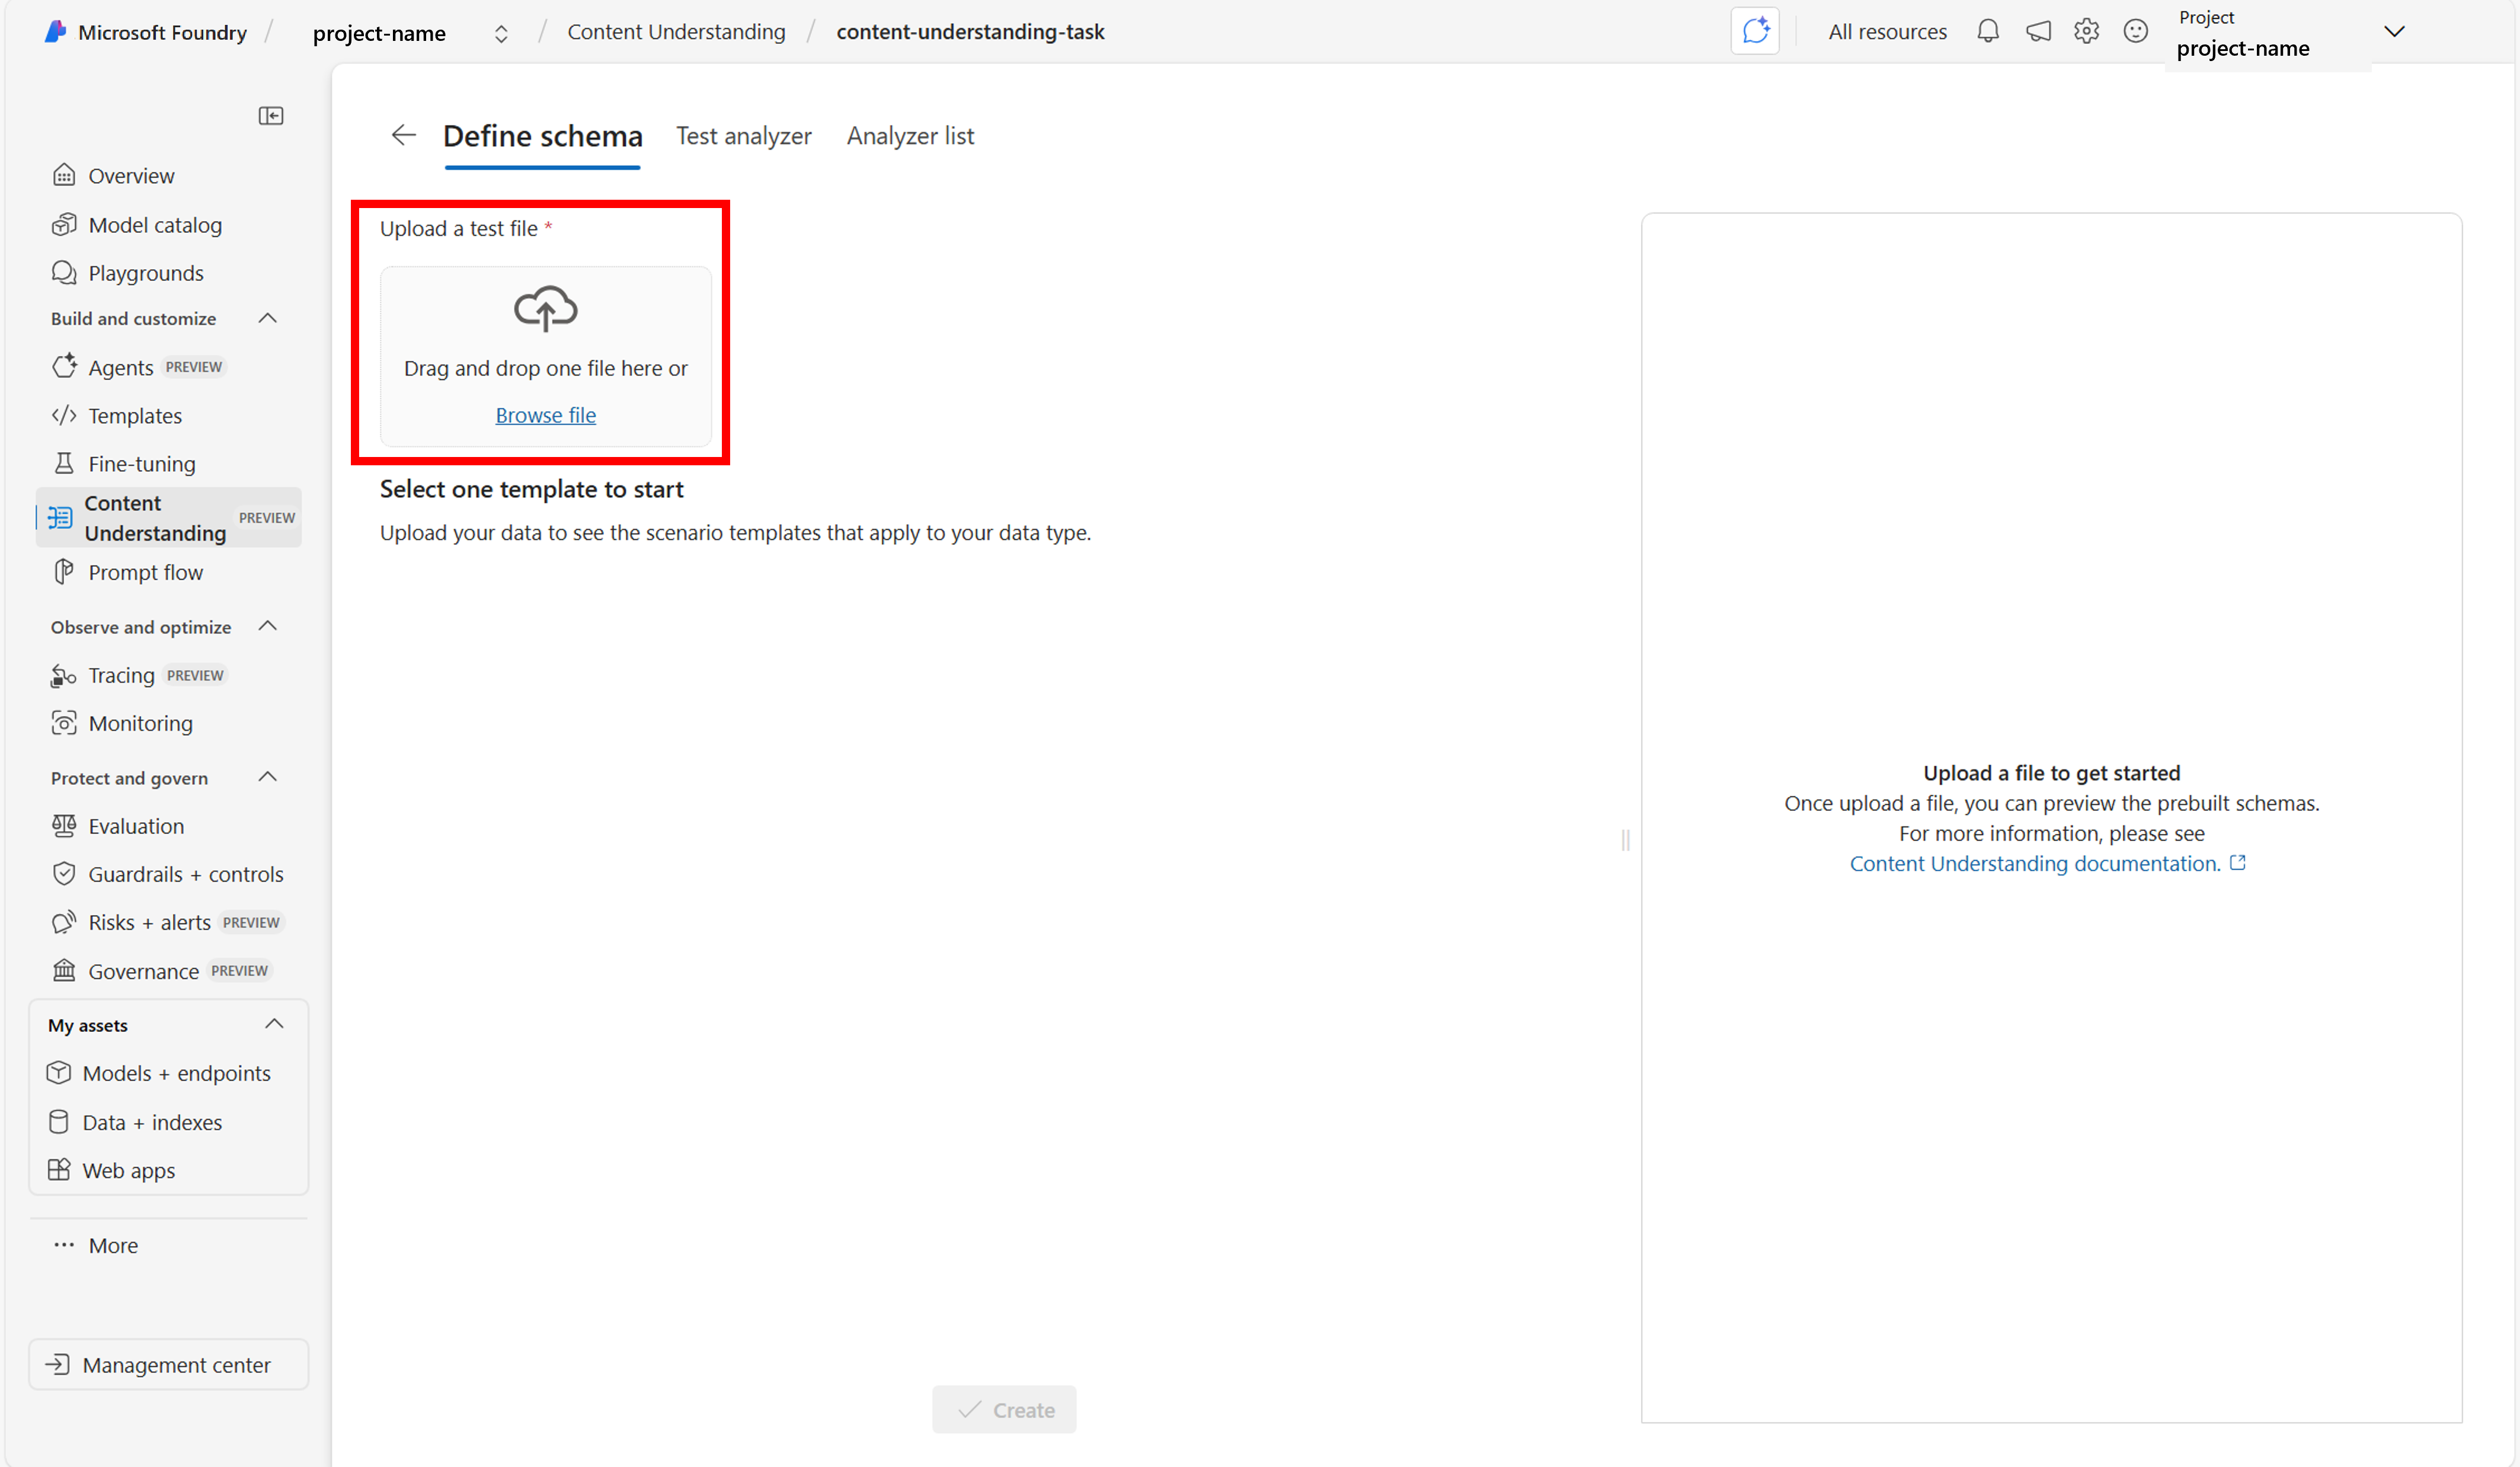
When you create a single-file Content Understanding task, you start by uploading a sample of your data and building your field schema. The schema is the customizable framework that allows the analyzer to extract insights from your data. In this example, the schema is created to extract key data from an invoice document, but you can bring in any type of data and the steps remain the same. For a complete list of supported file types, see input file limits.
Upload a sample file of an invoice document or any other data relevant to your scenario.
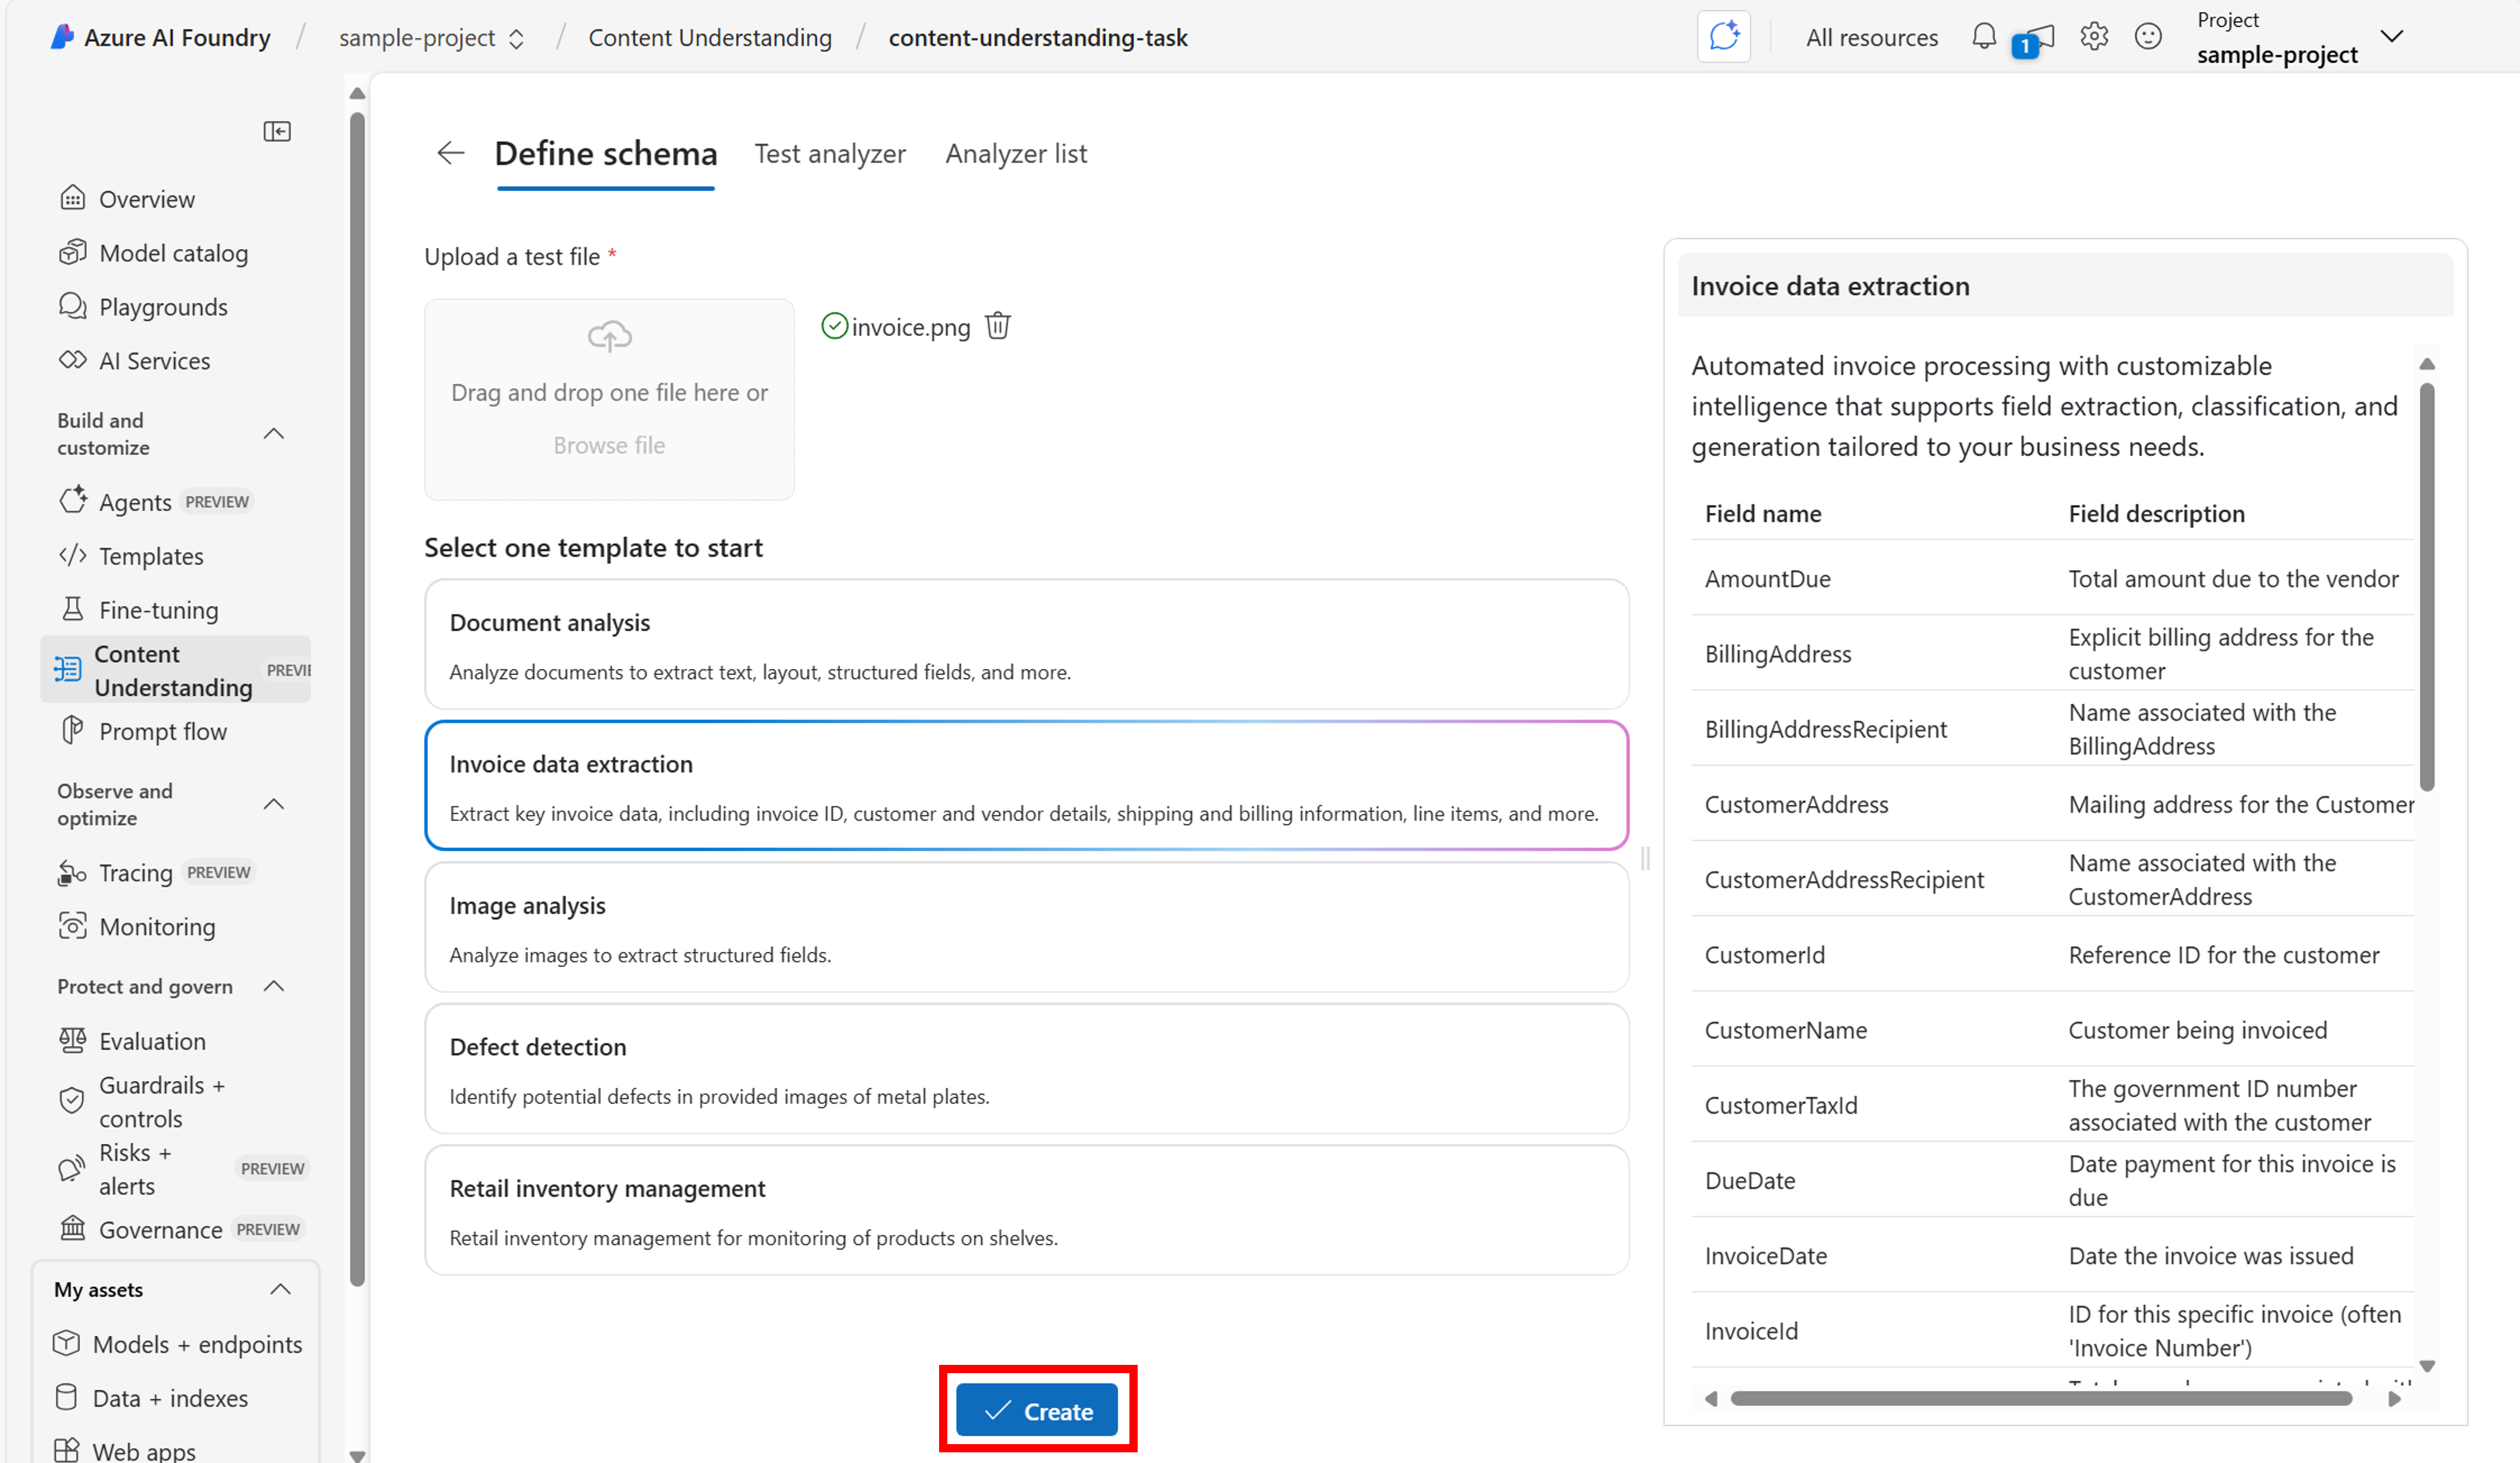
Next, the Content Understanding service suggests analyzer templates based on your content type. Check out Analyzer templates offered with Content Understanding for a full list of all templates offered for each modality. For this example, select Document analysis to build your own schema tailored to the invoice scenario. When using your own data, select the analyzer template that best fits your needs, or create your own. See Analyzer templates for a full list of available templates.
Select Create.
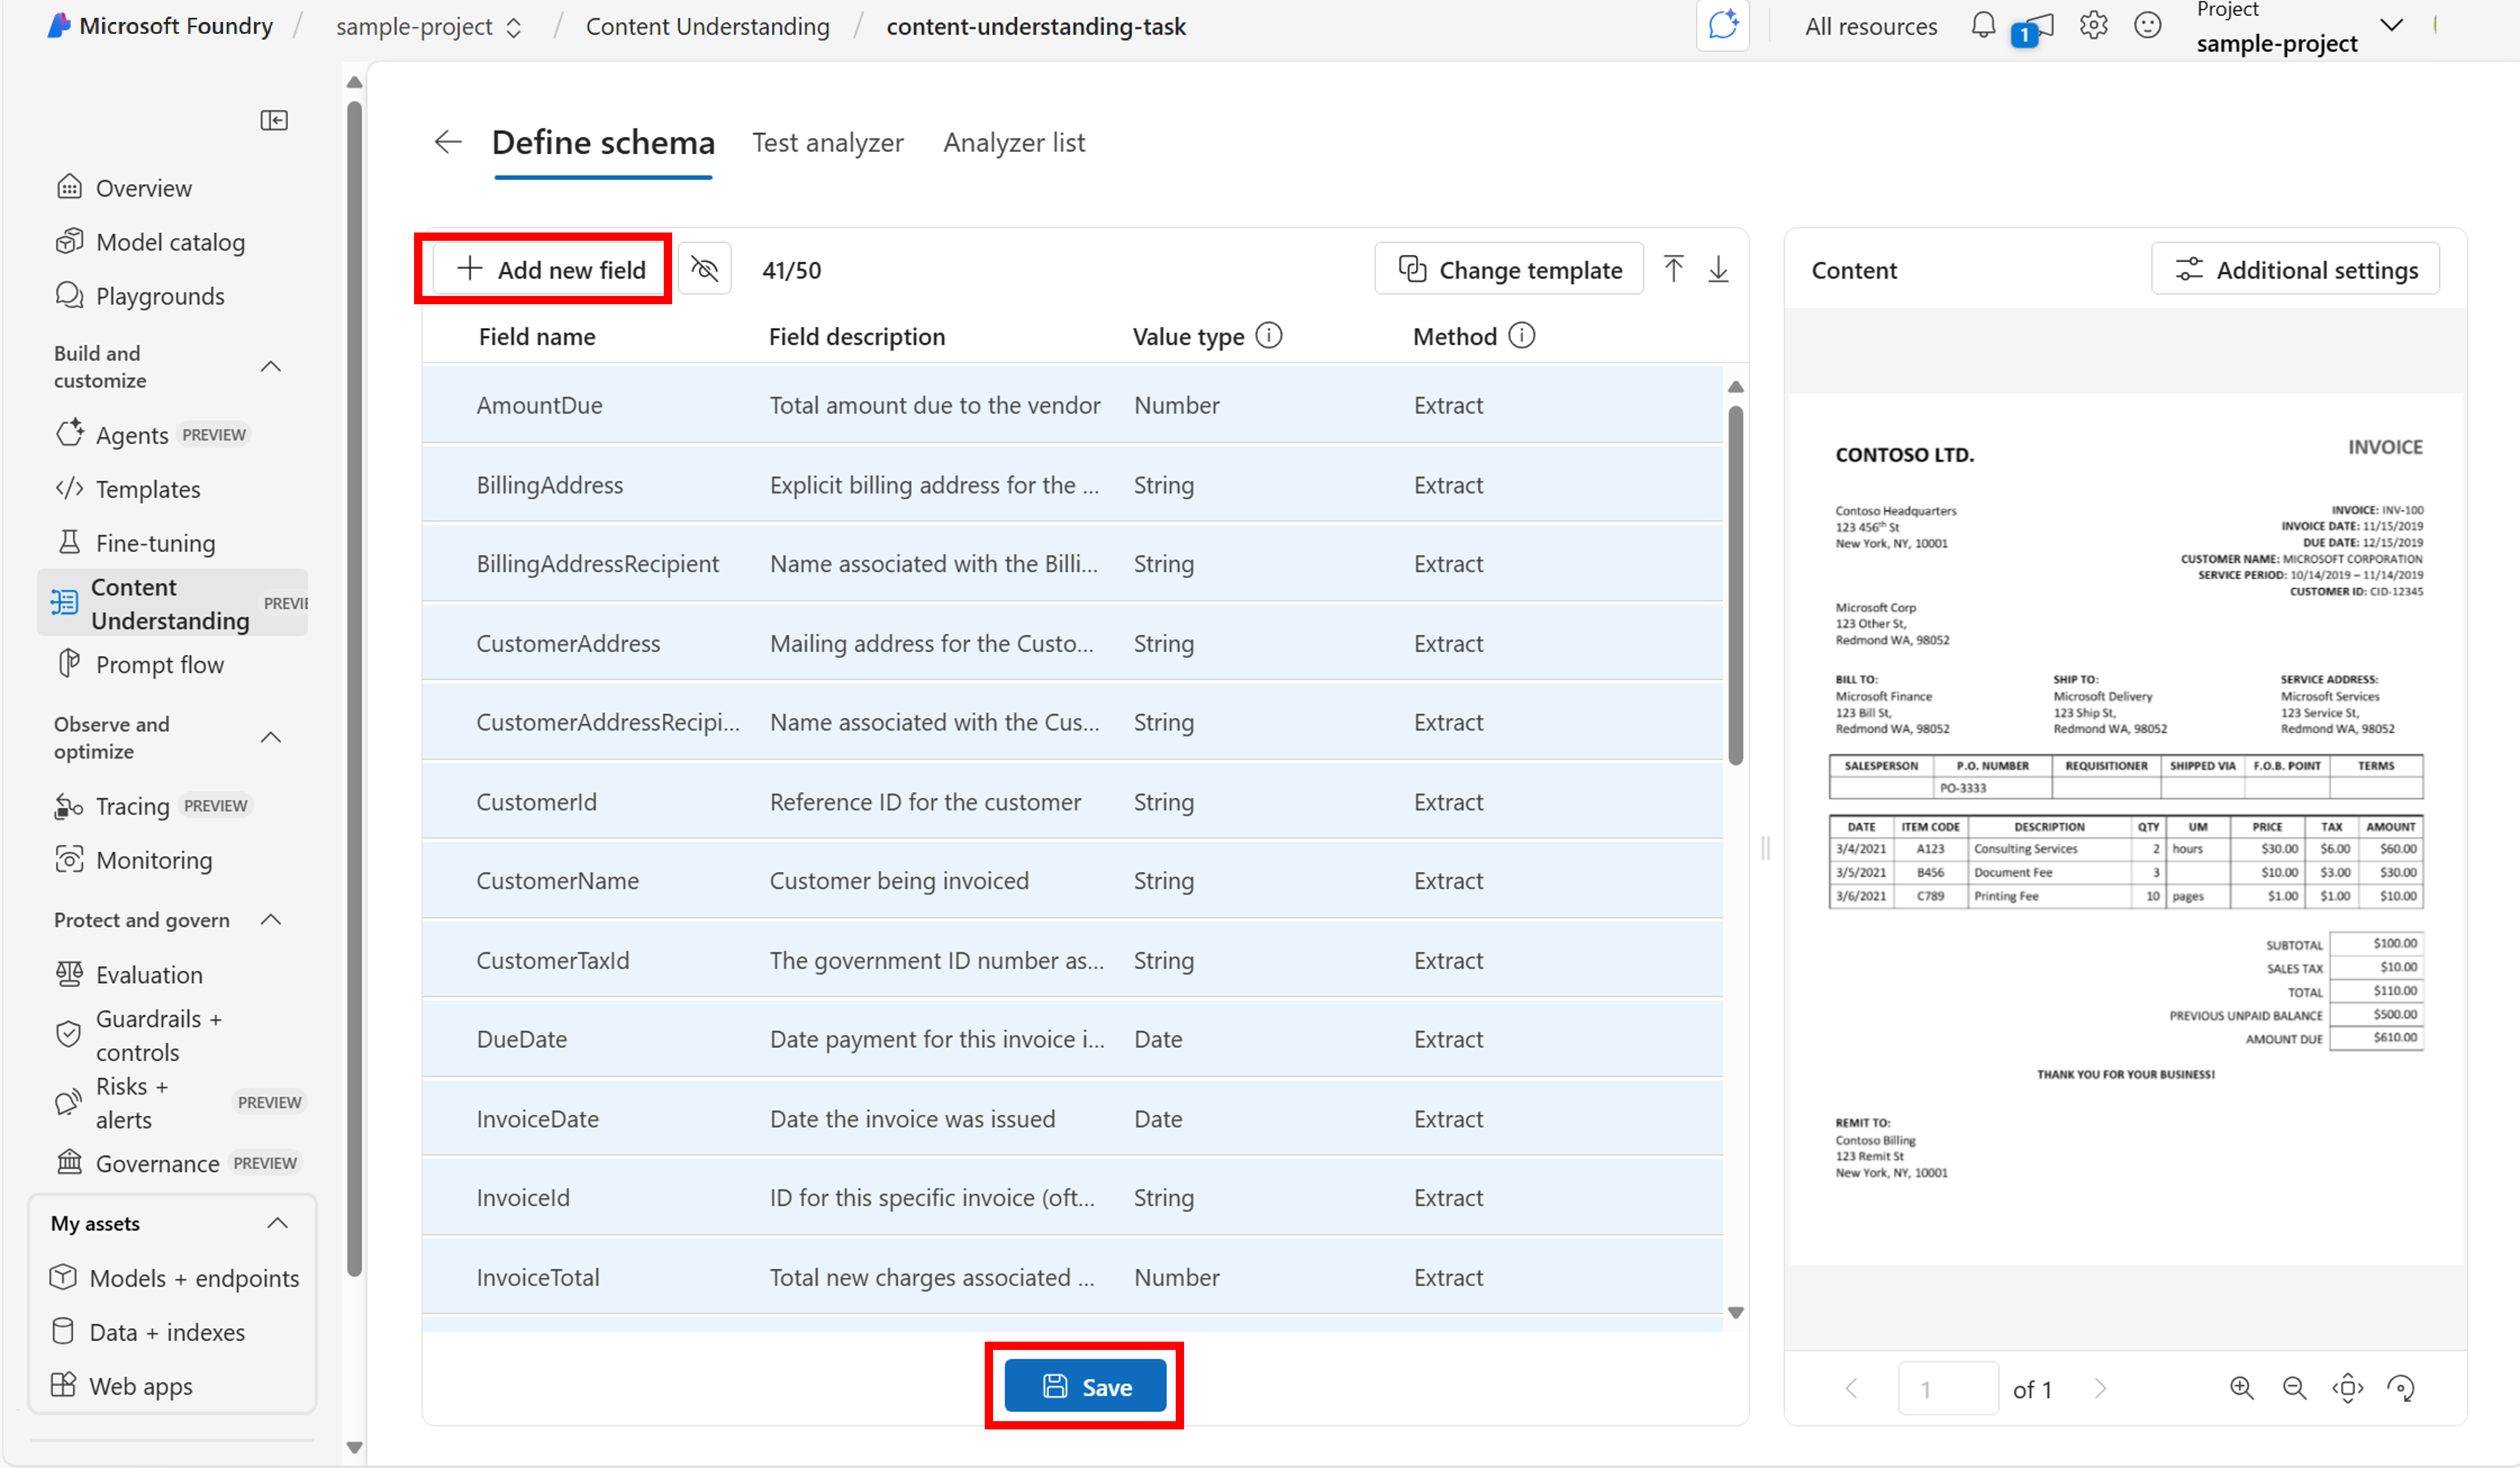
Next, you can add fields to your schema to reflect all of the outputs you want to generate.
Specify clear and simple field names. Some example fields might include vendorName, items, price.
Indicate the value type for each field (strings, dates, numbers, lists, groups). To learn more, see supported field types.
[Optional] Provide field descriptions to explain the desired behavior, including any exceptions or rules.
Specify the method to generate the value for each field.
For best practices on how to define your field schema, refer to best practices for Azure AI Content Understanding. It may take a few minutes to build out your schema.
Once you feel that the schema is ready to test, select Save. You can always come back and make changes if needed.
With the completed schema, Content Understanding now generates the output on your sample data. At this step, you can add more data to test the analyzer's accuracy or make changes to the schema if needed.
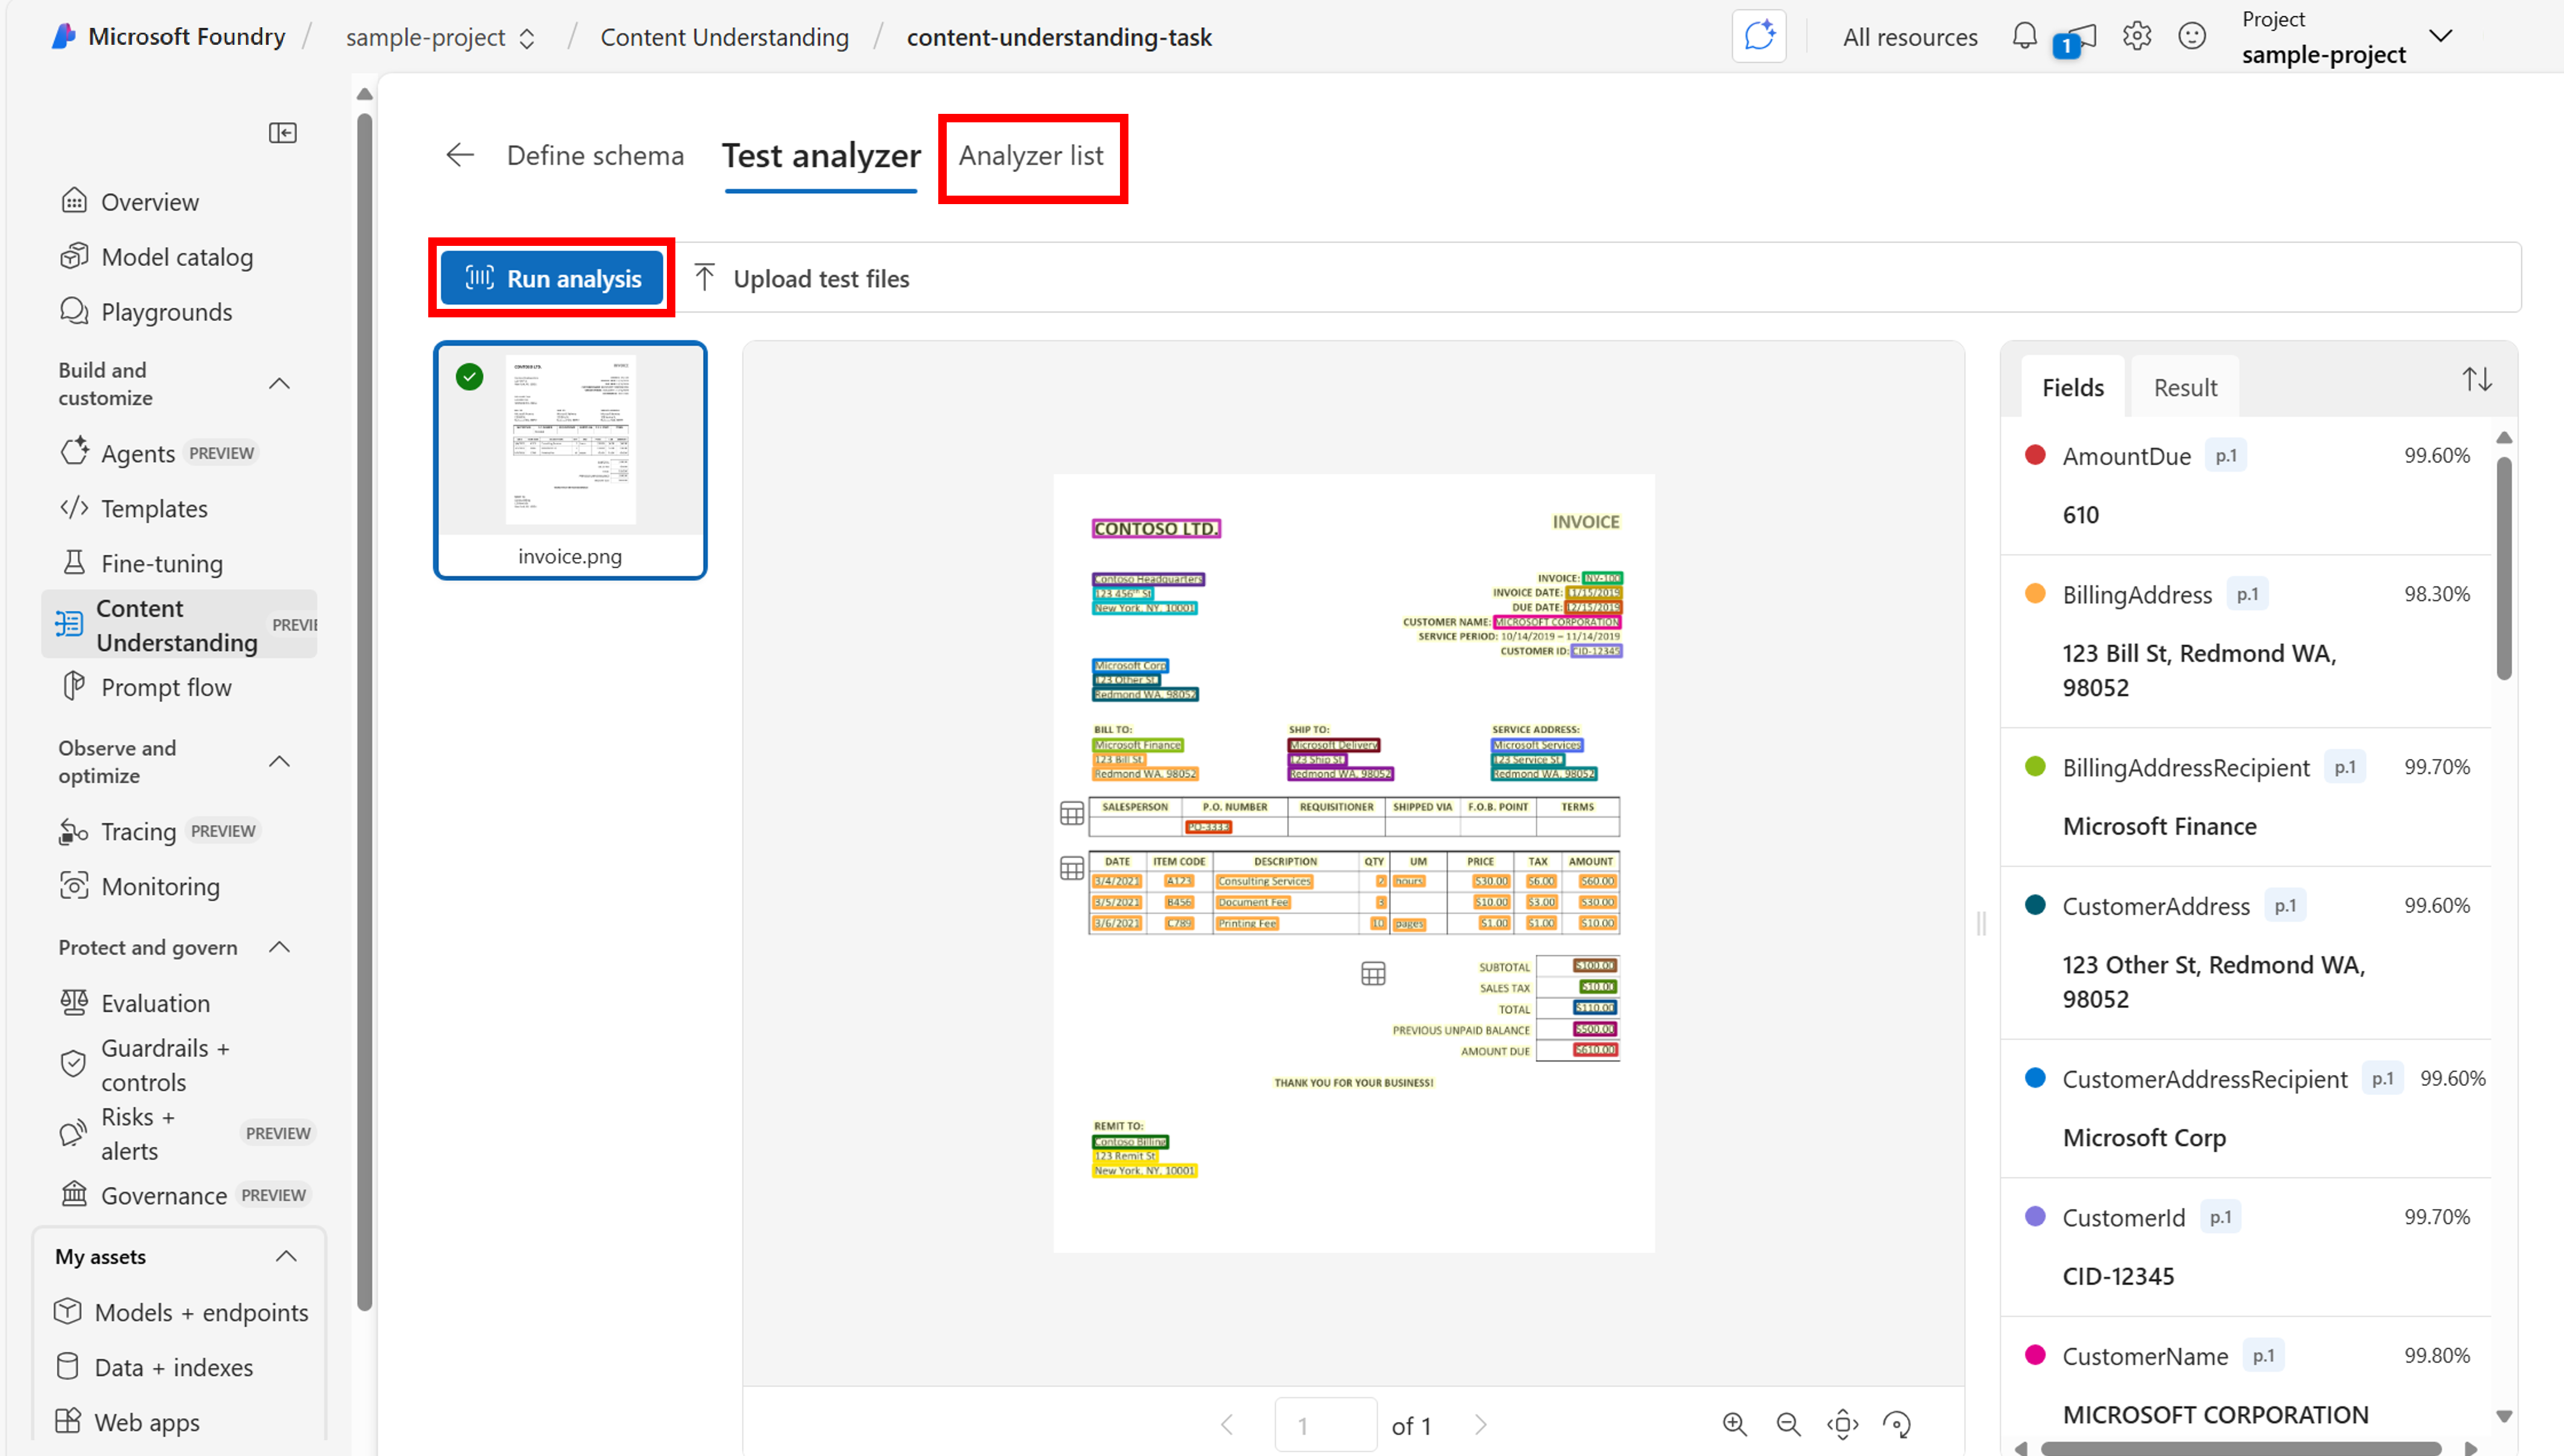
Once you're satisfied with the quality of your output, select Build analyzer. This action creates an analyzer ID that you can integrate into your own applications, allowing you to call the analyzer from your code.
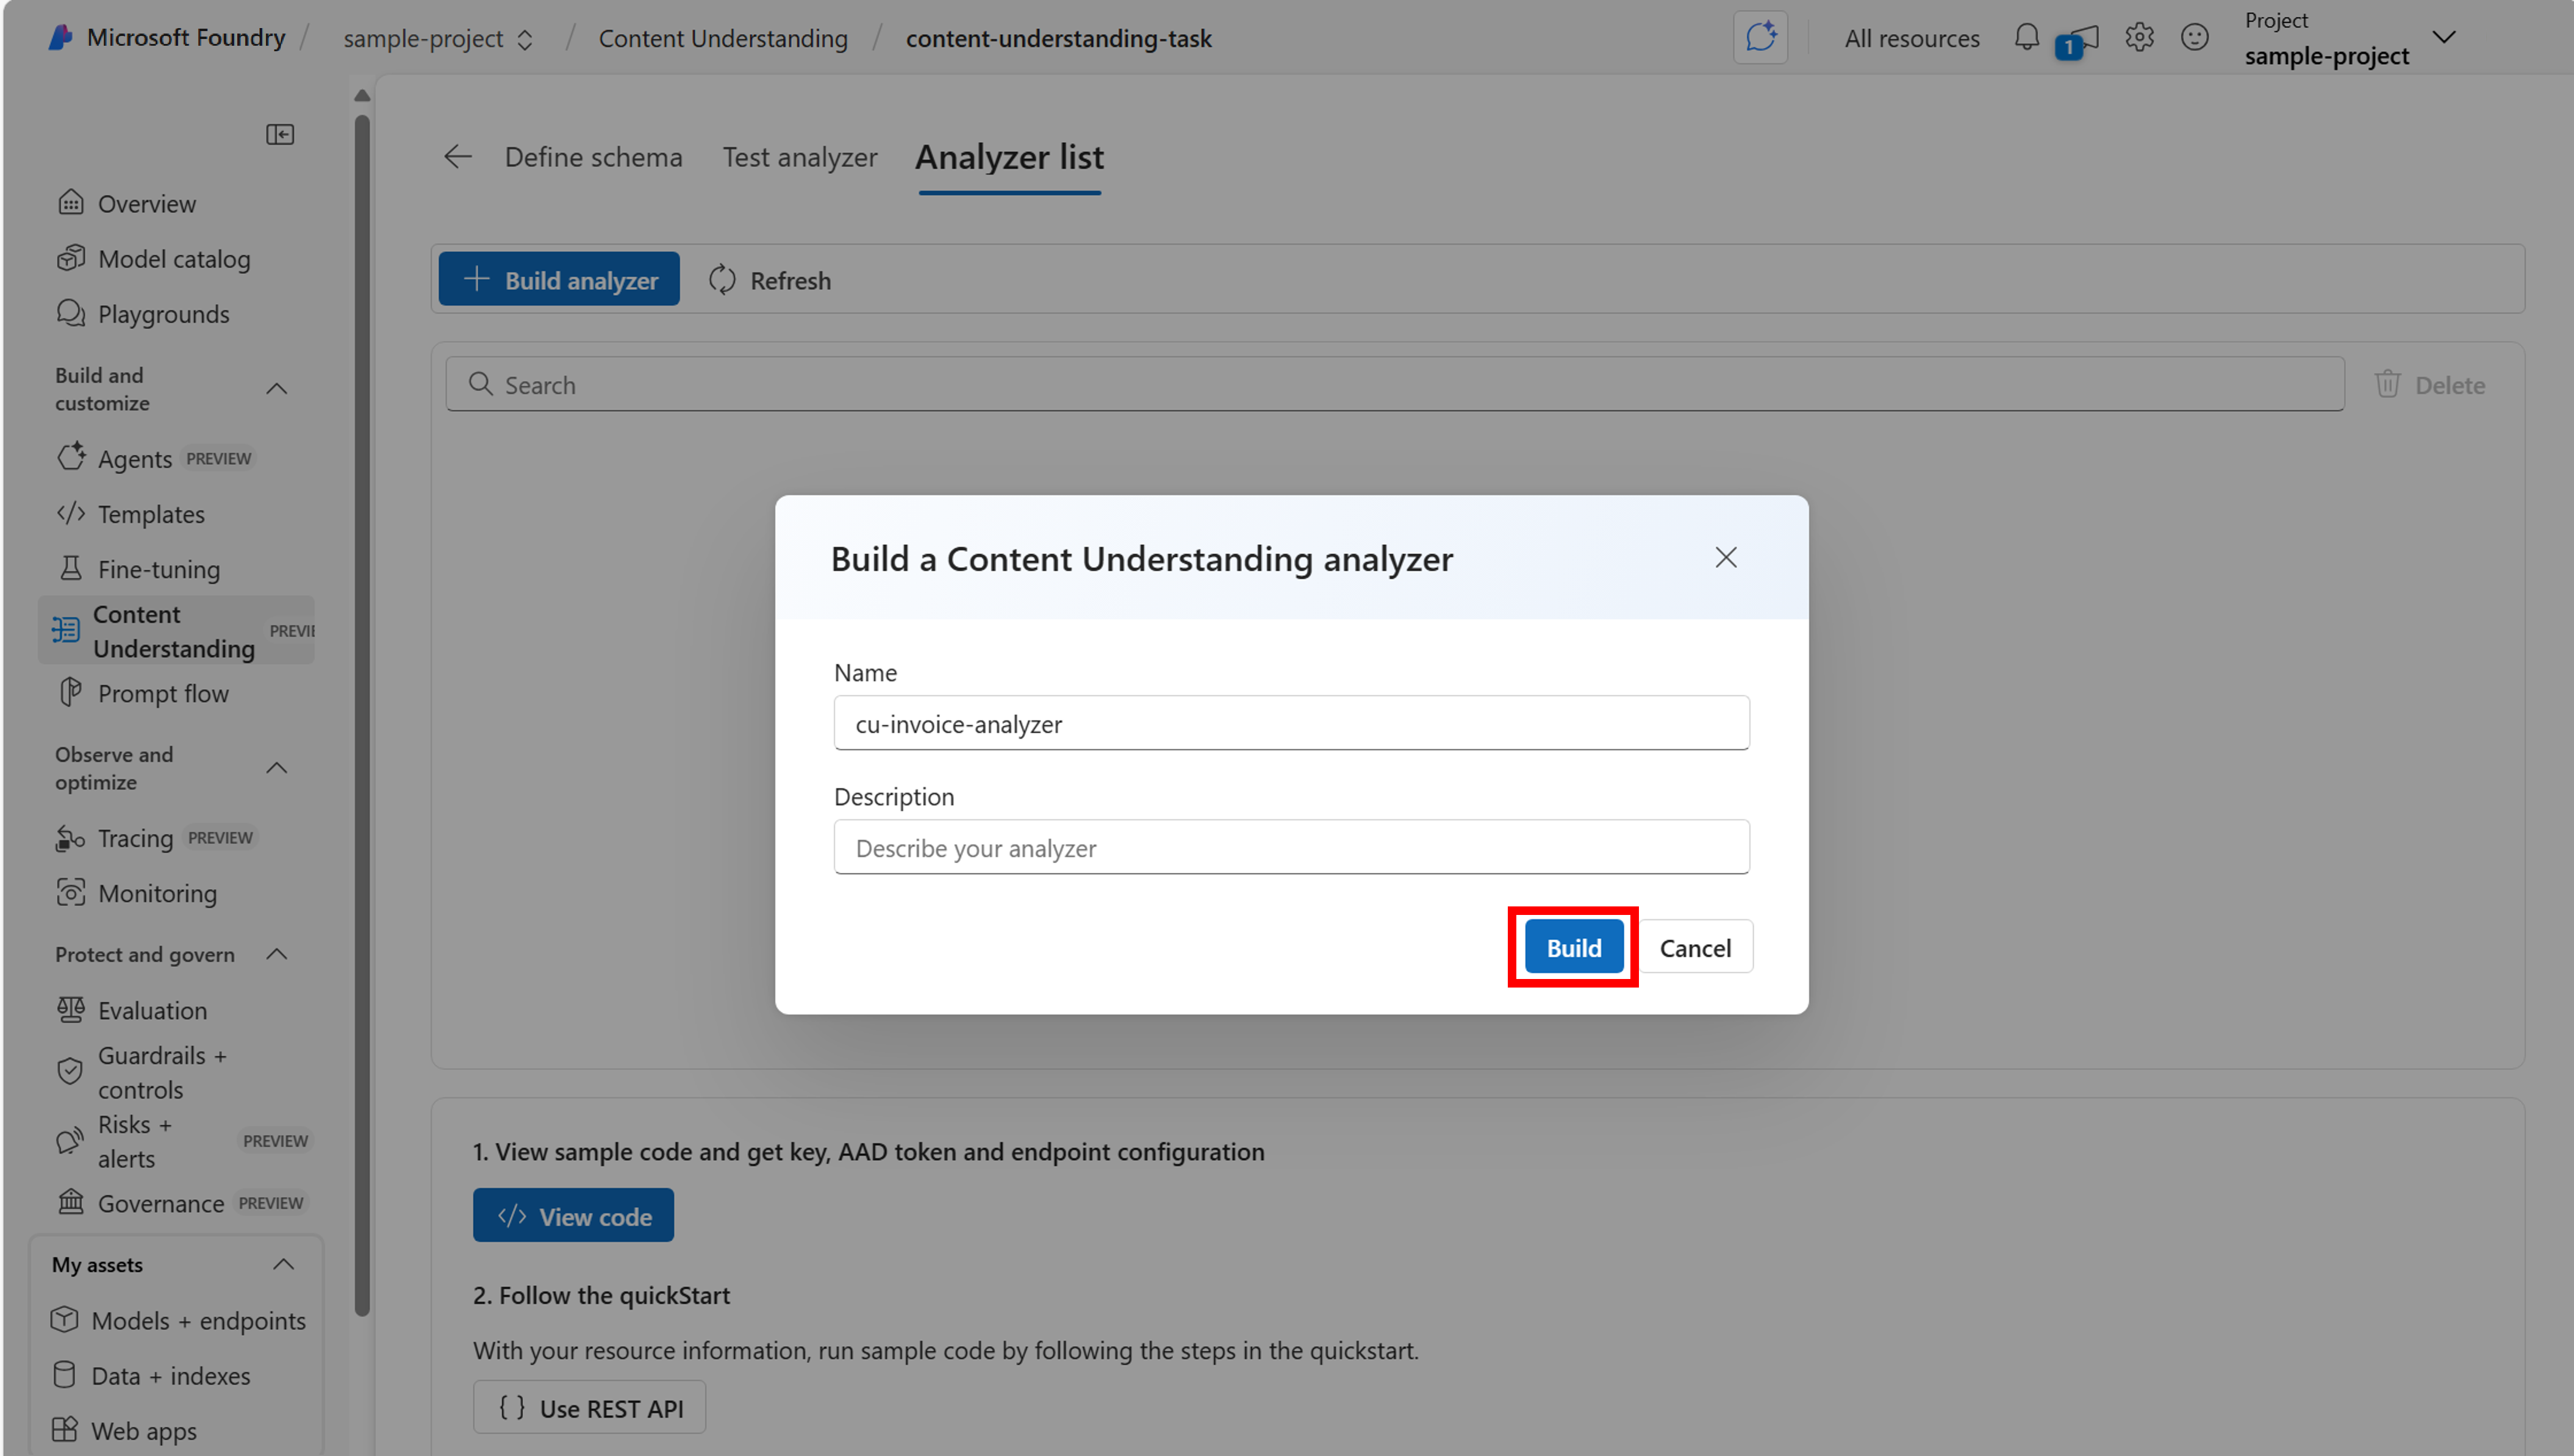
Now you successfully built your first Content Understanding analyzer, and are ready to start extracting insights from your data. Check out Quickstart: Azure AI Content Understanding REST APIs to utilize the REST API to call your analyzer.
Sharing your project
In order to share and manage access to the project you created, navigate to the Management Center, found at the bottom of the navigation for your project:
You can manage the users and their individual roles here:

Next steps
- Learn more about creating and using analyzer templates in the Azure AI Foundry.