How to train a Custom sentiment analysis model
To train a model, start a training job. Only successfully completed jobs create a usable model. Training jobs expire after seven days. After this period, you won't be able to retrieve the job details. If your training job completed successfully and a model was created, it won't be affected by the job expiration. You can only have one training job running at a time, and you can't start other jobs in the same project.
The training times can be anywhere from a few minutes when dealing with few documents, up to several hours depending on the dataset size and the complexity of your schema.
Before you train your model, you need:
- A successfully created project with a configured Azure blob storage account.
Before you start the training process, labeled documents in your project are divided into a training set and a testing set. Each one of them serves a different function. The training set is used in training the model, this is the set from which the model learns the class/classes assigned to each document. The testing set is a blind set that is not introduced to the model during training but only during evaluation. After the model is trained successfully, it is used to make predictions from the documents in the testing set. Based on these predictions, the model's evaluation metrics will be calculated. It is recommended to make sure that all your classes are adequately represented in both the training and testing set.
Custom sentiment analysis supports two methods for data splitting:
- Automatically splitting the testing set from training data: The system will split your labeled data between the training and testing sets, according to the percentages you choose. The system attempts to have a representation of all classes in your training set. The recommended percentage split is 80% for training and 20% for testing.
Note
If you choose the Automatically splitting the testing set from training data option, only the data assigned to training set will be split according to the percentages provided.
- Use a manual split of training and testing data: This method enables users to define which labeled documents should belong to which set.
To start training your model from within the Language Studio:
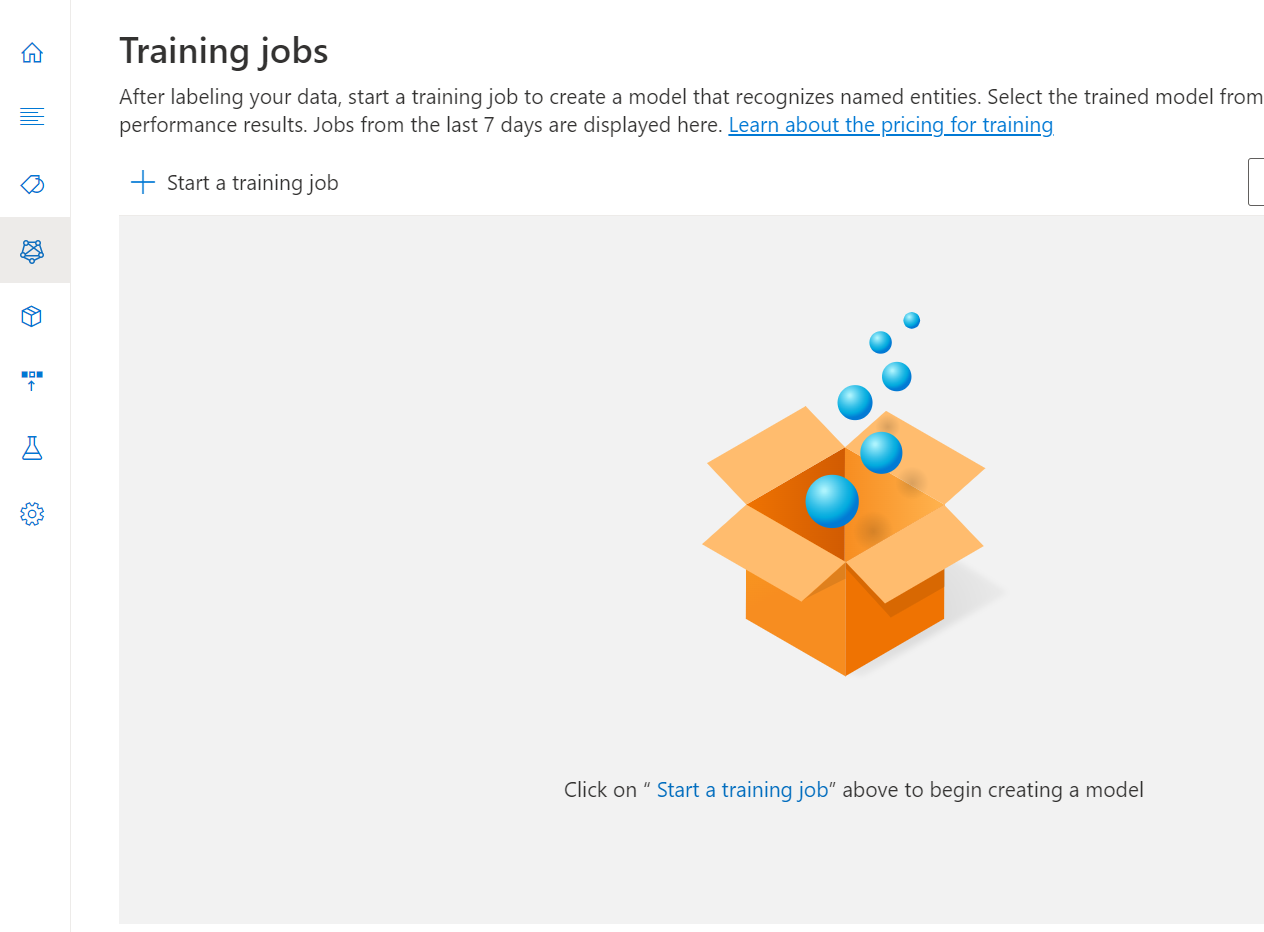
Select Training jobs from the left side menu.
Select Start a training job from the top menu.
Select Train a new model and type in the model name in the text box. You can also overwrite an existing model by selecting this option and choosing the model you want to overwrite from the dropdown menu. Overwriting a trained model is irreversible, but it won't affect your deployed models until you deploy the new model.
By default, the system will split your labeled data between the training and testing sets, according to specified percentages. If you have documents in your testing set, you can manually split the training and testing data.
Select the Train button.
If you select the Training Job ID from the list, a side pane will appear where you can check the Training progress, Job status, and other details for this job.
Note
- Only successfully completed training jobs will generate models.
- Training can take some time between a couple of minutes and several hours based on the size of your labeled data.
- You can only have one training job running at a time. You can't start other training job within the same project until the running job is completed.
To cancel a training job from within Language Studio, go to the Training jobs page. Select the training job you want to cancel and select Cancel from the top menu.
After training is completed, you will be able to view the model's performance to optionally improve your model if needed. Once you're satisfied with your model, you can deploy it, making it available to use for use.
