Note
Access to this page requires authorization. You can try signing in or changing directories.
Access to this page requires authorization. You can try changing directories.
If you encounter an issue with AKS on Azure Local, this article describes how to open a support request.
Go to Support + Troubleshooting in the Azure portal
Sign in to the Azure portal.
Browse to the subscription you're using for AKS on Azure Local. Select the subscription to open its dashboard.
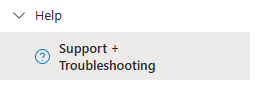
From the Help menu in the left-hand navigation pane, select Support + Troubleshooting:
In the text box, briefly describe the issue type, then select Go:
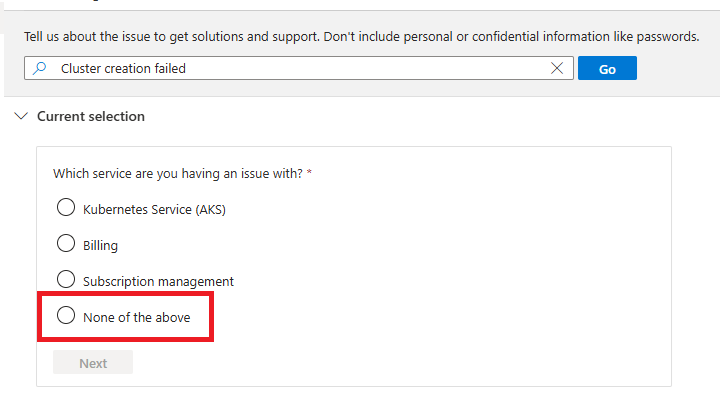
If Azure Kubernetes Service on Azure Local doesn't appear in the list of predefined services, select None of the above.
Begin typing Kubernetes in the Search Options box of the Select a service dropdown.
Select Azure Kubernetes Service on Azure Local from the dropdown list.
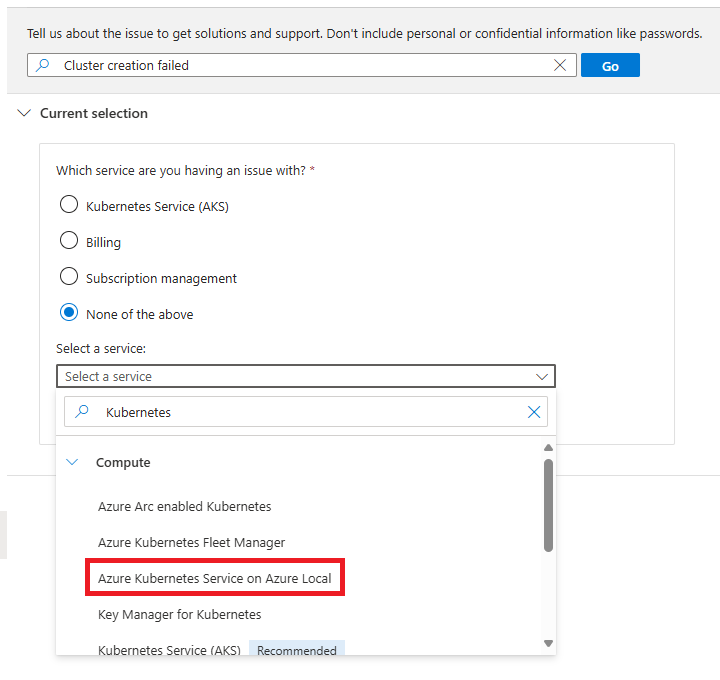
Select Next.
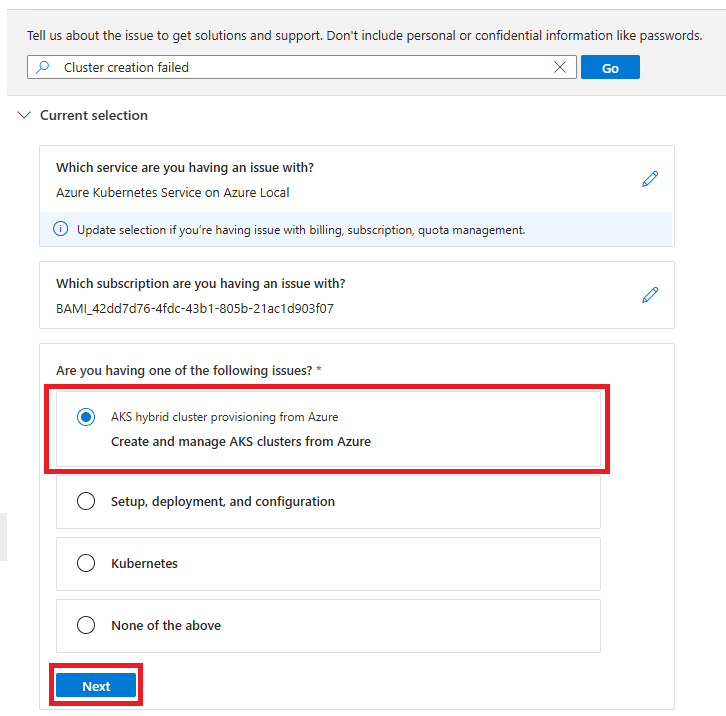
Your subscription name should auto-populate in the Subscription field. If it doesn't, select it from the dropdown. Then select Next.
Select one of the predefined issues, or select None of the above if your issue doesn't relate to a specific predefined issue. Then select Next:
If you select None of the above, you're prompted to select a problem type from a dropdown menu. From the dropdown, select a problem type.
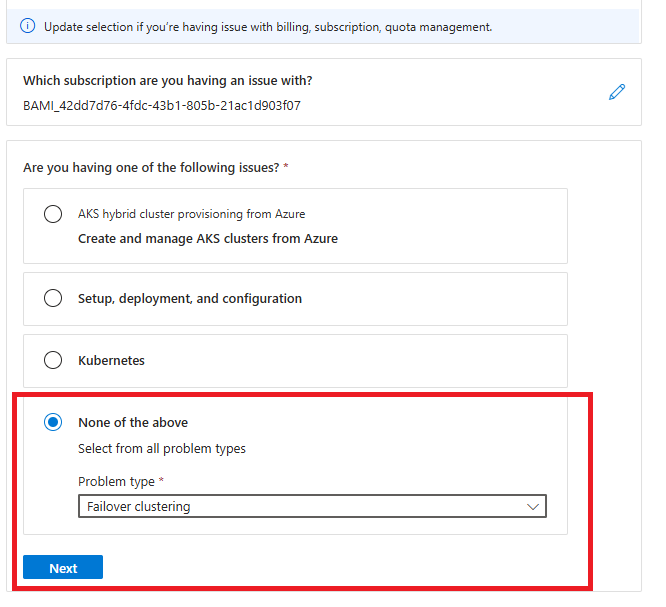
Select Next.
Review the proposed solutions to determine if they address your issue:
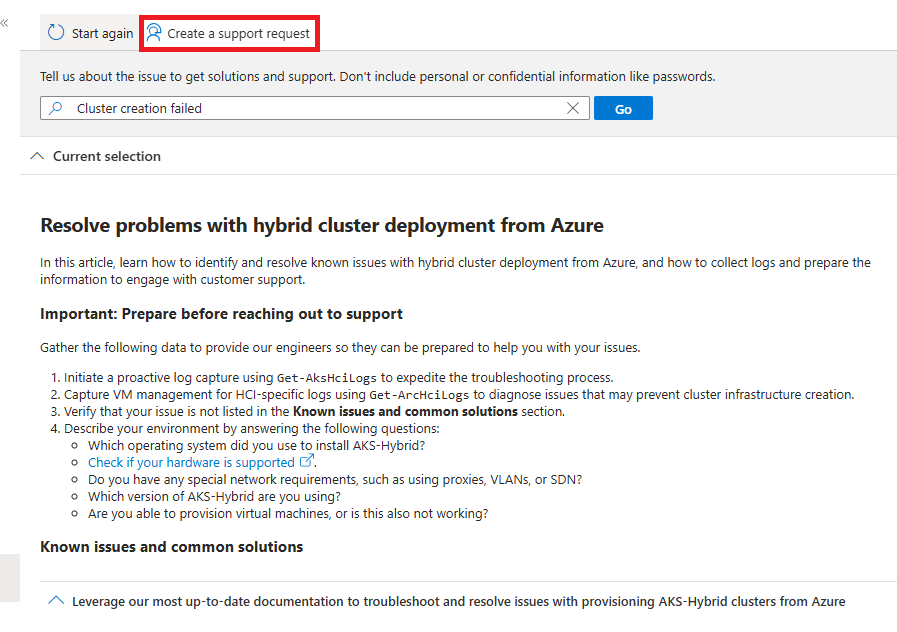
If you made a mistake or want to choose a different problem type, select Start again at the top of the page. If the issues and solutions are not applicable, select Create a support request at the top of the page.
Select Next.
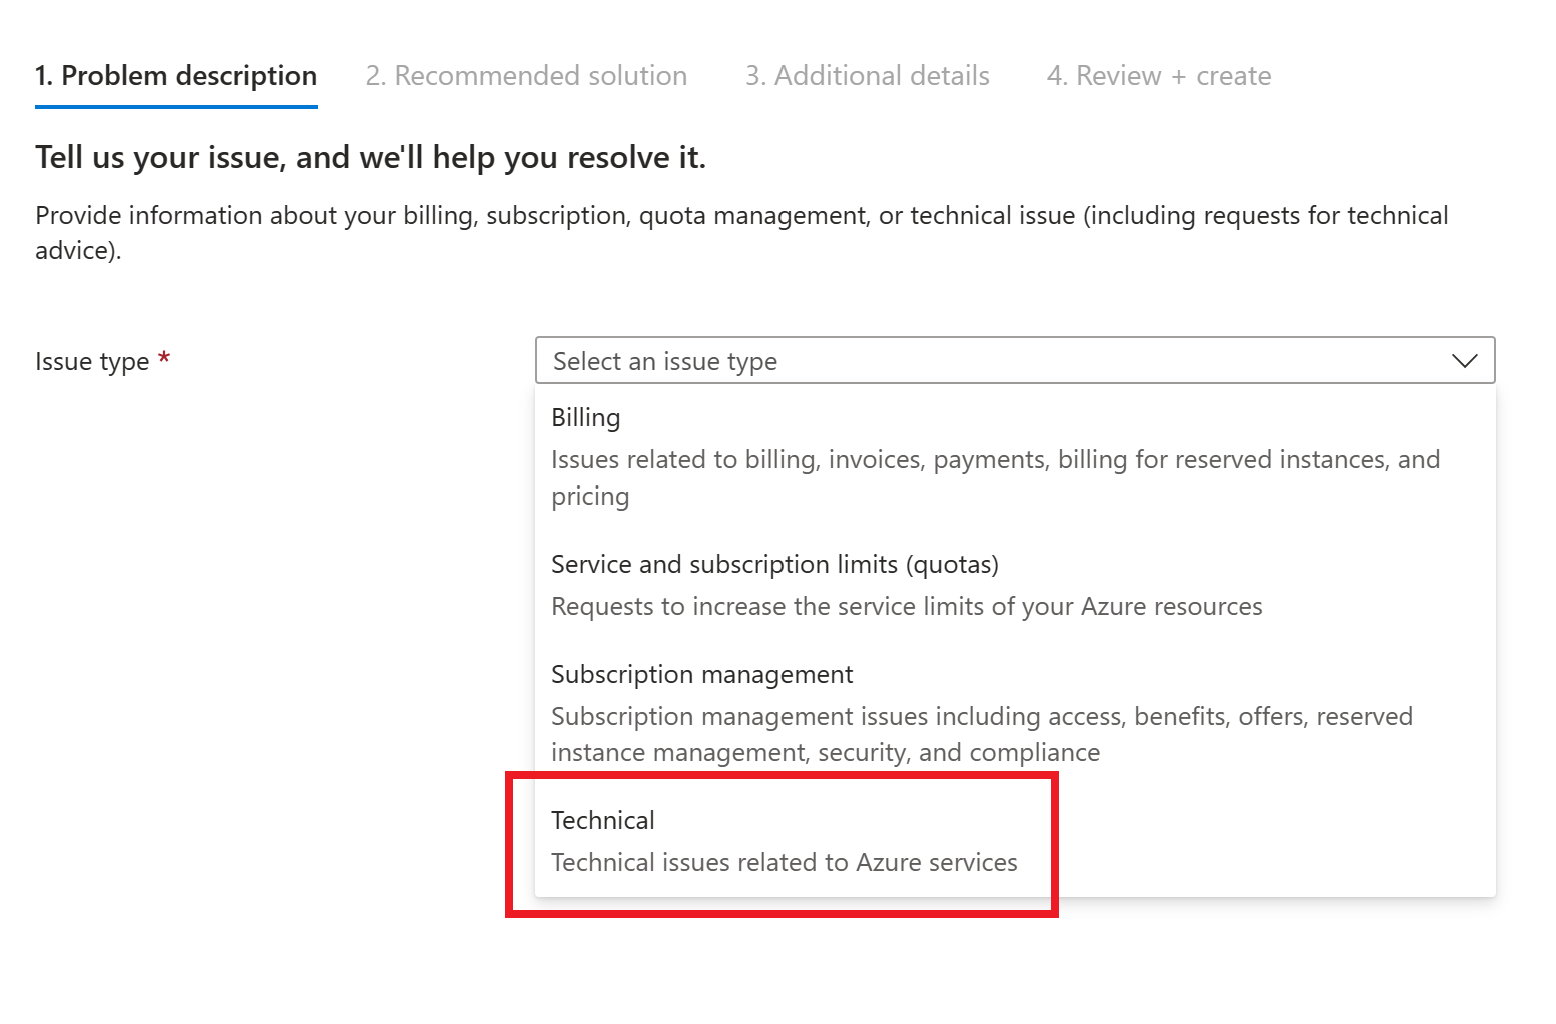
From the dropdown, select the Technical issue type:
Your subscription name should auto-populate in the Subscription field. If it doesn't, select it from the dropdown.
Your service name should auto-populate in the Service field. If it doesn't, select it from the dropdown. The Summary, Problem type, and Problem subtype fields should also auto-populate based on your previous selections. If they don't, select the appropriate values from the dropdown menus.

Add a short description of your issue in the Summary field.
Select the appropriate Problem type from the dropdown menu for your issue (for example, Setup, deployment, and configuration).
Select Next.
Review the proposed Solutions to determine if they address your issue:
If the solutions are not applicable, select Return to support request at the top of the page.
Select Next.
Fill in the problem details and description in the appropriate fields:
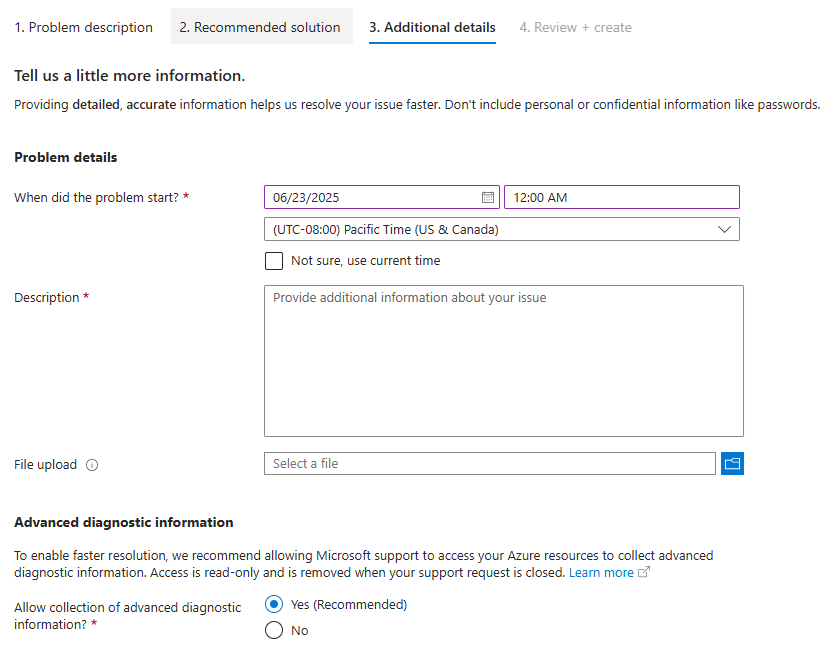
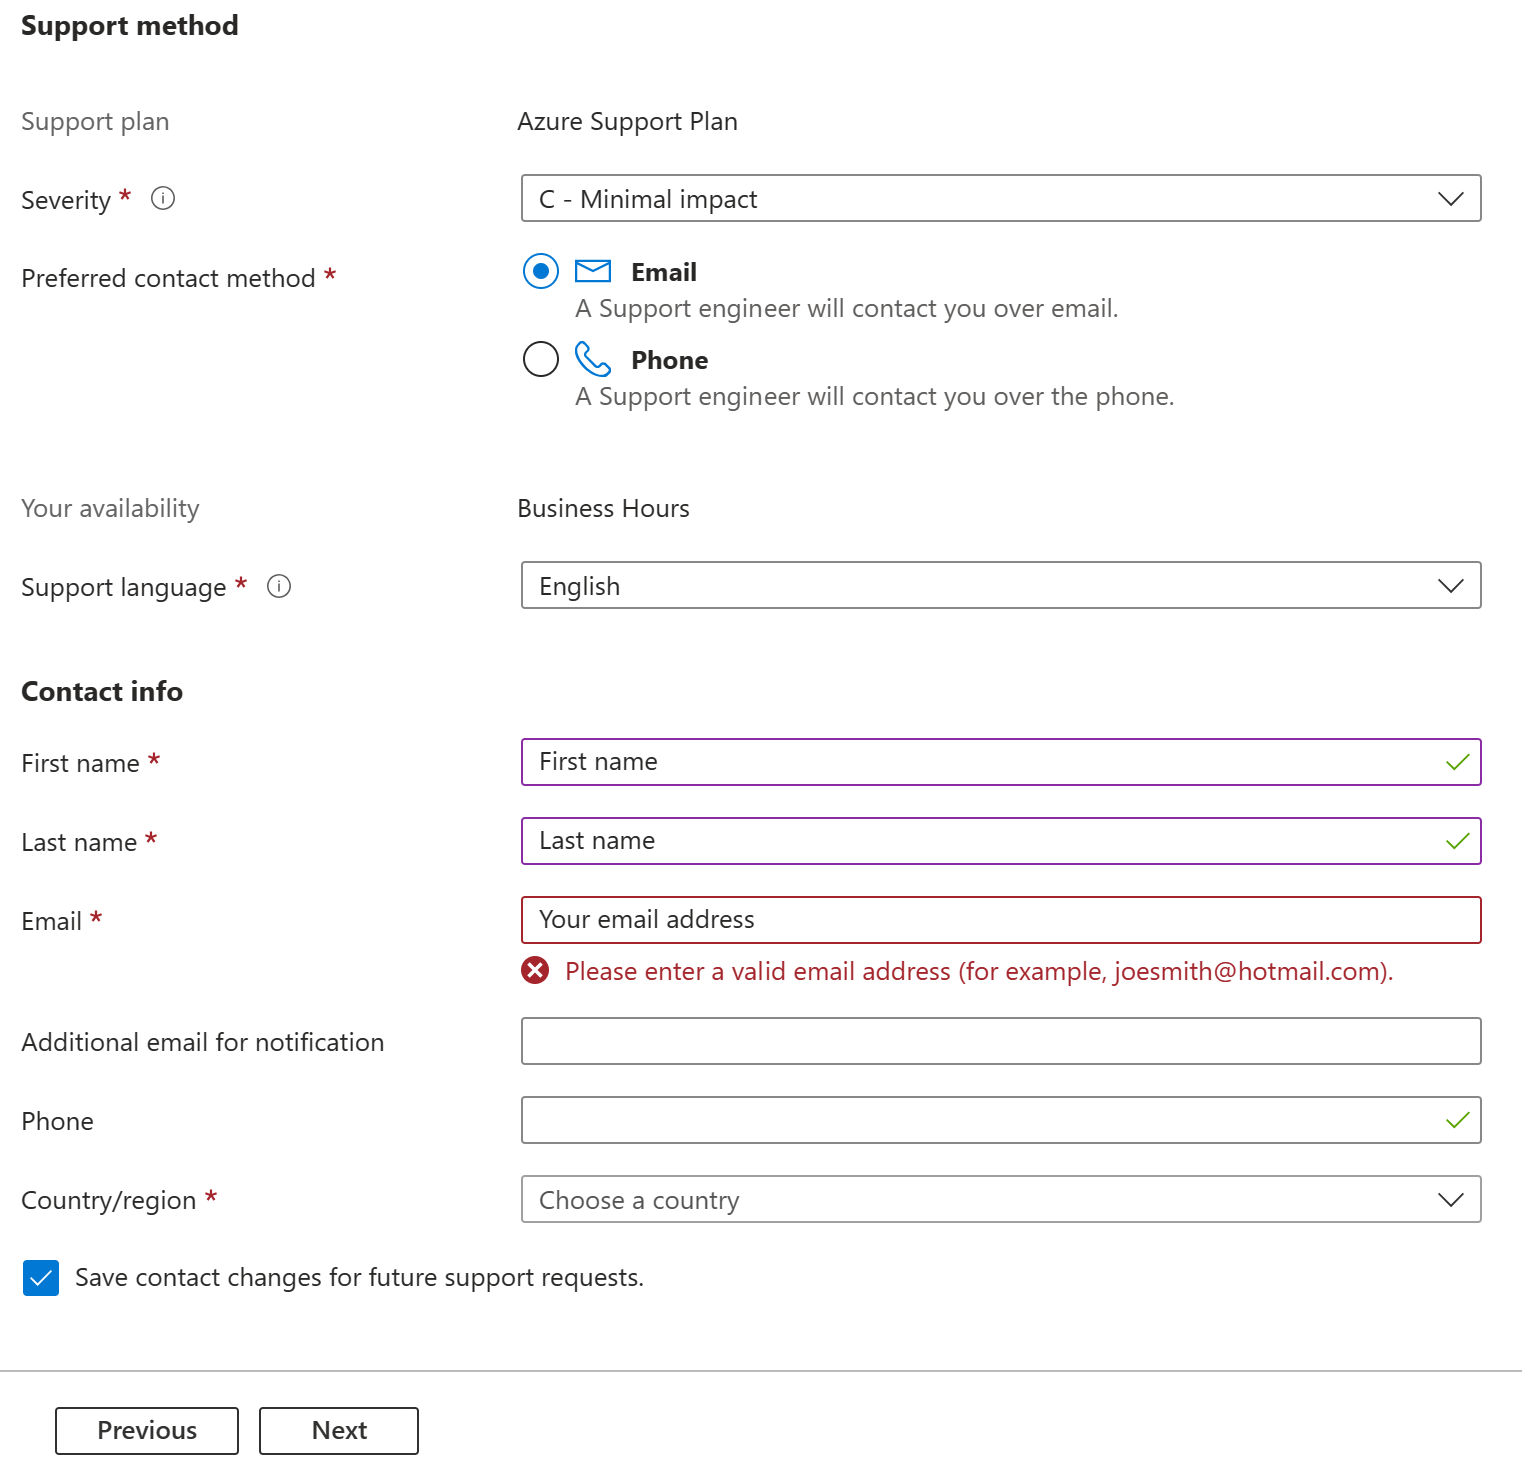
Scroll down and fill in your preferred support method of contact:
Select Next. Review the information you submitted. If anything is incorrect, select Previous and correct it. When all looks correct, select Create.


