Note
Access to this page requires authorization. You can try signing in or changing directories.
Access to this page requires authorization. You can try changing directories.
In this quickstart, you incorporate Azure App Configuration into a .NET console app to centralize storage and management of application settings separate from your code.
Prerequisites
- An Azure account with an active subscription. Create one for free.
- An App Configuration store, as shown in the tutorial for creating a store.
- .NET SDK 6.0 or later - also available in the Azure Cloud Shell.
Add a key-value
Add the following key-value to the App Configuration store and leave Label and Content Type with their default values. For more information about how to add key-values to a store using the Azure portal or the CLI, go to Create a key-value.
| Key | Value |
|---|---|
| TestApp:Settings:Message | Data from Azure App Configuration |
Create a .NET console app
You can use the .NET command-line interface (CLI) to create a new .NET console app project. The advantage of using the .NET CLI over Visual Studio is that it's available across the Windows, macOS, and Linux platforms. Alternatively, use the preinstalled tools available in the Azure Cloud Shell.
Create a new folder for your project.
In the new folder, run the following command to create a new .NET console app project:
dotnet new console
Connect to an App Configuration store
You can connect to your App Configuration store using Microsoft Entra ID (recommended), or a connection string.
Add NuGet package references by running the following command:
dotnet add package Microsoft.Extensions.Configuration.AzureAppConfiguration dotnet add package Azure.IdentityRun the following command to restore packages for your project:
dotnet restoreOpen the Program.cs file, and add the following namespaces:
using Microsoft.Extensions.Configuration; using Microsoft.Extensions.Configuration.AzureAppConfiguration; using Azure.Identity;Connect to your App Configuration store by calling the
AddAzureAppConfigurationmethod in theProgram.csfile.You use the
DefaultAzureCredentialto authenticate to your App Configuration store. Follow the instructions to assign your credential the App Configuration Data Reader role. Be sure to allow sufficient time for the permission to propagate before running your application.var builder = new ConfigurationBuilder(); builder.AddAzureAppConfiguration(options => { string endpoint = Environment.GetEnvironmentVariable("Endpoint"); options.Connect(new Uri(endpoint), new DefaultAzureCredential()); }); var config = builder.Build(); Console.WriteLine(config["TestApp:Settings:Message"] ?? "Hello world!");
Build and run the app locally
Set an environment variable.
Set the environment variable named Endpoint to the endpoint of your App Configuration store found under the Overview of your store in the Azure portal.
If you use the Windows command prompt, run the following command and restart the command prompt to allow the change to take effect:
setx Endpoint "<endpoint-of-your-app-configuration-store>"If you use PowerShell, run the following command:
$Env:Endpoint = "<endpoint-of-your-app-configuration-store>"If you use macOS or Linux, run the following command:
export Endpoint='<endpoint-of-your-app-configuration-store>'Run the following command to build the console app:
dotnet buildAfter the build successfully completes, run the following command to run the app locally:
dotnet run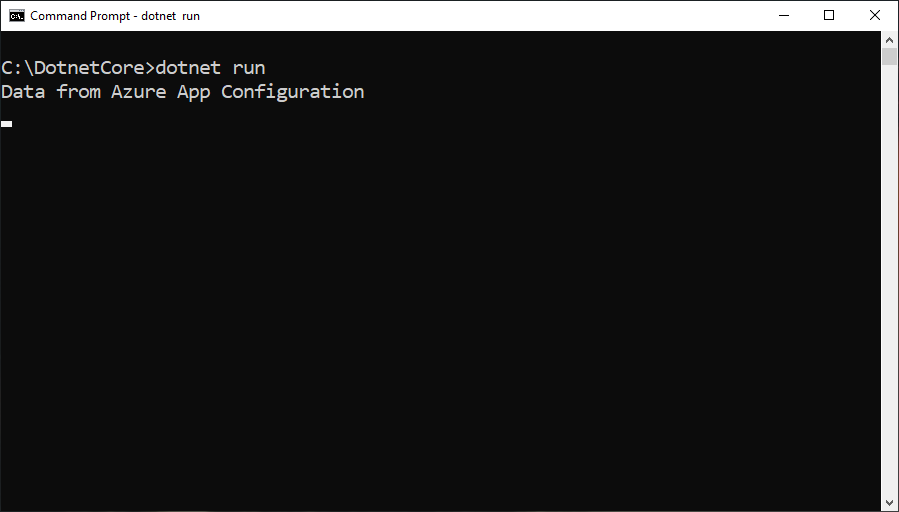
Clean up resources
If you don't want to continue using the resources created in this article, delete the resource group you created here to avoid charges.
Important
Deleting a resource group is irreversible. The resource group and all the resources in it are permanently deleted. Ensure that you don't accidentally delete the wrong resource group or resources. If you created the resources for this article inside a resource group that contains other resources you want to keep, delete each resource individually from its respective pane instead of deleting the resource group.
- Sign in to the Azure portal, and select Resource groups.
- In the Filter by name box, enter the name of your resource group.
- In the result list, select the resource group name to see an overview.
- Select Delete resource group.
- You're asked to confirm the deletion of the resource group. Enter the name of your resource group to confirm, and select Delete.
After a few moments, the resource group and all its resources are deleted.
Next steps
In this quickstart, you created a new App Configuration store and used it with a .NET console app via the App Configuration provider. To learn how to configure your .NET app to dynamically refresh configuration settings, continue to the next tutorial.