Note
Access to this page requires authorization. You can try signing in or changing directories.
Access to this page requires authorization. You can try changing directories.
In this quickstart, you'll create a feature flag in Azure App Configuration and use it to dynamically control the visibility of a new web page in an ASP.NET Core app running in AKS without restarting or redeploying it.
Prerequisites
Follow the documents to use dynamic configuration in Azure Kubernetes Service.
- Quickstart: Use Azure App Configuration in Azure Kubernetes Service
- Tutorial: Use dynamic configuration in Azure Kubernetes Service
Create a feature flag
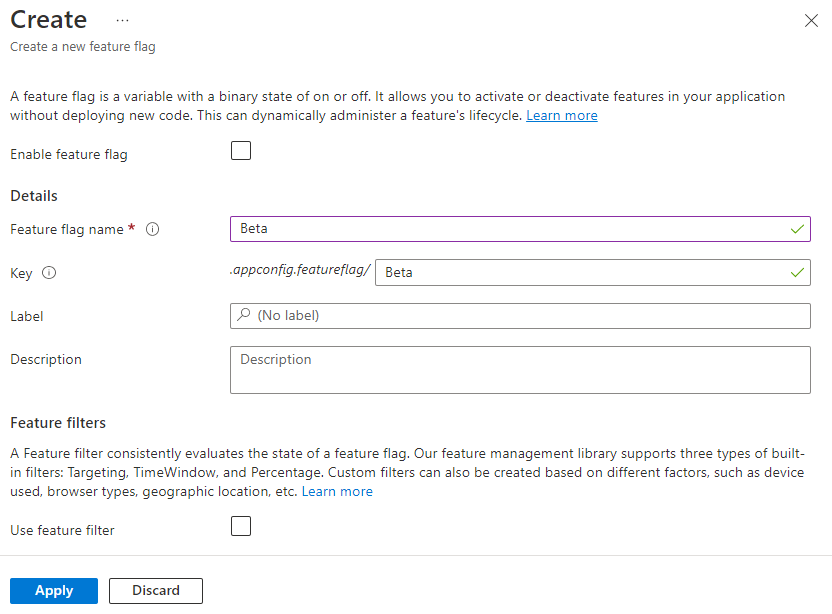
Add a feature flag called Beta to the App Configuration store and leave Label and Description with their default values. For more information about how to add feature flags to a store using the Azure portal or the CLI, go to Create a feature flag.
Use a feature flag
In this section, you will use feature flags in a simple ASP.NET web application and run it in Azure Kubernetes Service (AKS).
Navigate into the project's directory you created in the Quickstart, and run the following command to add a reference to the Microsoft.FeatureManagement.AspNetCore NuGet package version 3.2.0 or later.
dotnet add package Microsoft.FeatureManagement.AspNetCoreOpen program.cs, and add feature management to the service collection of your app by calling
AddFeatureManagement.// Existing code in Program.cs // ... ... // Add a JSON configuration source builder.Configuration.AddJsonFile("config/mysettings.json", reloadOnChange: true, optional: false); // Add feature management to the container of services. builder.Services.AddFeatureManagement(); var app = builder.Build(); // The rest of existing code in program.cs // ... ...Add
using Microsoft.FeatureManagement;at the top of the file if it's not present.Add a new empty Razor page named Beta under the Pages directory. It includes two files Beta.cshtml and Beta.cshtml.cs.
Open Beta.cshtml, and update it with the following markup:
@page
@model MyWebApp.Pages.BetaModel
@{
    ViewData["Title"] = "Beta Page";
}

<h1>This is the beta website.</h1>
Open Beta.cshtml.cs, and add
FeatureGateattribute to theBetaModelclass. TheFeatureGateattribute ensures the Beta page is accessible only when the Beta feature flag is enabled. If the Beta feature flag isn't enabled, the page will return 404 Not Found.using Microsoft.AspNetCore.Mvc.RazorPages; using Microsoft.FeatureManagement.Mvc; namespace MyWebApp.Pages { [FeatureGate("Beta")] public class BetaModel : PageModel { public void OnGet() { } } }Open Pages/_ViewImports.cshtml, and register the feature manager Tag Helper using an
@addTagHelperdirective:@addTagHelper *, Microsoft.FeatureManagement.AspNetCoreThe preceding code allows the
<feature>Tag Helper to be used in the project's .cshtml files.Open _Layout.cshtml in the Pages\Shared directory. Insert a new
<feature>tag in between the Home and Privacy navbar items, as shown in the highlighted lines below.<div class="navbar-collapse collapse d-sm-inline-flex flex-sm-row-reverse"> <ul class="navbar-nav flex-grow-1"> <li class="nav-item"> <a class="nav-link text-dark" asp-area="" asp-page="/Index">Home</a> </li> <feature name="Beta"> <li class="nav-item"> <a class="nav-link text-dark" asp-area="" asp-page="/Beta">Beta</a> </li> </feature> <li class="nav-item"> <a class="nav-link text-dark" asp-area="" asp-page="/Privacy">Privacy</a> </li> </ul> </div>The
<feature>tag ensures the Beta menu item is shown only when the Beta feature flag is enabled.Containerize the application and Push the image to Azure Container Registry.
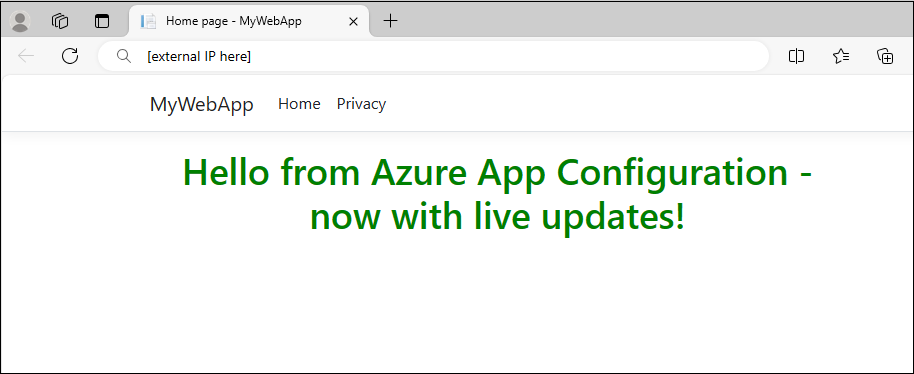
Deploy the application. Refresh the browser and the web page will look like this:
Use Kubernetes Provider to load feature flags
Update the appConfigurationProvider.yaml file located in the Deployment directory with the following content.
apiVersion: azconfig.io/v1
kind: AzureAppConfigurationProvider
metadata:
  name: appconfigurationprovider-sample
spec:
  endpoint: <your-app-configuration-store-endpoint>
  target:
    configMapName: configmap-created-by-appconfig-provider
    configMapData:
      type: json
      key: mysettings.json
  auth:
    workloadIdentity:
      managedIdentityClientId: <your-managed-identity-client-id>
  featureFlag:
    selectors:
      - keyFilter: 'Beta'
    refresh:
      enabled: true
Tip
When no
selectorsare specified infeatureFlagsection, the Kubernetes Provider will not load feature flags from your App Configuration store. The default refresh interval of feature flags is 30 seconds whenfeatureFlag.refreshenabled. You can customize this behavior via thefeatureFlag.refresh.intervalparameter.Run the following command to apply the changes.
kubectl apply -f ./Deployment -n appconfig-demoUpdate the Beta feature flag in your App Configuration store. Enable the flag by selecting the checkbox under Enabled.
After refreshing the browser multiple times, the updated content will become visible once the ConfigMap has been updated within 30 seconds.
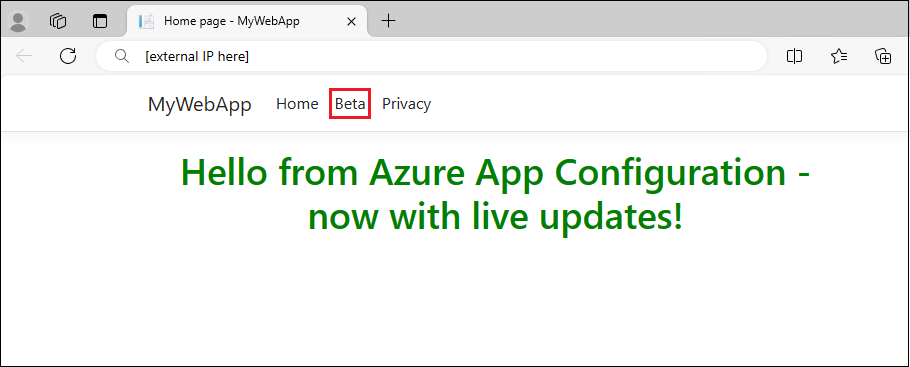
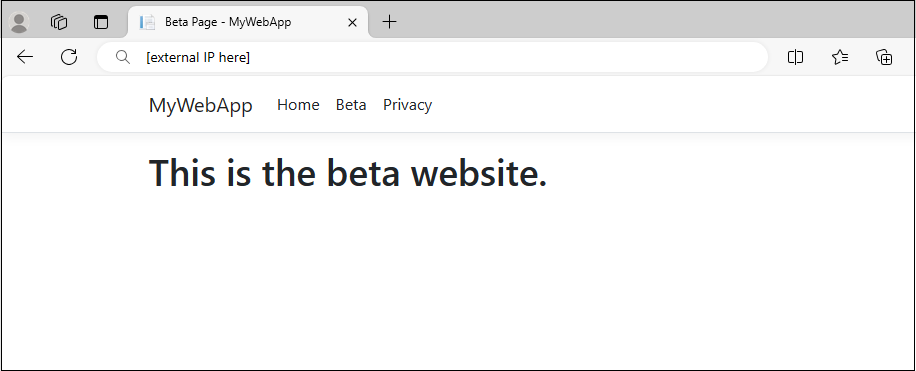
Select the Beta menu. It will bring you to the beta website that you enabled dynamically.
Clean up resources
Uninstall the App Configuration Kubernetes Provider from your AKS cluster if you want to keep the AKS cluster.
helm uninstall azureappconfiguration.kubernetesprovider --namespace azappconfig-system
If you don't want to continue using the resources created in this article, delete the resource group you created here to avoid charges.
Important
Deleting a resource group is irreversible. The resource group and all the resources in it are permanently deleted. Ensure that you don't accidentally delete the wrong resource group or resources. If you created the resources for this article inside a resource group that contains other resources you want to keep, delete each resource individually from its respective pane instead of deleting the resource group.
- Sign in to the Azure portal, and select Resource groups.
- In the Filter by name box, enter the name of your resource group.
- In the result list, select the resource group name to see an overview.
- Select Delete resource group.
- You're asked to confirm the deletion of the resource group. Enter the name of your resource group to confirm, and select Delete.
After a few moments, the resource group and all its resources are deleted.
Next steps
In this quickstart, you:
- Added feature management capability to an ASP.NET Core app running in Azure Kubernetes Service (AKS).
- Connected your AKS cluster to your App Configuration store using the App Configuration Kubernetes Provider.
- Created a ConfigMap with key-values and feature flags from your App Configuration store.
- Ran the application with dynamic configuration from your App Configuration store without changing your application code.
To learn more about the Azure App Configuration Kubernetes Provider, see Azure App Configuration Kubernetes Provider reference.
To learn more about feature management capability, continue to the following tutorial.