Note
Access to this page requires authorization. You can try signing in or changing directories.
Access to this page requires authorization. You can try changing directories.
For your Edge RAG deployment, register an application, create app roles, and assign users or groups in Microsoft Entra ID. This article is part of the deployment prerequisites checklist.
Important
Edge RAG Preview, enabled by Azure Arc is currently in PREVIEW. See the Supplemental Terms of Use for Microsoft Azure Previews for legal terms that apply to Azure features that are in beta, preview, or otherwise not yet released into general availability.
Configure authentication for the chat solution
Set up authentication to Edge RAG for AI application developers and for end users of the chat endpoint.
You might need to work with your Microsoft Entra or cloud administrator to configure authentication.
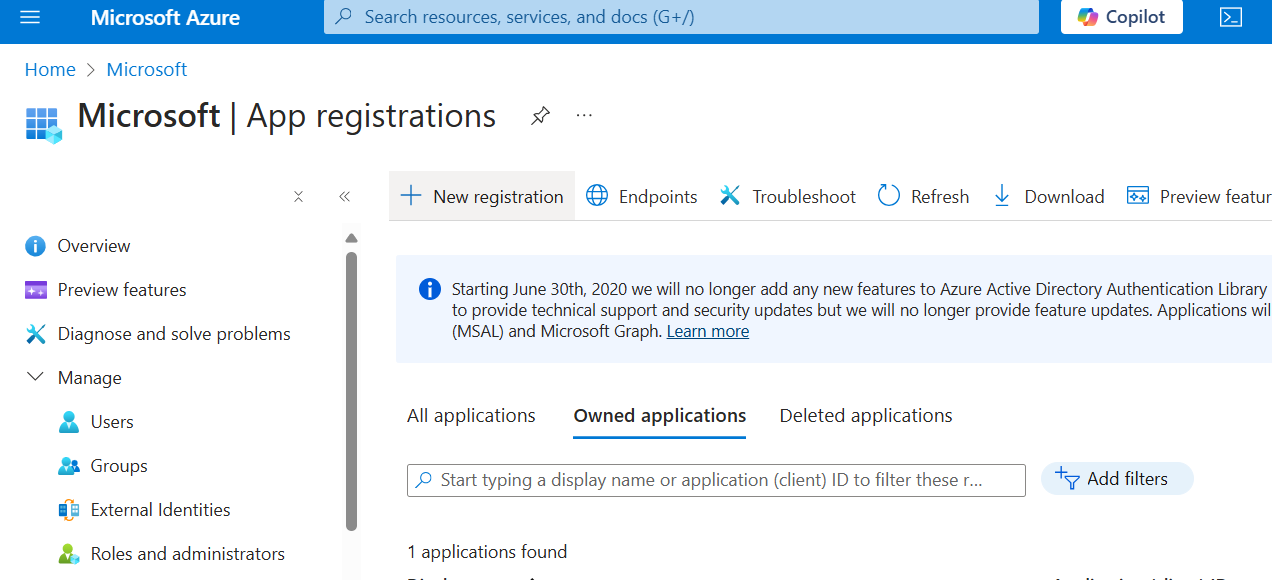
In the Azure portal, go to Microsoft Entra ID.
Go to the appropriate tenant and select Manage > App registrations.
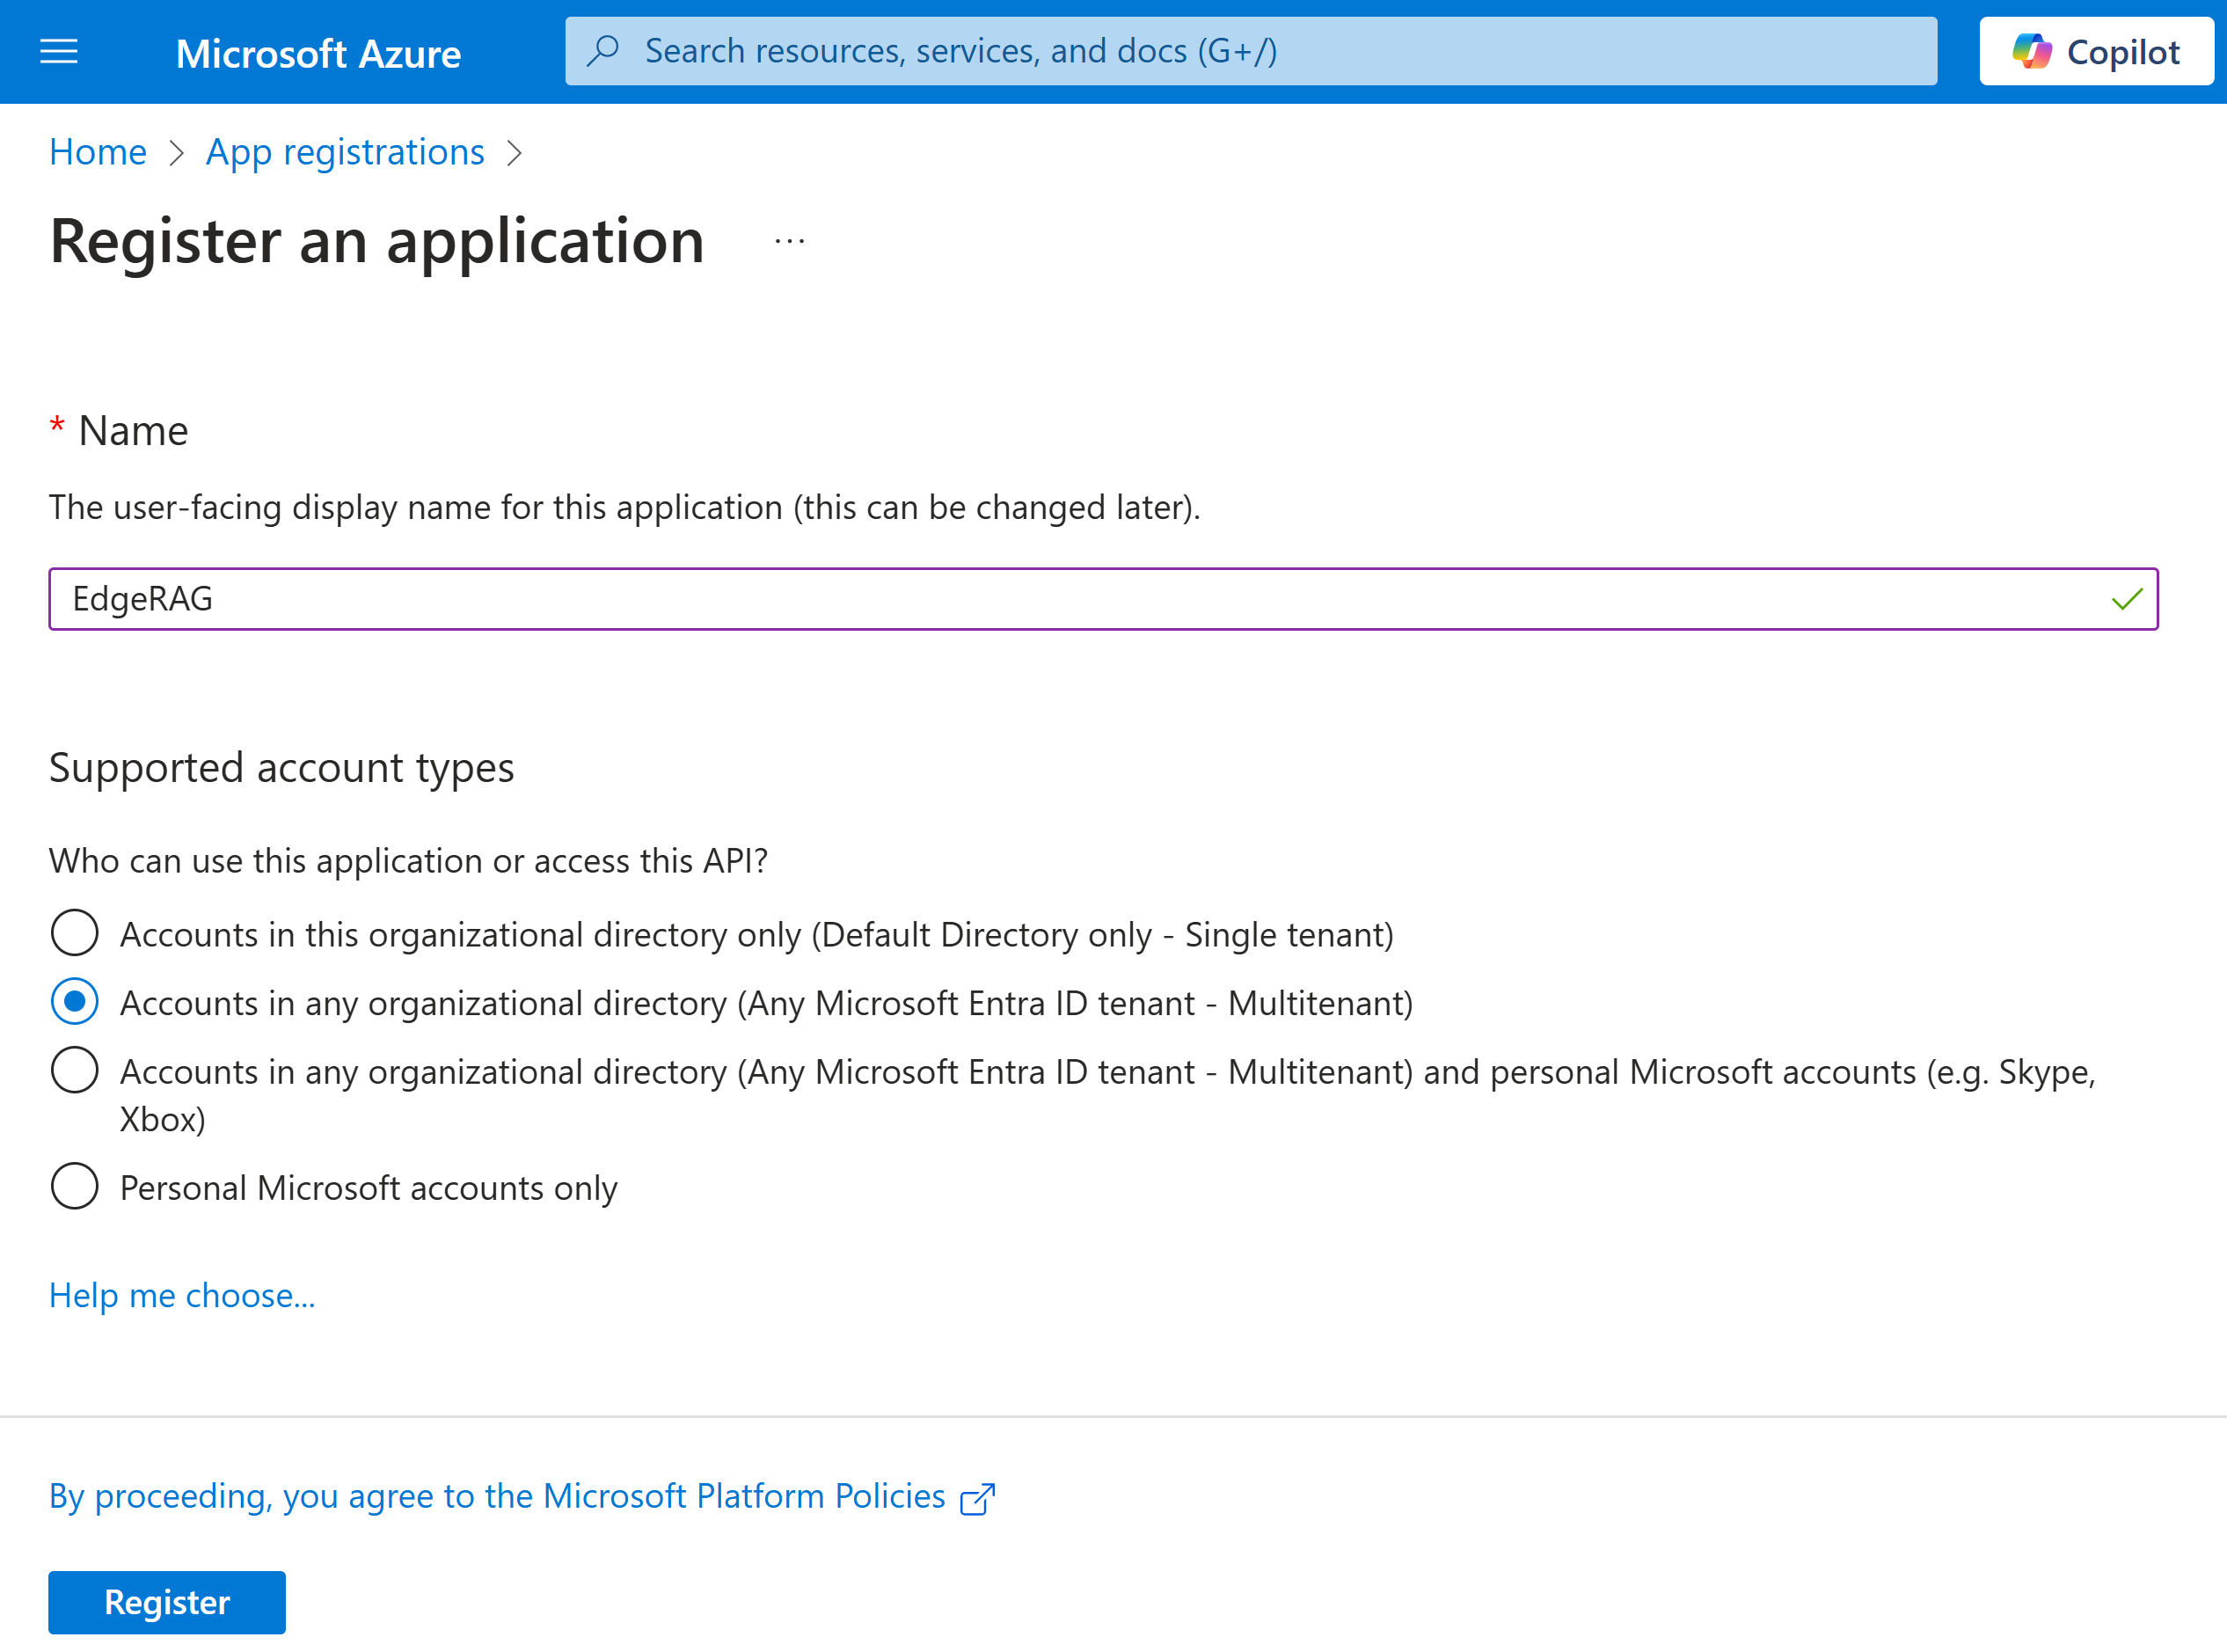
Select New registration to create an application registration.
Enter EdgeRAG for Name.
Select Accounts in any organizational directory (Any Microsoft Entra ID tenant - Multitenant).
Select Register.
After the application is registered, go to the registration and select Manage > Authentication.
Select Add a platform > Single-page application.
Specify your domain name appended with /authorizing (for example,
arcrag.contoso.com/authorizing) as the Redirect URIs.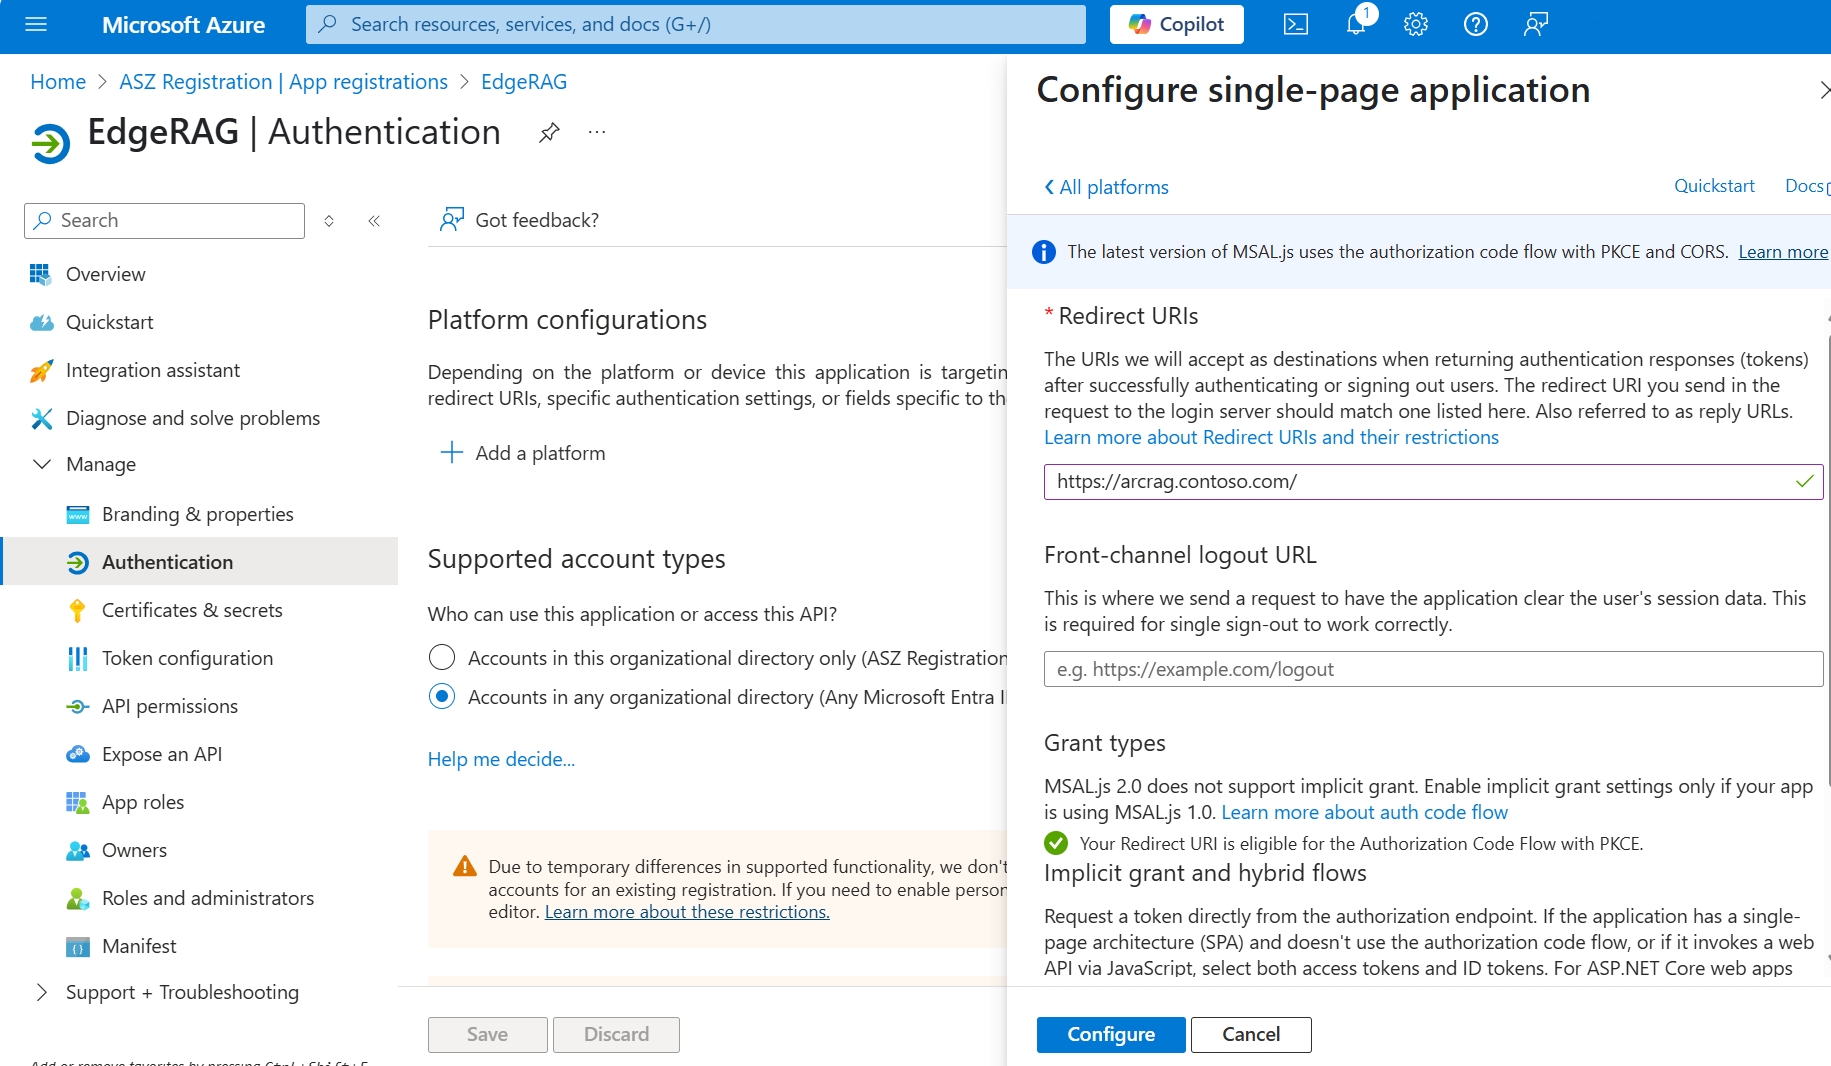
Select Configure.
For Supported account types, select Accounts in any organizational directory (Any Microsoft Entra ID tenant - Multitenant).

Select + Add a platform > Mobile and desktop applications.
For Redirect URIs, select
https://login.microsoftonline.com/common/oauth2/nativeclient.Select Configure.
On the left-hand side menu, under Manage, select App roles.
Create two app roles. One for EdgeRAGDeveloper and another for EdgeRAGEndUser. Use the appropriate values listed in the table that follows the image.
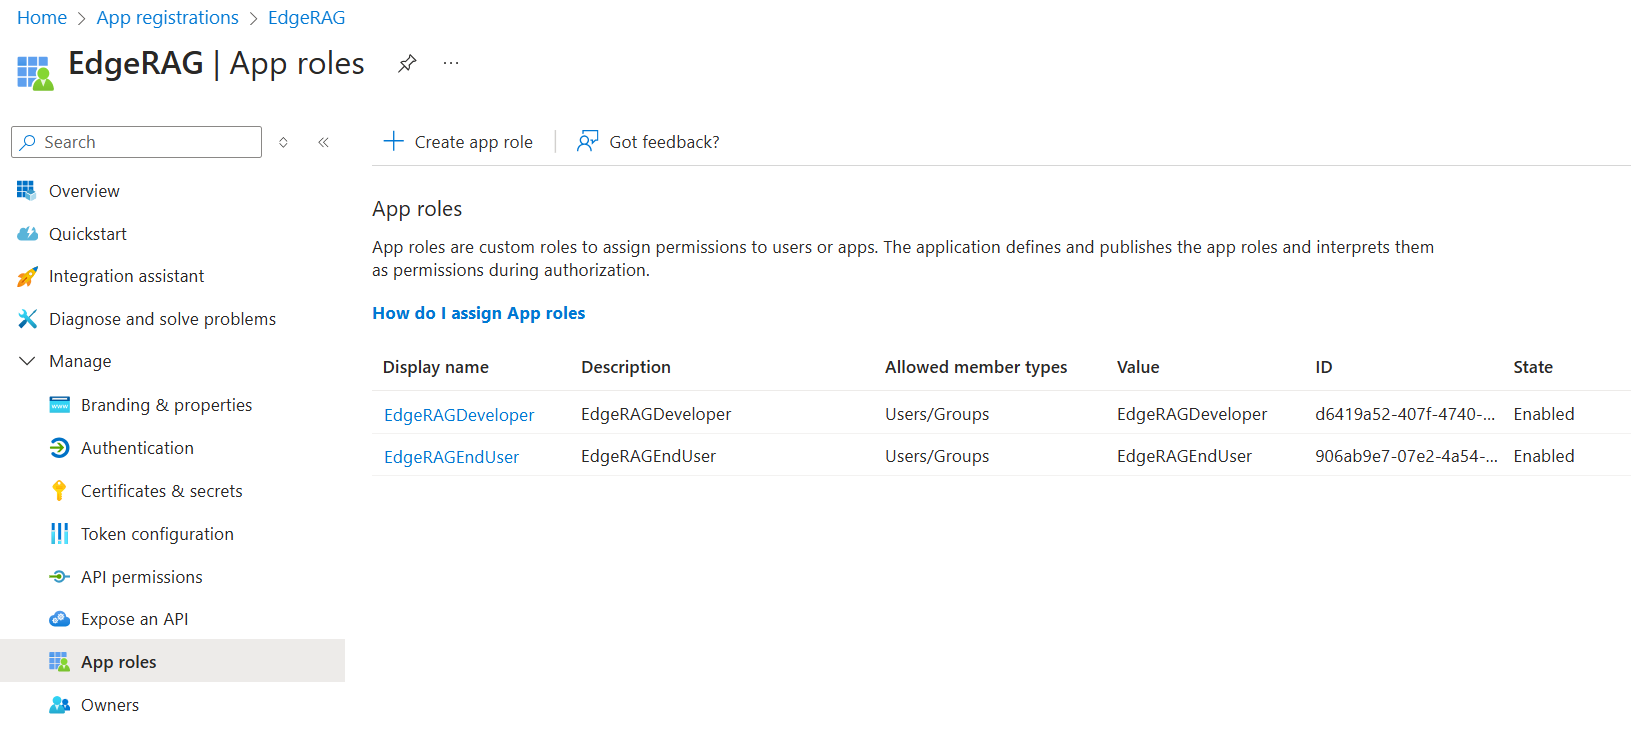
Field Value Display name EdgeRAGDeveloper or EdgeRAGEndUser Allowed member types User/Groups Value EdgeRAGDeveloper or EdgeRAGEndUser Description EdgeRAGDeveloper or EdgeRAGEndUser Do you want to enable this app role? Checked When complete, close the App roles page.
To assign users or groups to the role you created, on the tenant's left-hand side menu, under Manage, select Enterprise applications.
Search for and select the EdgeRag application you created.
Go to Manage > Properties.
Disable Assignment Required.
On the left-hand side menu, select Users and groups > Add user/group.
Select users and/or groups and assign EdgeRAGDeveloper or EdgeRAGEndUser role as appropriate.
