How to upgrade an existing Redis 4 cache to Redis 6
Azure Cache for Redis supports upgrading the version of your Azure Cache for Redis from Redis 4 to Redis 6. Upgrading is similar to regular monthly maintenance. Upgrading follows the same pattern as maintenance: First, the Redis version on the replica node is updated, followed by an update to the primary node. Your client application should treat the upgrade operation exactly like a planned maintenance event.
As a precautionary step, we recommend exporting the data from your existing Redis 4 cache and testing your client application with a Redis 6 cache in a lower environment before upgrading.
For more information on how to export, see Import and Export data in Azure Cache for Redis.
Important
As announced in What's new, we'll retire version 4 for Azure Cache for Redis instances on June 30, 2023. Before that date, you need to upgrade any of your cache instances to version 6.
For more information on the retirement of Redis 4, see Retirements and Frequently asked questions
Prerequisites
- Azure subscription - create one for free
Limitations
- When you upgrade a cache in the Basic tier, it's unavailable for several minutes and results in data loss.
- Upgrading on geo-replicated cache isn't supported. You must manually unlink the cache instances before upgrading.
- Upgrading a cache with a dependency on Cloud Services isn't supported. You should migrate your cache instance to Virtual Machine Scale Set before upgrading.
- For more information, see Caches with a dependency on Cloud Services (classic) for details on cloud services hosted caches.
- When trying to upgrade to Redis 6, your VNet must be configured in accord with the requirements. Your upgrade might fail or the cache might not function properly after the upgrade if not configured correctly.
- For more information on the VNet requirements, see What are some common misconfiguration issues with Azure Cache for Redis and virtual networks.
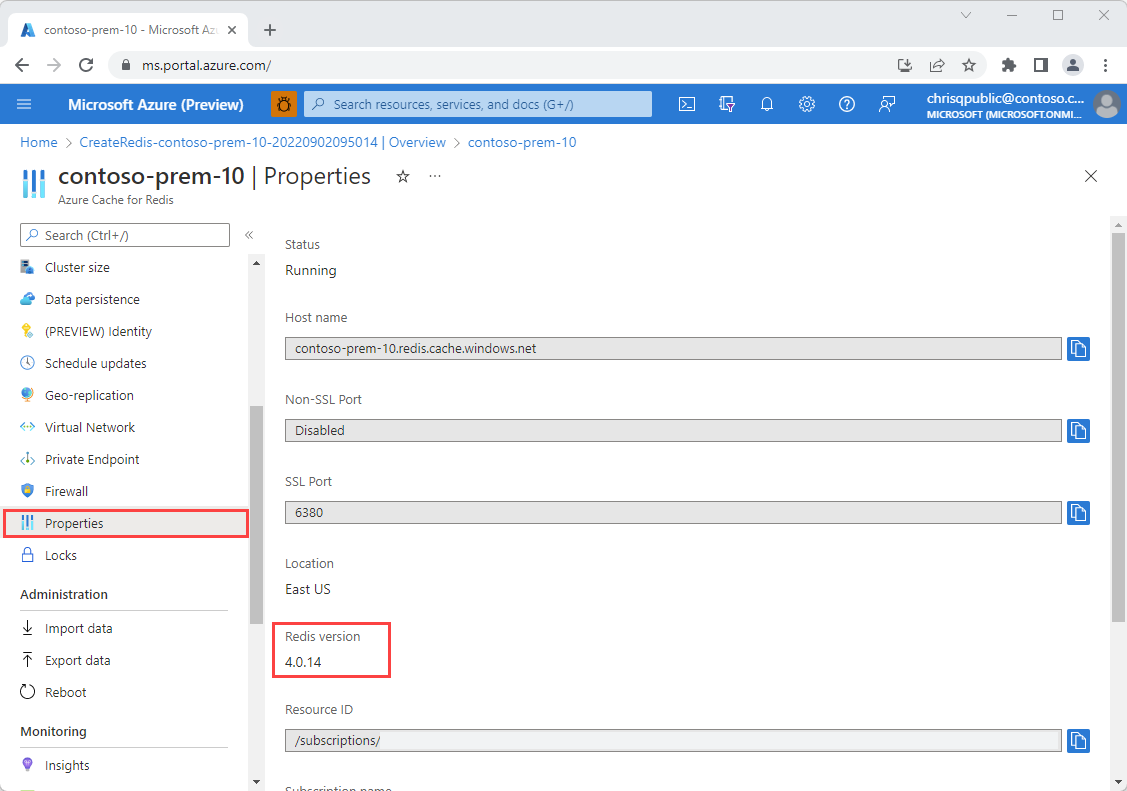
Check the version of a cache
Before you upgrade, check the Redis version of a cache by selecting Properties from the Resource menu of the Azure Cache for Redis. We recommend you use Redis 6.
Upgrade using the Azure portal
In the Azure portal, select the Azure Cache for Redis instance that you want to upgrade from Redis 4 to Redis 6.
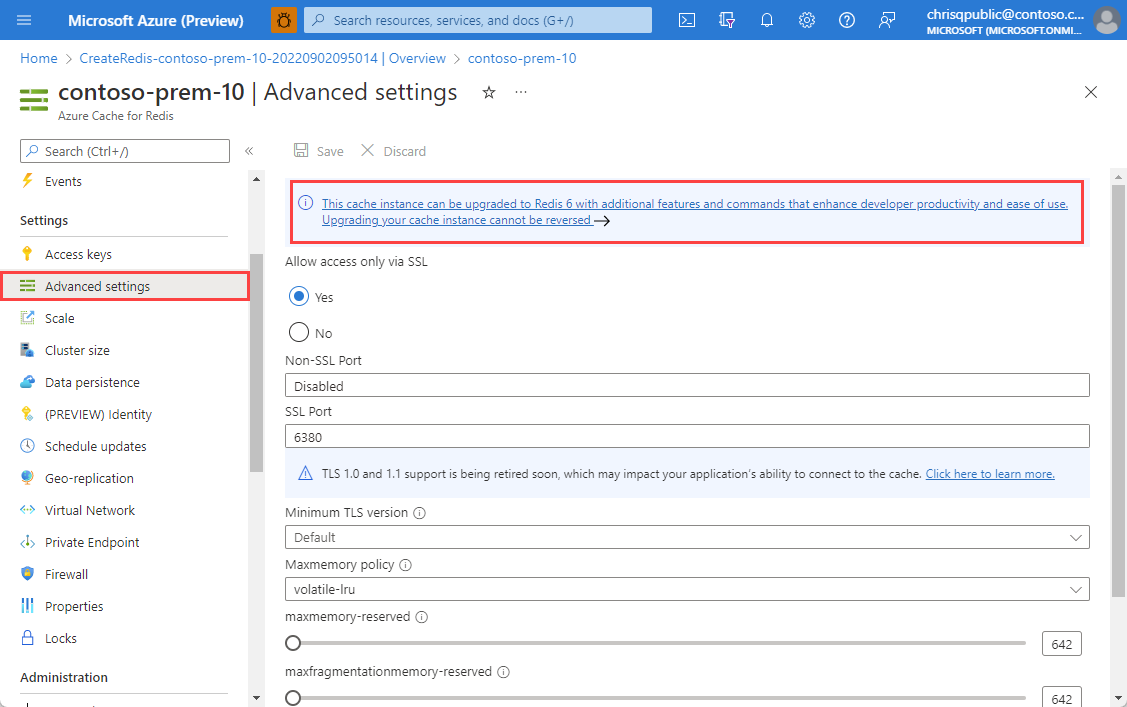
On the left side of the screen, select Advanced settings.
If your cache instance is eligible to be upgraded, you should see the following blue banner. If you want to proceed, select the text in the banner.
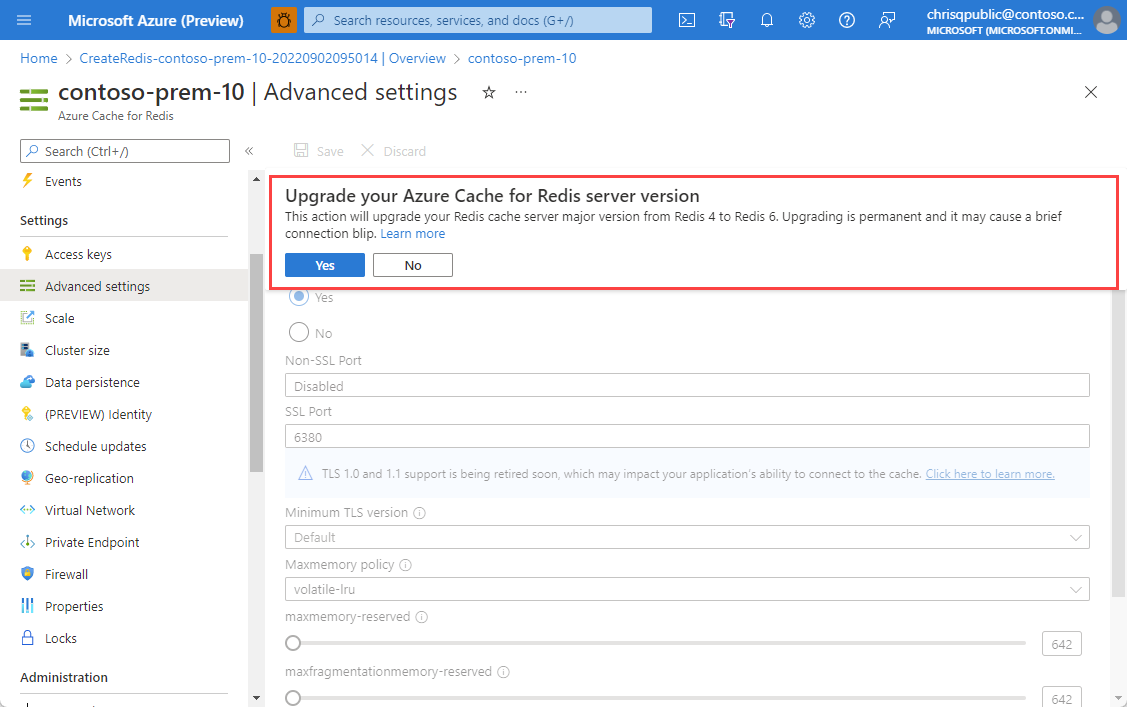
A dialog box displays a popup notifying you that upgrading is permanent and might cause a brief connection blip. Select Yes if you would like to upgrade your cache instance.
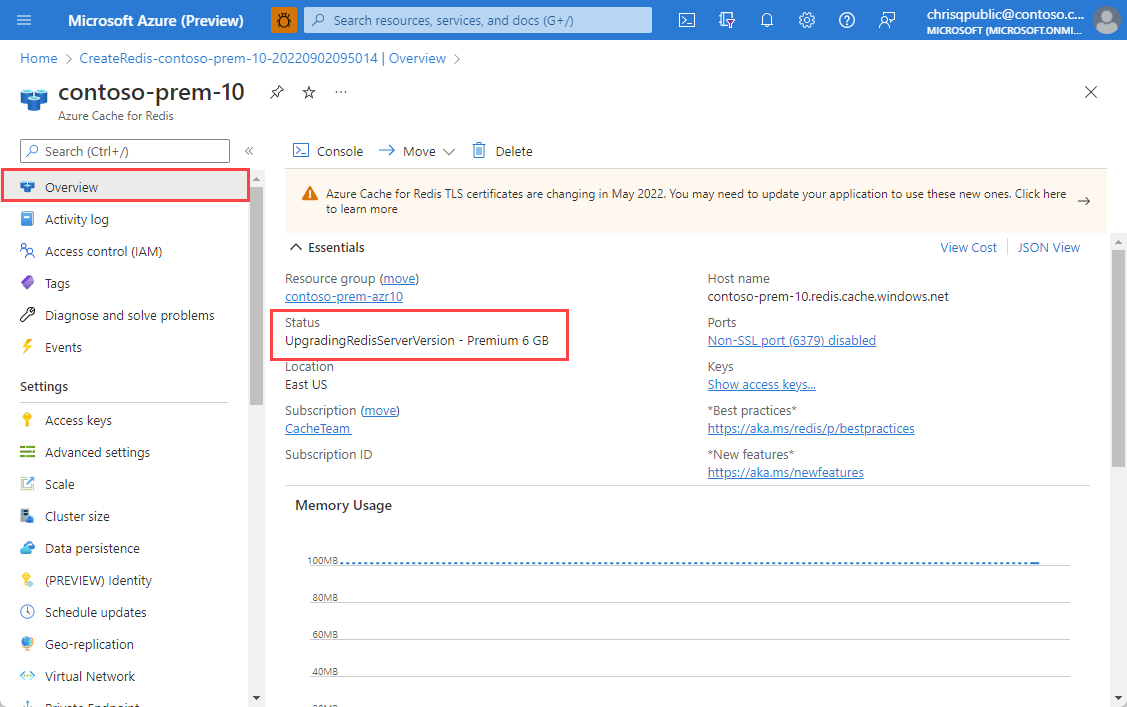
To check on the status of the upgrade, navigate to Overview.
Upgrade using Azure CLI
To upgrade a cache from 4 to 6 using the Azure CLI that is not using Private Endpoint, use the following command.
az redis update --name cacheName --resource-group resourceGroupName --set redisVersion=6
Private Endpoint
If Private Endpoint is enabled on the cache, use the command that is appropriate based on whether PublicNetworkAccess is enabled or disabled:
If PublicNetworkAccess is enabled:
az redis update --name <cacheName> --resource-group <resourceGroupName> --set publicNetworkAccess=Enabled redisVersion=6
If PublicNetworkAccess is disabled:
az redis update --name <cacheName> --resource-group <resourceGroupName> --set publicNetworkAccess=Disabled redisVersion=6
Upgrade using PowerShell
To upgrade a cache from 4 to 6 using PowerShell, use the following command:
Set-AzRedisCache -Name "CacheName" -ResourceGroupName "ResourceGroupName" -RedisVersion "6"
Next steps
- To learn more about Redis 6 features, see Diving Into Redis 6.0 by Redis
- To learn more about Azure Cache for Redis features: Azure Cache for Redis Premium service tiers
Feedback
Coming soon: Throughout 2024 we will be phasing out GitHub Issues as the feedback mechanism for content and replacing it with a new feedback system. For more information see: https://aka.ms/ContentUserFeedback.
Submit and view feedback for