Note
Access to this page requires authorization. You can try signing in or changing directories.
Access to this page requires authorization. You can try changing directories.
This article shows you how to use Java and IntelliJ to create an Azure function.
Specifically, this article shows you:
- How to create an HTTP-triggered Java function in an IntelliJ IDEA project.
- Steps for testing and debugging the project in the integrated development environment (IDE) on your own computer.
- Instructions for deploying the function project to Azure Functions.
Prerequisites
- An Azure account with an active subscription. Create an account for free.
- An Azure supported Java Development Kit (JDK), version 8, 11, 17 or 21. (Java 21 is currently supported on Linux only)
- An IntelliJ IDEA Ultimate Edition or Community Edition installed
- Maven 3.5.0+
- Latest Function Core Tools
Install plugin and sign in
To install the Azure Toolkit for IntelliJ and then sign in, follow these steps:
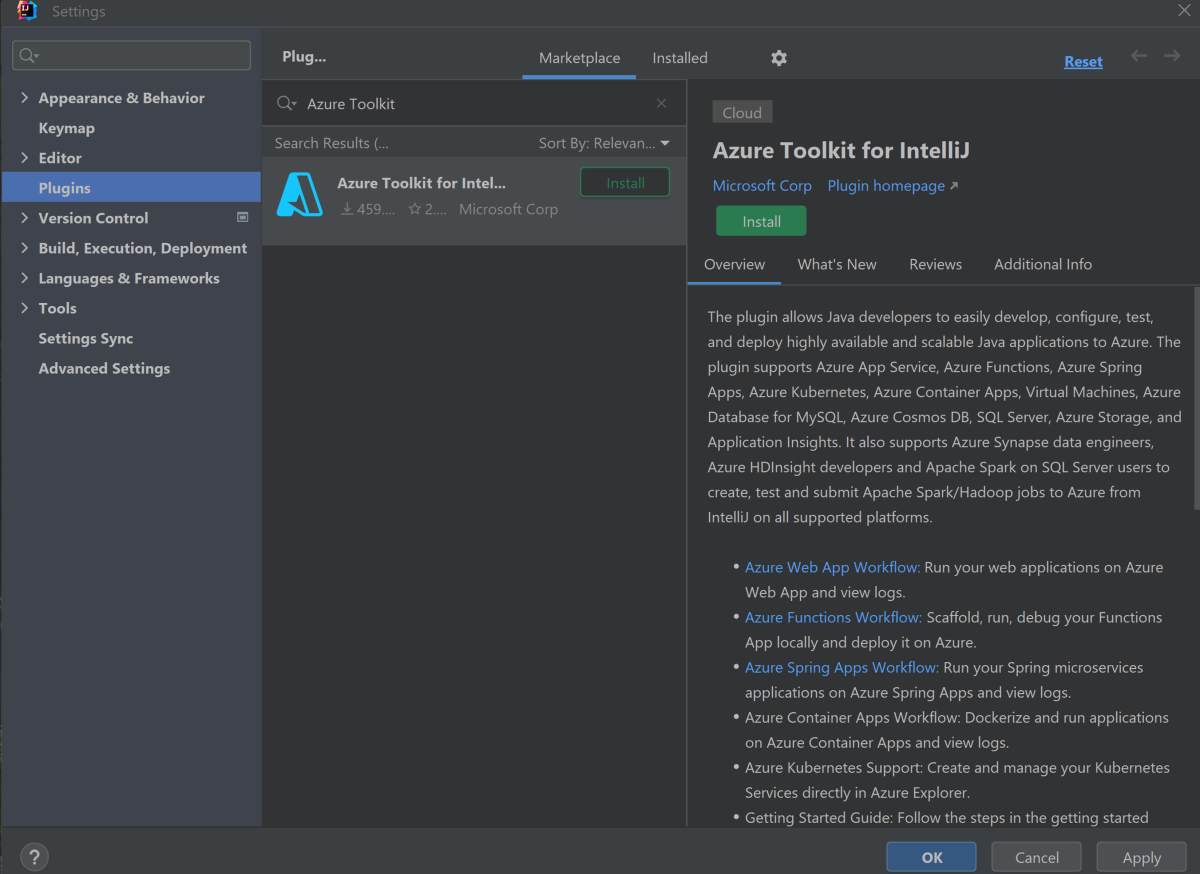
In IntelliJ IDEA's Settings/Preferences dialog (Ctrl+Alt+S), select Plugins. Then, find the Azure Toolkit for IntelliJ in the Marketplace and select Install. After it's installed, select Restart to activate the plugin.
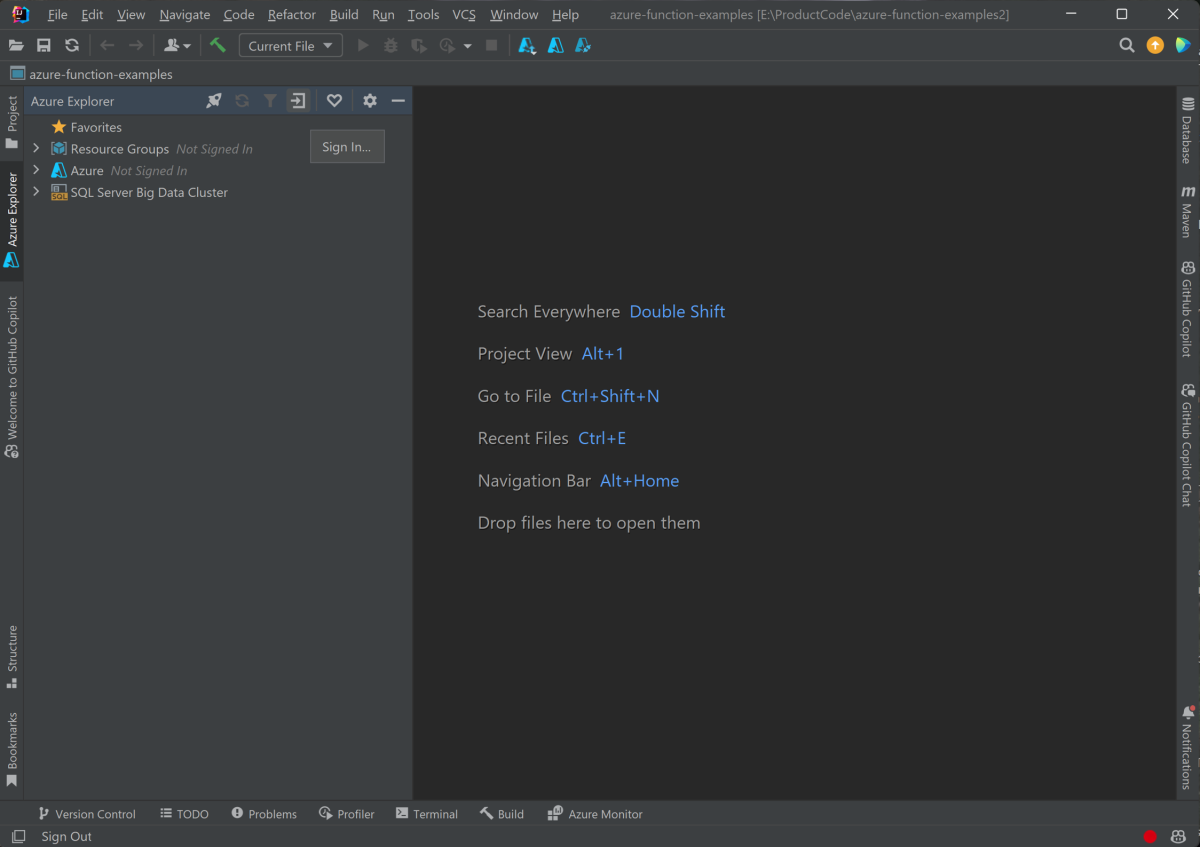
To sign in to your Azure account, open the Azure Explorer sidebar, and then select the Azure Sign In icon in the bar on top (or from the IDEA menu, select Tools > Azure > Azure Sign in).
In the Azure Sign In window, select OAuth 2.0, and then select Sign in. For other sign-in options, see Sign-in instructions for the Azure Toolkit for IntelliJ.

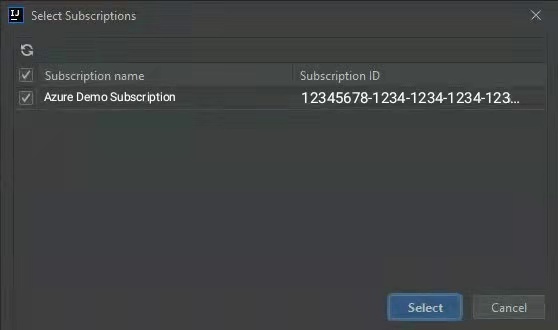
In the browser, sign in with your account and then go back to IntelliJ. In the Select Subscriptions dialog box, select the subscriptions that you want to use, then select Select.


Create your local project
To use Azure Toolkit for IntelliJ to create a local Azure Functions project, follow these steps:
Open IntelliJ IDEA's Welcome dialog, select New Project to open a new project wizard, then select Azure Functions.
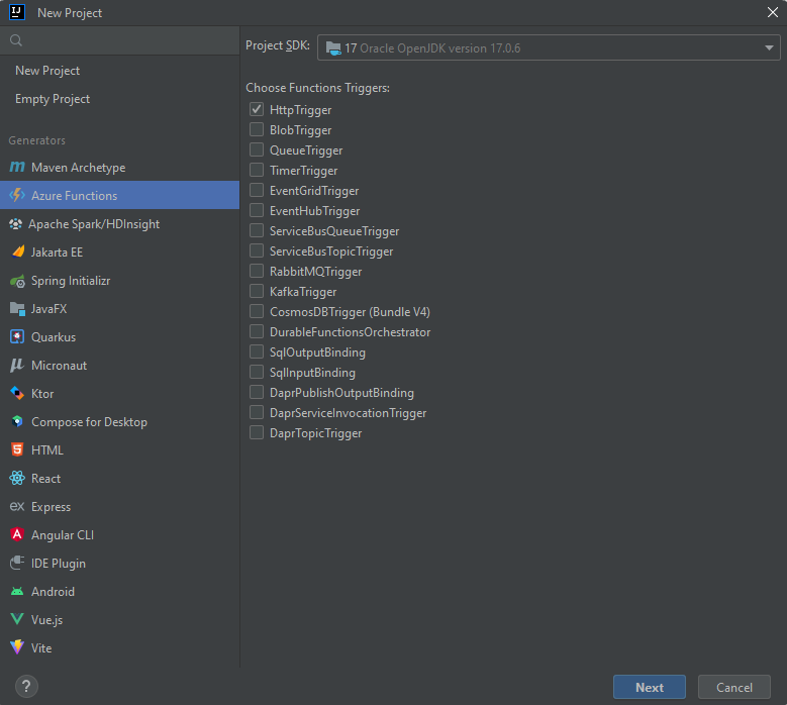
Select Http Trigger, then select Next and follow the wizard to go through all the configurations in the following pages. Confirm your project location, then select Finish. IntelliJ IDEA then opens your new project.


Run the project locally
To run the project locally, follow these steps:
Important
You must have the JAVA_HOME environment variable set correctly to the JDK directory that is used during code compiling using Maven. Make sure that the version of the JDK is at least as high as the Java.version setting.
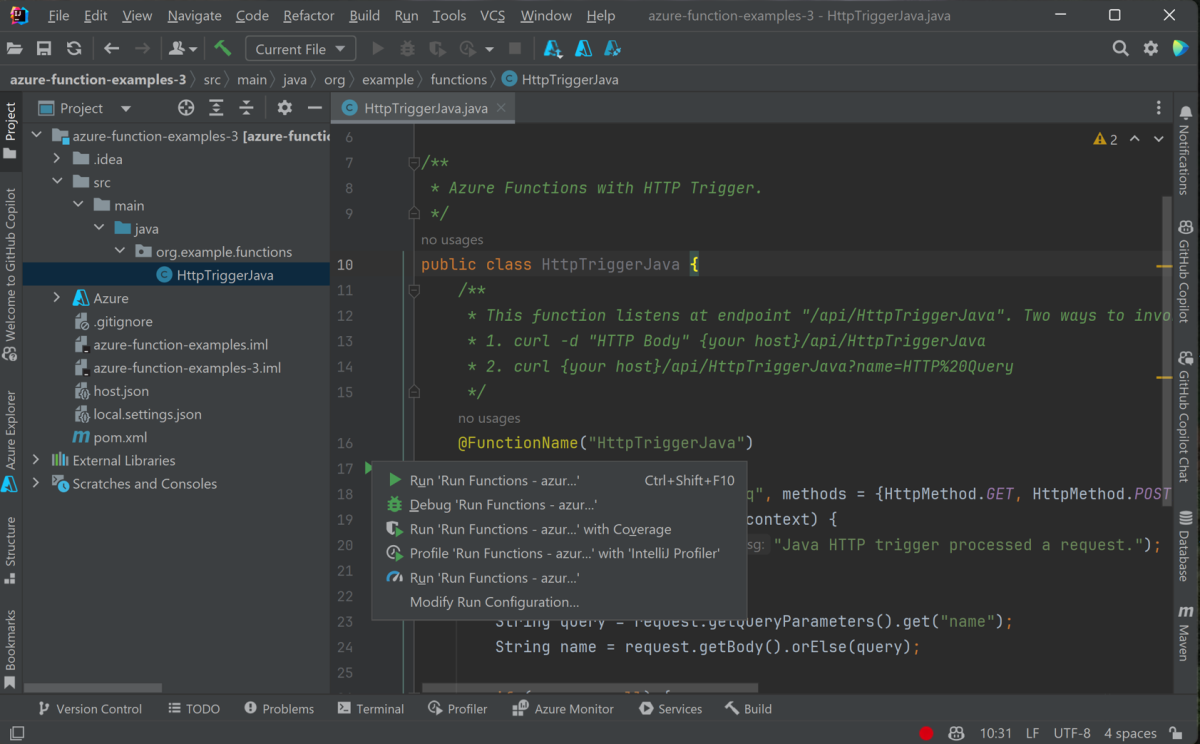
Navigate to src/main/java/org/example/functions/HttpTriggerJava.java to see the code generated. Beside line 17, you should see a green Run button. Select it and then select Run 'Functions-azur...'. You should see your function app running locally with a few logs.

You can try the function by accessing the displayed endpoint from browser, such as
http://localhost:7071/api/HttpTriggerJava?name=Azure.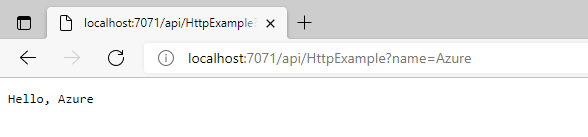
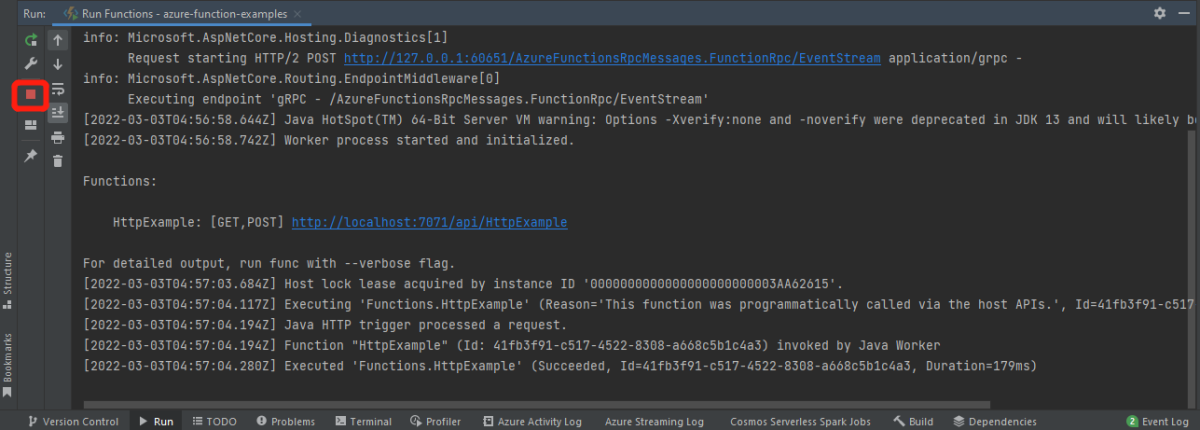
The log is also displayed in your IDEA. Stop the function app by selecting Stop.


Debug the project locally
To debug the project locally, follow these steps:
Select the Debug button in the toolbar. If you don't see the toolbar, enable it by choosing View > Appearance > Toolbar.

Select line 20 of the file src/main/java/org/example/functions/HttpTriggerJava.java to add a breakpoint. Access the endpoint
http://localhost:7071/api/HttpTriggerJava?name=Azureagain and you should find that the breakpoint is hit. You can then try more debug features like Step, Watch, and Evaluation. Stop the debug session by selecting Stop.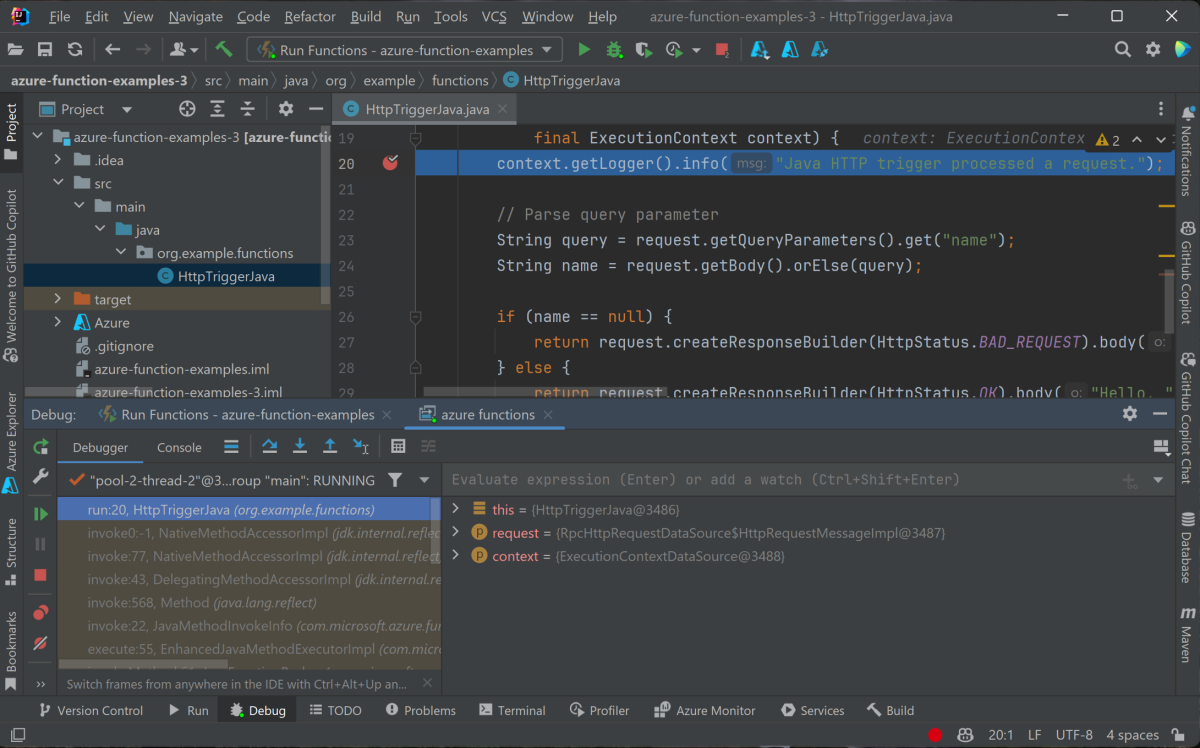


Create the function app in Azure
Use the following steps create a function app and related resources in your Azure subscription:
In Azure Explorer in your IDEA, right-click Function App and then select Create.
Select More Settings and provide the following information at the prompts:
Prompt Selection Subscription Choose the subscription to use. Resource Group Choose the resource group for your function app. Name Specify the name for a new function app. Here you can accept the default value. Platform Select Windows-Java 17 or another platform as appropriate. Region For better performance, choose a region near you. Hosting Options Choose the hosting options for your function app. Plan Choose the App Service plan pricing tier you want to use, or select + to create a new App Service plan. Important
To create your app in the Flex Consumption plan, select Flex Consumption. The Flex Consumption plan is currently in preview.
Select OK. A notification is displayed after your function app is created.
Deploy your project to Azure
To deploy your project to Azure, follow these steps:
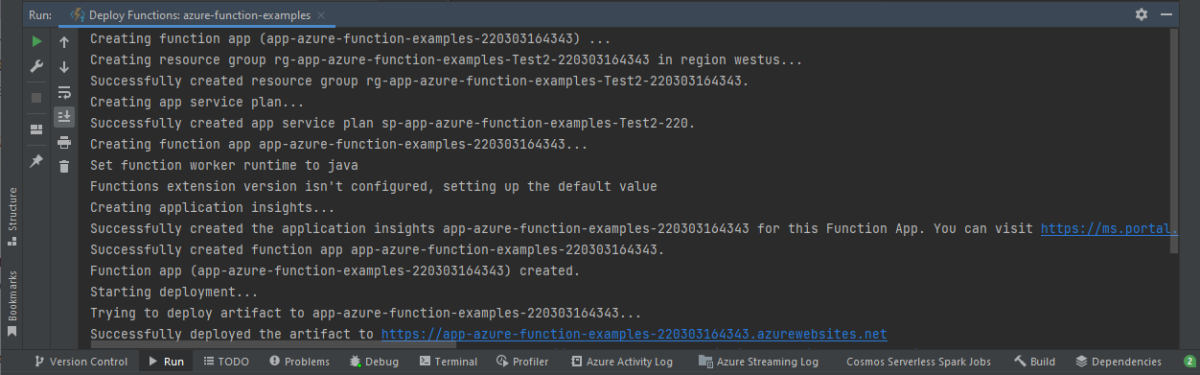
Select and expand the Azure icon in IntelliJ Project explorer, then select Deploy to Azure -> Deploy to Azure Functions.

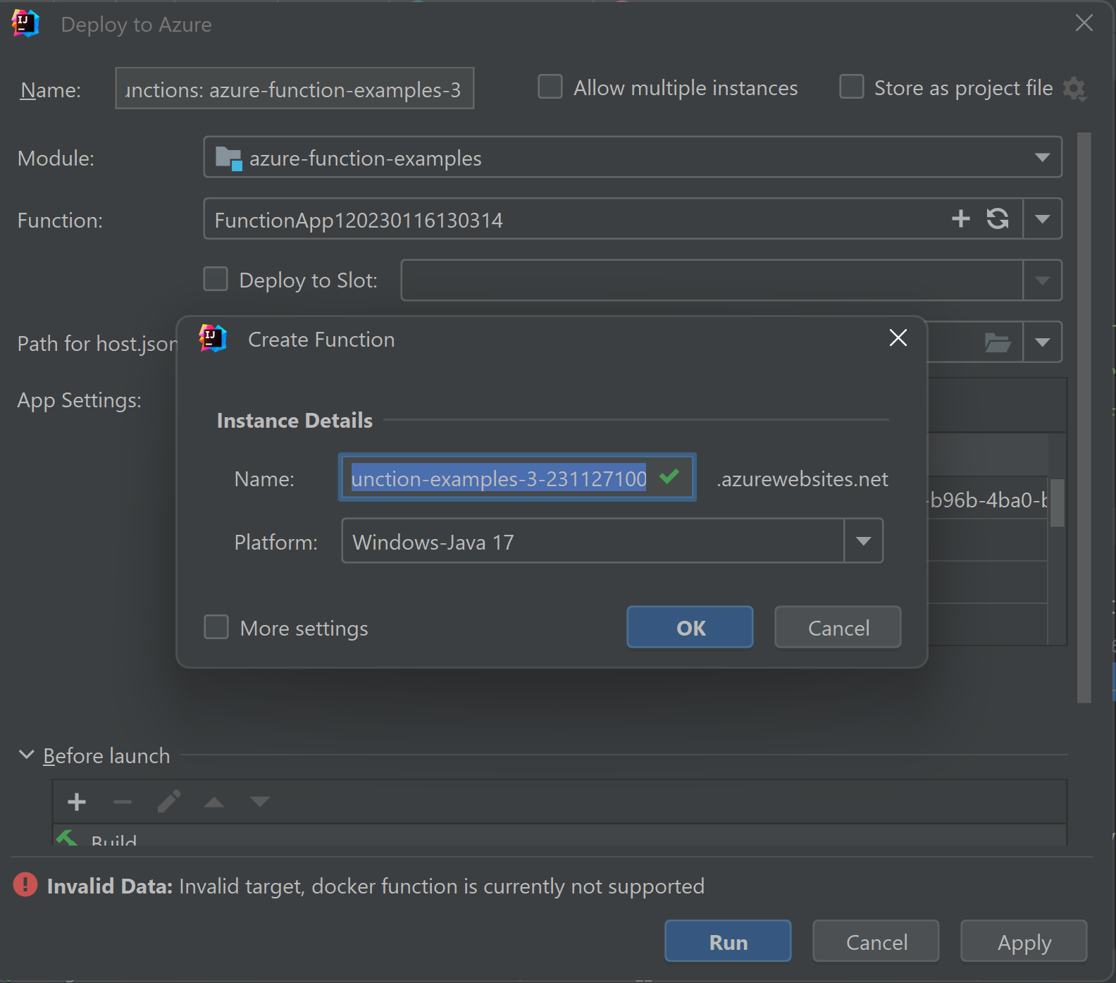
You can select the function app from the previous section. To create a new one, select + on the Function line. Type in the function app name and choose the proper platform. Here, you can accept the default value. Select OK and the new function app you created is automatically selected. Select Run to deploy your functions.


Manage function apps from IDEA
To manage your function apps with Azure Explorer in your IDEA, follow these steps:
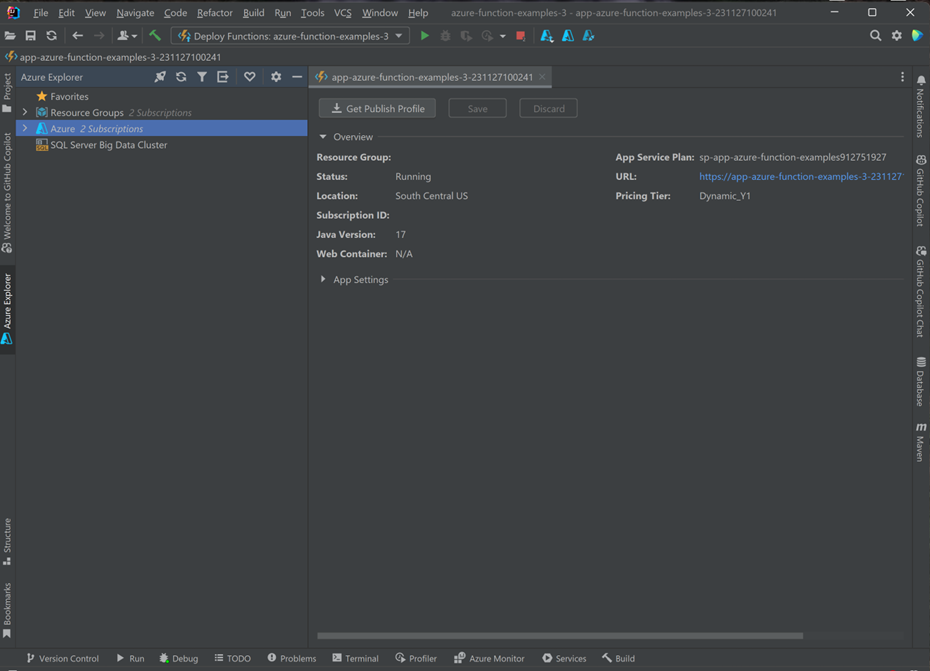
Select Function App to see all your function apps listed.

Select one of your function apps, then right-click and select Show Properties to open the detail page.
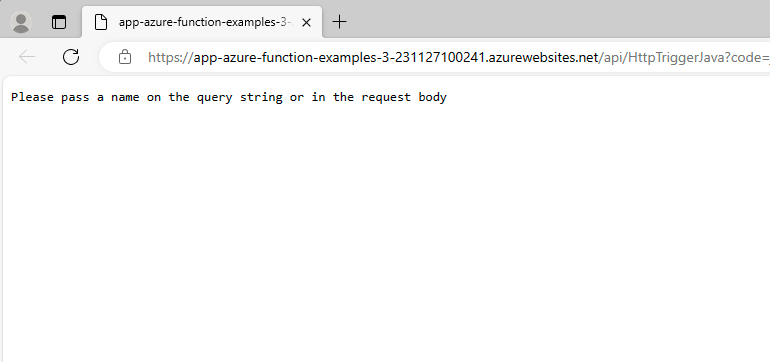
Right-click your HttpTrigger-Java function app, then select Trigger Function in Browser. You should see that the browser is opened with the trigger URL.


Add more functions to the project
To add more functions to your project, follow these steps:
Right-click the package org.example.functions and select New -> Azure Function Class.
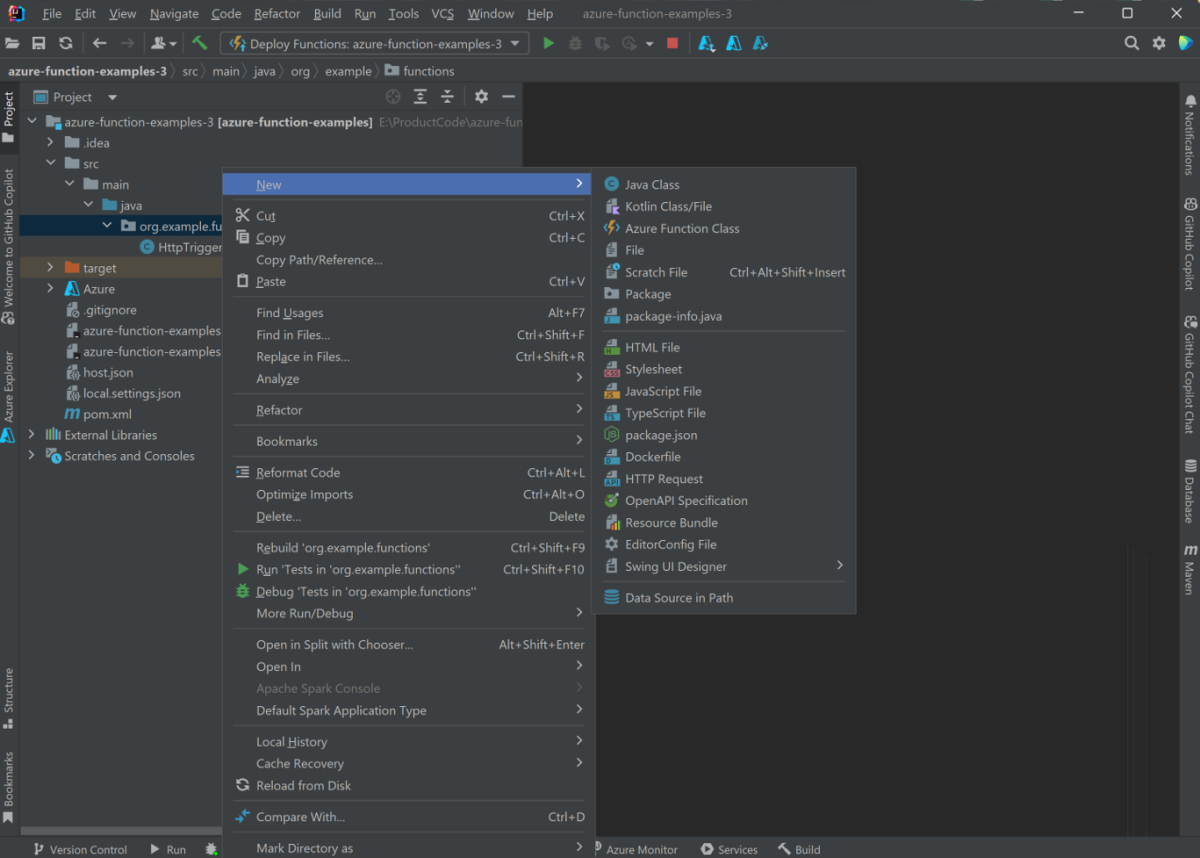
Fill in the class name HttpTest and select HttpTrigger in the create function class wizard, then select OK to create. In this way, you can create new functions as you want.


Cleaning up functions
Select one of your function apps using Azure Explorer in your IDEA, then right-click and select Delete. This command might take several minutes to run. When it's done, the status refreshes in Azure Explorer.

Next steps
You've created a Java project with an HTTP triggered function, run it on your local machine, and deployed it to Azure. Now, extend your function by continuing to the following article: