Tutorial: Edit a data collection rule (DCR)
This tutorial describes how to edit the definition of Data Collection Rule (DCR) that has been already provisioned using command line tools.
In this tutorial, you learn how to:
- Leverage existing portal functionality to pre-create DCRs
- Get the content of a Data Collection Rule using ARM API call
- Apply changes to a Data Collection Rule using ARM API call
- Automate the process of DCR update using PowerShell scripts
Note
This tutorial walks through one method for editing an existing DCR. See Create and edit data collection rules (DCRs) in Azure Monitor for other methods.
Prerequisites
To complete this tutorial you need the following:
- Log Analytics workspace where you have at least contributor rights.
- Permissions to create Data Collection Rule objects in the workspace.
- Up to date version of PowerShell. Using Azure Cloud Shell is recommended.
Overview of tutorial
While going through the wizard on the portal is the simplest way to set up the ingestion of your custom data to Log Analytics, in some cases you might want to update your Data Collection Rule later to:
- Change data collection settings (e.g. Data Collection Endpoint, associated with the DCR)
- Update data parsing or filtering logic for your data stream
- Change data destination (e.g. send data to an Azure table, as this option is not directly offered as part of the DCR-based custom log wizard)
In this tutorial, you first set up ingestion of a custom log. Then you modify the KQL transformation for your custom log to include additional filtering and apply the changes to your DCR. Finally, we're going to combine all editing operations into a single PowerShell script, which can be used to edit any DCR for any of the above mentioned reasons.
Set up new custom log
Start by setting up a new custom log. Follow Tutorial: Send custom logs to Azure Monitor Logs using the Azure portal (preview). Note the resource ID of the DCR created.
Retrieve DCR content
In order to update DCR, we are going to retrieve its content and save it as a file, which can be further edited.
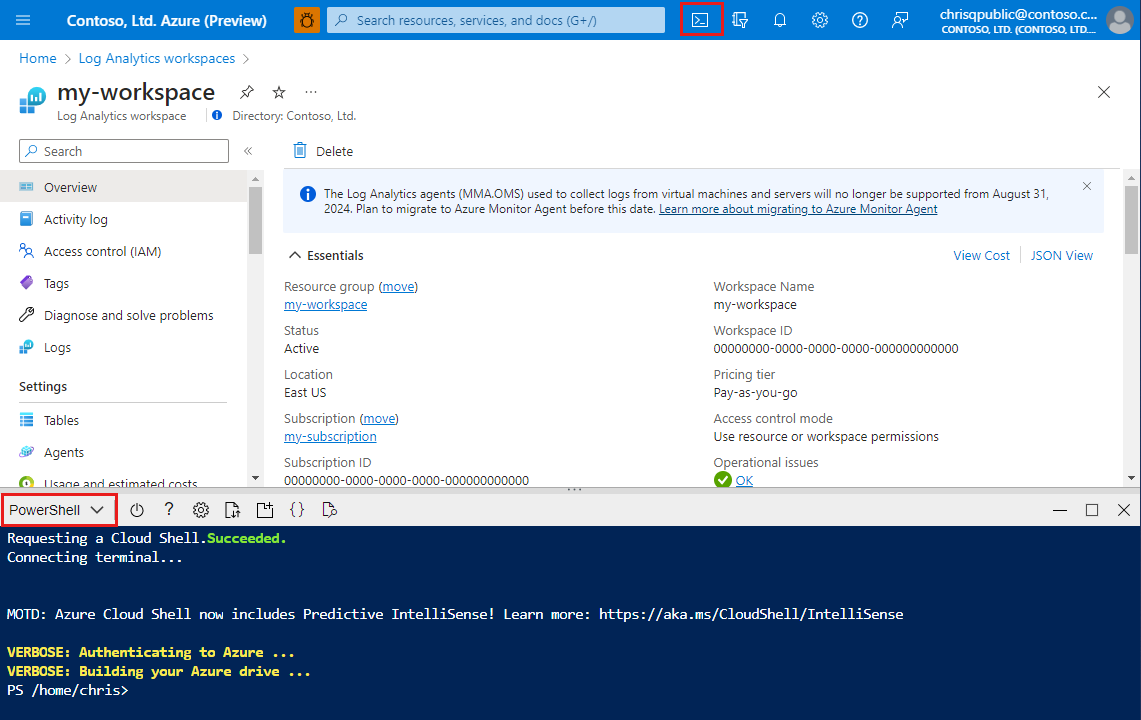
Click the Cloud Shell button in the Azure portal and ensure the environment is set to PowerShell.
Execute the following commands to retrieve DCR content and save it to a file. Replace
<ResourceId>with DCR ResourceID and<FilePath>with the name of the file to store DCR.$ResourceId = "<ResourceId>" # Resource ID of the DCR to edit $FilePath = "<FilePath>" # Store DCR content in this file $DCR = Invoke-AzRestMethod -Path ("$ResourceId"+"?api-version=2022-06-01") -Method GET $DCR.Content | ConvertFrom-Json | ConvertTo-Json -Depth 20 | Out-File -FilePath $FilePath

Edit DCR
Now, when DCR content is stored as a JSON file, you can use an editor of your choice to make changes in the DCR. You may prefer to download the file from the Cloud Shell environment, if you are using one.
Alternatively you can use code editors supplied with the environment. For example, if you saved your DCR in a file named temp.dcr on your Cloud Drive, you could use the following command to open DCR for editing right in the Cloud Shell window:
code "temp.dcr"
Let’s modify the KQL transformation within DCR to drop rows where RequestType is anything, but “GET”.
- Open the file created in the previous part for editing using an editor of your choice.
- Locate the line containing
”transformKql”attribute, which, if you followed the tutorial for custom log creation, should look similar to this:"transformKql": " source\n | extend TimeGenerated = todatetime(Time)\n | parse RawData with \n ClientIP:string\n ' ' *\n ' ' *\n ' [' * '] \"' RequestType:string\n \" \" Resource:string\n \" \" *\n '\" ' ResponseCode:int\n \" \" *\n | where ResponseCode != 200\n | project-away Time, RawData\n" - Modify KQL transformation to include additional filter by RequestType
"transformKql": " source\n | where RawData contains \"GET\"\n | extend TimeGenerated = todatetime(Time)\n | parse RawData with \n ClientIP:string\n ' ' *\n ' ' *\n ' [' * '] \"' RequestType:string\n \" \" Resource:string\n \" \" *\n '\" ' ResponseCode:int\n \" \" *\n | where ResponseCode != 200\n | project-away Time, RawData\n" - Save the file with modified DCR content.
Apply changes
Our final step is to update DCR back in the system. This is accomplished by “PUT” HTTP call to ARM API, with updated DCR content sent in the HTTP request body.
- If you are using Azure Cloud Shell, save the file and close the embedded editor, or upload modified DCR file back to the Cloud Shell environment.
- Execute the following commands to load DCR content from the file and place HTTP call to update the DCR in the system. Replace
<ResourceId>with DCR ResourceID and<FilePath>with the name of the file modified in the previous part of the tutorial. You can omit first two lines if you read and write to the DCR within the same PowerShell session.$ResourceId = "<ResourceId>" # Resource ID of the DCR to edit $FilePath = "<FilePath>" # Store DCR content in this file $DCRContent = Get-Content $FilePath -Raw Invoke-AzRestMethod -Path ("$ResourceId"+"?api-version=2022-06-01") -Method PUT -Payload $DCRContent - Upon successful call, you should get the response with status code “200”, indicating that your DCR is now updated.
- You can now navigate to your DCR and examine its content on the portal via “JSON View” function, or you could repeat the first part of the tutorial to retrieve DCR content into a file.
Putting everything together
Now, when we know how to read and update the content of a DCR, let’s put everything together into utility script, which can be used to perform both operations together.
param ([Parameter(Mandatory=$true)] $ResourceId)

# get DCR content and put into a file
$FilePath = "temp.dcr"
$DCR = Invoke-AzRestMethod -Path ("$ResourceId"+"?api-version=2022-06-01") -Method GET
$DCR.Content | ConvertFrom-Json | ConvertTo-Json -Depth 20 | Out-File $FilePath

# Open DCR in code editor
code $FilePath | Wait-Process

#Wait for confirmation to apply changes
$Output = Read-Host "Apply changes to DCR (Y/N)? "
if ("Y" -eq $Output.toupper())
{
	#write DCR content back from the file
	$DCRContent = Get-Content $FilePath -Raw
	Invoke-AzRestMethod -Path ("$ResourceId"+"?api-version=2022-06-01") -Method PUT -Payload $DCRContent
}

#Delete temporary file
Remove-Item $FilePath
How to use this utility
Assuming you saved the script as a file, named DCREditor.ps1 and need to modify a Data Collection Rule with resource ID of /subscriptions/xxxxxxxx-xxxx-xxxx-xxxx-xxxxxxxxxxxx/resourceGroups/foo/providers/Microsoft.Insights/dataCollectionRules/bar, this could be accomplished by running the following command:
.\DCREditor.ps1 "/subscriptions/xxxxxxxx-xxxx-xxxx-xxxx-xxxxxxxxxxxx/resourceGroups/foo/providers/Microsoft.Insights/dataCollectionRules/bar"
DCR content opens in embedded code editor. Once editing is complete, entering "Y" on script prompt applies changes back to the DCR.
Next steps
Feedback
Coming soon: Throughout 2024 we will be phasing out GitHub Issues as the feedback mechanism for content and replacing it with a new feedback system. For more information see: https://aka.ms/ContentUserFeedback.
Submit and view feedback for