Note
Access to this page requires authorization. You can try signing in or changing directories.
Access to this page requires authorization. You can try changing directories.
There are times when you might have a query or some business logic that you want to secure. You can help secure workbooks by saving their content to your storage. The storage account can then be encrypted with Microsoft-managed keys, or you can manage the encryption by supplying your own keys. For more information, see Azure documentation on storage service encryption.
Save a workbook with managed identities
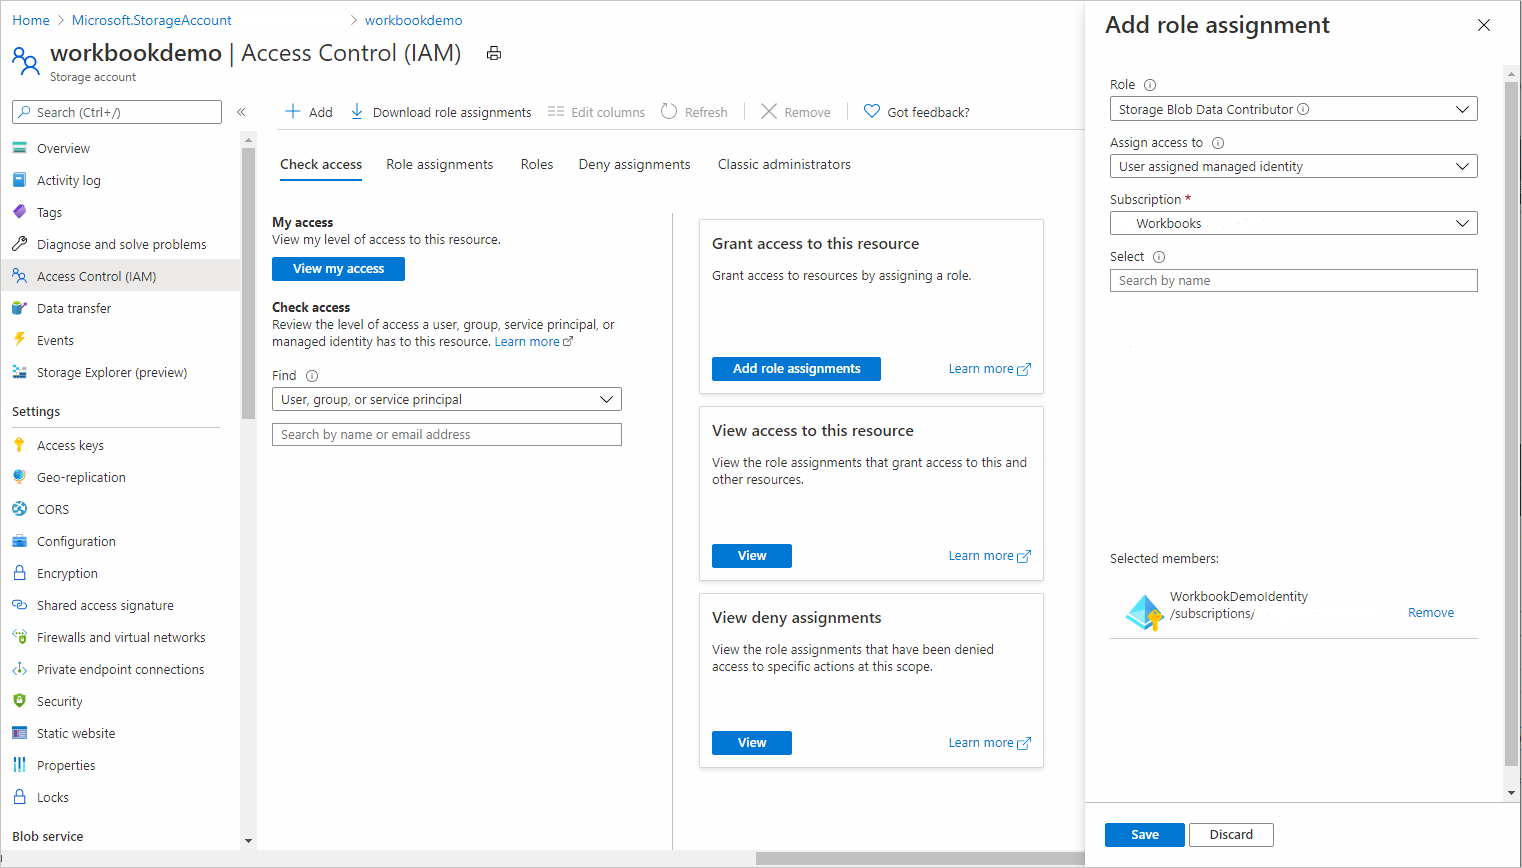
Before you can save the workbook to your storage, you'll need to create a managed identity by selecting All Services > Managed Identities. Then give it Storage Blob Data Contributor access to your storage account. For more information, see Azure documentation on managed identities.
Create a new workbook.
Select Save to save the workbook.
Select the Save content to an Azure Storage Account checkbox to save to an Azure Storage account.

Select the storage account and container you want. The Storage account list is from the subscription selected previously.

Select (change) to select a managed identity previously created.
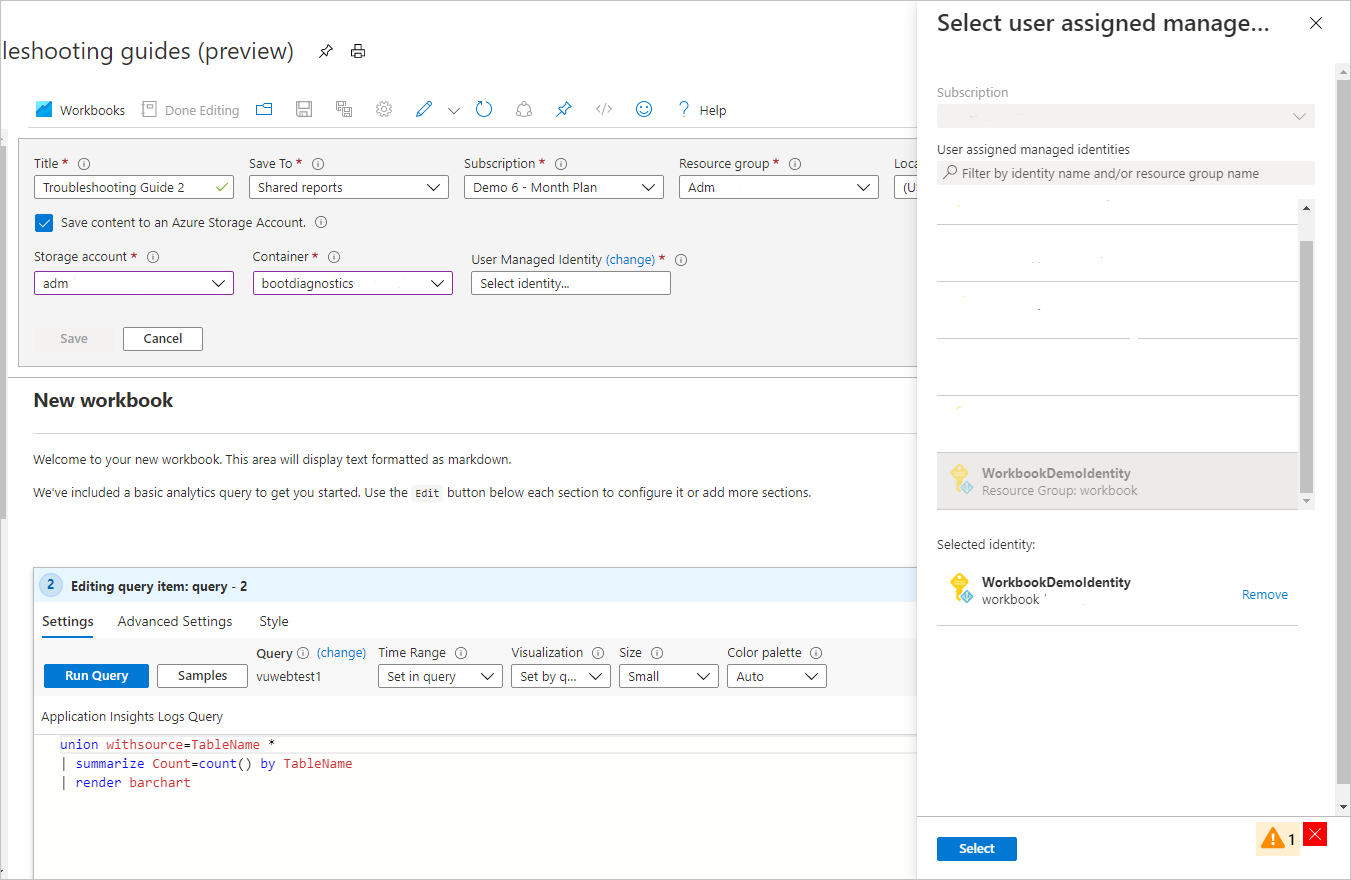
After you've selected your storage options, select Save to save your workbook.


Limitations
The storage account cannot be a Page Blob Premium Storage Account as this is not supported. It must be a standard storage account, or a premium Block Blob Storage Account.
When you save to custom storage, you can't pin individual parts of the workbook to a dashboard because the individual pins would contain protected information in the dashboard itself. When you use custom storage, you can only pin links to the workbook itself to dashboards.
After a workbook has been saved to custom storage, it will always be saved to custom storage, and this feature can't be turned off. To save elsewhere, you can use Save As and elect to not save the copy to custom storage.
Workbooks saved to custom storage can't be recovered by the support team. Users might be able to recover the workbook content if soft-delete or blob versioning is enabled on the underlying storage account. See recovering a deleted workbook.
Workbooks saved to custom storage don't support versioning. Only the most recent version is stored. Other versions might be available in storage if blob versioning is enabled on the underlying storage account. See manage workbook versions.
Workbooks only supports User Assigned Managed identities and does not support System Assigned identities.
Next steps
- Learn how to create a Map visualization in workbooks.
- Learn how to use groups in workbooks.