Note
Access to this page requires authorization. You can try signing in or changing directories.
Access to this page requires authorization. You can try changing directories.
In this quickstart, you use the managed application definition that you created using one of the quickstart articles. The deployment creates two resource groups. One resource group contains the managed application and the other is a managed resource group for the deployed resources. The managed application definition deploys an App Service plan, App Service, and storage account.
Prerequisites
- A managed application definition created with publish an application definition or publish a definition with bring your own storage.
- An Azure account with an active subscription. If you don't have an account, create a free account before you begin.
- Visual Studio Code.
- The latest version of Azure PowerShell or Azure CLI.
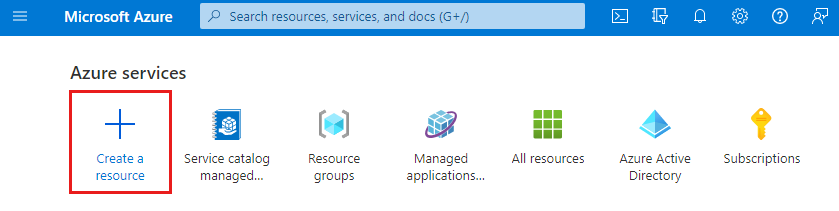
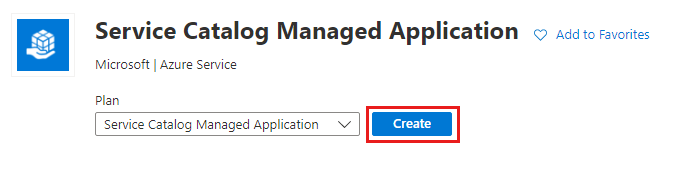
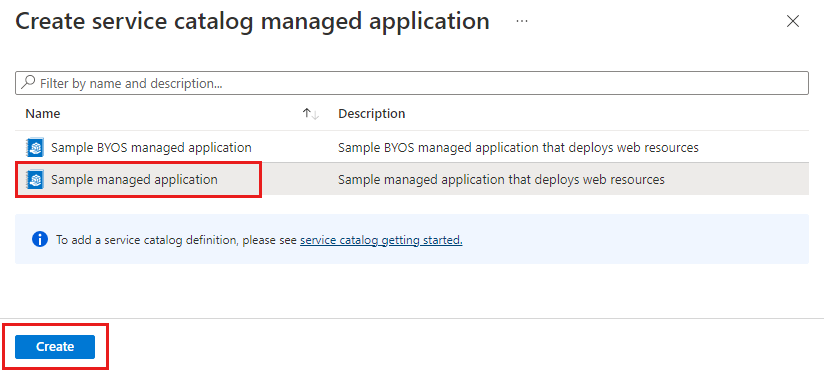
Create service catalog managed application
The examples use the resource groups names created in the quickstart to publish an application definition. If you used the quickstart to publish a definition with bring your own storage, use those resource group names.
- Publish application definition: packageStorageGroup and appDefinitionGroup.
- Publish definition with bring your own storage: packageStorageGroup, byosDefinitionStorageGroup, and byosAppDefinitionGroup.
Get managed application definition
To get the managed application's definition with Azure PowerShell, run the following commands.
In Visual Studio Code, open a new PowerShell terminal and sign in to your Azure subscription.
Connect-AzAccount
The command opens your default browser and prompts you to sign in to Azure. For more information, go to Sign in with Azure PowerShell.
From Azure PowerShell, get your managed application's definition. In this example, use the resource group name appDefinitionGroup that was created when you deployed the managed application definition.
Get-AzManagedApplicationDefinition -ResourceGroupName appDefinitionGroup
Get-AzManagedApplicationDefinition lists all the available definitions in the specified resource group, like sampleManagedApplication.
Create a variable for the managed application definition's resource ID.
$definitionid = (Get-AzManagedApplicationDefinition -ResourceGroupName appDefinitionGroup -Name sampleManagedApplication).ManagedApplicationDefinitionId
You use the $definitionid variable's value when you deploy the managed application.
Create resource group and parameters
Create a resource group for the managed application deployment.
New-AzResourceGroup -Name applicationGroup -Location westus
You also need to create a name for the managed application resource group. The resource group is created when you deploy the managed application.
Run the following commands to create the managed resource group's name.
$mrgprefix = 'mrg-sampleManagedApplication-'
$mrgtimestamp = Get-Date -UFormat "%Y%m%d%H%M%S"
$mrgname = $mrgprefix + $mrgtimestamp
$mrgname
The $mrgprefix and $mrgtimestamp variables are concatenated and stored in the $mrgname variable. The variable's value is in the format mrg-sampleManagedApplication-20230512103059. You use the $mrgname variable's value when you deploy the managed application.
You need to provide several parameters to the deployment command for the managed application. You can use a JSON formatted string or create a JSON file. In this example, we use a JSON formatted string. The PowerShell escape character for the quote marks is the backtick (`) character. The backtick is also used for line continuation so that commands can use multiple lines.
The JSON formatted string's syntax is as follows:
"{ `"parameterName`": {`"value`":`"parameterValue`"}, `"parameterName`": {`"value`":`"parameterValue`"} }"
For readability, the completed JSON string uses the backtick for line continuation. The values are stored in the $params variable and used in the deployment command. The parameters in the JSON string are required to deploy the managed resources.
$params="{ `"appServicePlanName`": {`"value`":`"demoAppServicePlan`"}, `
`"appServiceNamePrefix`": {`"value`":`"demoApp`"} }"
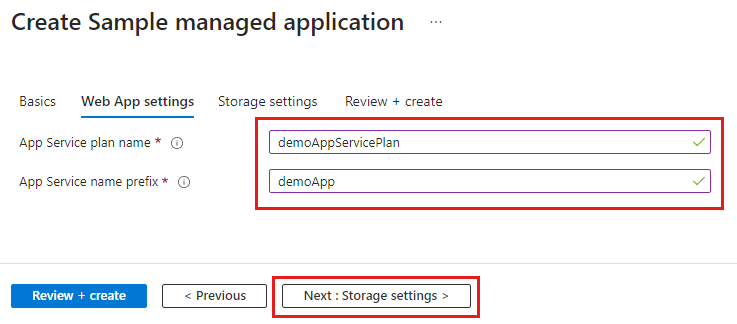
The parameters to create the managed resources:
appServicePlanName: Create a plan name. Maximum of 40 alphanumeric characters and hyphens. For example, demoAppServicePlan. App Service plan names must be unique within a resource group in your subscription.appServiceNamePrefix: Create a prefix for the plan name. Maximum of 47 alphanumeric characters or hyphens. For example, demoApp. During deployment, the prefix is concatenated with a unique string to create a name that's globally unique across Azure.
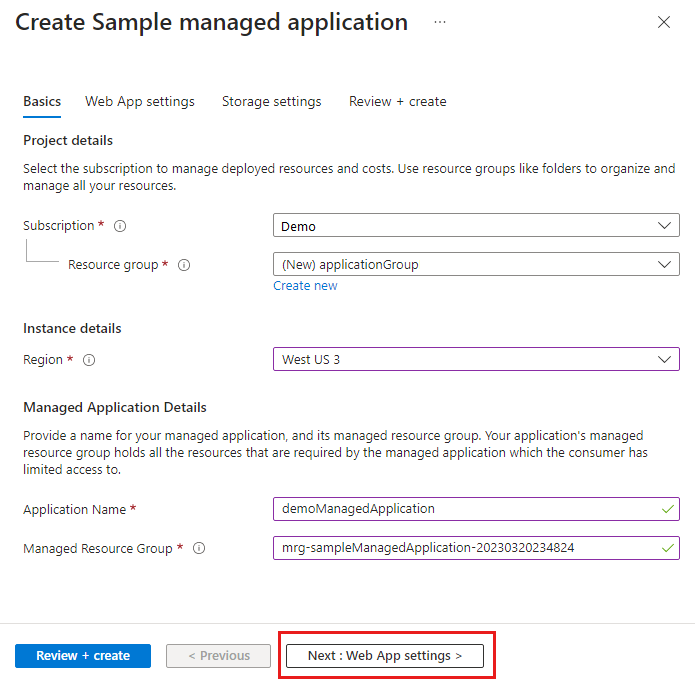
Deploy the managed application
Run the following command to deploy the managed application.
New-AzManagedApplication `
  -Name "demoManagedApplication" `
  -ResourceGroupName applicationGroup `
  -Location westus `
  -ManagedResourceGroupName $mrgname `
  -ManagedApplicationDefinitionId $definitionid `
  -Kind ServiceCatalog `
  -Parameter $params
The parameters used in the deployment command:
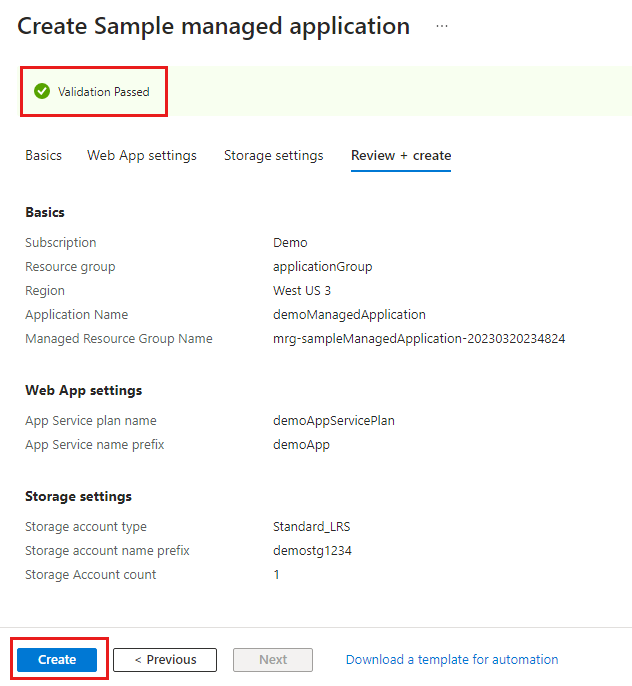
Name: Specify a name for the managed application. For this example, use demoManagedApplication.ResourceGroupName: Name of the resource group you created for the managed application.Location: Specify the region for resource deployment. For this example, use westus.ManagedResourceGroupName: Uses the$mrgnamevariable's value. The managed resource group is created when the managed application is deployed.ManagedApplicationDefinitionId: Uses the$definitionidvariable's value for the managed application definition's resource ID.Kind: Specifies that type of managed application. This example uses ServiceCatalog.Parameter: Uses the$paramsvariable's value in the JSON formatted string.
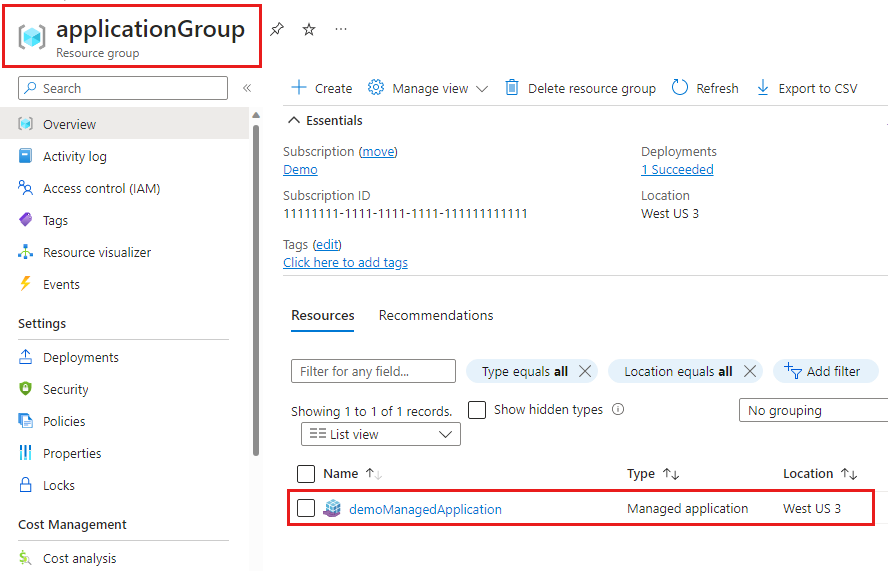
View results
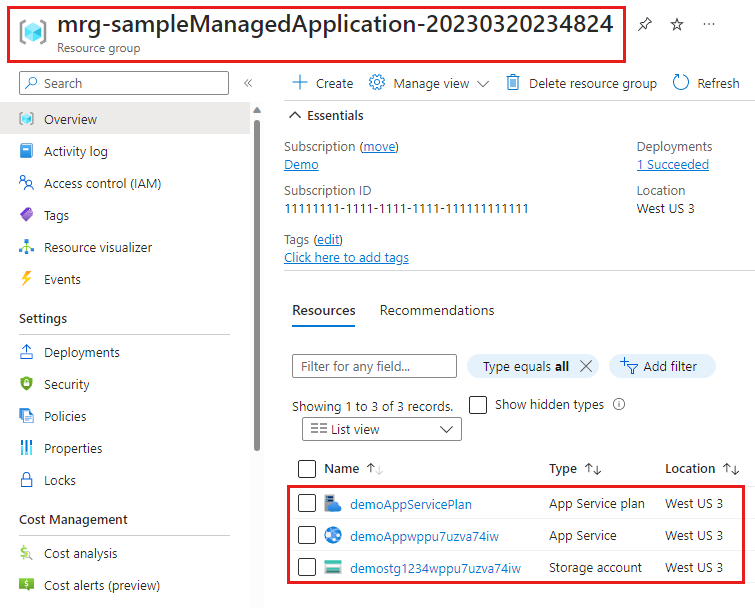
After the service catalog managed application is deployed, you have two new resource groups. One resource group contains the managed application. The other resource group contains the managed resources that were deployed. In this example, an App Service, App Service plan, and storage account.
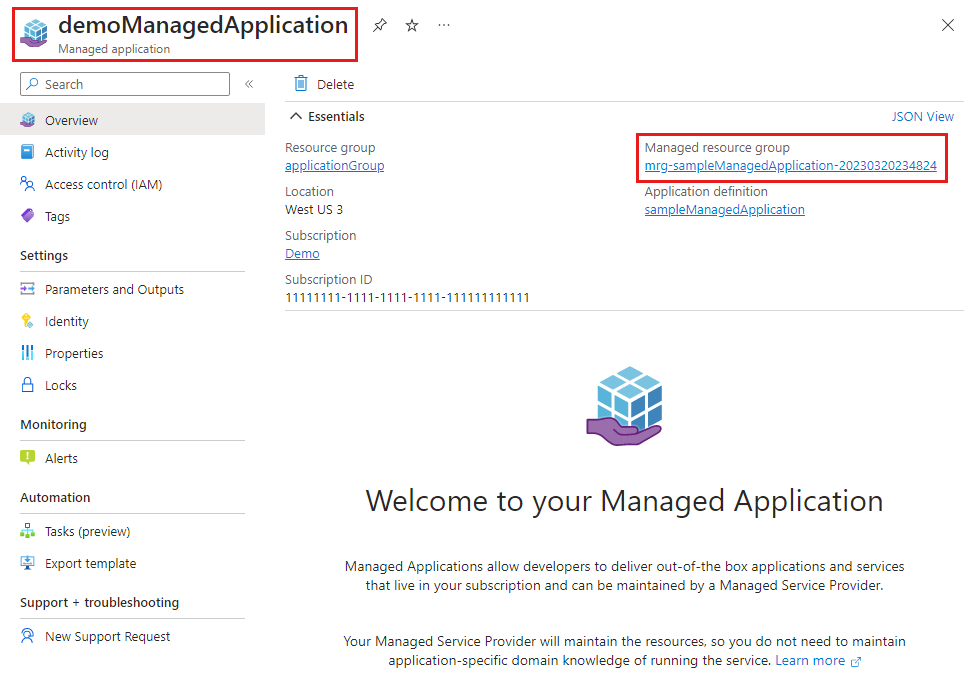
Managed application
After the deployment is finished, you can check your managed application's status.
Run the following command to check the managed application's status.
Get-AzManagedApplication -Name demoManagedApplication -ResourceGroupName applicationGroup
Expand the properties to make it easier to read the Properties information.
Get-AzManagedApplication -Name demoManagedApplication -ResourceGroupName applicationGroup | Select-Object -ExpandProperty Properties
Managed resources
You can view the resources deployed to the managed resource group.
To display the managed resource group's resources, run the following command. You created the $mrgname variable when you created the parameters.
Get-AzResource -ResourceGroupName $mrgname
To display all the role assignments for the managed resource group.
Get-AzRoleAssignment -ResourceGroupName $mrgname
The managed application definition you created in the quickstart articles used a group with the Owner role assignment. You can view the group with the following command.
Get-AzRoleAssignment -ResourceGroupName $mrgname -RoleDefinitionName Owner
You can also list the deny assignments for the managed resource group.
Get-AzDenyAssignment -ResourceGroupName $mrgname
Clean up resources
When you're finished with the managed application, you can delete the resource groups and that removes all the resources you created. For example, in this quickstart you created the resource groups applicationGroup and a managed resource group with the prefix mrg-sampleManagedApplication.
The command prompts you to confirm that you want to remove the resource group.
Remove-AzResourceGroup -Name applicationGroup
If you want to delete the managed application definition, delete the resource groups you created in the quickstart articles.
- Publish application definition: packageStorageGroup and appDefinitionGroup.
- Publish definition with bring your own storage: packageStorageGroup, byosDefinitionStorageGroup, and byosAppDefinitionGroup.
Next steps
- To learn how to create and publish the definition files for a managed application, go to Quickstart: Create and publish an Azure Managed Application definition.
- To use your own storage to create and publish the definition files for a managed application, go to Quickstart: Bring your own storage to create and publish an Azure Managed Application definition.