Get started with SQL Database dynamic data masking with the Azure portal
Applies to: ![]() Azure SQL Database
Azure SQL Database
This article shows you how to implement dynamic data masking with the Azure portal. You can also implement dynamic data masking using Azure SQL Database cmdlets or the REST API.
Note
This feature cannot be set using portal for SQL Managed Instance (use PowerShell or REST API). For more information, see Dynamic Data Masking.
Enable dynamic data masking
Launch the Azure portal at https://portal.azure.com.
Go to your database resource in the Azure portal.
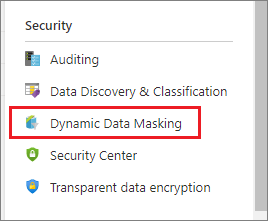
Select the Dynamic Data Masking pane under the Security section.
In the Dynamic Data Masking configuration page, you may see some database columns that the recommendations engine has flagged for masking. In order to accept the recommendations, just click Add Mask for one or more columns and a mask is created based on the default type for this column. You can change the masking function by clicking on the masking rule and editing the masking field format to a different format of your choice. Be sure to click Save to save your settings.
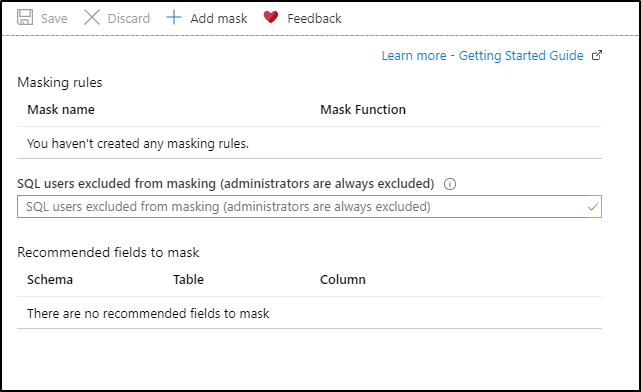
To add a mask for any column in your database, at the top of the Dynamic Data Masking configuration page, click Add Mask to open the Add Masking Rule configuration page.
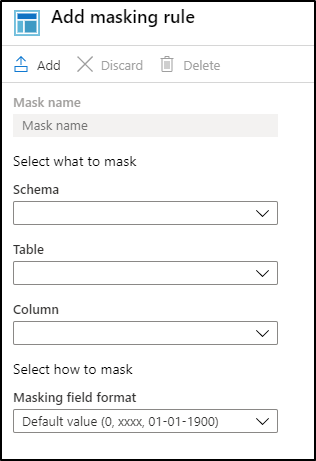
Select the Schema, Table and Column to define the designated field for masking.
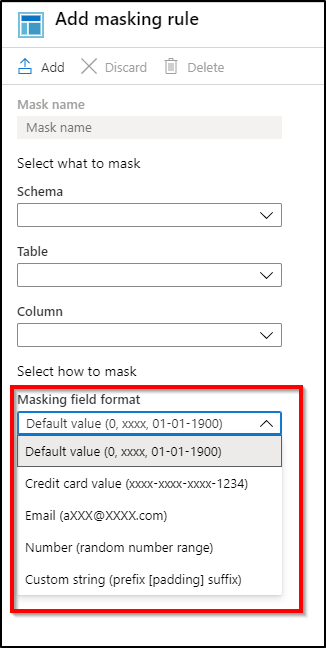
Select how to mask from the list of sensitive data masking categories.
Click Add in the data masking rule page to update the set of masking rules in the dynamic data masking policy.
Type the SQL authenticated users or authenticated identities from Microsoft Entra ID (formerly Azure Active Directory) that should be excluded from masking, and have access to the unmasked sensitive data. This should be a semicolon-separated list of users. Users with administrator privileges always have access to the original unmasked data.

Tip
To make it so the application layer can display sensitive data for application privileged users, add the SQL user or Microsoft Entra identity the application uses to query the database. It is highly recommended that this list contain a minimal number of privileged users to minimize exposure of the sensitive data.
Click Save in the data masking configuration page to save the new or updated masking policy.
Next steps
- For an overview of dynamic data masking, see dynamic data masking.
- You can also implement dynamic data masking using Azure SQL Database cmdlets or the REST API.
Feedback
Coming soon: Throughout 2024 we will be phasing out GitHub Issues as the feedback mechanism for content and replacing it with a new feedback system. For more information see: https://aka.ms/ContentUserFeedback.
Submit and view feedback for