Note
Access to this page requires authorization. You can try signing in or changing directories.
Access to this page requires authorization. You can try changing directories.
Azure AI Video Indexer identifies each speaker in a video and attributes each transcribed line to a speaker. The speakers are given a unique identity such as Speaker #1 and Speaker #2. To provide clarity and enrich the transcript quality, you might want to replace the assigned identity with each speaker's actual name. To edit speakers' names, use the edit actions as described in the article.
The article demonstrates how to edit speakers with the Azure AI Video Indexer website. The same editing operations are possible with an API. To use API, call update video index.
Note
The addition or editing of a speaker name is applied throughout the transcript of the video but isn't applied to other videos in your Azure AI Video Indexer account.
Start editing
- Sign in to the Azure AI Video Indexer website.
- Select a video.
- Select the Timeline tab.
- Choose to view speakers.

Add a new speaker
This action allows you to add new speakers that Azure AI Video Indexer didn't identify. To add a new speaker from the website for the selected video, do the following steps:
- Select the edit mode.

- Go to the speakers drop down menu above the transcript line you wish to assign a new speaker to.
- Select Assign a new speaker.
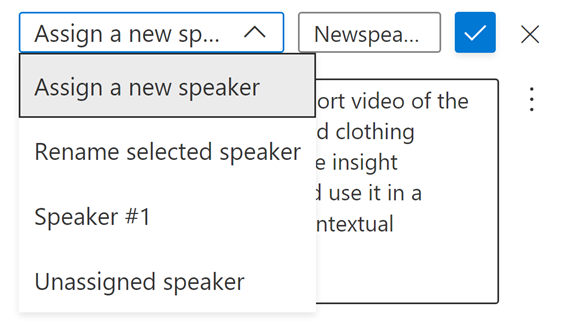
- Add the name of the speaker you would like to assign.
- Press a checkmark to save.

Note
Speaker names should be unique across the speakers in the current video.
Rename an existing speaker
This action allows renaming an existing speaker that Azure AI Video Indexer identified. The update applies to all speakers identified by this name.
To rename a speaker from the website for the selected video, do the following steps:
- Select the edit mode.
- Go to the transcript line where the speaker you wish to rename appears.
- Select Rename selected speaker.
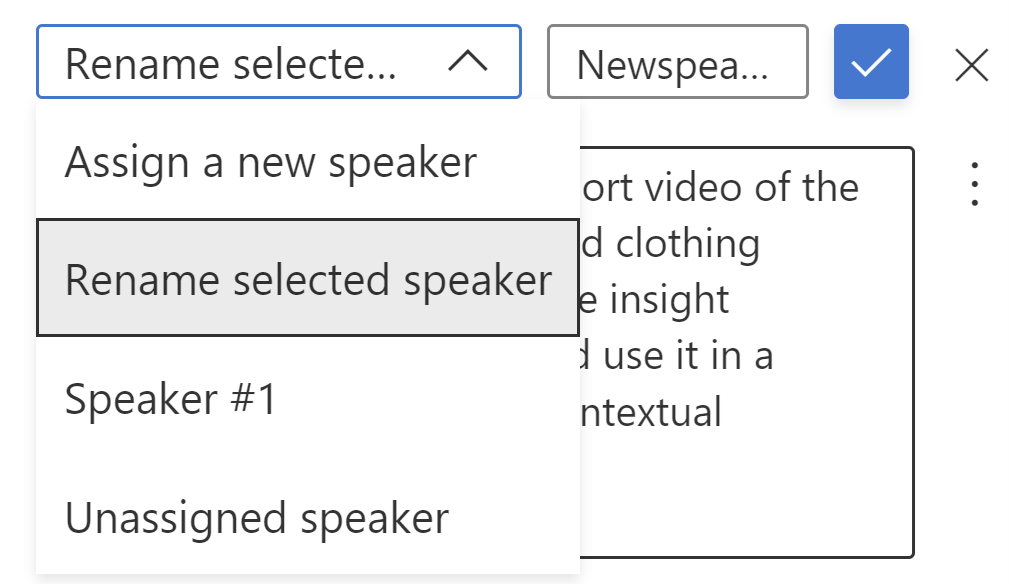 This action updates speakers by this name.
 - Select the checkmark symbol to save.

Assign a speaker to a transcript line
This action allows assigning a speaker to a specific transcript line with a wrong assignment. To assign a speaker to a transcript line from the website, do the following steps:
Go to the transcript line you want to assign a different speaker to.
Above what you want to assign, select a speaker from the speakers list.
The update only applies to the currently selected transcript line.
If the speaker you wish to assign doesn't appear on the list, you can either Assign a new speaker or Rename an existing speaker as described previously.
Limitations
When you add a new speaker or renaming a speaker, the new name should be unique.