Note
Access to this page requires authorization. You can try signing in or changing directories.
Access to this page requires authorization. You can try changing directories.
Azure VMware Solution doesn't allow you to manage your private cloud with your on-premises vCenter Server. Instead, you need to connect to the Azure VMware Solution vCenter Server instance through a jump box.
In this tutorial, learn how to create a jump box in the resource group that you created in the previous tutorial and sign in to the Azure VMware Solution vCenter Server. This jump box is a Windows virtual machine (VM) on the same virtual network you created. It provides access to both vCenter Server and the NSX Manager.
In this tutorial, you learn how to:
- Create a Windows VM to access the Azure VMware Solution vCenter Server
- Sign in to vCenter Server from this VM
Create a new Windows virtual machine
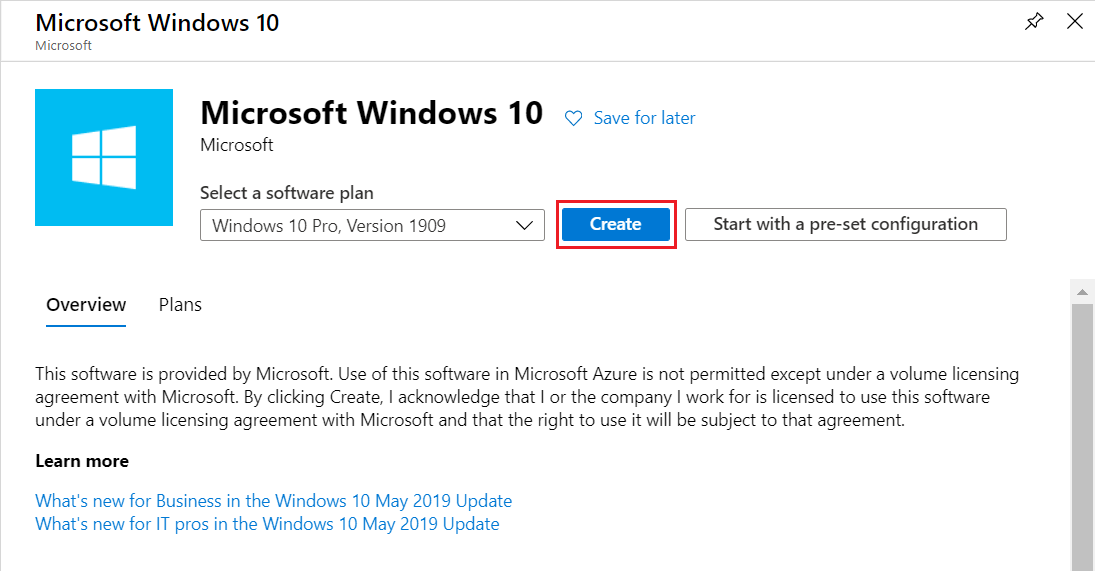
In the resource group, select Add, search for Microsoft Windows 10, and select it. Then select Create.
Enter the required information in the fields, and then select Review + create.
For more information on the fields, see the following table.
Field Value Subscription Value is prepopulated with the Subscription belonging to the Resource Group. Resource group Value is prepopulated for the current Resource Group, which you created in the preceding tutorial. Virtual machine name Enter a unique name for the VM. Region Select the geographical location of the VM. Availability options Leave the default value selected. Image Select the VM image. Size Leave the default size value. Authentication type Select Password. Username Enter the user name for logging on to the VM. Password Enter the password for logging on to the VM. Confirm password Enter the password for logging on to the VM. Public inbound ports Select None. - To control access to the VM only when you want to access it, use JIT access.
- To securely access the jump box server from the internet without exposing any network port, use an Azure Bastion.
Once validation passes, select Create to start the virtual machine creation process.

Connect to the vCenter Server of your private cloud
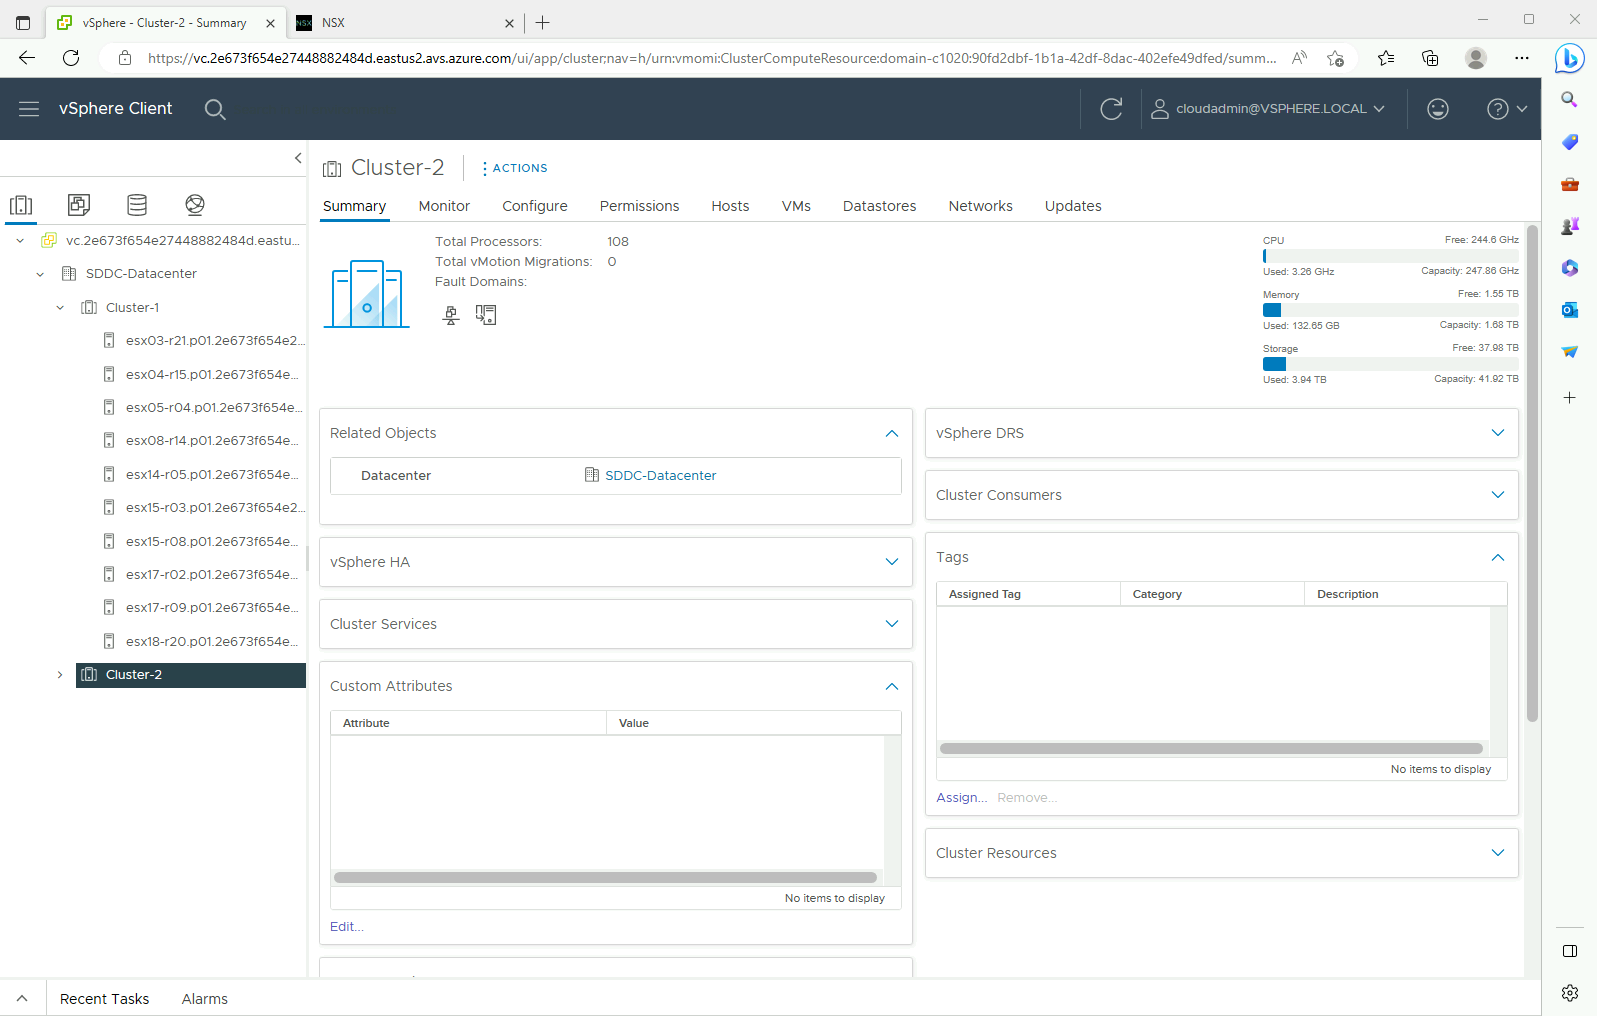
From the jump box, sign in to vSphere Client with VMware vCenter Server SSO using a CloudAdmin username and verify that the user interface displays successfully.
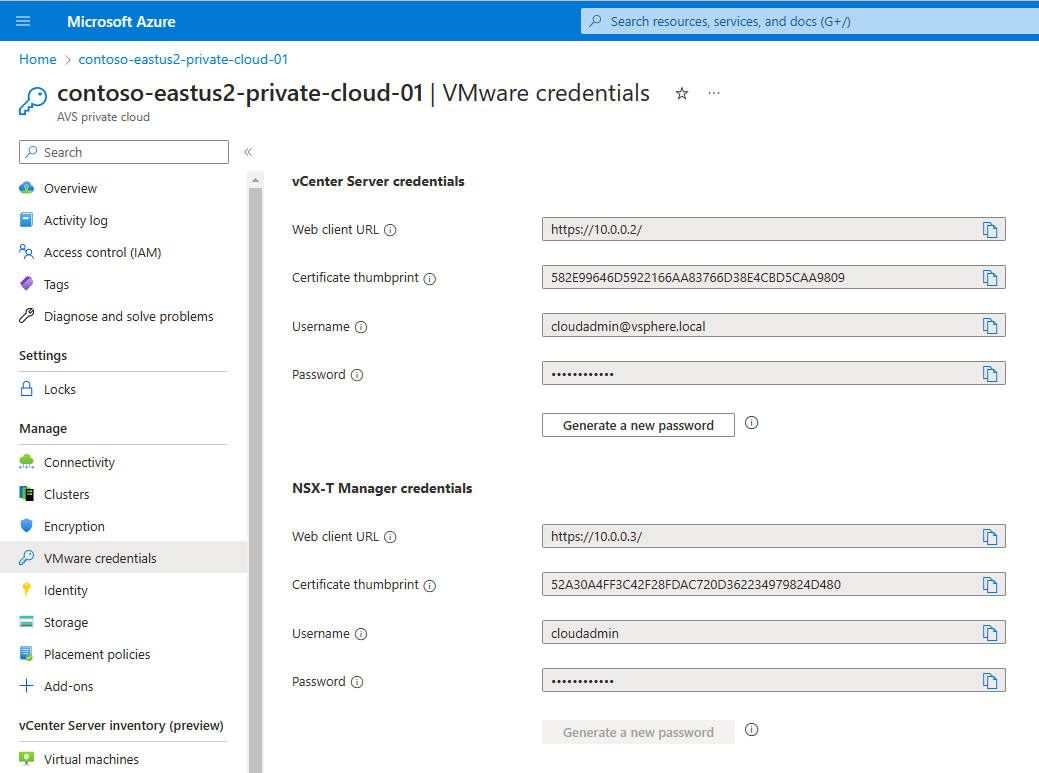
In the Azure portal, select your private cloud, and then Manage > VMware credentials.
The URLs and user credentials for private cloud vCenter Server and NSX Manager are displayed.
Navigate to the VM you created in the preceding step and connect to the virtual machine.
If you need help with connecting to the VM, see connect to a virtual machine for details.
In the Windows VM, open a browser and navigate to the vCenter Server and NSX Manager URLs in two tabs.
In the vSphere Client tab, enter the
cloudadmin@vsphere.localuser credentials from the previous step.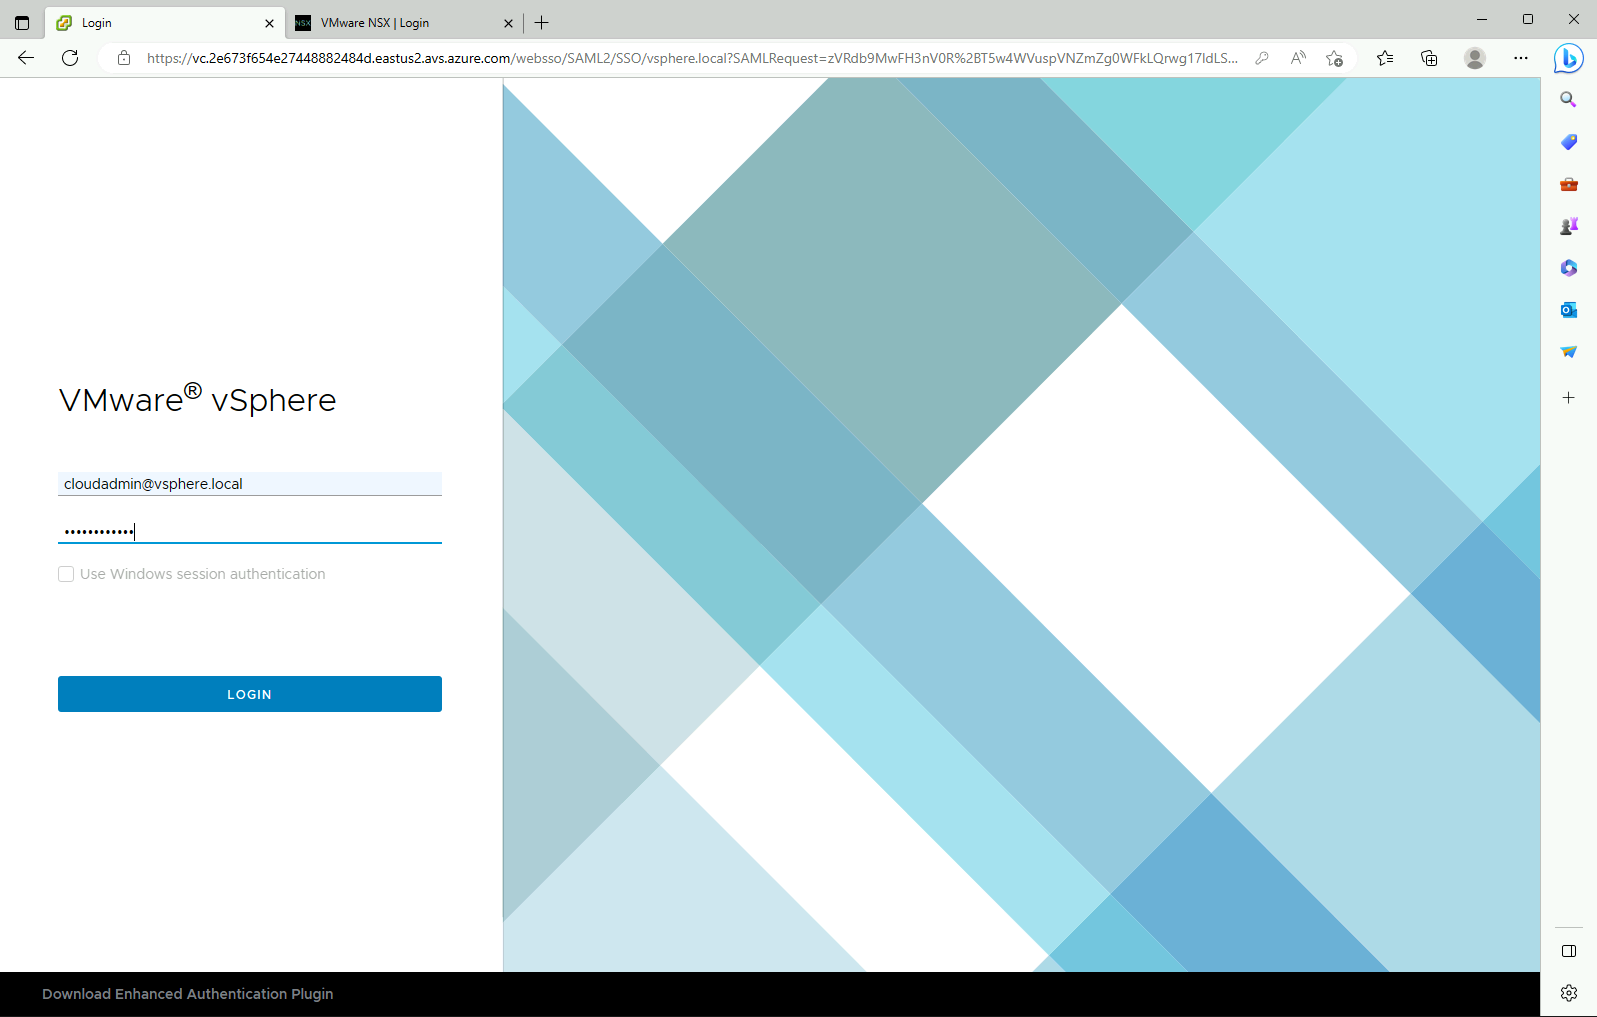
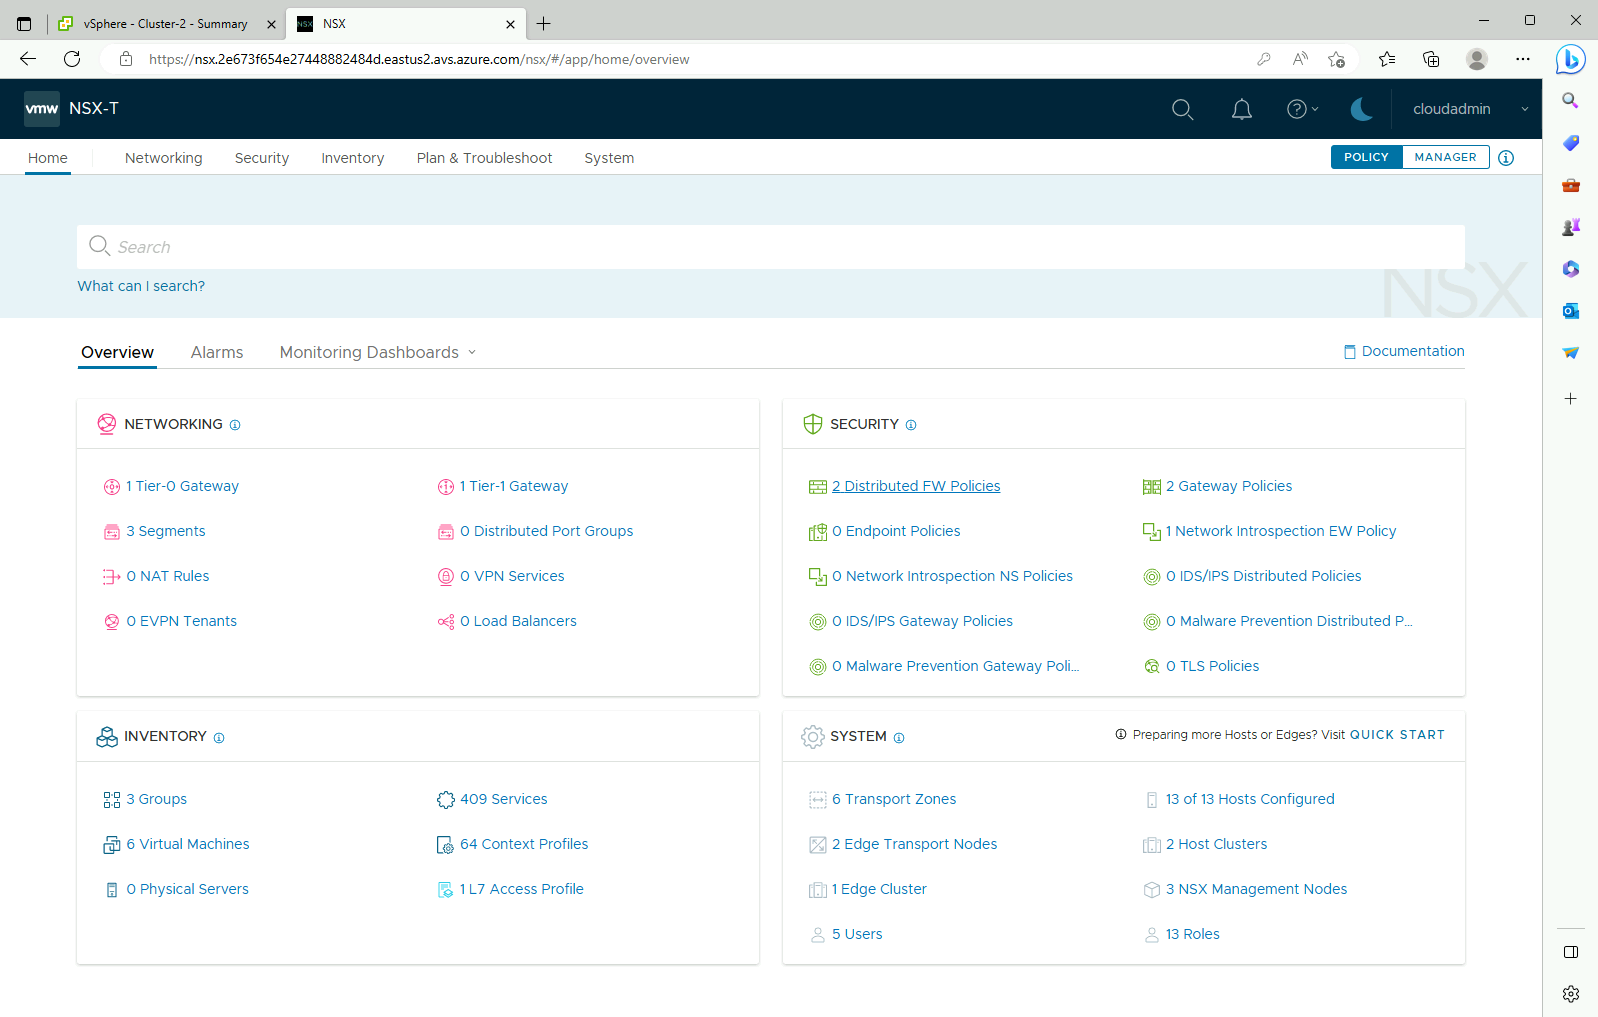
In the second tab of the browser, sign in to NSX Manager with the CloudAdmin user credentials from earlier.


Next steps
In this tutorial, you learned how to:
- Create a Windows VM to use to connect to vCenter Server
- Login to vCenter Server from your VM
- Login to NSX Manager from your VM
Continue to the next tutorial to learn how to create a virtual network to set up local management for your private cloud clusters.