Note
Access to this page requires authorization. You can try signing in or changing directories.
Access to this page requires authorization. You can try changing directories.
This article explains how to restore Windows Server System State backups from an Azure Recovery Services vault. To restore System State, you must have a System State backup (created using the instructions in Back up System State, and make sure you've installed the latest version of the Microsoft Azure Recovery Services (MARS) agent. Recovering Windows Server System State data from an Azure Recovery Services vault is a two-step process:
Restore System State as files from Azure Backup. When restoring System State as files from Azure Backup, you can either:
- Restore System State to the same server where the backups were taken, or
- Restore System State file to an alternate server.
- If you have Cross Region Restore enabled in your vault, you can restore the backup data from a secondary region.
Apply the restored System State files to a Windows Server using the Windows Server Backup utility.
Recover System State files to the same server
The following steps explain how to roll back your Windows Server configuration to a previous state. If you roll back your server configuration to a known, stable state, it can be extremely valuable. The following steps restore the server's System State from a Recovery Services vault.
Open the Microsoft Azure Backup snap-in. If you don't know where the snap-in was installed, search the computer or server for Microsoft Azure Backup.
The desktop app should appear in the search results.
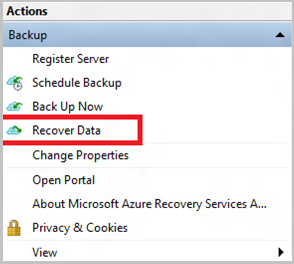
Select Recover Data to start the wizard.
On the Getting Started pane, to restore the data to the same server or computer, select This server (
<server name>) and select Next.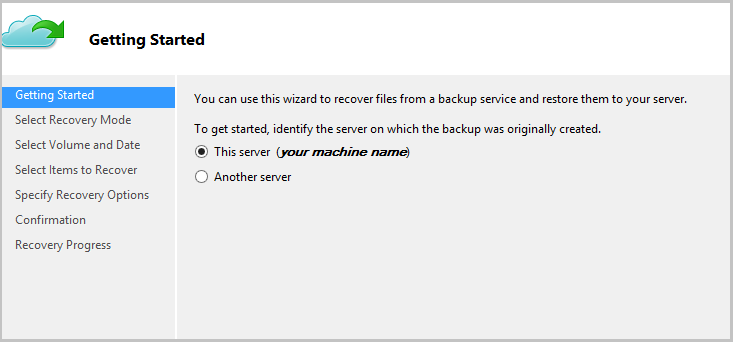
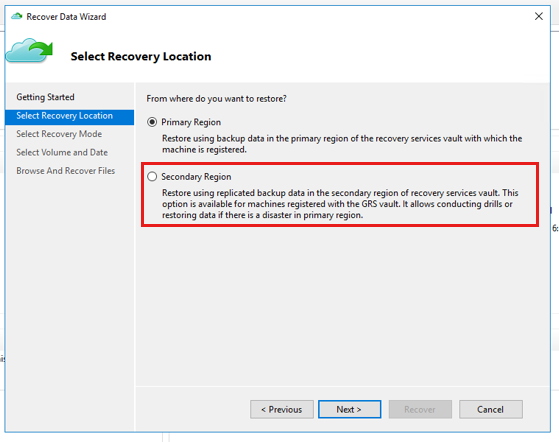
If you have enabled Cross Region Restore (preview) and want to restore from the secondary region, select Secondary Region. Else, select Primary Region.
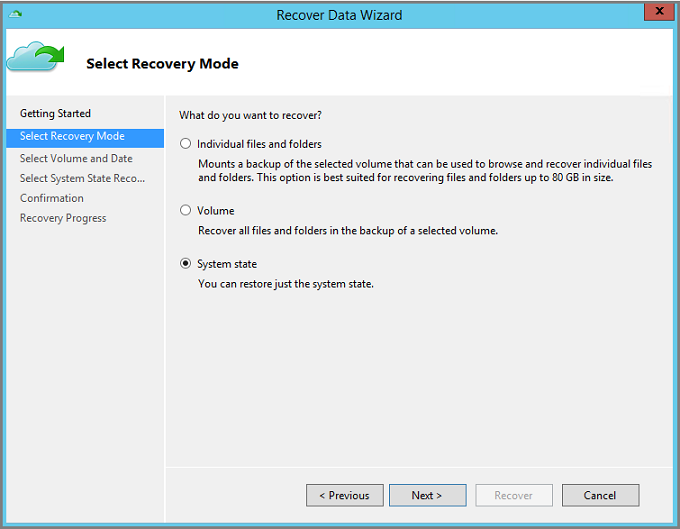
On the Select Recovery Mode pane, choose System State and then select Next.
On the calendar in Select Volume and Date pane, select a recovery point.
You can restore from any recovery point in time. Dates in bold indicate the availability of at least one recovery point. Once you select a date, if multiple recovery points are available, choose the specific recovery point from the Time drop-down menu.
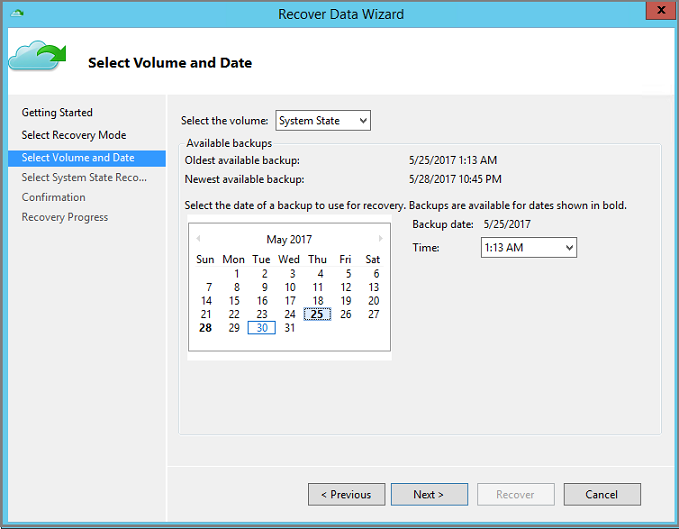
Once you've chosen the recovery point to restore, select Next.
Azure Backup mounts the local recovery point, and uses it as a recovery volume.
On the next pane, specify the destination for the recovered System State files. Then select Browse to open Windows Explorer and find the files and folders you want. The option, Create copies so that you have both versions, creates copies of individual files in an existing System State file archive instead of creating the copy of the entire System State archive.
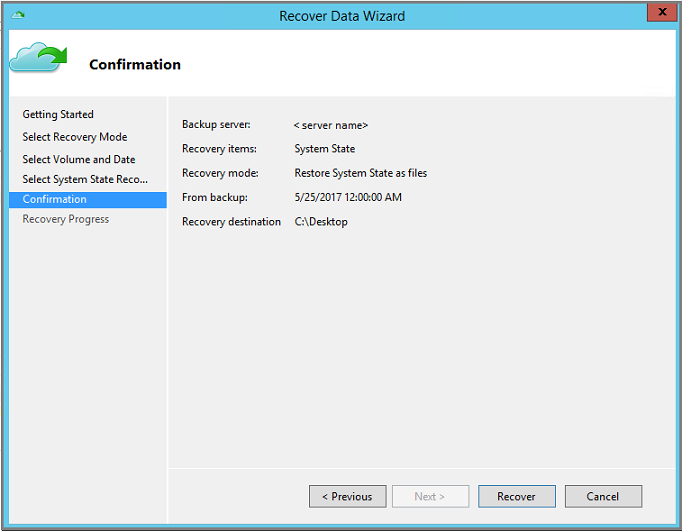
Verify the details of recovery on the Confirmation pane and select Recover.
Copy the WindowsImageBackup directory in the Recovery destination to the root of a non-critical volume of the server, for example
D:\\WindowsImageBackup. Usually, the Windows OS volume is the critical volume.The WindowsImageBackup folder is available on the path
<restore_path>\C_vol\Program Files\Microsoft Azure Recovery Services Agent\Scratch\SSBV\WindowsImageBackupwhere>\C_vol\Program Files\Microsoft Azure Recovery Services Agent\Scratchis the scratch volume that was configured for the MARS agent.Once the recovery is successful, follow the steps in the section, Apply restored System State on a Windows Server, to complete the System State recovery process.
Recover System State files to an alternate server
If your Windows Server is corrupted or inaccessible, and you want to restore it to a stable state by recovering the Windows Server System State, you can restore the corrupted server's System State from another server. Use the following steps to the restore System State on a separate server.
The terminology used in these steps includes:
- Source machine – The original machine from which the backup was taken and which is currently unavailable.
- Target machine – The machine to which the data is being recovered.
- Sample vault – The Recovery Services vault to which the Source machine and Target machine are registered.
Note
Backups taken from one machine can't be restored to a machine running an earlier version of the operating system. For example, backups taken from a Windows Server 2016 machine can't be restored to Windows Server 2012 R2. However, the inverse is possible. You can use backups from Windows Server 2012 R2 to restore Windows Server 2016.
Open the Microsoft Azure Backup snap-in on the Target machine.
Ensure that the Target machine and the Source machine are registered to the same Recovery Services vault.
Select Recover Data to initiate the workflow.
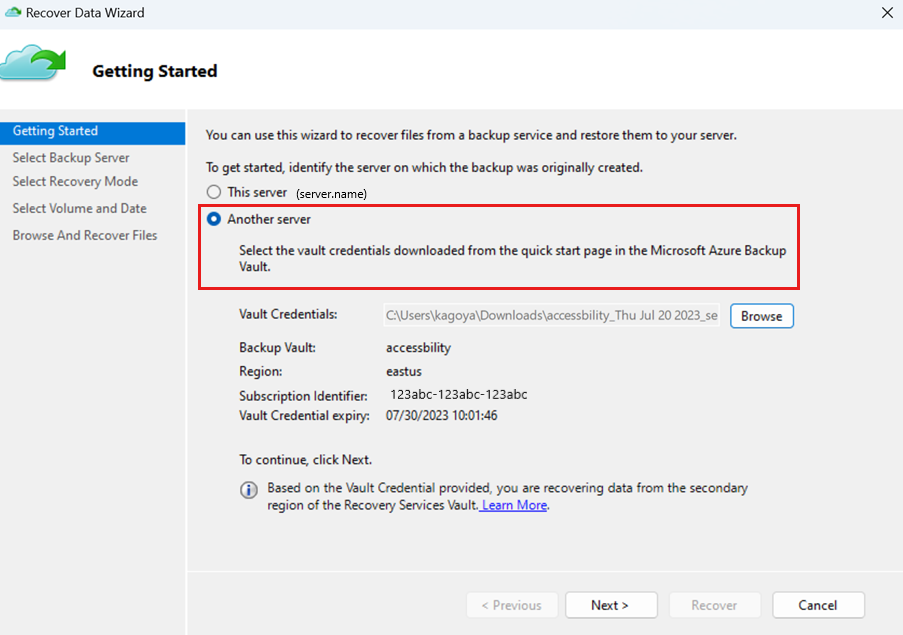
Select Another server
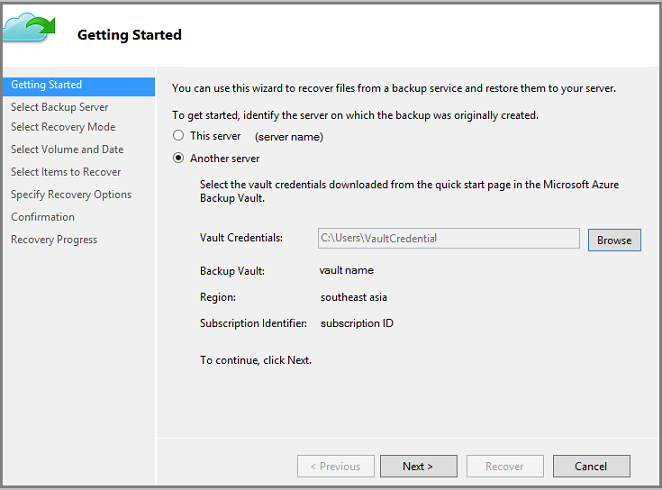
Provide the vault credential file that corresponds to the Sample vault. If the vault credential file is invalid (or expired), download a new vault credential file from the Sample vault in the Azure portal. Once the vault credential file is provided, the Recovery Services vault associated with the vault credential file appears.
If you want to use Cross Region Restore to restore the backup data from the secondary region, you need to download the Secondary Region vault credential file from the Azure portal, and then pass the file in the MARS agent.
On the Select Backup Server pane, select the Source machine from the list of displayed machines.
On the Select Recovery Mode pane, choose System State and select Next.
On the Calendar in the Select Volume and Date pane, select a recovery point. You can restore from any recovery point in time. Dates in bold indicate the availability of at least one recovery point. Once you select a date, if multiple recovery points are available, choose the specific recovery point from the Time drop-down menu.
Once you've chosen the recovery point to restore, select Next.
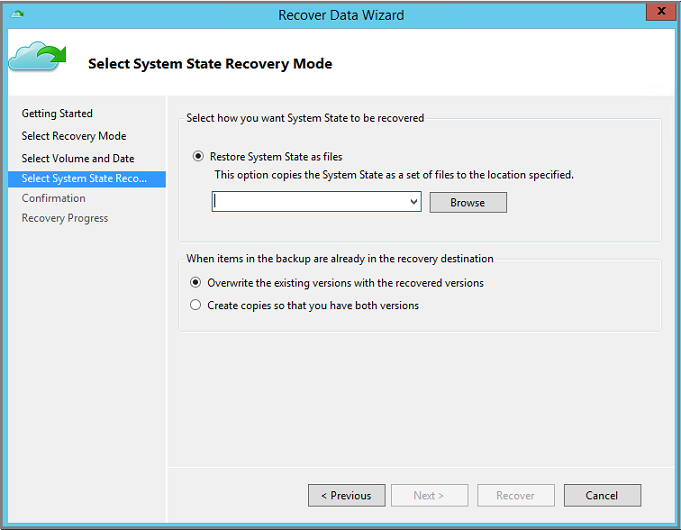
On the Select System State Recovery Mode pane, specify the destination where you want System State files to be recovered, then select Next.
The option, Create copies so that you have both versions, creates copies of individual files in an existing System State file archive instead of creating the copy of the entire System State archive.
Verify the details of recovery on the Confirmation pane, and select Recover.
Copy the WindowsImageBackup directory to the root of a non-critical volume of the server (for example
D:\\WindowsImageBackup). Usually the Windows OS volume is the critical volume.The WindowsImageBackup folder is available on the path
<restore_path>\C_vol\Program Files\Microsoft Azure Recovery Services Agent\Scratch\SSBV\WindowsImageBackupwhere>\C_vol\Program Files\Microsoft Azure Recovery Services Agent\Scratchis the scratch volume that was configured for the MARS agent.To complete the recovery process, use the following section to apply the restored System State files on a Windows Server.
Note
Windows Server 2008, 2008 R2, 2012 and 2012 R2 have reached End of Support (EOS). Review your usage and plan OS upgrades and migrations accordingly. For more information, see End of support for:
Perform in-place upgrade to Windows Server 2016, 2019, 2022, or 2025.
Apply restored System State on a Windows Server
Once you've recovered System State as files using Azure Recovery Services Agent, use the Windows Server Backup utility to apply the recovered System State to Windows Server. The Windows Server Backup utility is already available on the server. The following steps explain how to apply the recovered System State.
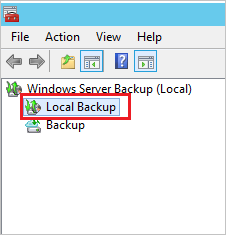
Open the Windows Server Backup snap-in. If you don't know where the snap-in was installed, search the computer or server for Windows Server Backup.
The desktop app appears in the search results. If it doesn't appear, or you encounter errors when you open the application, you must install the Windows Server Backup Features, and dependent components below it, that are available in the Add Features Wizard in Server Manager.
In the snap-in, select Local Backup.
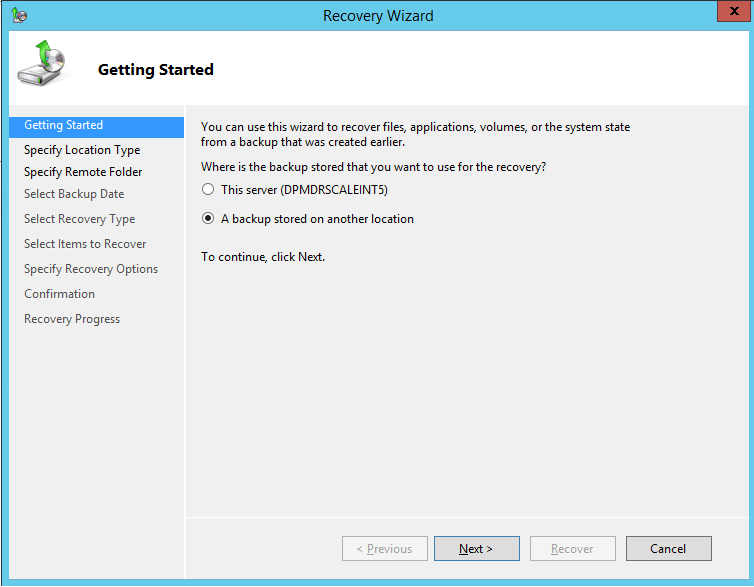
On the Local Backup console, in the Actions Pane, select Recover to open the Recovery Wizard.
Select the option, A backup stored in another location, and select Next.
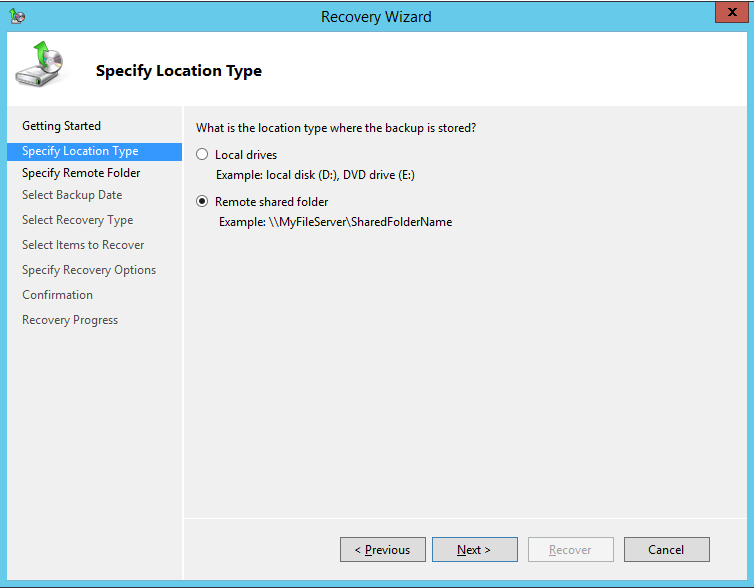
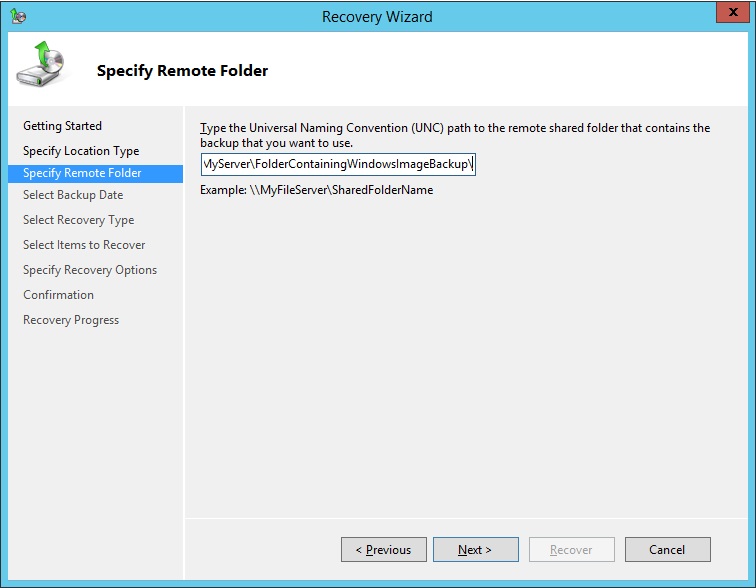
When specifying the location type, select Remote shared folder if your System State backup was recovered to another server. If your System State was recovered locally, then select Local drives.
If you're using a remote shared location, enter the path to the WindowsImageBackup directory. For example,
\\MyFileServer\MyFolder\WindowsImageBackup.If you've selected local drive, then Windows Server Backup automatically checks for system state backups in the root of all the attached volumes (for example,
D:\WindowsImageBackup). If Windows Server Backup can't find the local drive system state backup, ensure that you've copied the WindowsImageBackup folder at the root of a non-critical volume.Enter the path to the WindowsImageBackup directory, or choose the local drive containing this directory (for example, D:\WindowsImageBackup), recovered as part of the System State files recovery using Azure Recovery Services Agent and select Next.
Select the System State version that you want to restore, and select Next.
In the Select Recovery Type pane, select System State and select Next.
For the location of the System State Recovery, select Original Location, and select Next.
If you're restoring a domain controller, you'll see the following additional option:

Note
Only select “Perform an authoritative restore of Active Directory files” if you explicitly intend to do an authoritative restore of all Active Directory data.
Review the confirmation details, verify the reboot settings, select Recover to apply the restored System State files.

Note
Don't select the Automatically reboot the server option if you're performing the restore in DSRM mode.
After you've successfully completed a restore, you need to restart the server in normal mode. Open a command prompt and type the following:
bcdedit /deletevalue safebootReboot the server.
Special considerations for System State recovery on a domain controller
System State backup includes Active Directory data. Use the following steps to restore Active Directory Domain Service (AD DS) from its current state to a previous state. This type of restore can be done in two scenarios:
- Restoring all Active Directory data when there are no functioning domain controllers left in the forest
- Restoring a portion of the Active Directory data when those objects have been deleted or corrupted
This article will only be discussing the first scenario, which calls for a nonauthorative restore of AD DS and an authoritative restore of the sysvol folder. If you need to perform the second scenario (where the domain controllers are still functional but you need to restore particular AD objects), see these instructions.
Follow the steps here to Recover System State files to an alternate server.
Use the following commands to reboot your server in Directory Services Repair Mode. In an elevated command prompt:
Bcdedit /set safeboot dsrepair
Shutdown /r /t 0
To recover Active Directory as part of a system state restore, you can choose one of two methods:
Follow the instructions above to apply restored System State on a Windows Server with the Windows Server Backup utility.
Note
If you're restoring all Active Directory data (and there are no functioning domain controllers left in the forest), in step 9 above make sure to select Perform an authoritative restore of Active Directory files.
Use the wbadmin utility to perform the restore from the command line.
You'll need the version identifier of the backup you wish to use. You can get a list of version identifiers by running this command:
wbadmin get versions -backuptarget <servername\sharename>You then use that version identifier to run the restore.
For example, to perform a nonauthorative restore of AD DS and an authoritative restore of the sysvol folder using the backup from 04/30/2020 at 9:00 AM, which is stored on the shared resource
\\servername\shareforserver01, type:wbadmin start systemstaterecovery -version:04/30/2020-09:00 -backupTarget:\\servername\share -machine:server01 -authsysvol
After you've successfully completed a restore, you should restart the server in normal mode. Open a command prompt and type the following:
bcdedit /deletevalue safebootReboot the server.
For more information, see Back up and restore Active Directory domain controllers.
Troubleshoot failed System State restore
If the previous process of applying System State doesn't complete successfully, use the Windows Recovery Environment (Win RE) to recover your Windows Server. The following steps explain how to recover using Win RE. Use this option only if Windows Server doesn't boot normally after a System State restore. The following process erases non-system data, use caution.
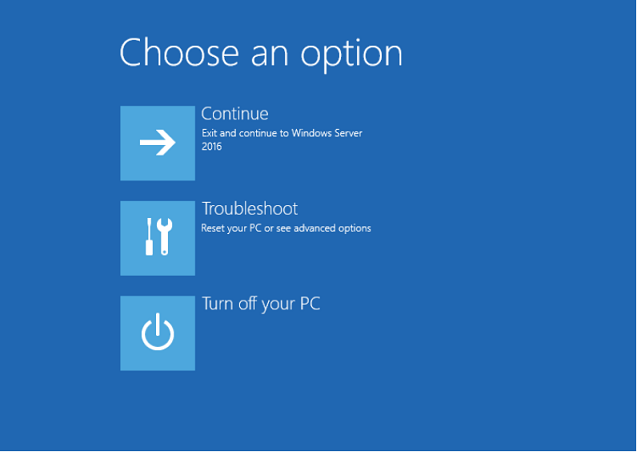
Boot your Windows Server into the Windows Recovery Environment (Win RE).
Select Troubleshoot from the three available options.
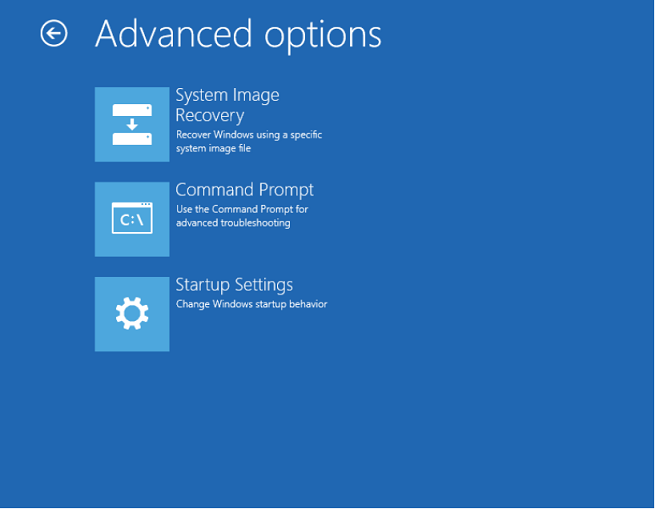
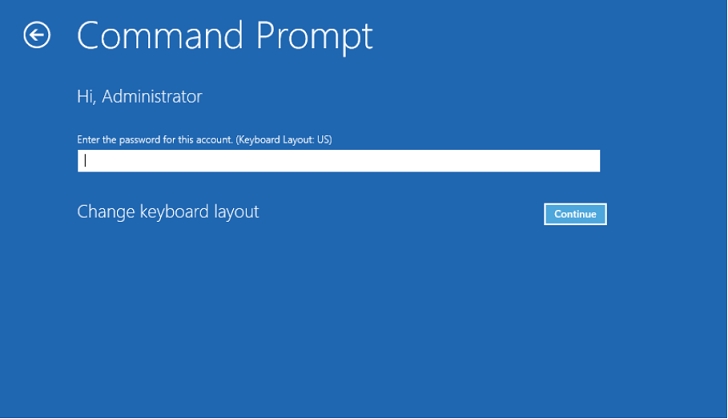
From the Advanced Options screen, select Command Prompt and provide the server administrator username and password.
Provide the server administrator username and password.
When you open the command prompt in administrator mode, run following command to get the System State backup versions.
Wbadmin get versions -backuptarget:<Volume where WindowsImageBackup folder is copied>: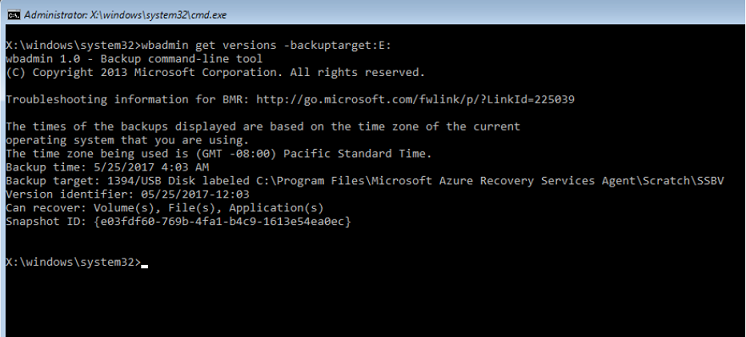
Run the following command to get all volumes available in the backup.
Wbadmin get items -version:<copy version from above step> -backuptarget:<Backup volume>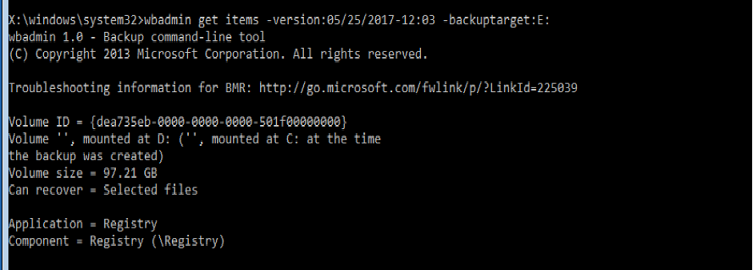
The following command recovers all volumes that are part of the System State Backup. Note that this step recovers only the critical volumes that are part of the System State. All non-System data is erased.
Wbadmin start recovery -items:C: -itemtype:Volume -version:<Backupversion> -backuptarget:<backup target volume>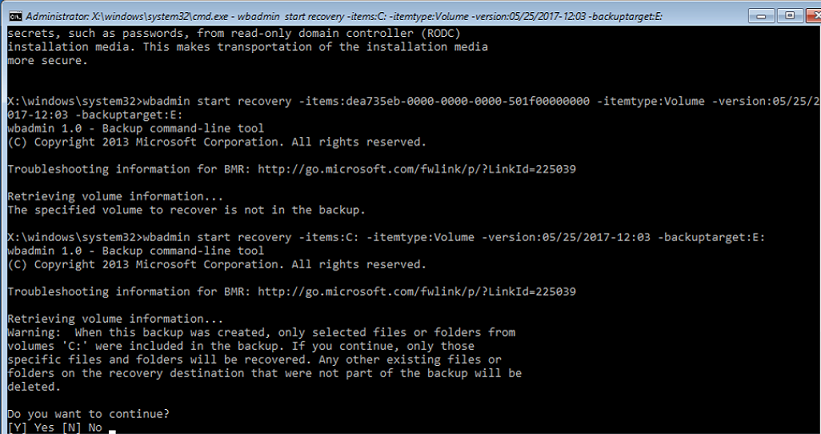
Next steps
- Now that you've recovered your files and folders, you can manage your backups.