Note
Access to this page requires authorization. You can try signing in or changing directories.
Access to this page requires authorization. You can try changing directories.
This article describes how to back up SAP HANA database instances that are running on Azure VMs to an Azure Backup Recovery Services vault.
Azure Backup now performs an SAP HANA storage snapshot-based backup of an entire database instance. Backup combines an Azure managed disk full or incremental snapshot with HANA snapshot commands to provide instant HANA backup and restore.
Note
- Currently, the snapshots are stored on your storage account/operational tier, and isn't stored in Recovery Services vault. Thus, the vault features, such as Cross-region restore,Cross-subscription restore, and security capabilities, aren't supported.
- Original Location Restore (OLR) isn't supported.
- HANA System Replication (HSR)) isn't supported.
- For pricing, as per SAP advisory, you must do a weekly full backup + logs streaming/Backint based backup so that the existing protected instance fee and storage cost are applied. For snapshot backup, the snapshot data created by Azure Backup is saved in your storage account and incurs snapshot storage charges. Thus, in addition to streaming/Backint backup charges, you're charged for per GB data stored in your snapshots, which is charged separately. Learn more about Snapshot pricing and Streaming/Backint based backup pricing.
For more information about the supported configurations and scenarios, see SAP HANA backup support matrix.
Before you start
Policy
According to SAP, it's mandatory to run a weekly full backup of all databases within an instance. Currently, logs are also mandatory for a database when you're creating a policy. With snapshots happening daily, we don’t see a need for incremental or differential backups in the database policy. Therefore, all databases in the database instance, which is required to be protected by a snapshot, should have a database policy of only weekly fulls + logs ONLY, along with daily snapshots at an instance level.
Important
- As per SAP advisory, we recommend you to configure Database via Backint with weekly fulls + log backup only policy before configuring DB Instance via Snapshot backup. If weekly fulls + logs backup only using Backint based backup isn't enabled, snapshot backup configuration will fail.

- Because the policy doesn’t call for differential or incremental backups, we do not recommend that you trigger on-demand differential backups from any client.

To summarize the backup policy:
- Always protect all databases within an instance with a database policy before you apply daily snapshots to the database instance.
- Make sure that all database policies have only Weekly fulls + logs and no differential/incremental backups.
- Do not trigger on-demand Backint-based streaming differential or incremental backups for these databases.
Permissions required for backup
You must assign the required permissions to the Azure Backup service, which resides on a HANA virtual machine (VM), to take snapshots of the managed disks and place them in a user-specified resource group that's mentioned in the policy. To do so, you can use the system-assigned managed identity of the source VM.
The following table lists the resource, permissions, and scope.
| Entity | Built-in role | Scope of permission | Description |
|---|---|---|---|
| Source VM | Virtual Machine Contributor | The backup admin who configures and runs the HANA snapshot backup | Configures the HANA instance |
| Source disk resource group (where all disks are present for backup) | Disk Backup Reader | The source VM system-assigned managed identity | Creates disk snapshots |
| Source snapshot resource group | Disk Snapshot Contributor | The source VM system-assigned managed identity | Creates disk snapshots and stores them in the source snapshot resource group |
| Source snapshot resource group | Disk Snapshot Contributor | Backup Management Service | Deletes old snapshots in the source snapshot resource group. |
When you're assigning permissions, consider the following:
The credentials that are used should have permissions to grant roles to other resources and should be either Owner or User Access Administrator, as mentioned in the steps for assigning user roles.
During backup configuration, you can use the Azure portal to assign the previously mentioned permissions, except Disk Snapshot Contributor to the Backup Management Service principal for the snapshot resource group. You need to manually assign this permission.
We recommend that you not change the resource groups after they're given or assigned to Azure Backup, because it makes it easier to handle the permissions.
Learn about the permissions required for snapshot restore and the SAP HANA instance snapshot backup architecture.
Establish network connectivity
Learn about the network configurations required for HANA instance snapshot.
Create a Recovery Services vault
A Recovery Services vault is a management entity that stores recovery points that are created over time. It provides an interface to perform backup-related operations. These operations include taking on-demand backups, performing restores, and creating backup policies.
To create a Recovery Services vault:
Sign in to the Azure portal.
Search for Business Continuity Center, and then go to the Business Continuity Center dashboard.

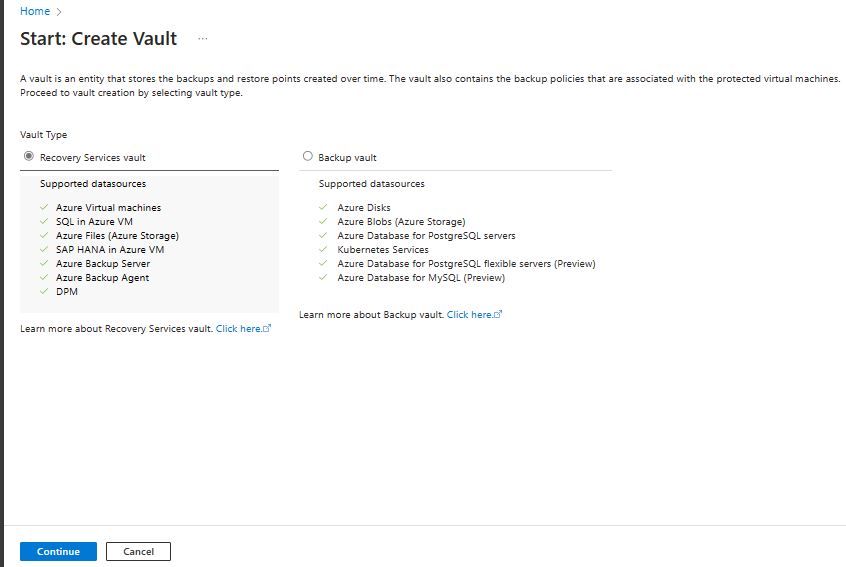
On the Vault pane, select + Vault.

Select Recovery Services vault > Continue.
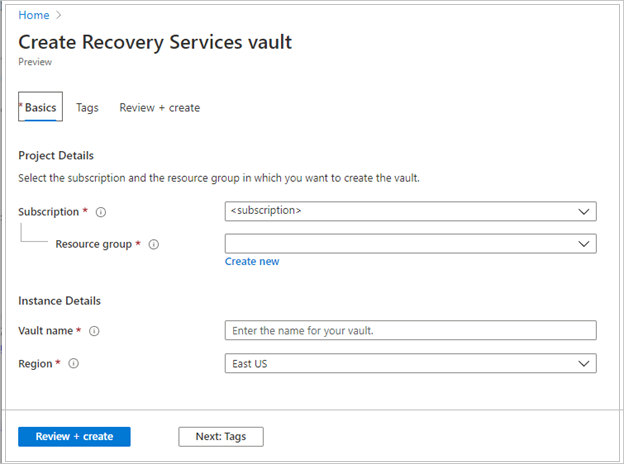
On the Recovery Services vault pane, enter the following values:
Subscription: Select the subscription to use. If you're a member of only one subscription, you see that name. If you're not sure which subscription to use, use the default subscription. Multiple choices appear only if your work or school account is associated with more than one Azure subscription.
Resource group: Use an existing resource group or create a new one. To view a list of available resource groups in your subscription, select Use existing. Then select a resource in the dropdown list. To create a new resource group, select Create new, and then enter the name. For more information about resource groups, see Azure Resource Manager overview.
Vault name: Enter a friendly name to identify the vault. The name must be unique to the Azure subscription. Specify a name that has at least 2 but not more than 50 characters. The name must start with a letter and consist only of letters, numbers, and hyphens.
Region: Select the geographic region for the vault. For you to create a vault to help protect any data source, the vault must be in the same region as the data source.
Important
If you're not sure of the location of your data source, close the window. Go to the list of your resources in the portal. If you have data sources in multiple regions, create a Recovery Services vault for each region. Create the vault in the first location before you create a vault in another location. You don't need to specify storage accounts to store the backup data. The Recovery Services vault and Azure Backup handle that step automatically.
After you provide the values, select Review + create.
To finish creating the Recovery Services vault, select Create.
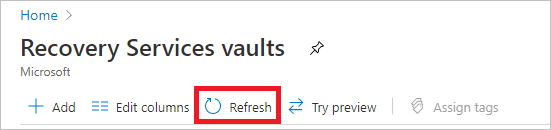
It can take a while to create the Recovery Services vault. Monitor the status notifications in the Notifications area at the upper right. After the vault is created, it appears in the list of Recovery Services vaults. If the vault doesn't appear, select Refresh.


Azure Backup now supports immutable vaults that help you ensure that after recovery points are created, they can't be deleted before their expiry according to the backup policy. You can make the immutability irreversible for maximum protection to protect your backup data from various threats, including ransomware attacks and malicious actors. Learn more about Azure Backup immutable vaults.
Create a policy
To create a policy for the SAP HANA database instance backup, follow these steps:
In the Azure portal, select a Recovery Services vault.
Under Backup, select Backup Policies.
Select Add.
On the Select policy type pane, select SAP HANA in Azure VM (DB Instance via snapshot).

On the Create policy pane, do the following:

Policy name: Enter a unique policy name.
Snapshot Backup: Set the Time and Timezone for backup in the dropdown lists. The default settings are 10:30 PM and (UTC) Coordinated Universal Time.
Note
Azure Backup currently supports Daily backup only.
Instant Restore: Set the retention of recovery snapshots from 1 to 35 days. The default value is 2.
Resource group: Select the appropriate resource group in the drop-down list.
Managed Identity: Select a managed identity in the dropdown list to assign permissions for taking snapshots of the managed disks and place them in the resource group that you've selected in the policy.
You can also create a new managed identity for snapshot backup and restore. To create a managed identity and assign it to the VM with SAP HANA database, follow these steps:
Select + Create.

On the Create User Assigned Managed Identity page, choose the required Subscription, Resource group, Instance region, and add an Instance name.
Select Review + create.

Go to the VM with SAP HANA database, and then select Identity > User assigned tab.
Select User assigned managed identity.

Select the subscription, resource group, and the new user-assigned managed identity.
Select Add.

On the Create policy page, under Managed Identity, select the newly created user-assigned managed identity > OK.

You need to manually assign the permissions for the Azure Backup service to delete the snapshots as per the policy. Other permissions are assigned in the Azure portal.
To assign the Disk Snapshot Contributor role to the Backup Management Service manually in the snapshot resource group, see Assign Azure roles by using the Azure portal.
Select Create.


You'll also need to create a policy for SAP HANA database backup.
Discover the database instance
To discover the database instance where the snapshot is present, see the Back up SAP HANA databases in Azure VMs.
Configure snapshot backup for SAP HANA database instance
Before you configure a snapshot backup in this section, configure the backup for the database.
Then, to configure a snapshot backup, do the following:
In the Recovery Services vault, select Backup.
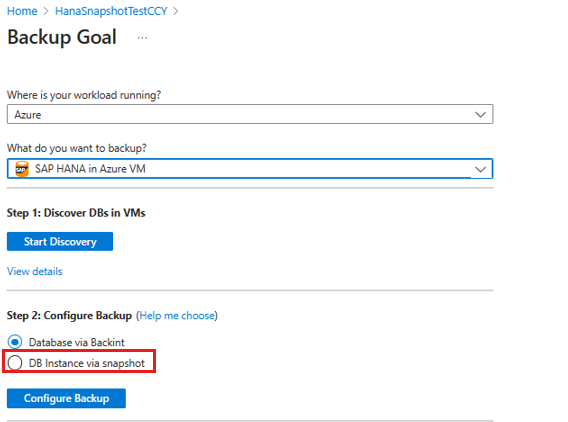
Select SAP HANA in Azure VM as the data source type, select a Recovery Services vault to use for backup, and then select Continue.
On the Backup Goal pane, under Step 2: Configure Backup, select DB Instance via snapshot, and then select Configure Backup.
On the Configure Backup pane, in the Backup policy dropdown list, select the database instance policy, and then select Add/Edit to check the available database instances.
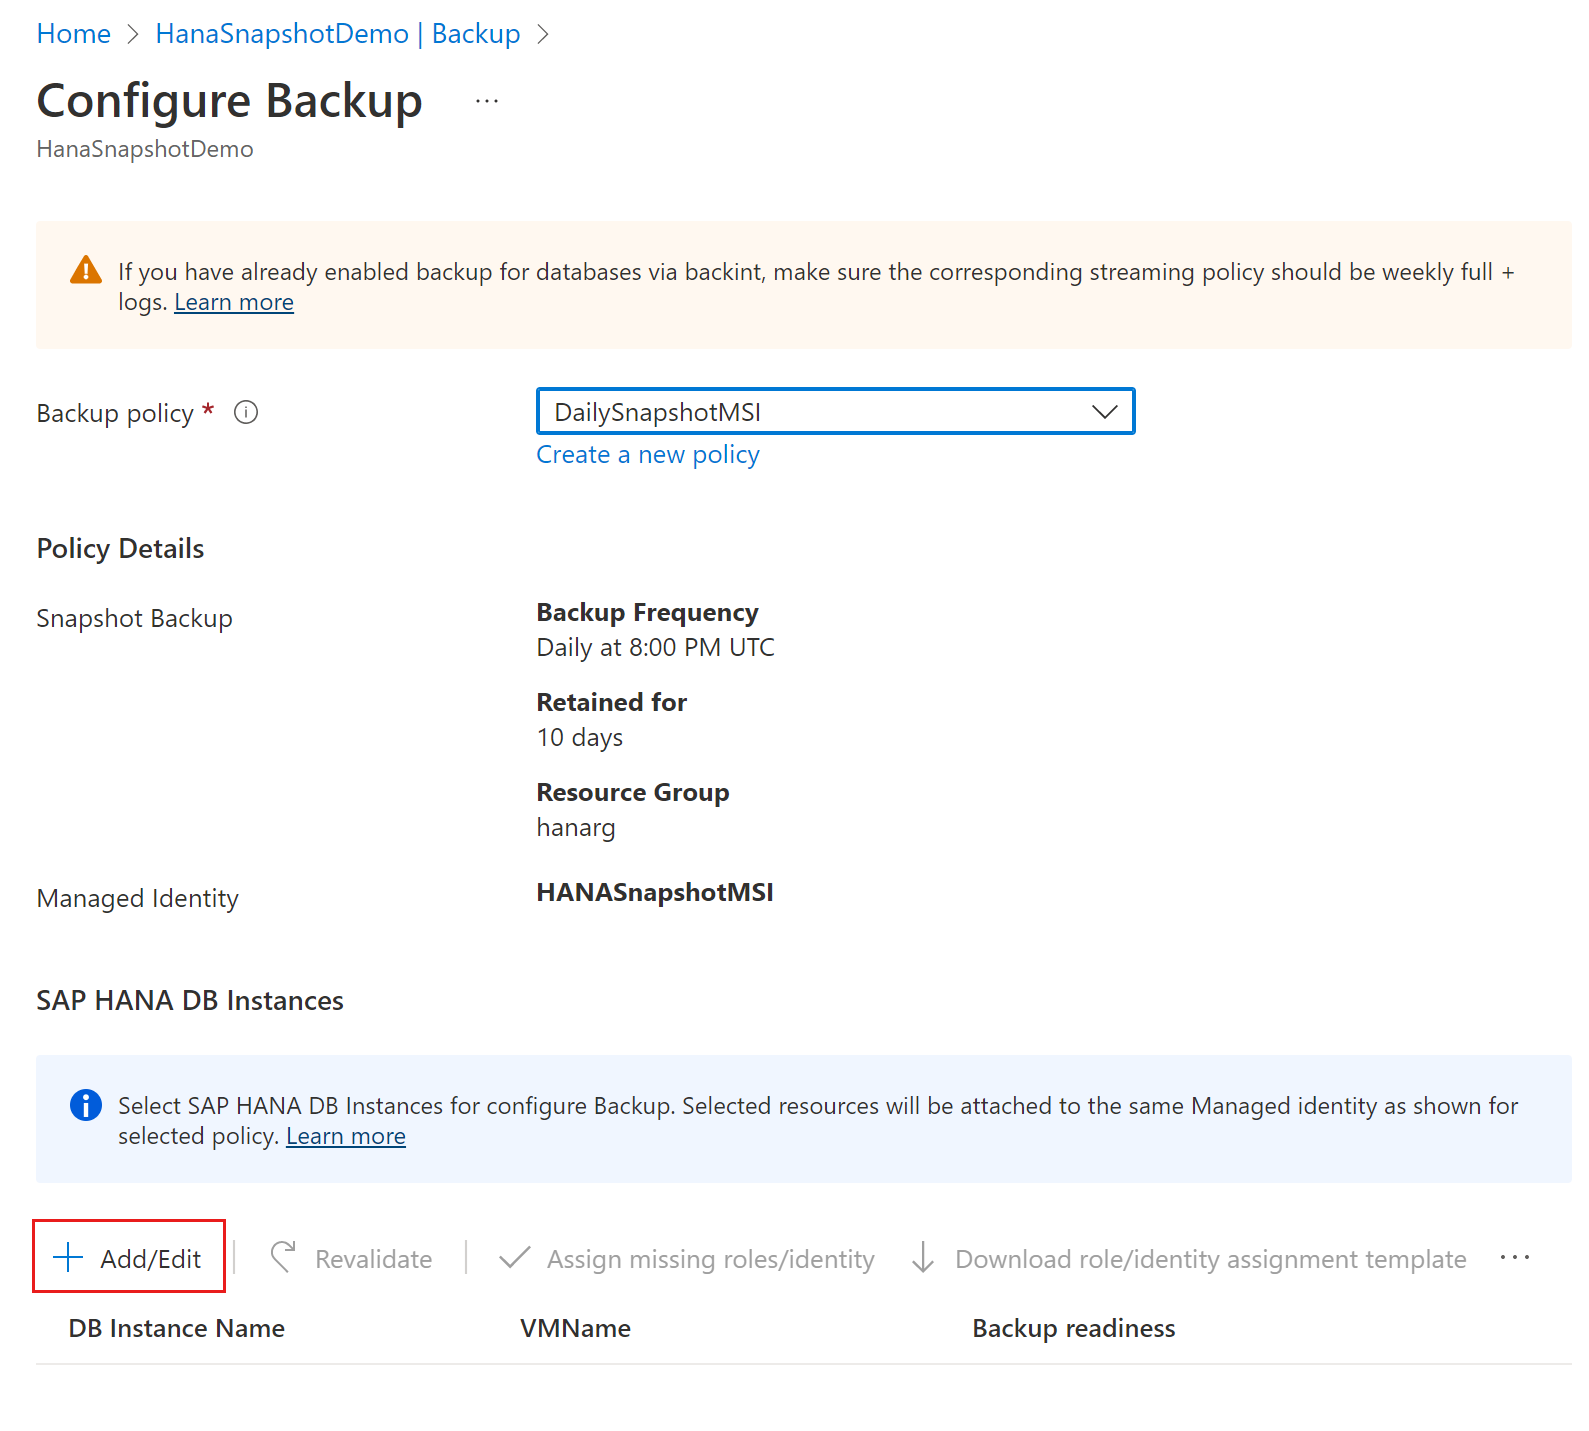
To edit a DB instance selection, select the checkbox that corresponds to the instance name, and then select Add/Edit.
On the Select items to backup pane, select the checkboxes next to the database instances that you want to back up, and then select OK.
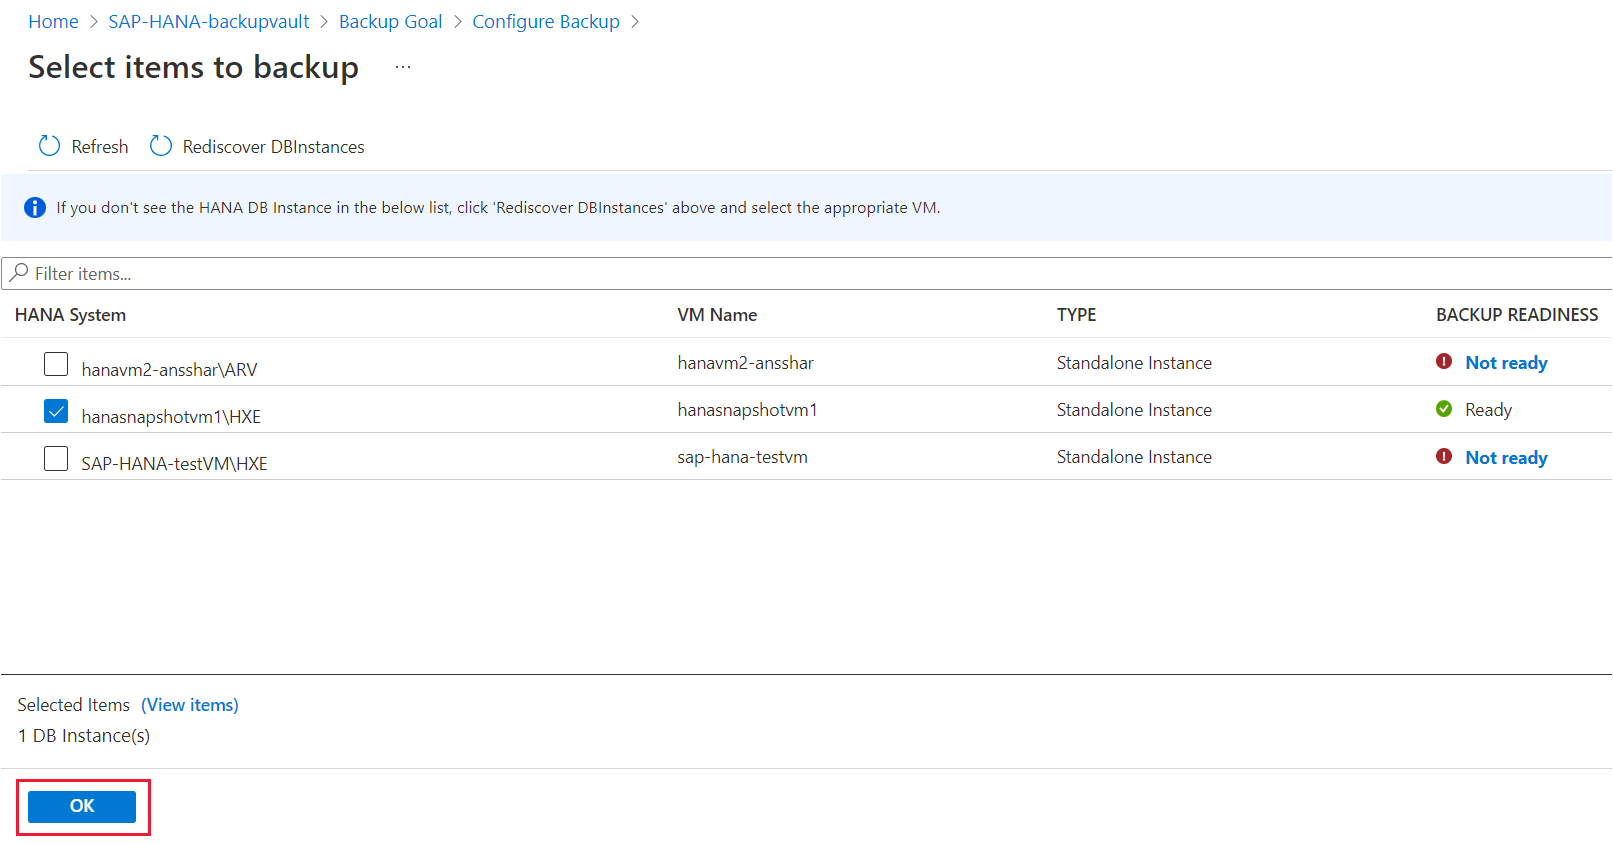
When you select HANA instances for backup, the Azure portal validates for missing permissions in the system-assigned managed identity that's assigned to the policy.
If the permissions aren't present, you need to select Assign missing roles/identity to assign all permissions.
The Azure portal then automatically re-validates the permissions, and the Backup readiness column displays the status as Success.
When the backup readiness check is successful, select Enable backup.

Run an on-demand backup for SAP HANA database instance snapshot
To run an on-demand backup, do the following:
In the Azure portal, select a Recovery Services vault.
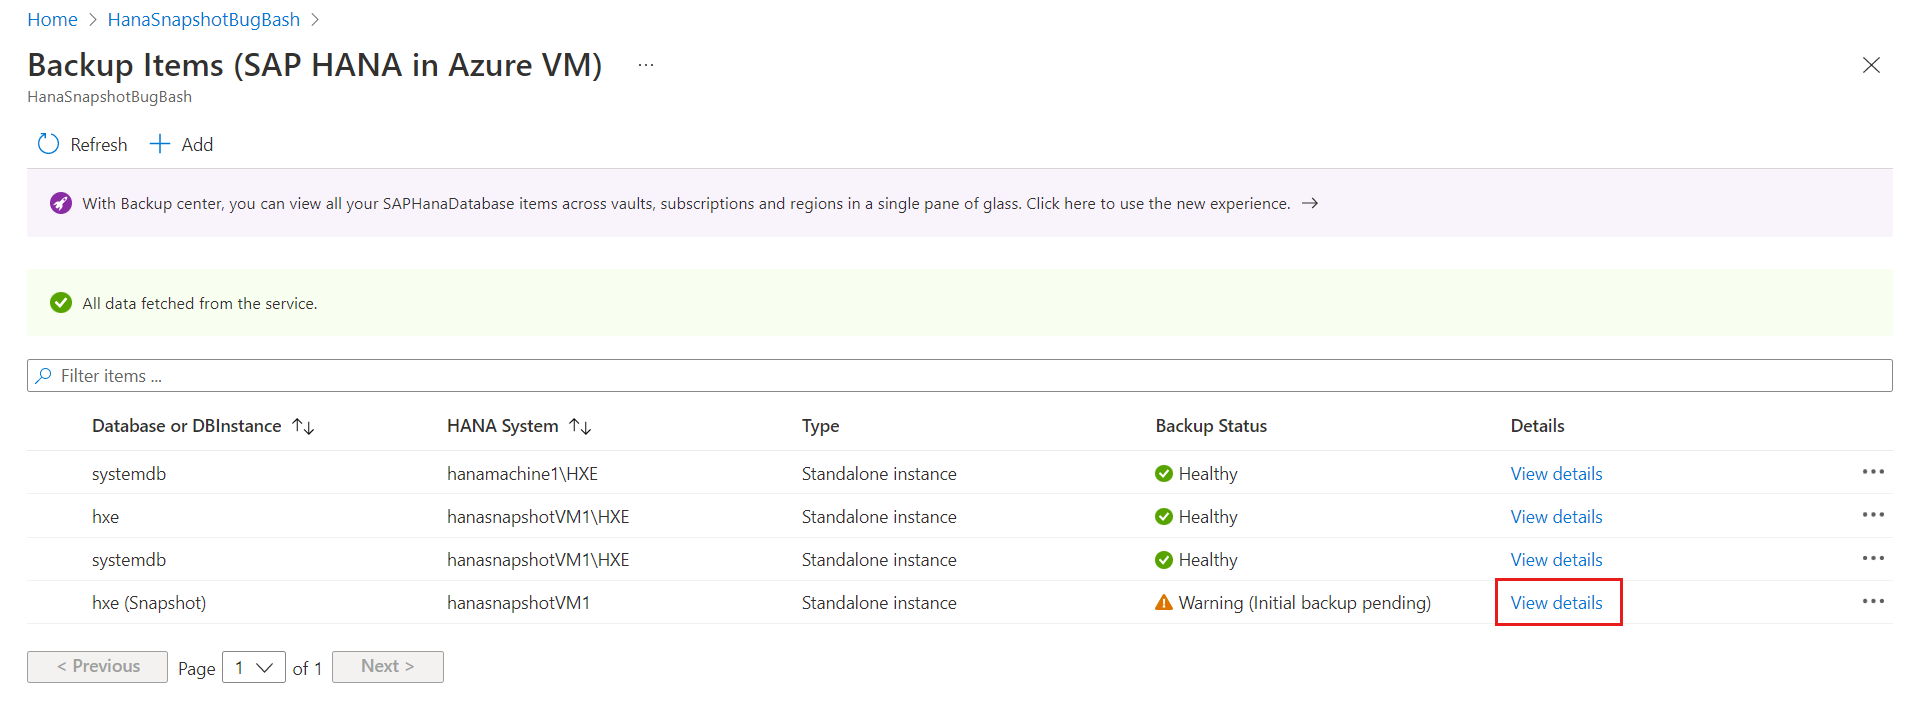
In the Recovery Services vault, on the left pane, select Backup items.
By default, Primary Region is selected. Select SAP HANA in Azure VM.
On the Backup Items pane, select the View details link next to the SAP HANA snapshot instance.
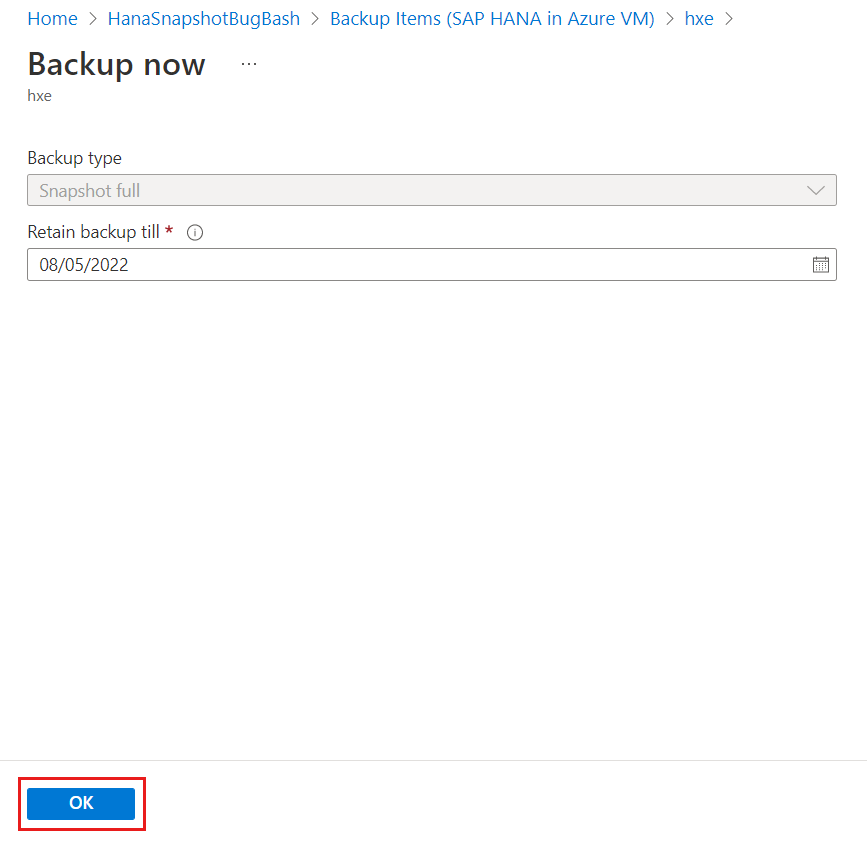
Select Backup now.
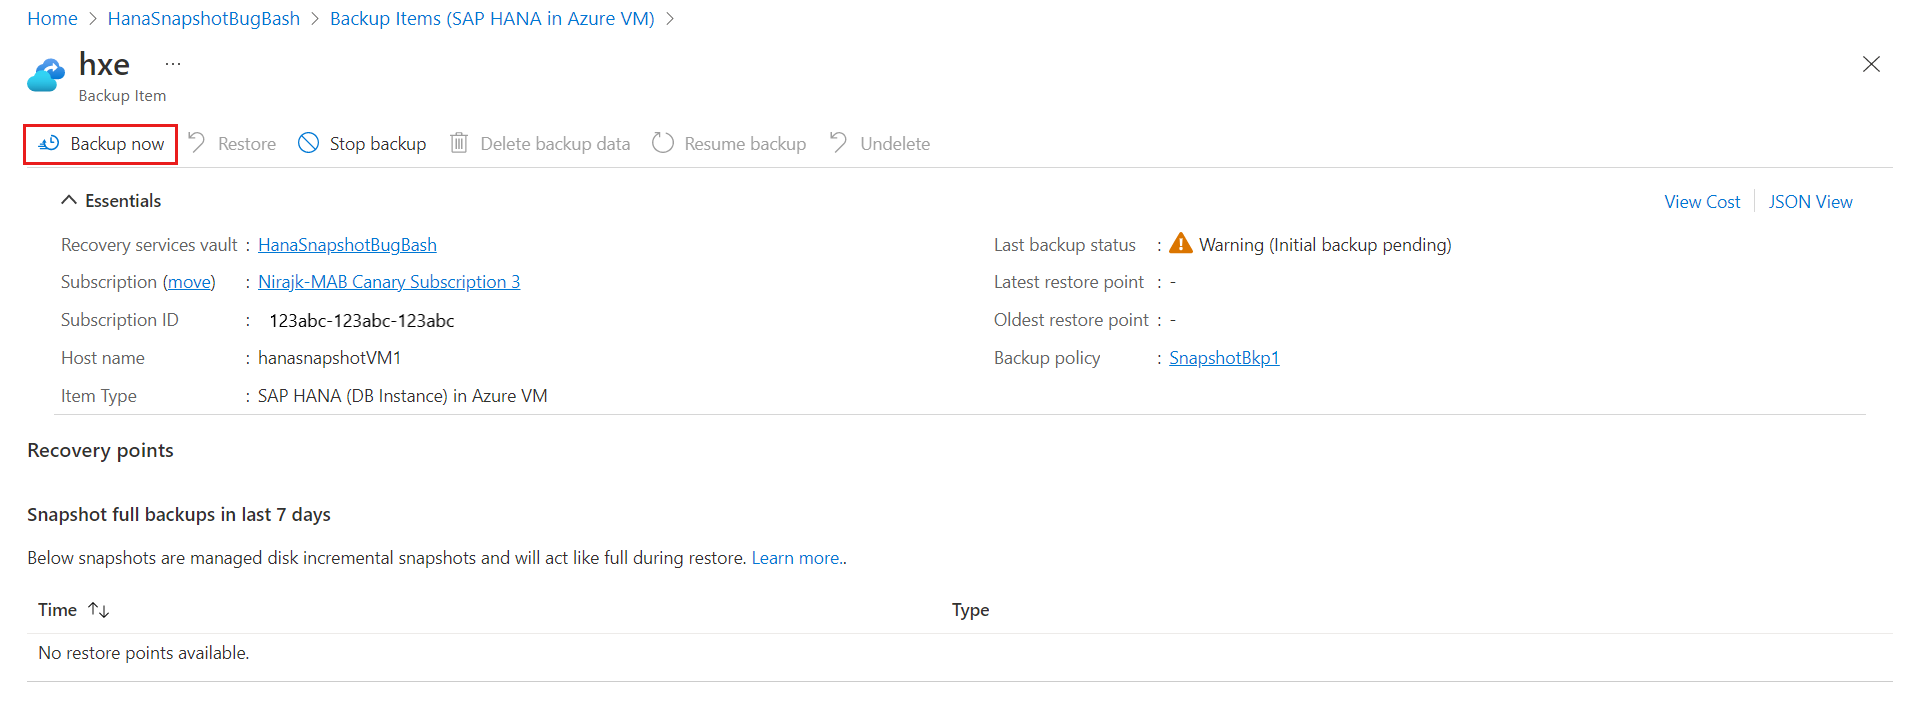
On the Backup now pane, select OK.
Track a backup job for SAP HANA database instance snapshot
The Azure Backup service creates a job if you schedule backups or if you trigger an on-demand backup operation for tracking. To view the backup job status, do the following:
In the Recovery Services vault, on the left pane, select Backup Jobs.
The jobs dashboard displays the status of the jobs that were triggered in the past 24 hours. To modify the time range, select Filter, and then make the required changes.
To review the details of a job, select the View details link next to the job name.
Next steps
Learn how to: