Note
Access to this page requires authorization. You can try signing in or changing directories.
Access to this page requires authorization. You can try changing directories.
APPLIES TO: SDK v4
The Azure Bot resource (bot resource) allows you to register your bot with Azure AI Bot Service and to connect your bot to channels. You can build, connect, and manage bots to interact with your users wherever they are, from your app or website to Teams, Messenger and many other channels.
This article describes how to create a bot resource through the Azure portal.
- To learn how to create a bot, see the Create a bot with the Bot Framework SDK quickstart.
- For information on how to provision and publish a bot to Azure, see how to Deploy your bot in Azure.
Managing resources
When you create a bot resource, Azure creates associated resources. Some of the resources created depend on how you decide to manage your bot's identity.
Your bot's identity can be managed in Azure in several ways:
- As a user-assigned managed identity, so you don’t need to manage credentials manually.
- As a single-tenant app.
- As a multi-tenant app.
Note
- Support for user-assigned managed identity and single-tenant app types is available in the Bot Framework SDK for C#, JavaScript, and Python.
- These app types are not supported in other SDK languages, Bot Framework Composer, Bot Framework Emulator, or Dev Tunnels.
Important
- Multi-tenant bot creation will be deprecated after July 31, 2025.
- Existing multi-tenant bots will continue to function, but new multi-tenant bot creation will no longer be supported after that date.
- To ensure continued support, use single-tenant or user-assigned managed identity going forward.
Supported App Types
| App Type | Supported In |
|---|---|
| User-assigned managed identity | Azure AI Bot Service; C#, JavaScript, and Python SDKs |
| Single-tenant | Azure AI Bot Service; C#, JavaScript, and Python SDKs |
| Multi-tenant (Deprecated – ends July 31, 2025) | Azure AI Bot Service; all Bot Framework SDK languages; Composer; Emulator; Dev Tunnels |
Prerequisites
- If you don't have an Azure subscription, create a free account before you begin.
- The Bot Framework SDK for C# or JavaScript version 4.15.0 or later, for user-assigned managed identity and single-tenant bots.
Create the resource
Create the Azure Bot resource, which will allow you to register your bot with the Azure AI Bot Service.
Tip
New Web App Bot and Bot Channels Registration resources can't be created; however, any such existing resources that are configured and deployed will continue to work. Bots created from a VSIX or Yeoman template from SDK version 4.14.1.2 or later contain ARM templates that will generate an Azure Bot resource.
Go to the Azure portal.
In the right pane, select Create a resource.
In the search box enter
bot, then press Enter.Select the Azure Bot card.
Select Create.
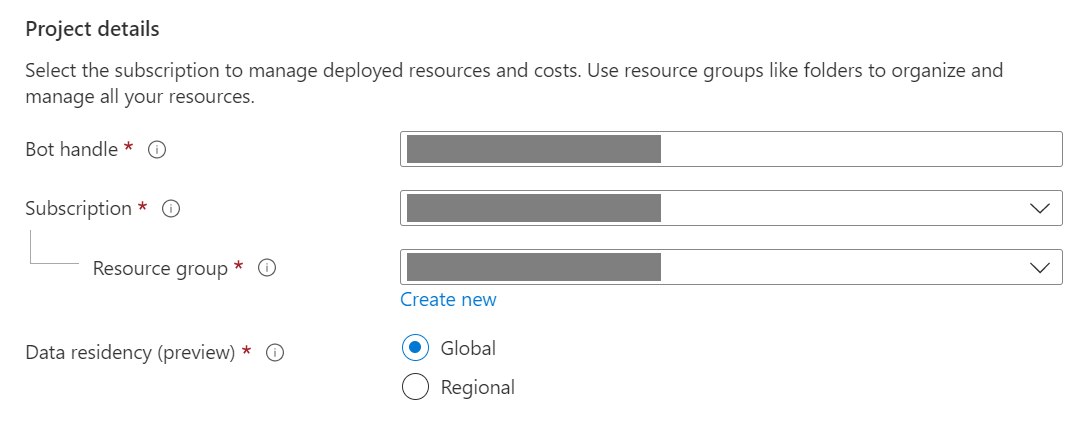
Enter values in the required fields and review and update settings.
Provide information under Project details. Select whether your bot will have global or local data residency. Currently, the local data residency feature is available for resources in the "westeurope" and "centralindia" region. For more information, see Regionalization in Azure AI Bot Service.
Provide information under Microsoft App ID. Select how your bot identity will be managed in Azure and whether to create a new identity or use an existing one.

Select Review + create.
If the validation passes, select Create.
Once the deployment completes, select Go to resource. You should see the bot and related resources listed in the resource group you selected.
If you don't already have the Bot Framework SDK, select Download from GitHub to learn how to consume the packages for your preferred language.
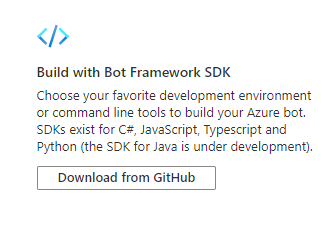
You're now ready to build your bot with the Bot Framework SDK.
Tip
When Azure creates a new single-tenant or multi-tenant Azure Bot resource with a new app ID, it also generates a password.
Bot Identity Information
Follow these steps to add identity information to your bot's configuration file. The file differs depending on the programming language used to create the bot.
Important
- The Java version of the Bot Framework SDK only supports multi-tenant bots.
- The C#, JavaScript, and Python versions support all three application types for managing the bot's identity.
| Language | File name | Notes |
|---|---|---|
| C# | appsettings.json | Supports all three application types for managing your bot's identity. |
| JavaScript | .env | Supports all three application types for managing your bot's identity. |
| Java | application.properties | Only supports multi-tenant bots. |
| Python | config.py | Supports all three application types for managing your bot's identity. |
The identity information you need to add depends on the bot's application type. Provide the following values in your configuration file.
Available for C#, JavaScript, and Python bots.
| Property | Value |
|---|---|
MicrosoftAppType |
UserAssignedMSI |
MicrosoftAppId |
The client ID of the user-assigned managed identity. |
MicrosoftAppPassword |
Not applicable. Leave this blank for a user-assigned managed identity bot. |
MicrosoftAppTenantId |
The tenant ID of the user-assigned managed identity. |
To update your app service
If you have an existing App Service resource (web app) for your bot and your bot is a user-assigned managed identity application, you may need to update your bot's app service:
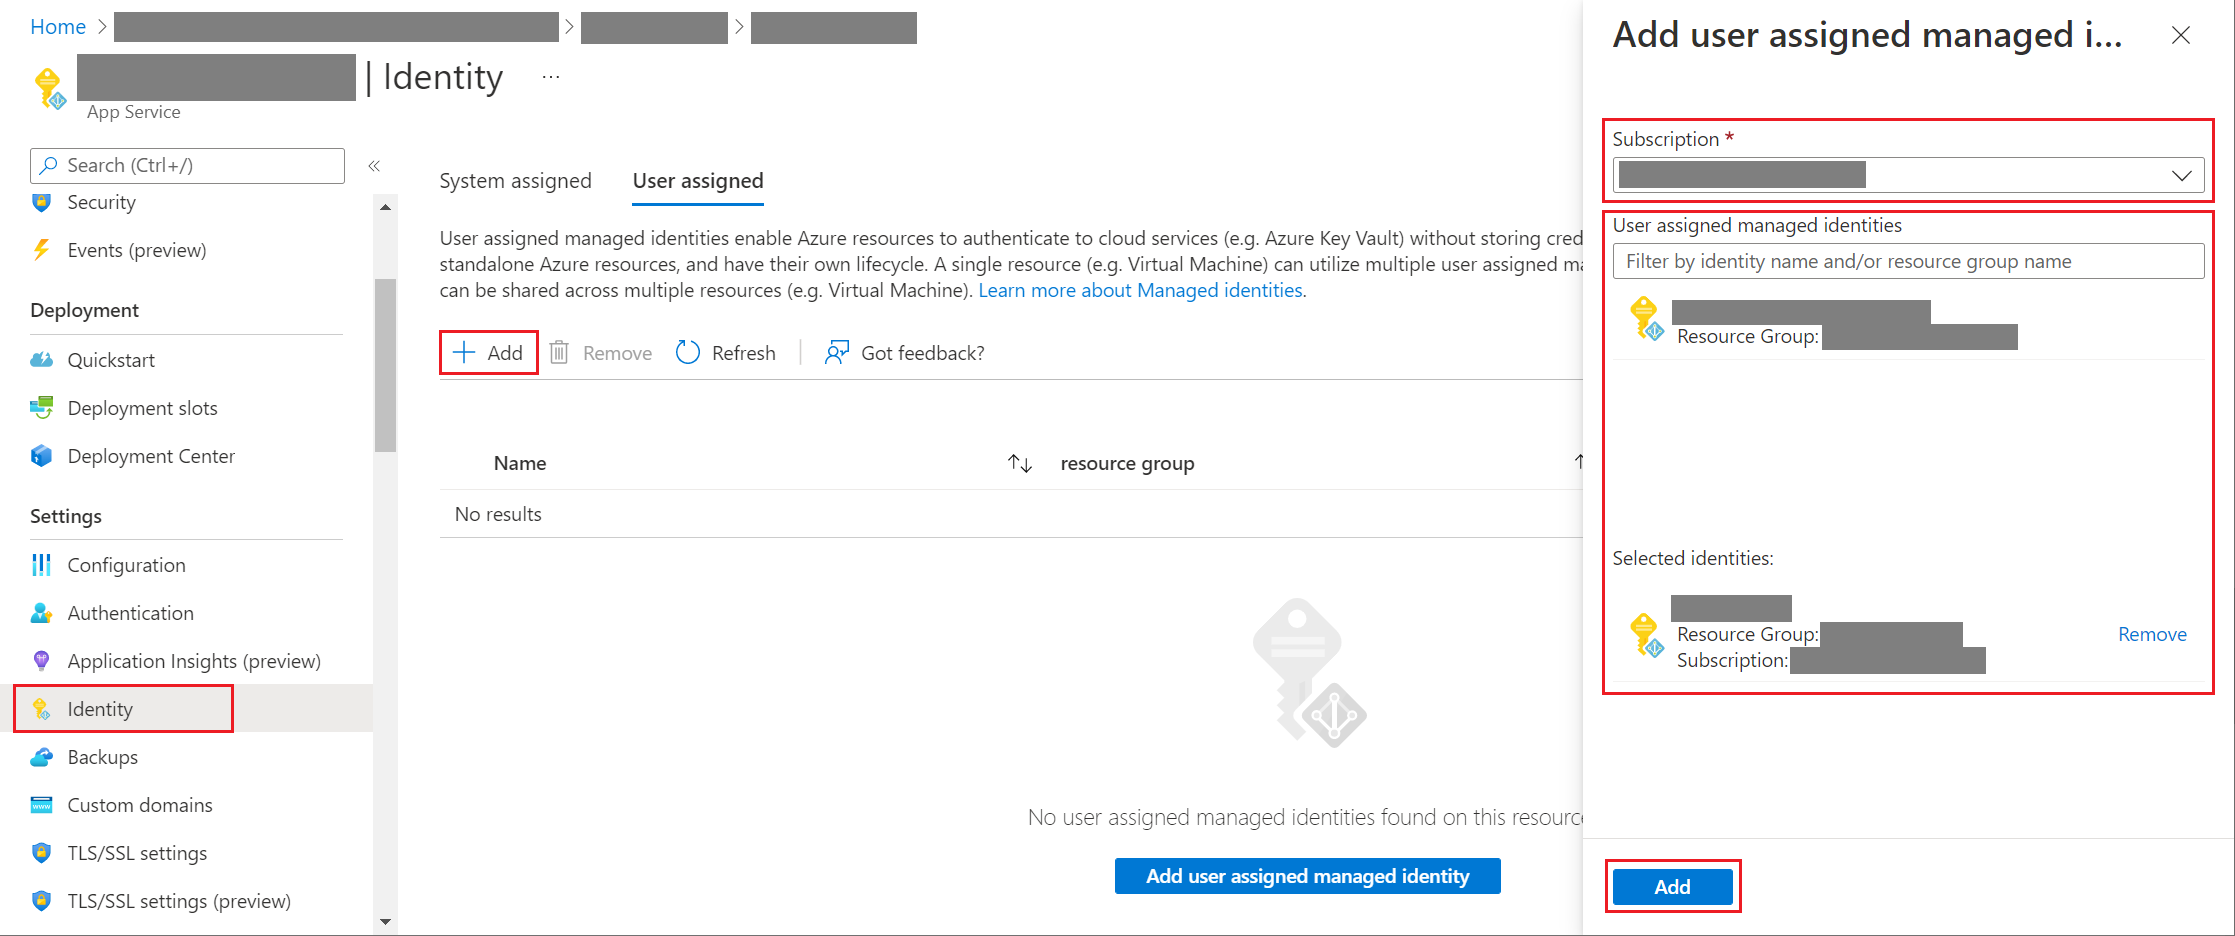
- Go to the App Service blade for your bot's web app.
- Under Settings, select Identity.
- On the Identity blade, select the User assigned tab and Add (+).
- On the Add user assigned managed identity blade:
Select your subscription.
For User assigned managed identities, select the managed identity for your bot. If the managed identity was auto-generated for you, it will have the same name as your bot.
Select Add to use this identity for your bot.
To get your app or tenant ID
To get your bot's app or tenant ID:
- Go to the Azure Bot resource blade for your bot.
- Go to the bot's Configuration blade. From this blade, you can copy the bot's Microsoft App ID or App Tenant ID.
To generate a new password
Single-tenant and multi-tenant bots have an app secret or password that you need for some operations. Azure AI Bot Service hides your bot secret. However, the owner of the bot's App Service resource can generate a new password:
- Go to the Azure Bot resource blade for your bot.
- Go to the bot's Configuration blade.
- Select Manage, next to Microsoft App ID, to go to the Certificates + secrets blade for the app service.
- Follow the instructions on the blade to create a new client secret and record the value in a safe place.
Additional information
- For information about identity management with Microsoft Entra ID, see What is Microsoft Entra ID?.
- For information about Azure App Service and App Service plans, see the App Service overview.
- For information about Azure resources and how they're managed in general, see the Azure Resource Manager overview.
Note
The Bot Framework Composer and Bot Framework Emulator currently only support multi-tenant bots. The Bot Framework SDK for C# or JavaScript version 4.15.0 or later is required for user-assigned managed identity and single-tenant bots.
Skill support
Some types of skill consumers are not able to use some types of skill bots. The following table describes which combinations are supported.
| Multi-tenant skill | Single-tenant skill | User-assigned managed identity skill | |
|---|---|---|---|
| Multi-tenant consumer | Supported | Not supported | Not supported |
| Single-tenant consumer | Not supported | Supported if both apps belong to same tenant | Supported if both apps belong to same tenant |
| User-assigned managed identity consumer | Not supported | Supported if both apps belong to same tenant | Supported if both apps belong to same tenant |
For information on how to configure a skill or skill consumer, see Implement a skill or Implement a skill consumer.