Note
Access to this page requires authorization. You can try signing in or changing directories.
Access to this page requires authorization. You can try changing directories.
You can use a chaos experiment to verify that your application is resilient to failures by causing those failures in a controlled environment. This article provides an overview of how to use Azure Chaos Studio with a chaos experiment that you've previously created.
Start an experiment
Open the Azure portal.
Search for Chaos Studio in the search bar.
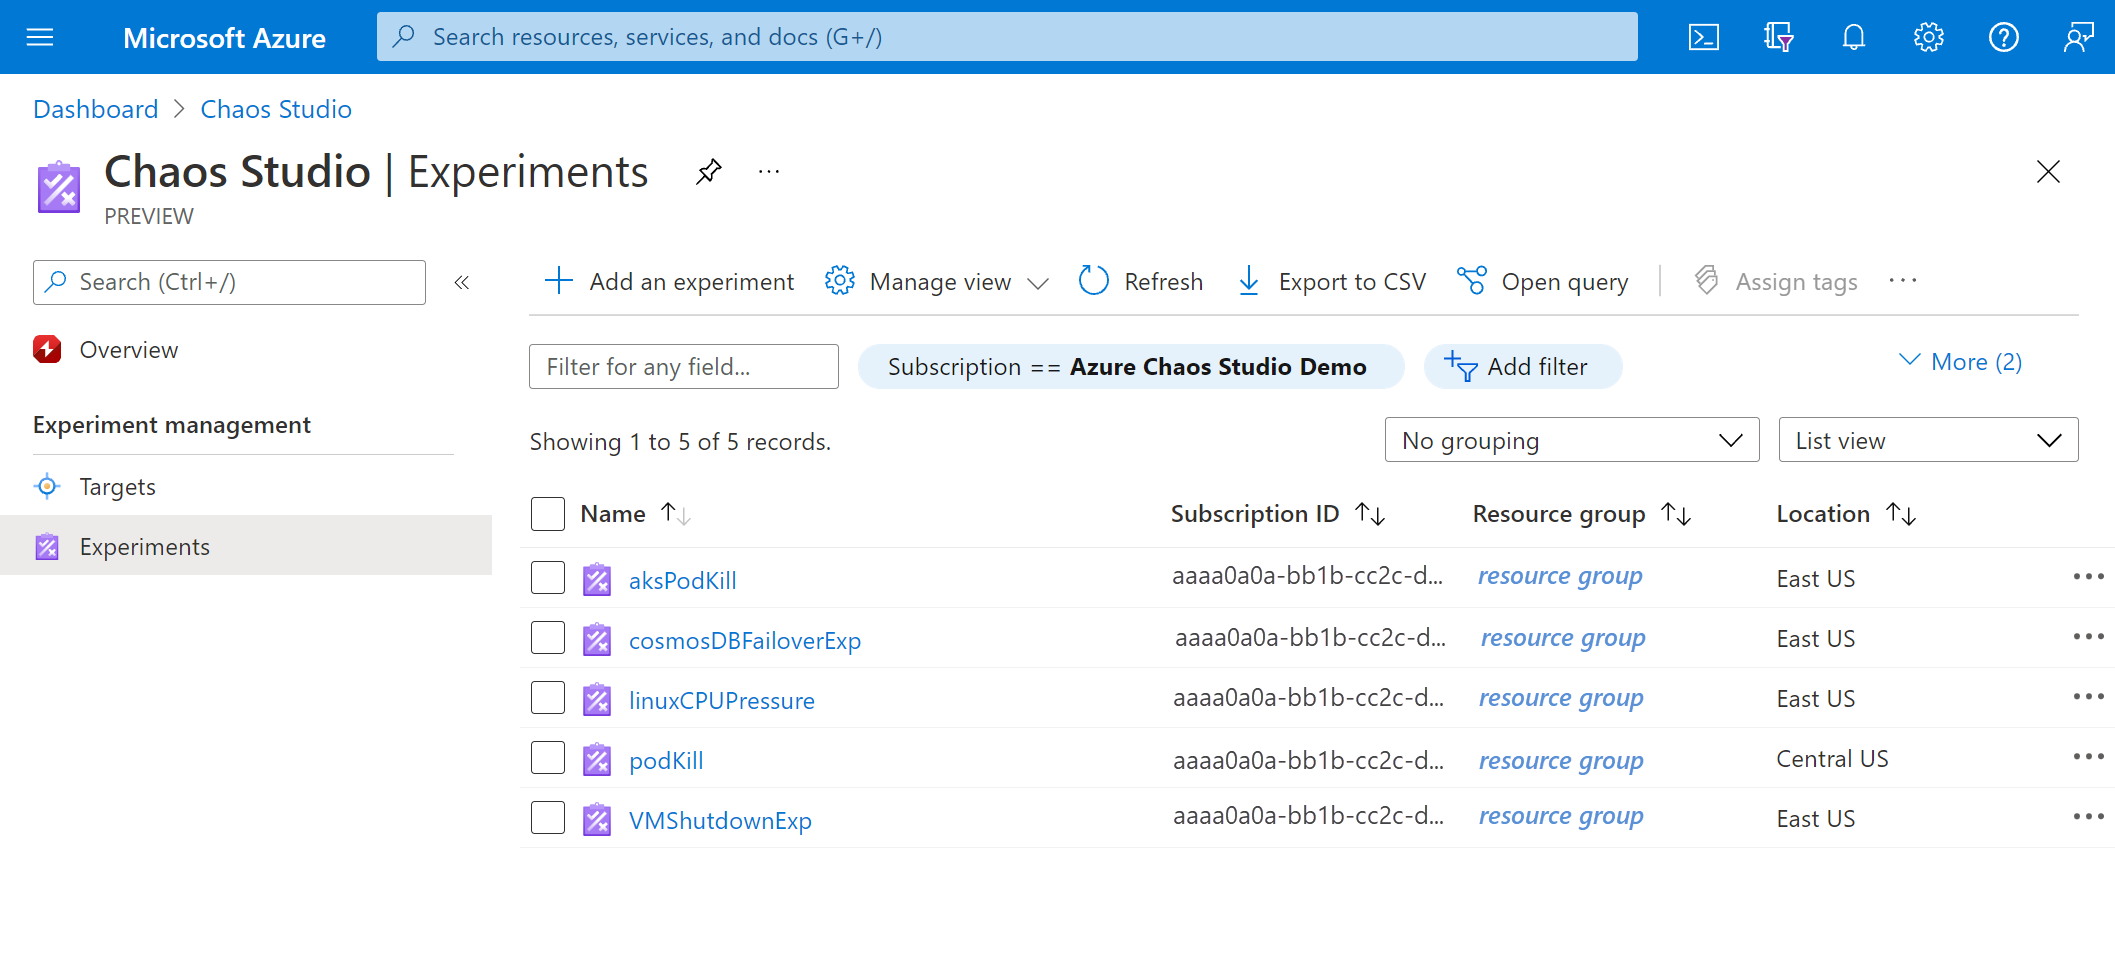
Select Experiments. This experiment list view is where you can start, stop, or delete experiments in bulk. You can also create a new experiment.
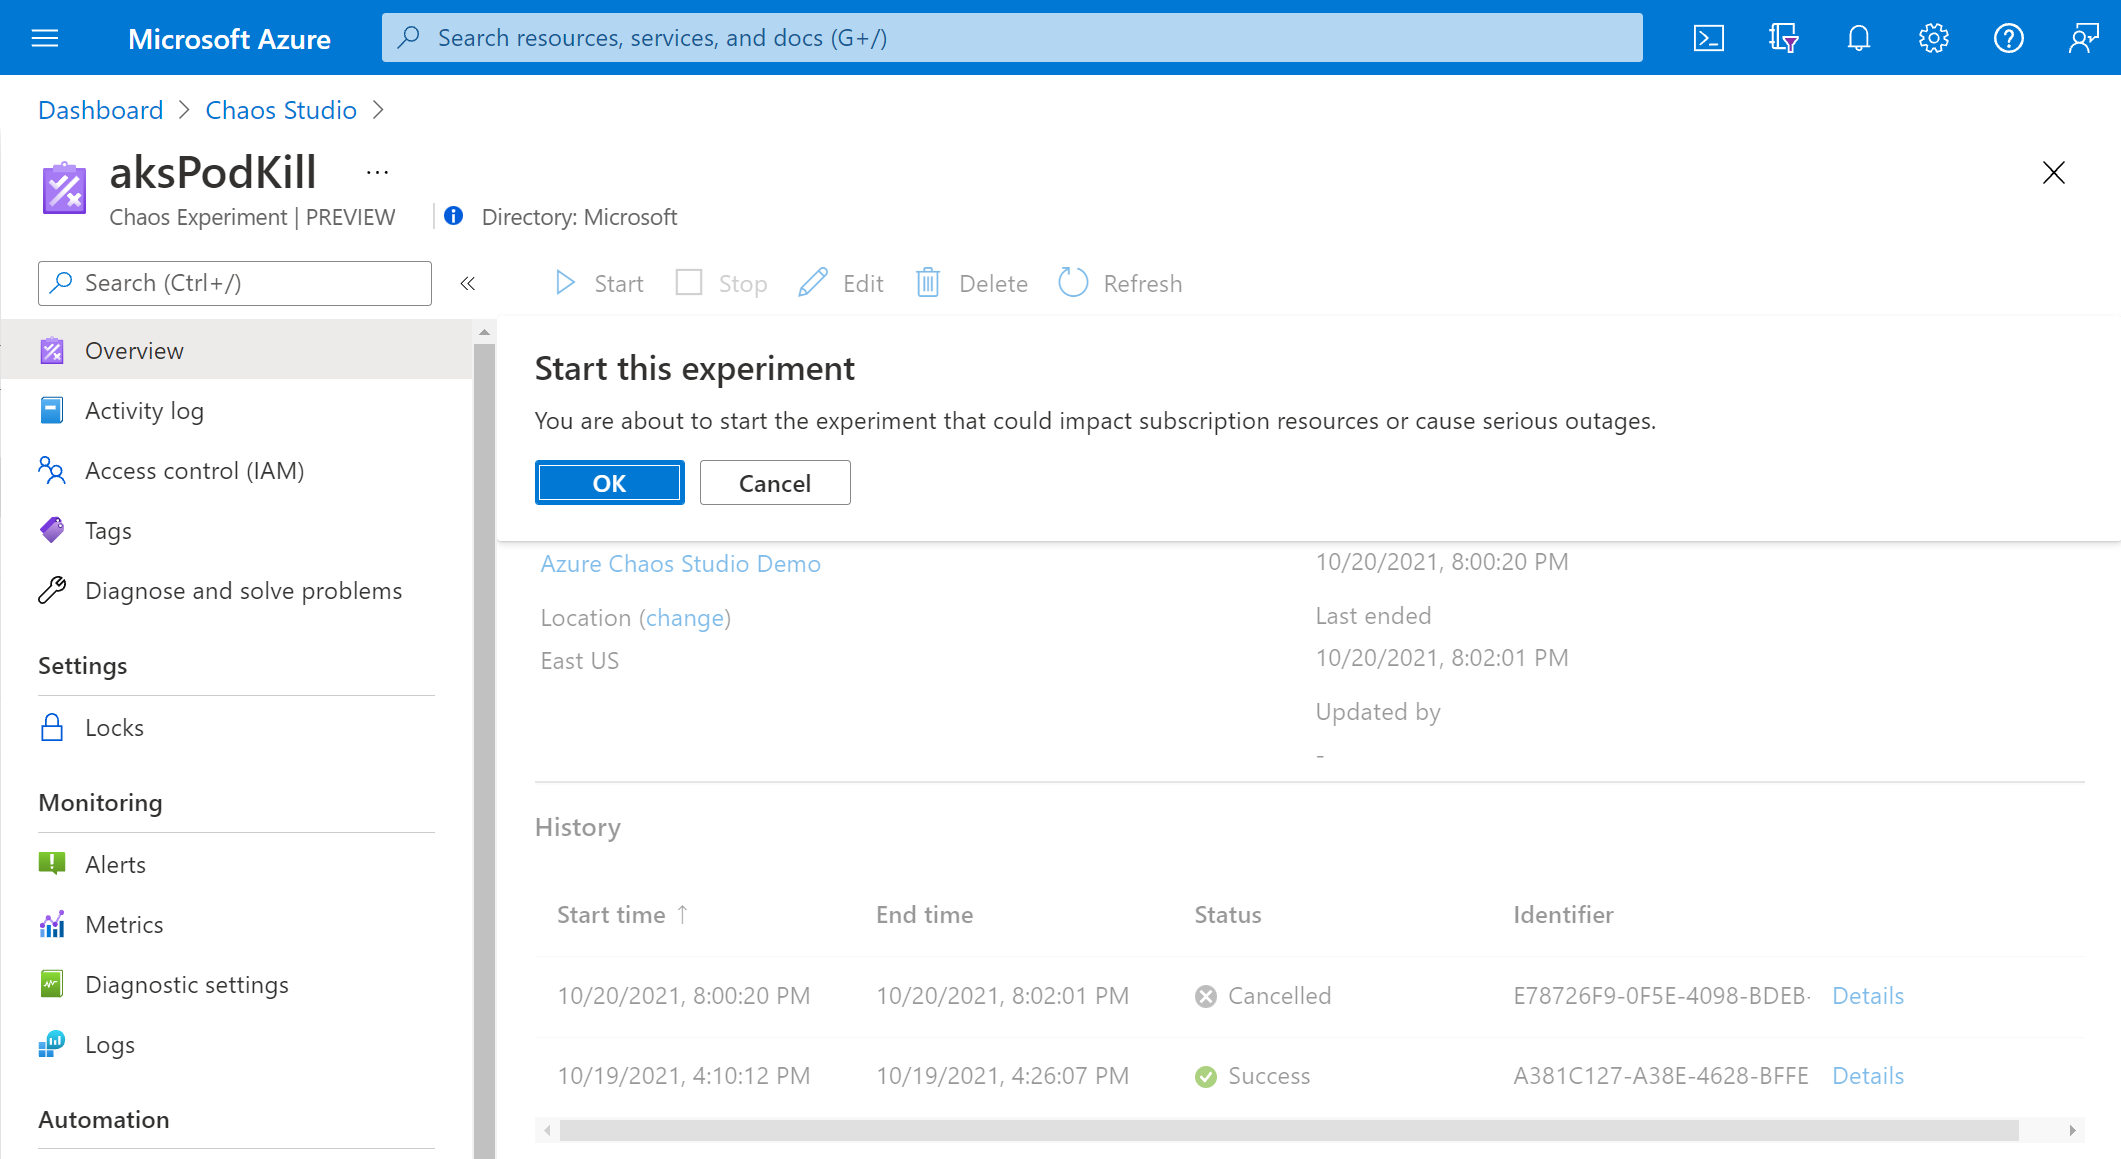
Select your experiment. On the experiment Overview page, you can start, stop, and edit your experiment. You can also view essential details about the resource and its history. Select Start and then select OK to start your experiment.
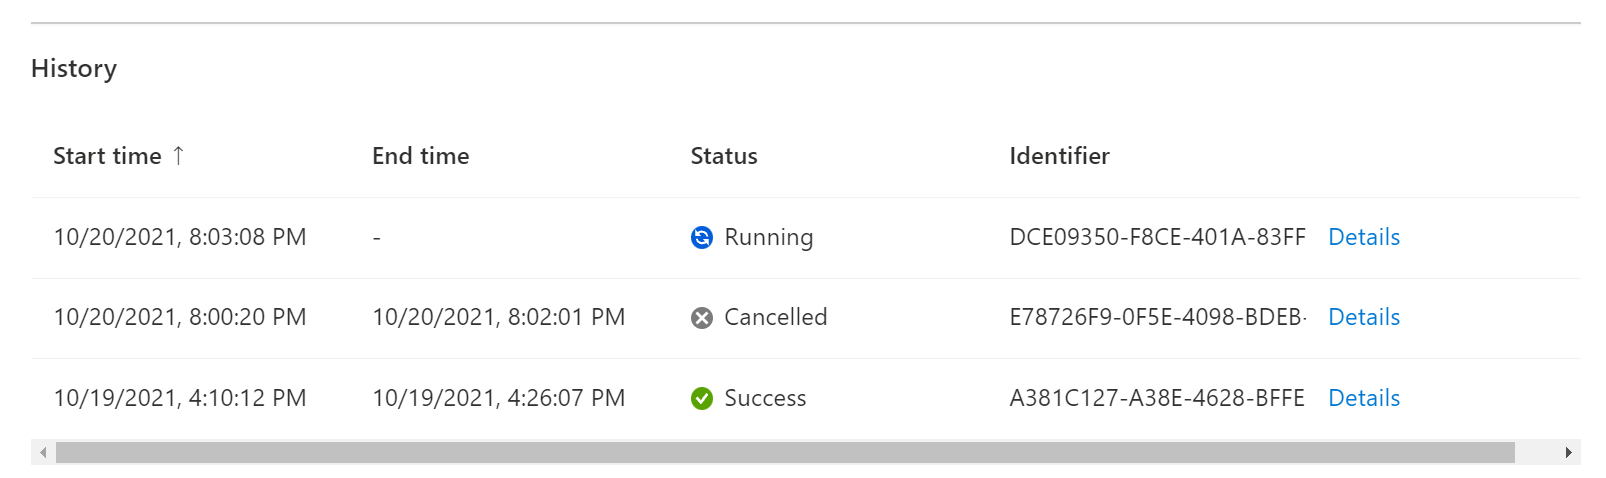
The experiment status shows as PreProcessingQueued, then WaitingToStart, and finally Running.
View experiment history and details
After the experiment is running, under History, select Details on the current run to see status and errors.
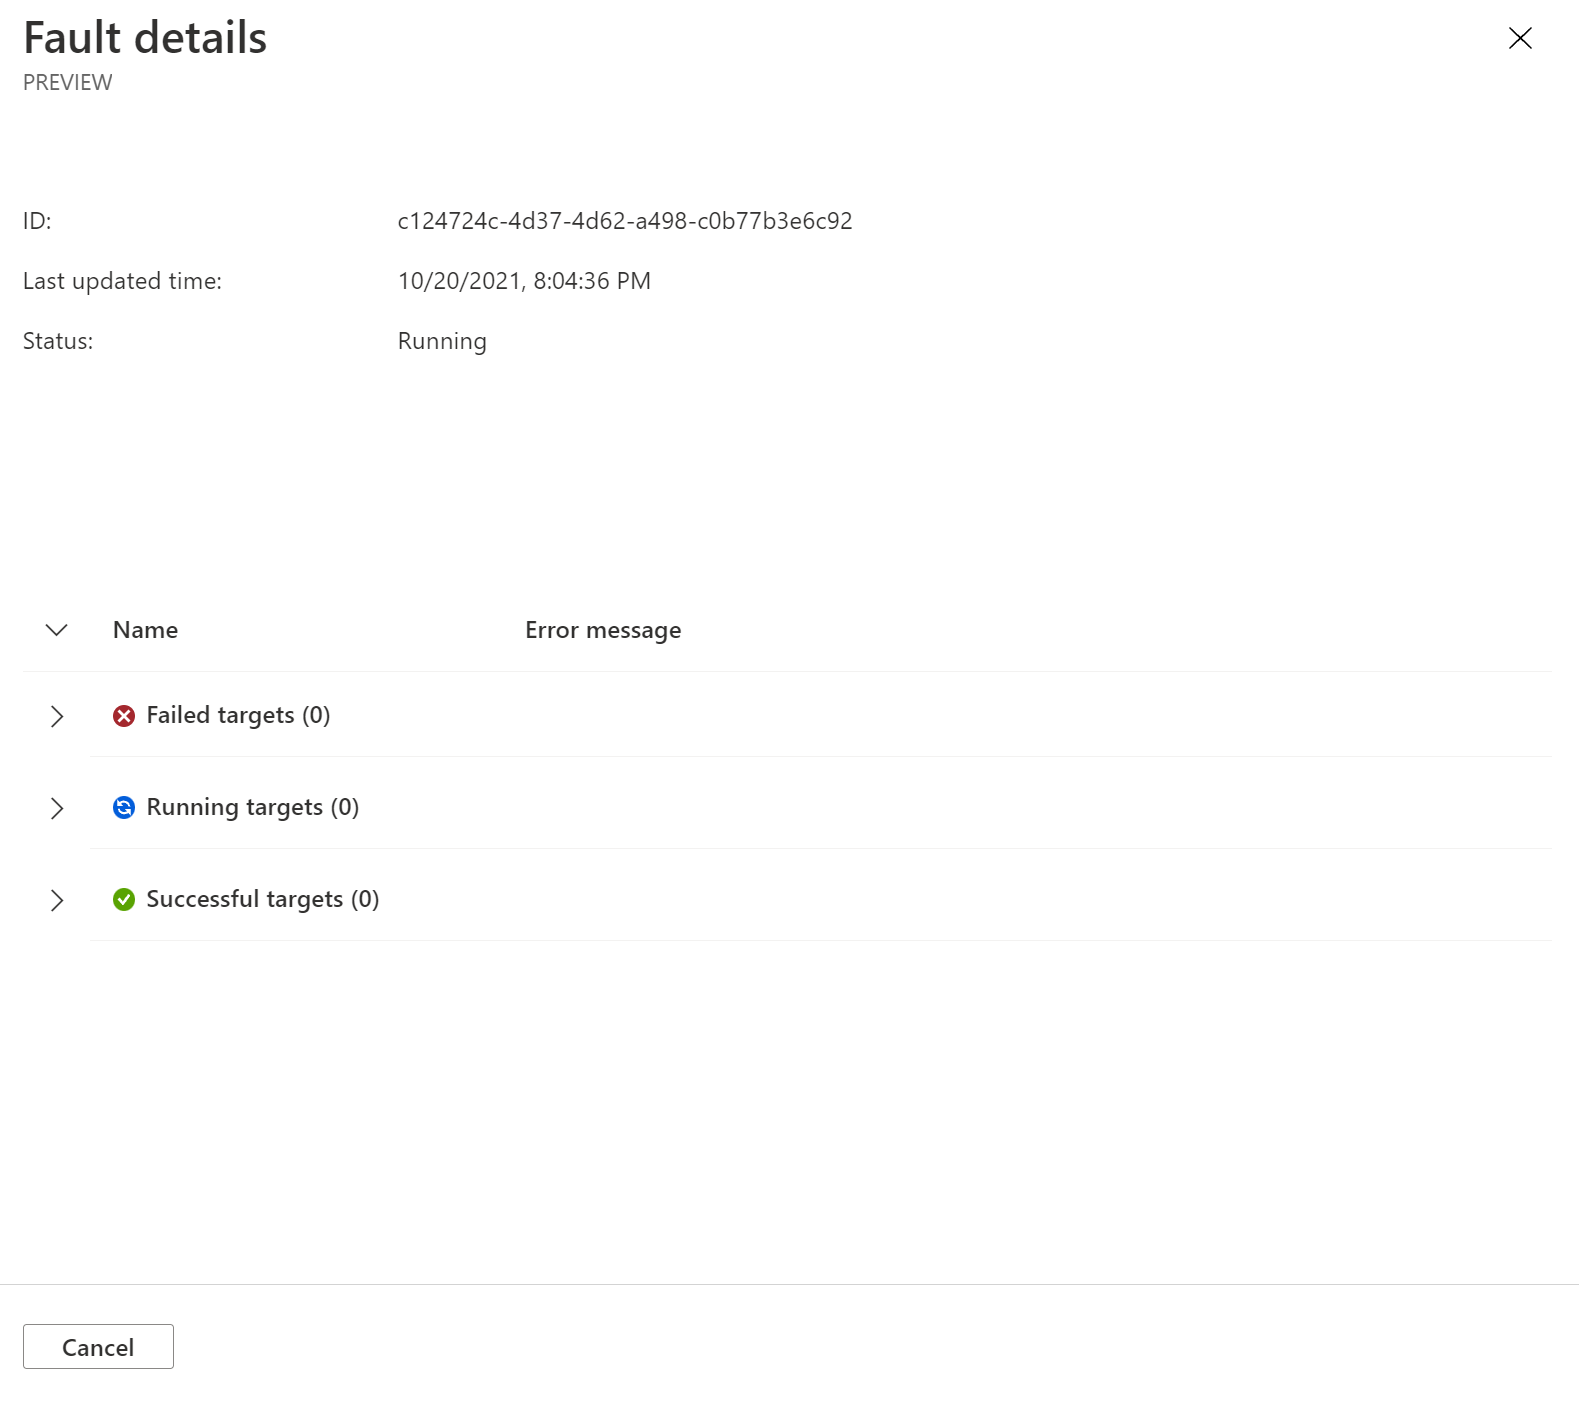
The experiment Details view shows the execution status of each step, branch, and fault. Select a fault.
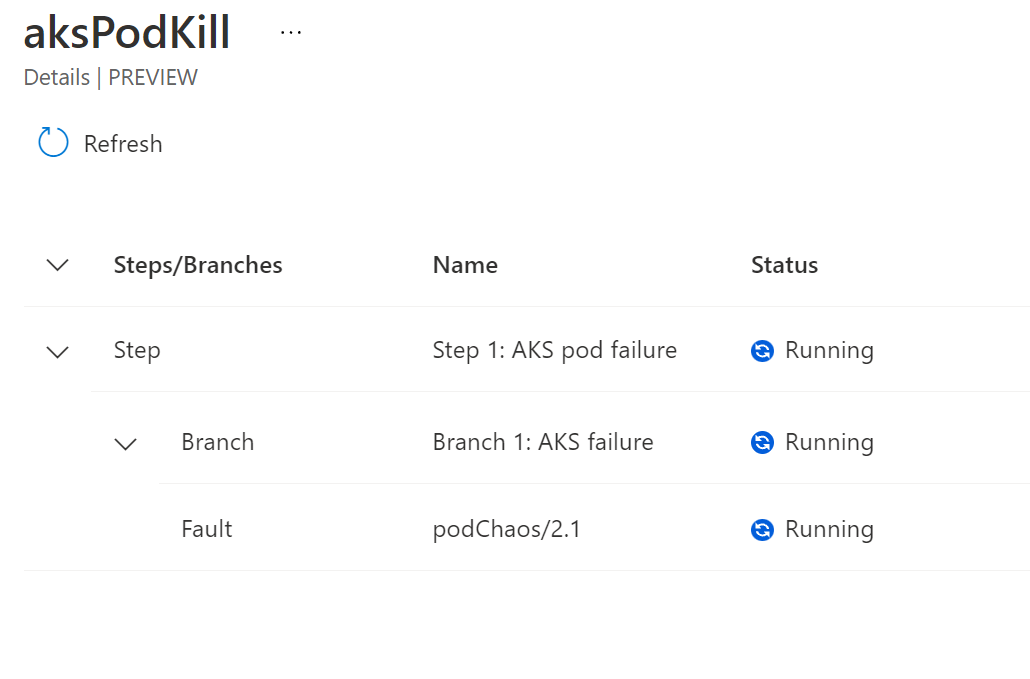
Fault details shows other information about the fault execution. It includes which targets have failed or succeeded and why. If there's an error running your experiment, debugging information appears here.
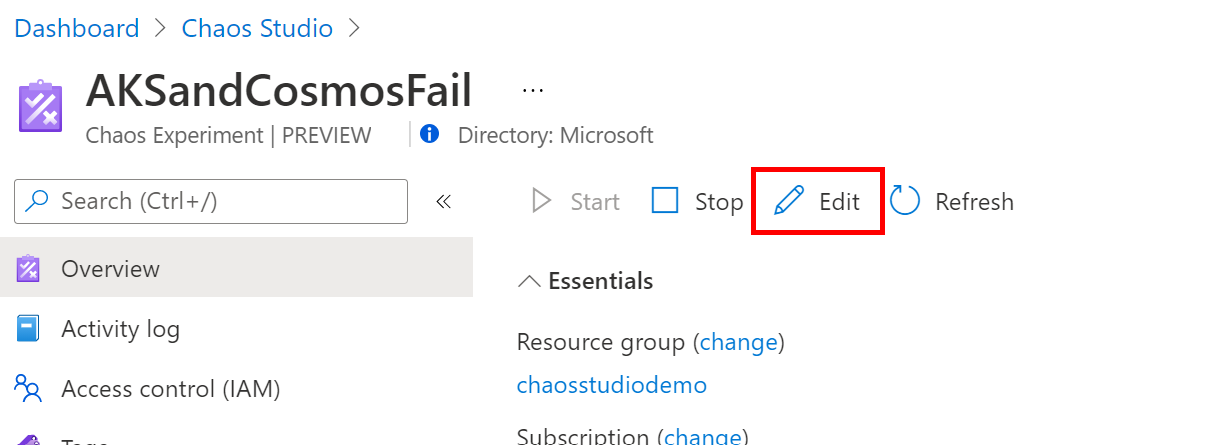
Edit an experiment
Return to the experiment Overview page and select Edit.
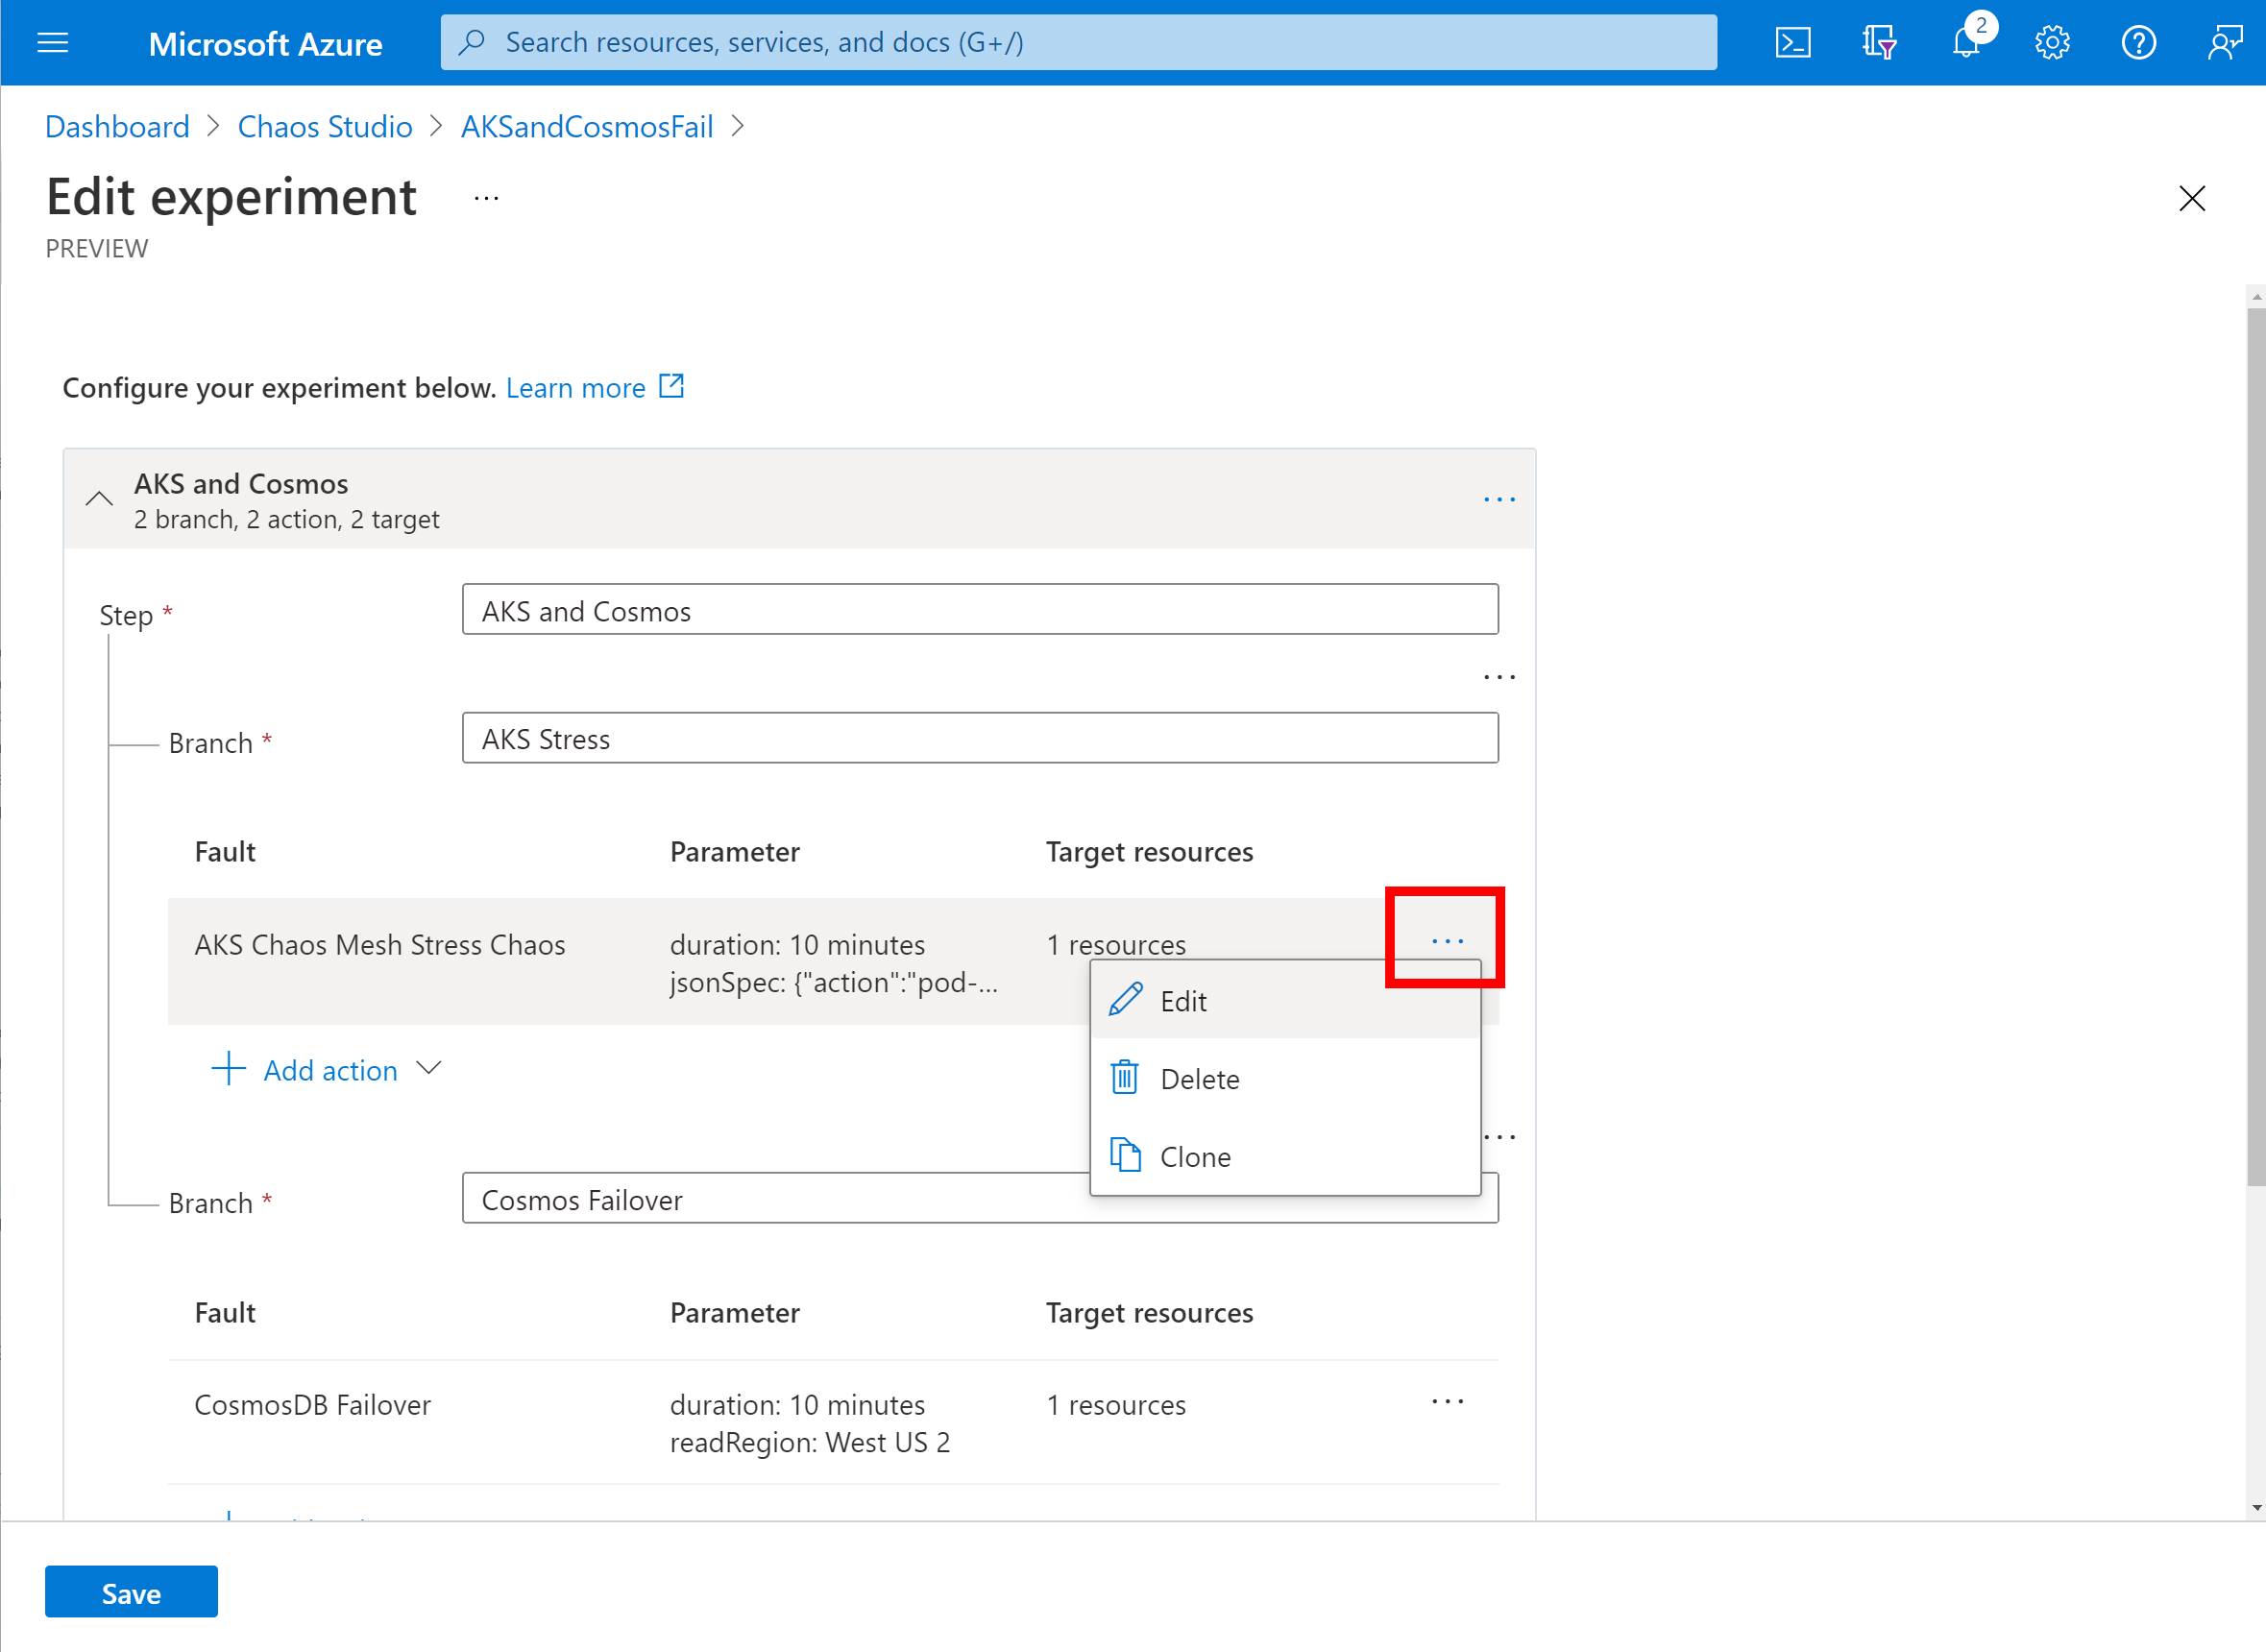
This experiment designer is the same as the one you used to create the experiment. You can add or remove steps, branches, and faults. You can also edit fault parameters and targets. To edit a fault, select ... next to the fault.
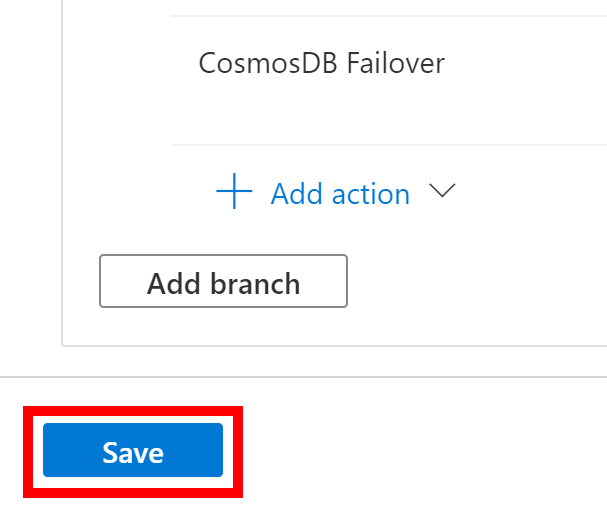
When you're finished editing, select Save. If you want to discard your changes without saving, select the Close button in the upper-right corner.
Warning
If you added targets to your experiment, remember to add a role assignment on the target resource for your experiment identity.
Delete an experiment
Return to the Experiments list and select the checkbox next to the experiment you want to delete. Select Delete. You might need to select ... to see the delete option depending on your screen resolution.

Select Yes to confirm that you want to delete the resource.
Alternatively, you can open an experiment and select Delete.