Deploy a local Windows Server instance hosted by Vagrant and connect it to Azure Arc
The following article provides guidance for deploying a local Windows 10 virtual machine using Vagrant and connects it as an Azure Arc-enabled server resource.
Prerequisites
Clone the Azure Arc Jumpstart repository.
git clone https://github.com/microsoft/azure_arc.gitInstall or update Azure CLI to version 2.7 and above. Use the following command to check your current installed version.
az --versionVagrant relies on an underlying hypervisor. For this guide, we are using Oracle VM VirtualBox.
Install VirtualBox.
- If you're a macOS user, run
brew cask install virtualbox - If you're a Windows user, you can use the Chocolatey package
- If you're a Linux user, all package installation methods can be found in Download VirtualBox for Linux hosts.
- If you're a macOS user, run
Install Vagrant
- If you're a macOS user, run
brew cask install vagrant - If you'ar a Windows user, you can use the Chocolatey package
- If you're a Linux user, visit the Vagrant download page.
- If you're a macOS user, run
Create an Azure service principal.
To connect the Vagrant virtual machine to Azure Arc, an Azure service principal assigned with the Contributor role is required. To create it, sign in to your Azure account and run the following command. You can also run this command in Azure Cloud Shell.
az login
az account set -s <Your Subscription ID>
az ad sp create-for-rbac -n "<Unique SP Name>" --role contributor --scopes "/subscriptions/<Your Subscription ID>"
For example:
az ad sp create-for-rbac -n "http://AzureArcServers" --role contributor --scopes "/subscriptions/00000000-0000-0000-0000-000000000000"The output should look like this:
{
  "appId": "XXXXXXXXXXXXXXXXXXXXXXXXXXXX",
  "displayName": "http://AzureArcServers",
  "password": "XXXXXXXXXXXXXXXXXXXXXXXXXXXX",
  "tenant": "XXXXXXXXXXXXXXXXXXXXXXXXXXXX"
}
Note
We highly recommend that you scope the service principal to a specific Azure subscription and resource group.
The vagrantfile executes a script on the VM OS to install all the needed artifacts and to inject environment variables. Edit the
scripts/vars.ps1PowerShell script to match the Azure service principal you created.subscriptionId= your Azure subscription IDappId= your Azure service principal namepassword= your Azure service principal passwordtenantId= your Azure tenant IDresourceGroup= Azure resource group namelocation= Azure region
Deployment
Like any Vagrant deployment, a vagrantfile and a Vagrant box is needed. At a high level, the deployment will:
- Download the Windows 10 image file Vagrant box
- Execute the Azure Arc installation script
After editing the scripts/vars.ps1 script to match your environment, from the Vagrantfile folder, run vagrant up. As this is the first time you are creating the VM, the first run will be much slower than the ones to follow. This is because the deployment is downloading the Windows 10 box for the first time.

Once the download is complete, the actual provisioning starts. As shown in the following screenshot, the process takes somewhere between 7 to 10 minutes.

Note
If you see an error about the checking revocation for the certificate, add this config to Vagrantfile:
config.vm.box_download_insecure = true
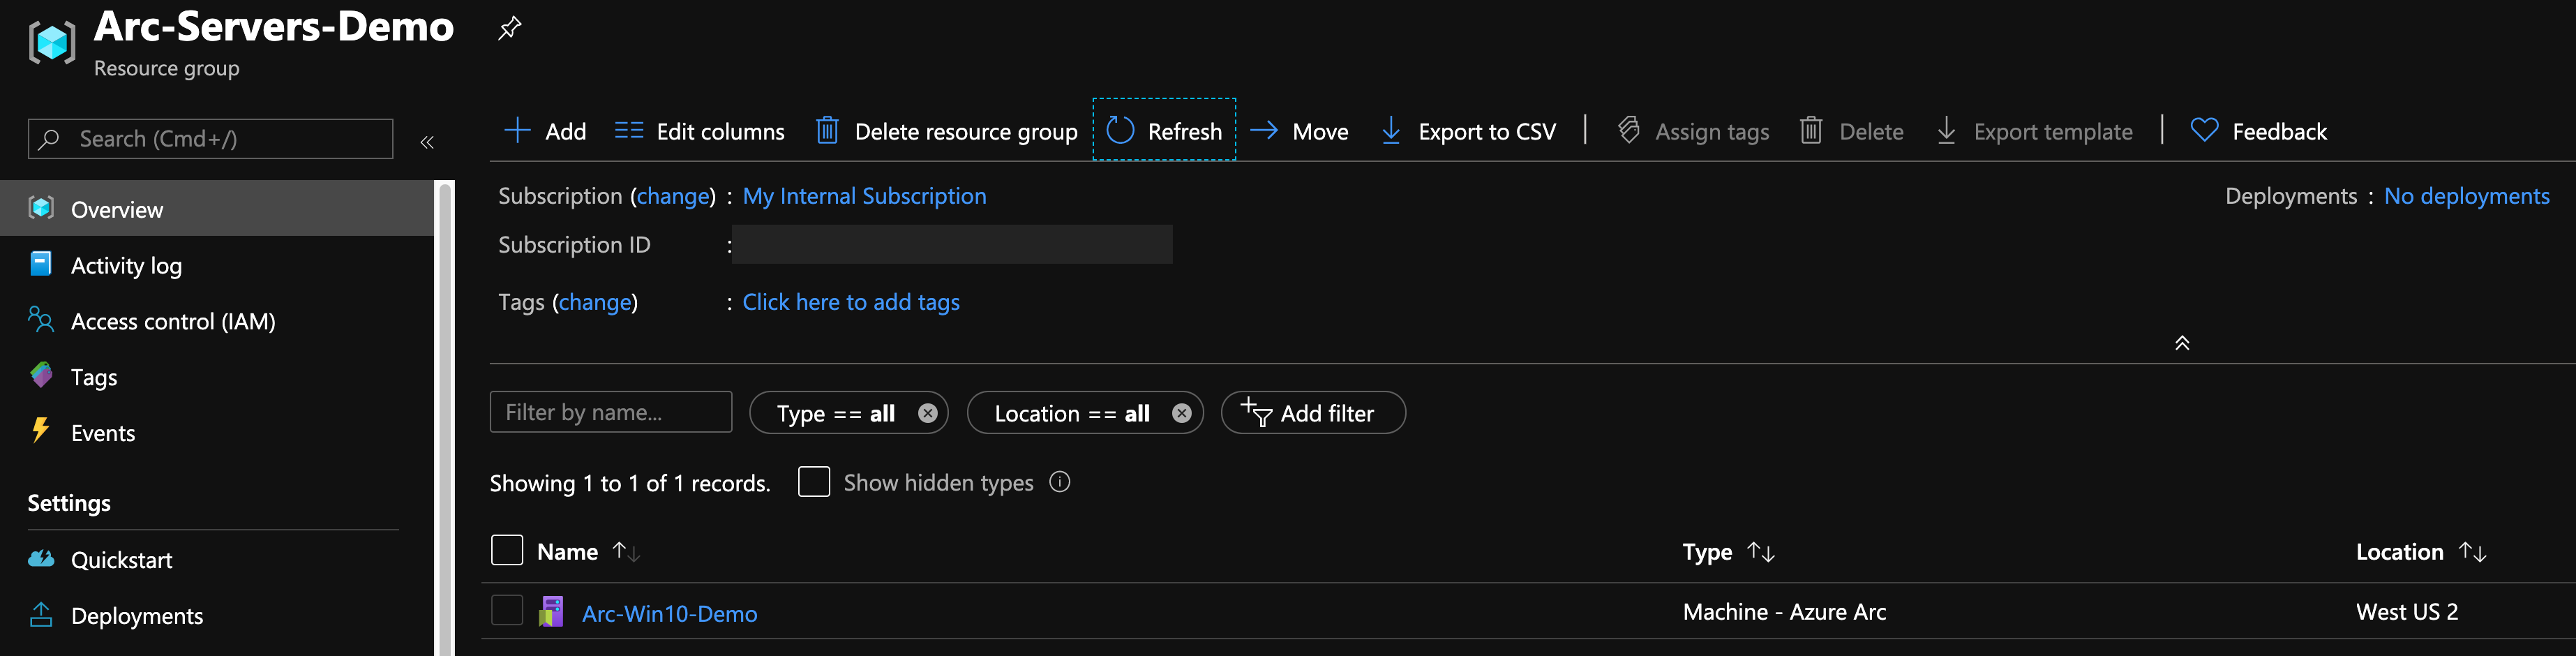
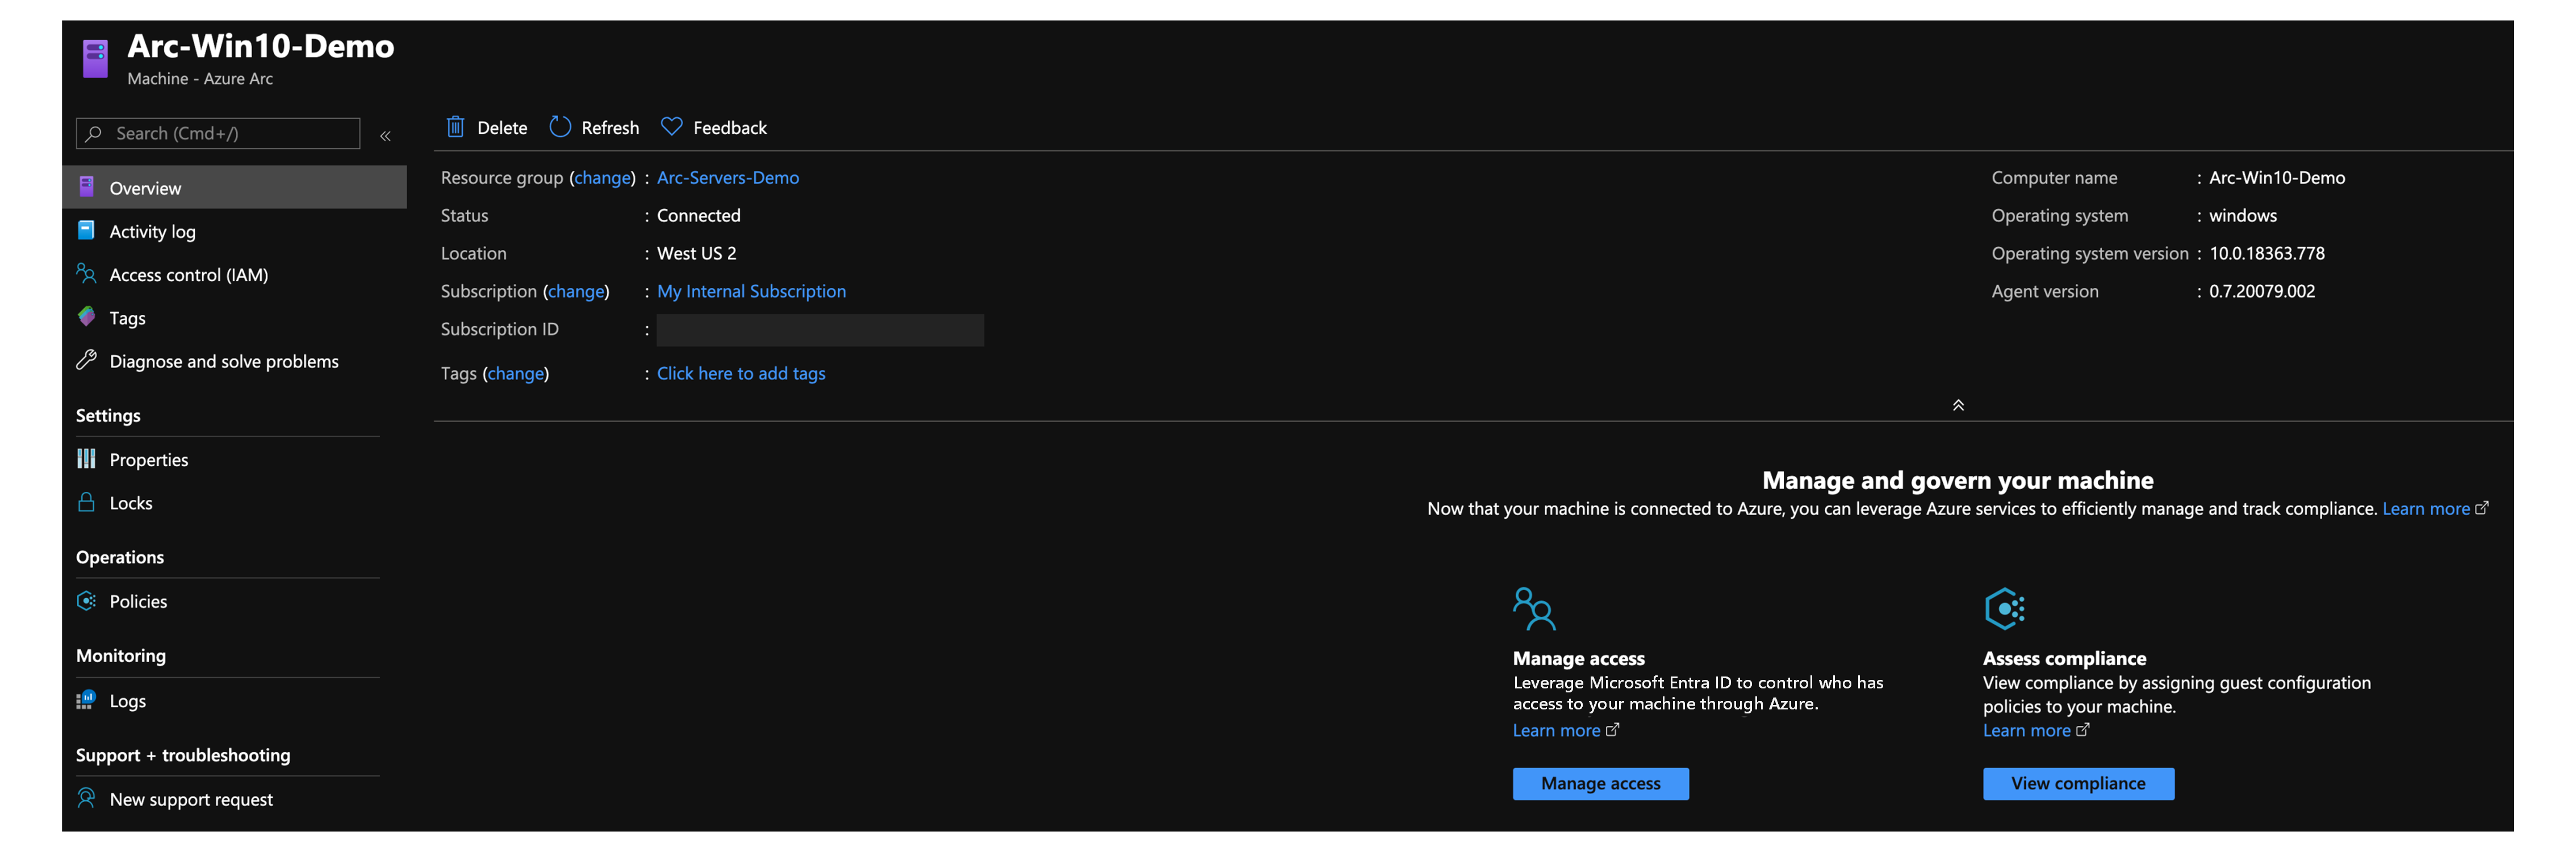
Upon completion, you'll have a local Windows 10 VM deployed, connected as a new Azure Arc-enabled server inside a new resource group.
Semi-automated deployment (optional)
The last step of the run is to register the VM as a new Azure Arc-enabled server resource.

If you want to demo/control the actual registration process, do the following:
In the
install_arc_agentPowerShell script, comment out therun connect commandsection and save the file. You can also comment out or change the creation of the resource group.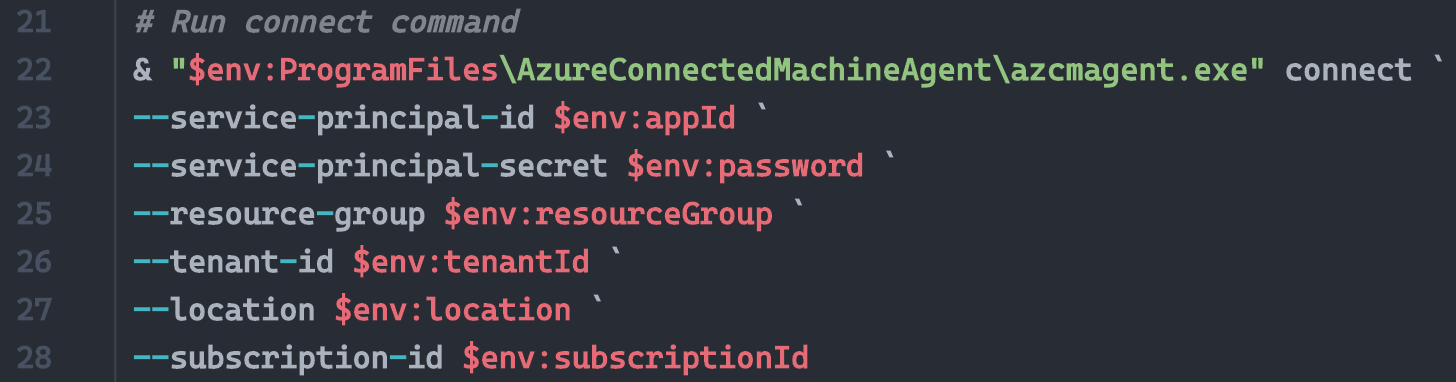

RDP the VM using the
vagrant rdpcommand. Usevagrant/vagrantas the username/password.
Open PowerShell ISE as Administrator and edit the
C:\runtime\vars.ps1file with your environment variables.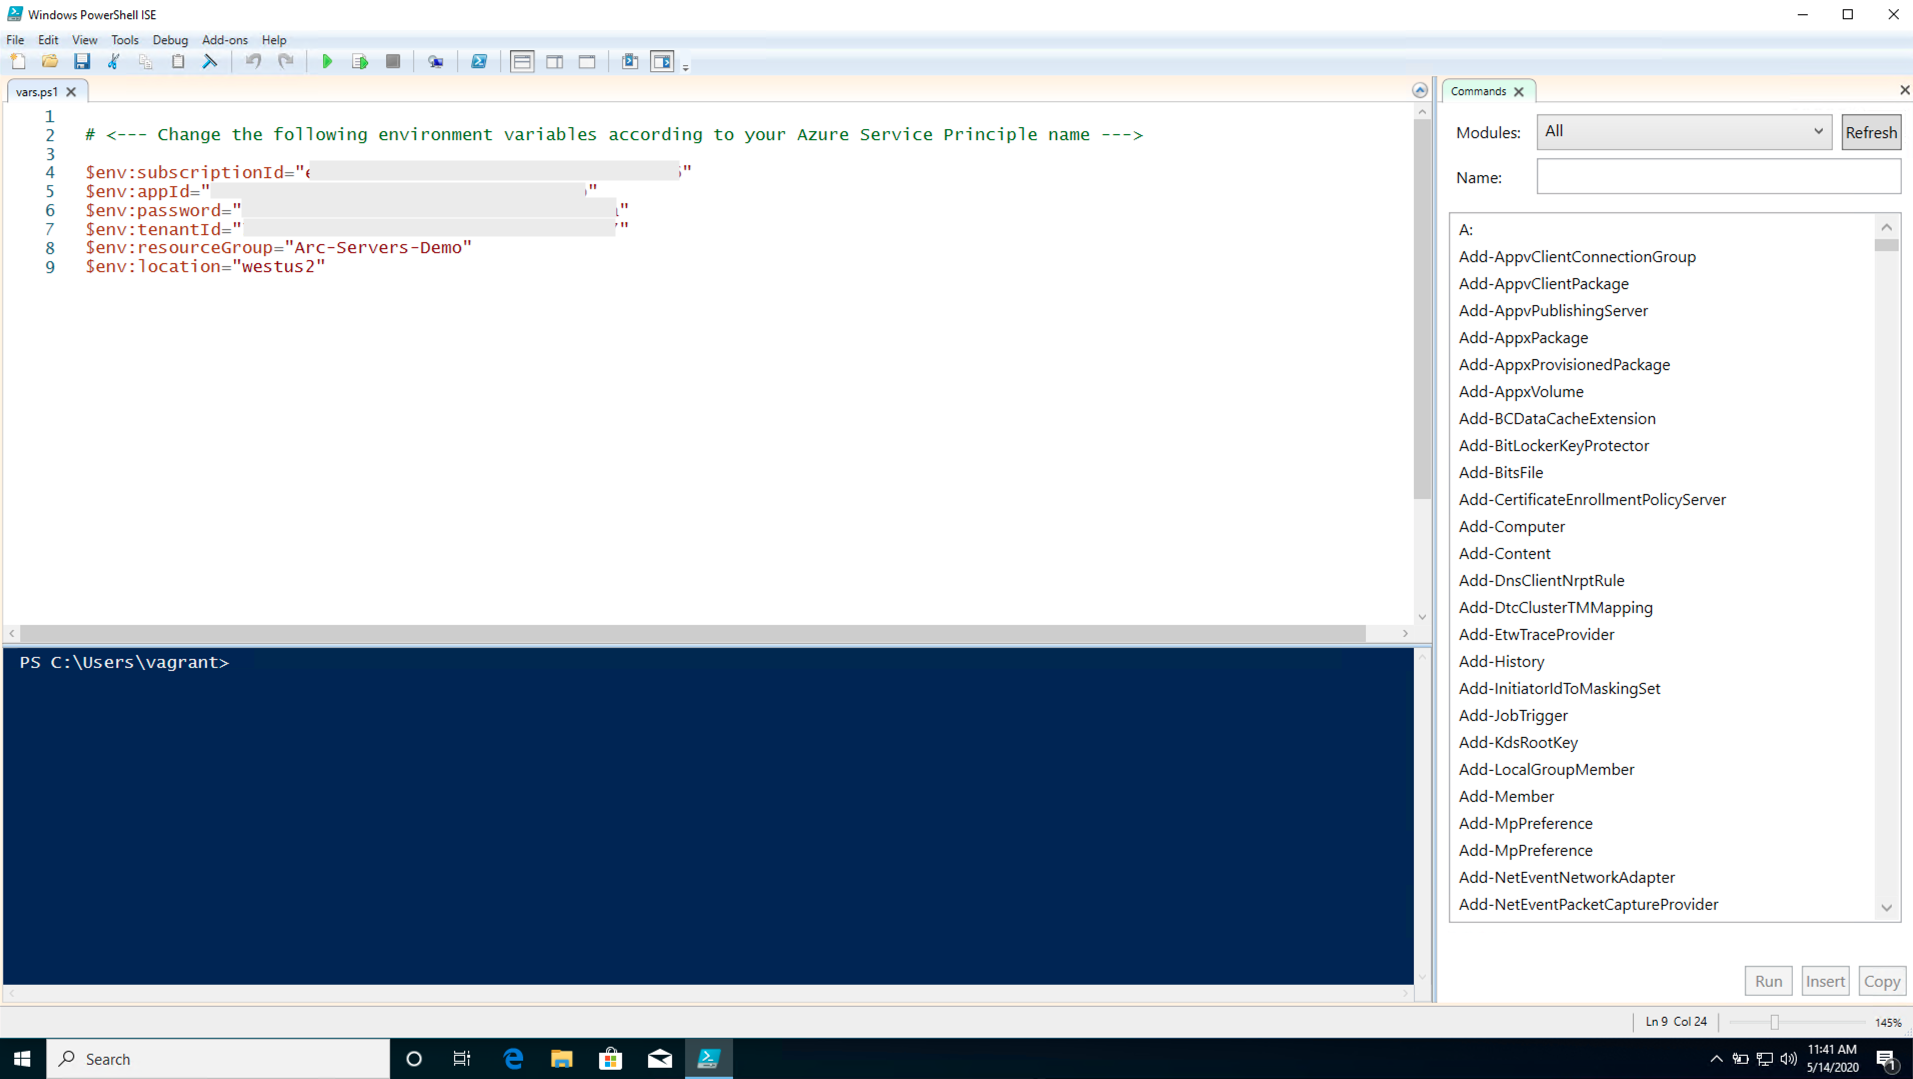
Paste the
Invoke-Expression C:\runtime\vars.ps1command, theaz group create --location $env:location --name $env:resourceGroup --subscription $env:subscriptionIdcommand and the sameazcmagent connectcommand you out and execute the script.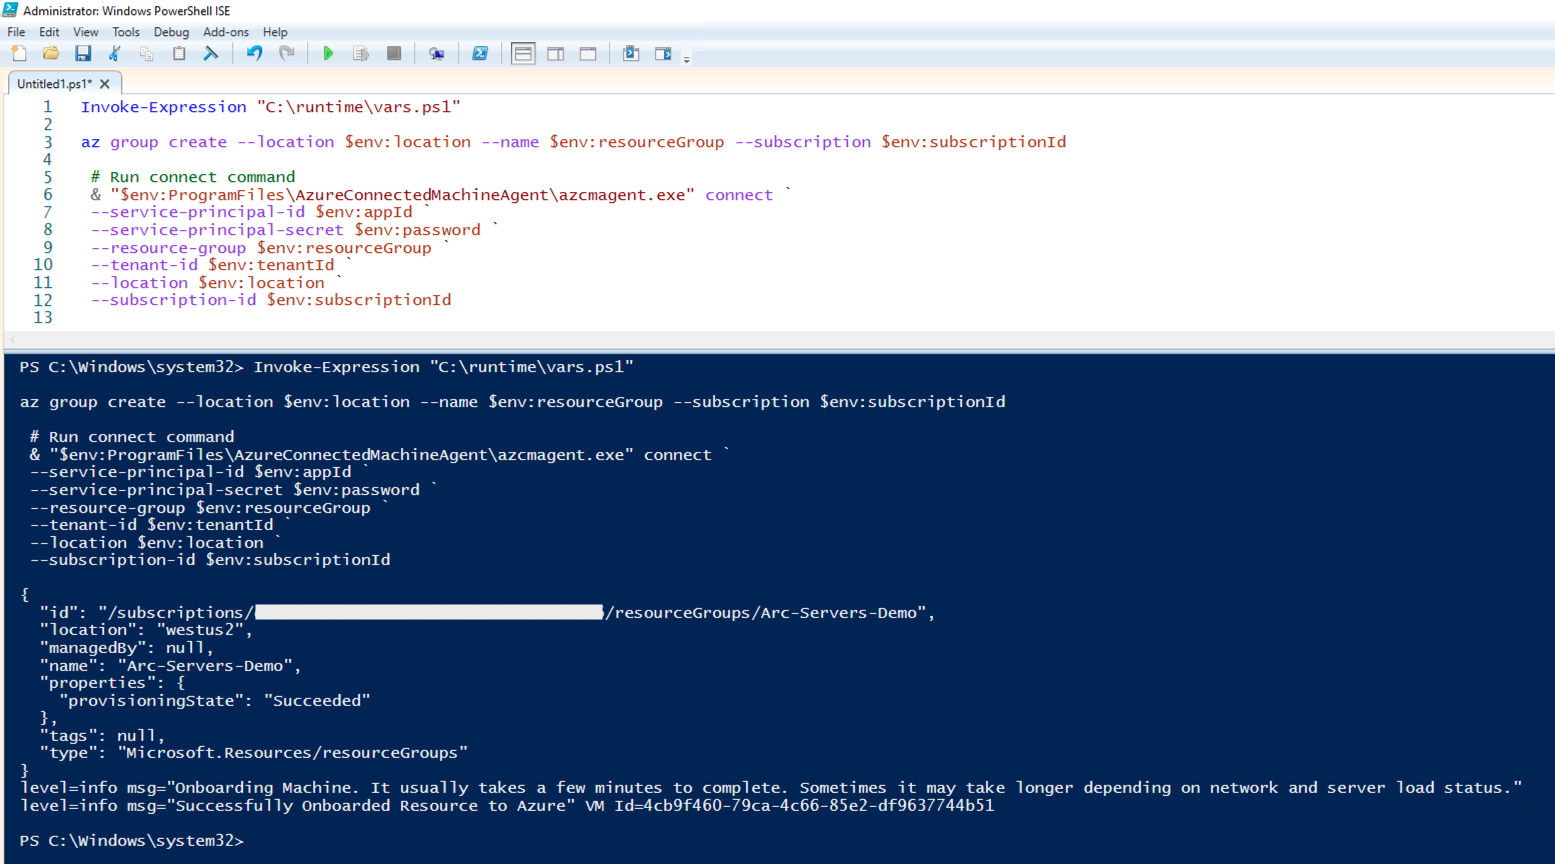
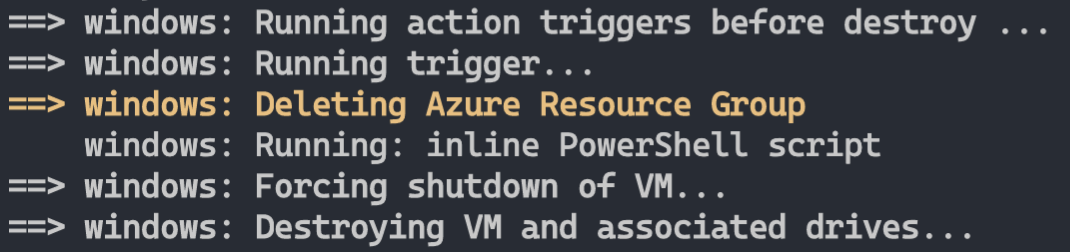
Delete the deployment
To delete the entire deployment, run the vagrant destroy -f command. The vagrantfile includes a before: destroy Vagrant trigger that runs the command to delete the Azure resource group before destroying the actual VM.
Feedback
Coming soon: Throughout 2024 we will be phasing out GitHub Issues as the feedback mechanism for content and replacing it with a new feedback system. For more information see: https://aka.ms/ContentUserFeedback.
Submit and view feedback for