Power automate batch transcription
This article describes how to use Power Automate and the Azure AI services for Batch Speech to text connector to transcribe audio files from an Azure Storage container. The connector uses the Batch Transcription REST API, but you don't need to write any code to use it. If the connector doesn't meet your requirements, you can still use the REST API directly.
In addition to Power Automate, you can use the Azure AI services for Batch Speech to text connector with Power Apps and Logic Apps.
Tip
Try more Speech features in Speech Studio without signing up or writing any code.
Prerequisites
- Azure subscription - Create one for free.
- Create a Speech resource in the Azure portal.
- Your Speech resource key and region. After your Speech resource is deployed, select Go to resource to view and manage keys. For more information about Azure AI services resources, see Get the keys for your resource.
Create the Azure Blob Storage container
In this example, you transcribe audio files that are located in an Azure Blob Storage account.
Follow these steps to create a new storage account and container.
- Go to the Azure portal and sign in to your Azure account.
- Create a Storage account resource in the Azure portal. Use the same subscription and resource group as your Speech resource.
- Select the Storage account.
- In the Data storage group in the left pane, select Containers.
- Select + Container.
- Enter a name for the new container such as "batchtranscription" and select Create.
- Get the Access key for the storage account. Select Access keys in the Security + networking group in the left pane. View and take note of the key1 (or key2) value. You need the access key later when you configure the connector.
Later you'll upload files to the container after the connector is configured, since the events of adding and modifying files kick off the transcription process.
Create a Power Automate flow
Create a new flow
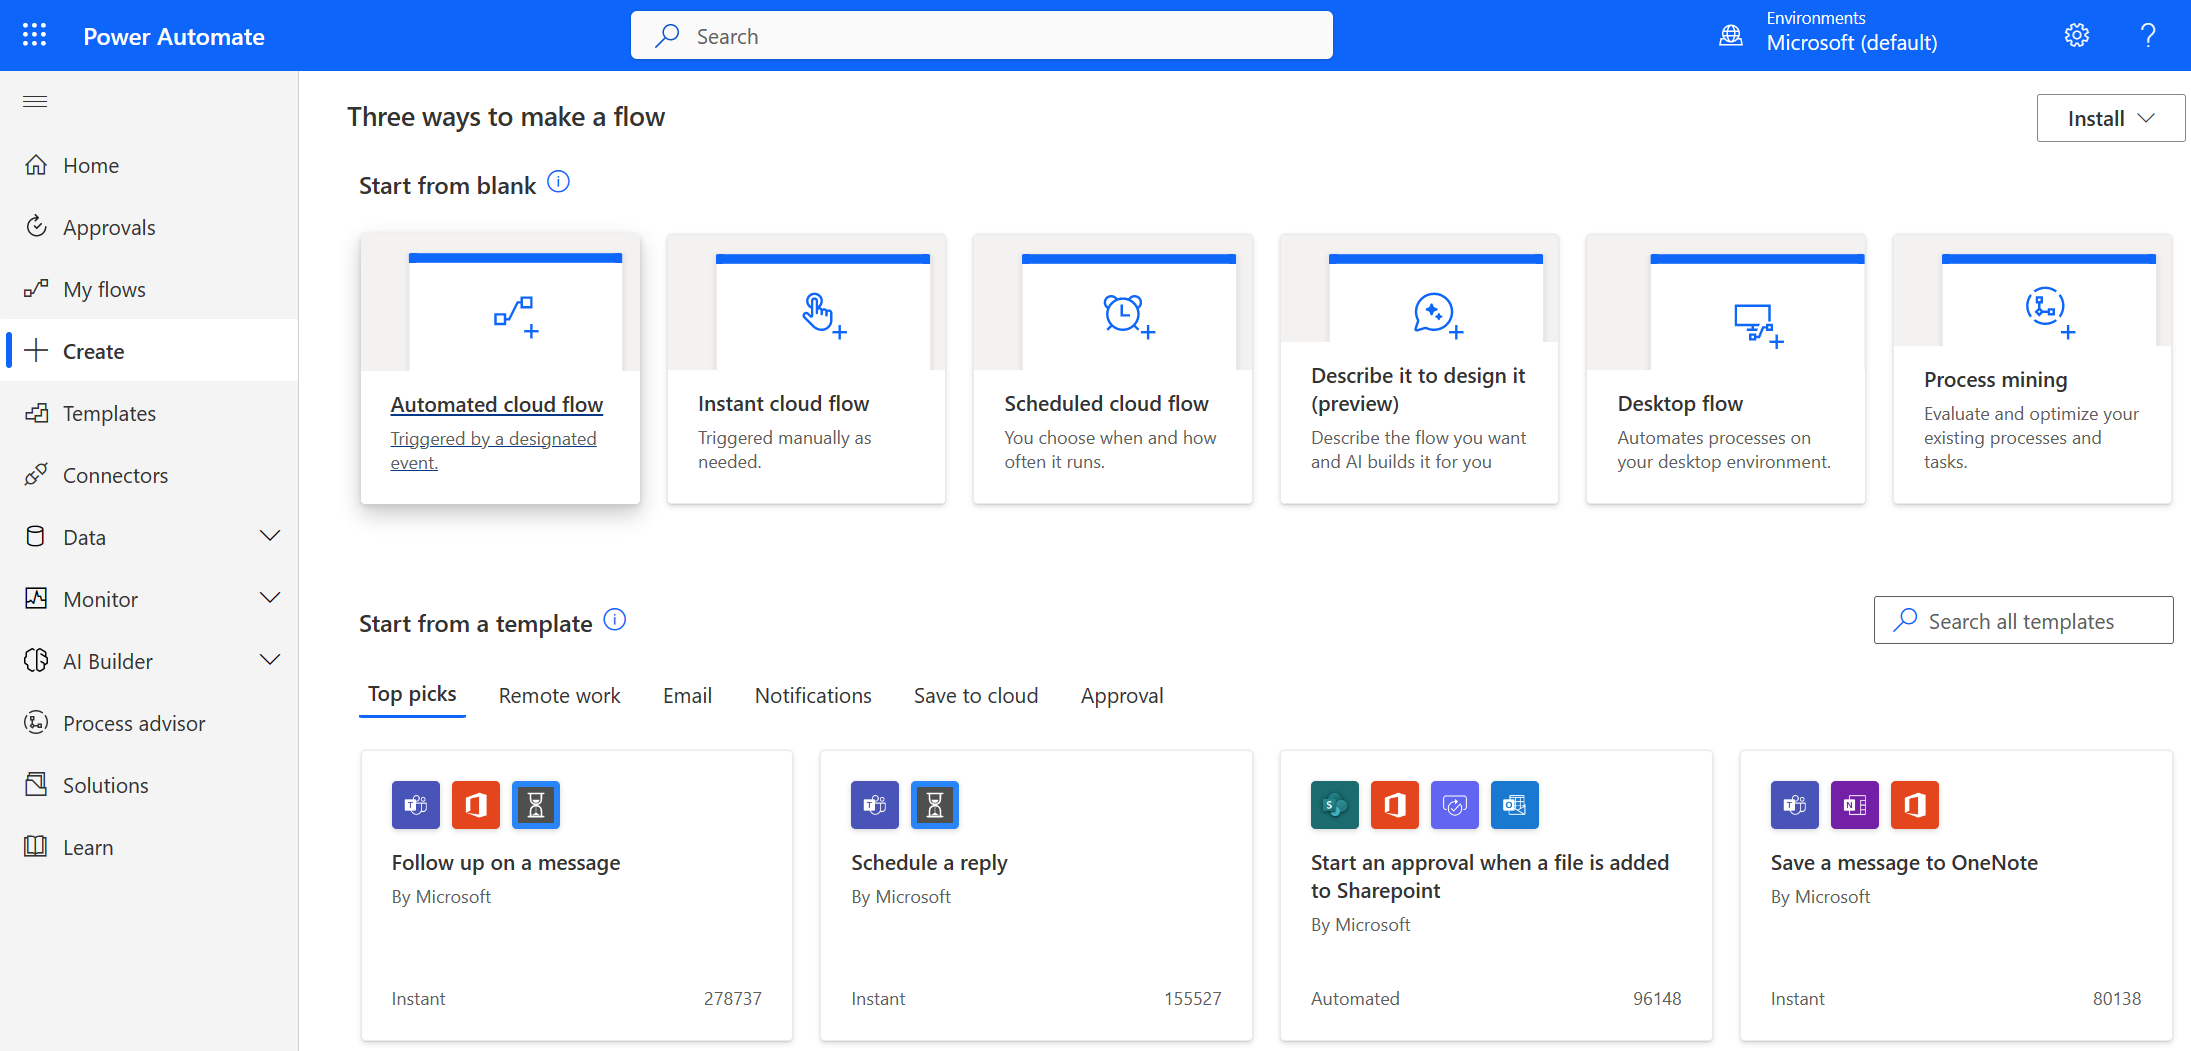
From the collapsible menu on the left, select Create.
Select Automated cloud flow to start from a blank flow that can be triggered by a designated event.
In the Build an automated cloud flow dialog, enter a name for your flow such as "BatchSTT".
Select Skip to exit the dialog and continue without choosing a trigger.

Configure the flow trigger
Choose a trigger from the Azure Blob Storage connector. For this example, enter "blob" in the search connectors and triggers box to narrow the results.
Under the Azure Blob Storage connector, select the When a blob is added or modified trigger.

Configure the Azure Blob Storage connection.
- From the Authentication type drop-down list, select Access Key.
- Enter the account name and access key of the Azure Storage account that you created previously.
- Select Create to continue.
Configure the When a blob is added or modified trigger.
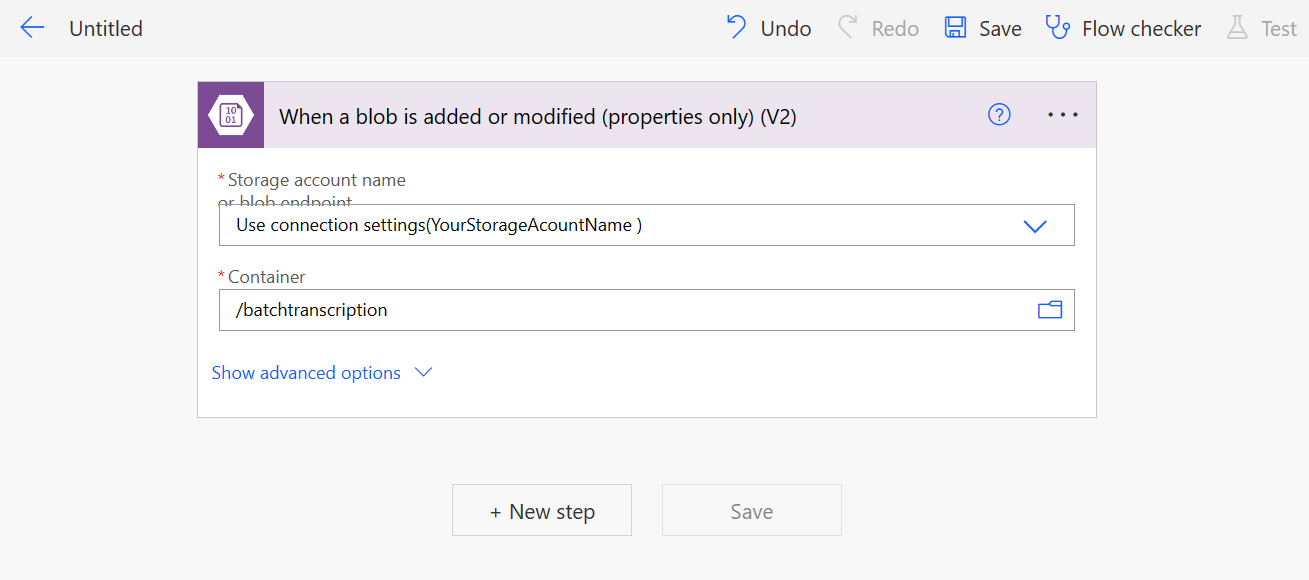
- From the Storage account name or blob endpoint drop-down list, select Use connection settings. You should see the storage account name as a component of the connection string.
- Under Container select the folder icon. Choose the container that you created previously.


Create SAS URI by path
To transcribe an audio file that's in your Azure Blob Storage container, you need a Shared Access Signature (SAS) URI for the file.
The Azure Blob Storage connector supports SAS URIs for individual blobs, but not for entire containers.
- Select + New step to begin adding a new operation for the Azure Blob Storage connector.
- Enter "blob" in the search connectors and actions box to narrow the results.
- Under the Azure Blob Storage connector, select the Create SAS URI by path trigger.
- Under the Storage account name or blob endpoint drop-down, choose the same connection that you used for the When a blob is added or modified trigger.
- Select
Pathas dynamic content for the Blob path field.
By now, you should have a flow that looks like this:

Create transcription
Select + New step to begin adding a new operation for the Azure AI services for Batch Speech to text connector.
Enter "batch speech to text" in the search connectors and actions box to narrow the results.
Select the Azure AI services for Batch Speech to text connector.
Select the Create transcription action.
Create a new connection to the Speech resource that you created previously. The connection is available throughout the Power Automate environment. For more information, see Manage connections in Power Automate.
- Enter a name for the connection such as "speech-resource-key". You can choose any name that you like.
- In the API Key field, enter the Speech resource key.
Optionally you can select the connector ellipses (...) to view available connections. If you weren't prompted to create a connection, then you already have a connection that's selected by default.

Configure the Create transcription action.
- In the locale field, enter the expected locale of the audio data to transcribe.
- Select
DisplayNameas dynamic content for the displayName field. You can choose any name that you would like to refer to later. - Select
Web Urlas dynamic content for the contentUrls Item - 1 field. This is the SAS URI output from the Create SAS URI by path action.
Tip
For more information about create transcription parameters, see the Azure AI services for Batch Speech to text documentation.
From the top navigation menu, select Save.

Test the flow
- From the top navigation menu, select Flow checker. In the side panel that appears, you shouldn't see any errors or warnings. If you do, then you should fix them before continuing.
- From the top navigation menu, save the flow and select Test the flow. In the window that appears, select Test.
- In the side panel that appears, select Manually and then select Test.
After a few seconds, you should see an indication that the flow is in progress.

The flow is waiting for a file to be added or modified in the Azure Blob Storage container. That's the trigger that you configured earlier.
To trigger the test flow, upload an audio file to the Azure Blob Storage container as described next.
Upload files to the container
Follow these steps to upload wav, mp3, or ogg files from your local directory to the Azure Storage container that you created previously.
- Go to the Azure portal and sign in to your Azure account.
- Create a Storage account resource in the Azure portal. Use the same subscription and resource group as your Speech resource.
- Select the Storage account.
- Select the new container.
- Select Upload.
- Choose the files to upload and select Upload.
View the transcription flow results
After you upload the audio file to the Azure Blob Storage container, the flow should run and complete. Return to your test flow in the Power Automate portal to view the results.

You can select and expand the Create transcription to see detailed input and output results.
Next steps
Feedback
Coming soon: Throughout 2024 we will be phasing out GitHub Issues as the feedback mechanism for content and replacing it with a new feedback system. For more information see: https://aka.ms/ContentUserFeedback.
Submit and view feedback for