Note
Access to this page requires authorization. You can try signing in or changing directories.
Access to this page requires authorization. You can try changing directories.
Copying a model to other workspaces enables model lifecycle management (for example, development → test → production) and increases usage scalability while reducing the training cost.
Copy custom model to another workspace
Note
To copy model from one workspace to another, you must have an Owner role in both workspaces.
The copied model can't be recopied. You can only rename, delete, or publish a copied model.
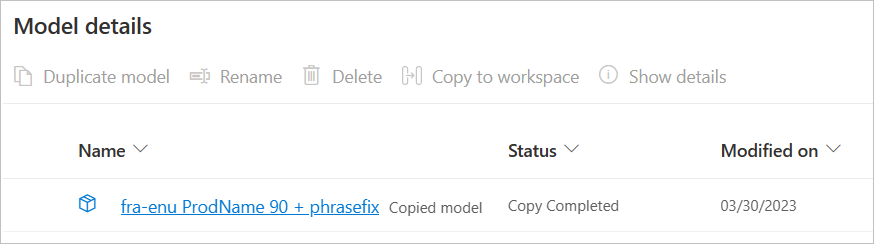
After successful model training, select the Model details blade.
Select the Model Name to copy.
Select Copy to workspace.
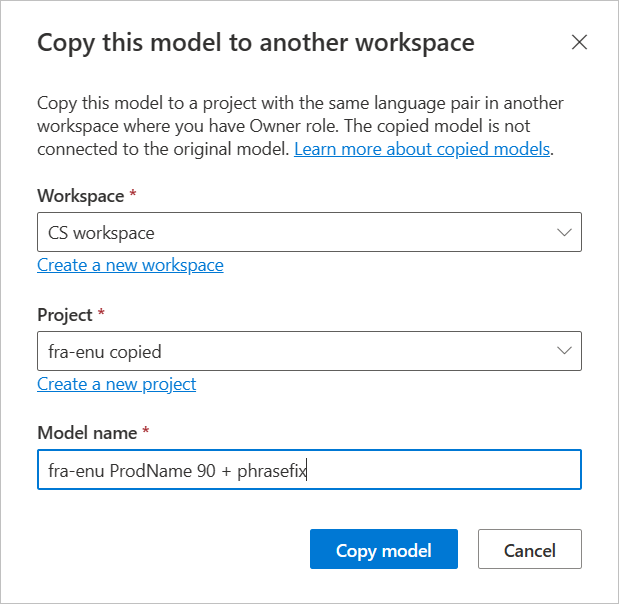
Fill out the target details.
Note
A dropdown list displays the list of workspaces available to use. Otherwise, select Create a new workspace.
If selected workspace contains a project for the same language pair, it can be selected from the Project dropdown list, otherwise, select Create a new project to create one.
Select Copy model.
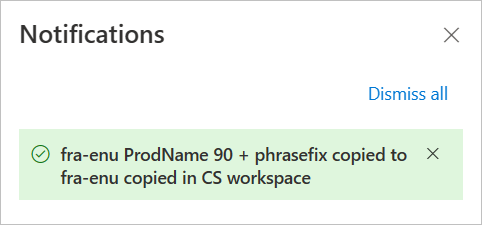
A notification panel shows the copy progress. The process should complete fairly quickly:
After Copy model completion, a copied model is available in the target workspace and ready to publish. A Copied model watermark is appended to the model name.