Fortanix Confidential Computing Manager in an Azure managed application
This article shows you how to deploy an application that's managed by Fortanix Confidential Computing Manager in the Azure portal.
Fortanix is a third-party software vendor with products and services built on top of Azure infrastructure. There are other third-party providers offering similar confidential computing services on Azure.
Note
The products referenced in this document are not under the control of Microsoft. Microsoft is providing this information to you only as a convenience, and the reference to these non-Microsoft products do not imply endorsement by Microsoft.
Prerequisites
- A private Docker registry to push converted application images.
- If you don't have an Azure subscription, create an account before you begin.
Deploy a Confidential Computing Manager through an Azure managed application
Go to the Azure portal.
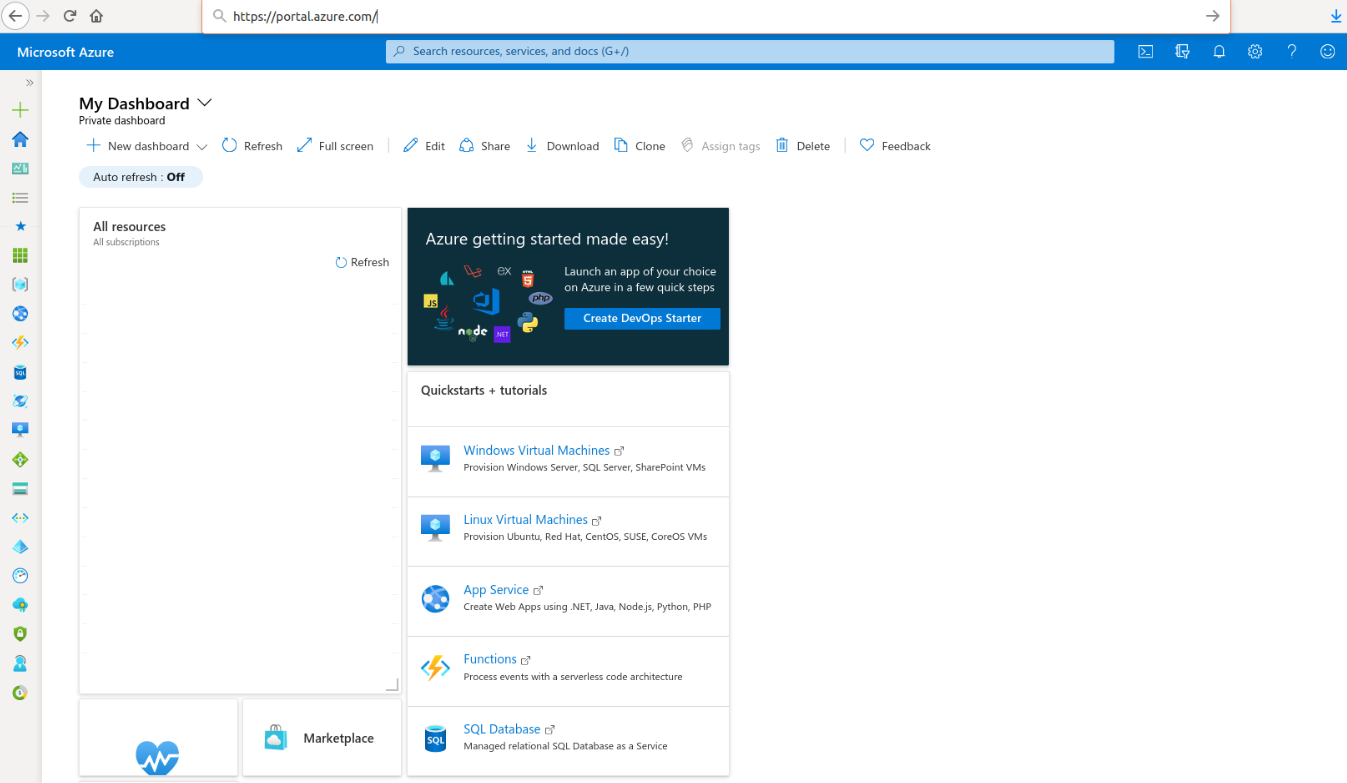
In the Search Bar, search "Fortanix Confidential Computing Manager" and you will find the Marketplace listing for Fortanix CCM. Select Fortanix Confidential Computing Manager on Azure.

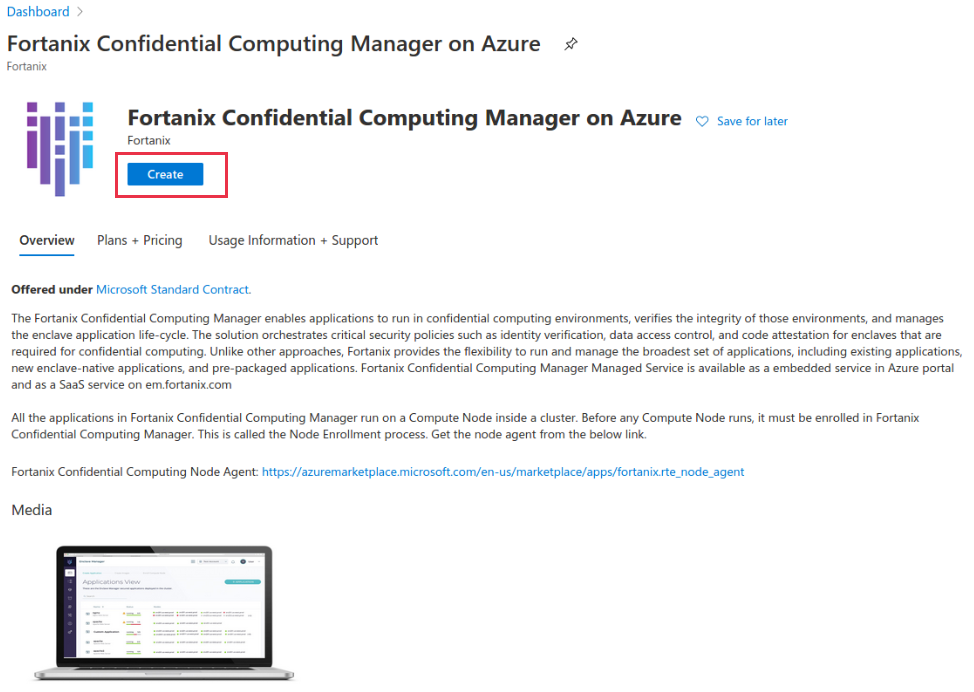
The page on which you create the CCM-managed application opens. select Create.
Fill in all the required fields.
- In the Managed Application Details section, the Managed Resource Group field will have a default value that the user can modify if they need to.
- In the Region field, select either Australia East, Australia Southeast, East US, West US 2, West Europe, North Europe, Canada Central, Canada East, or East US 2 EUAP.
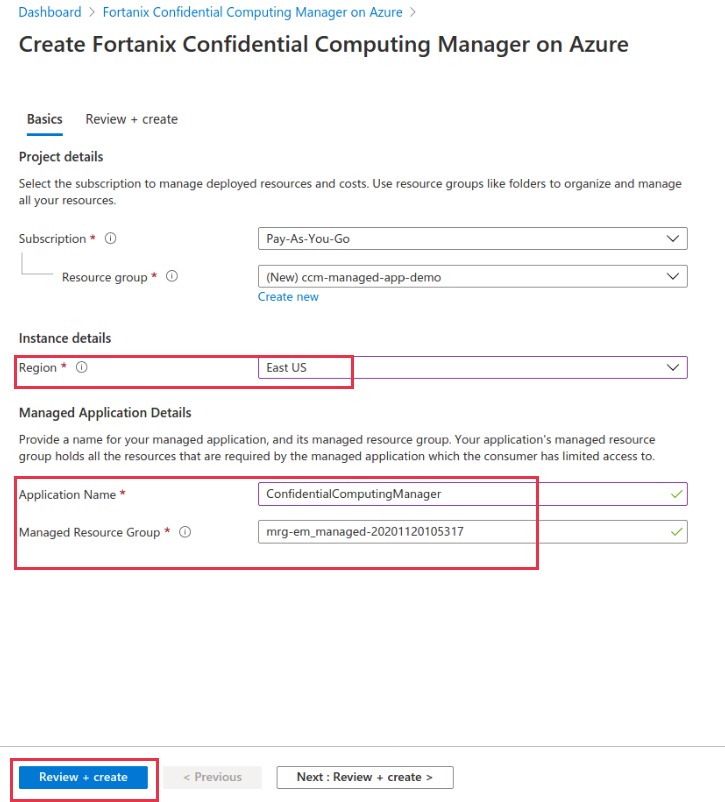
Select Review + create to create the Fortanix CCM-managed application.
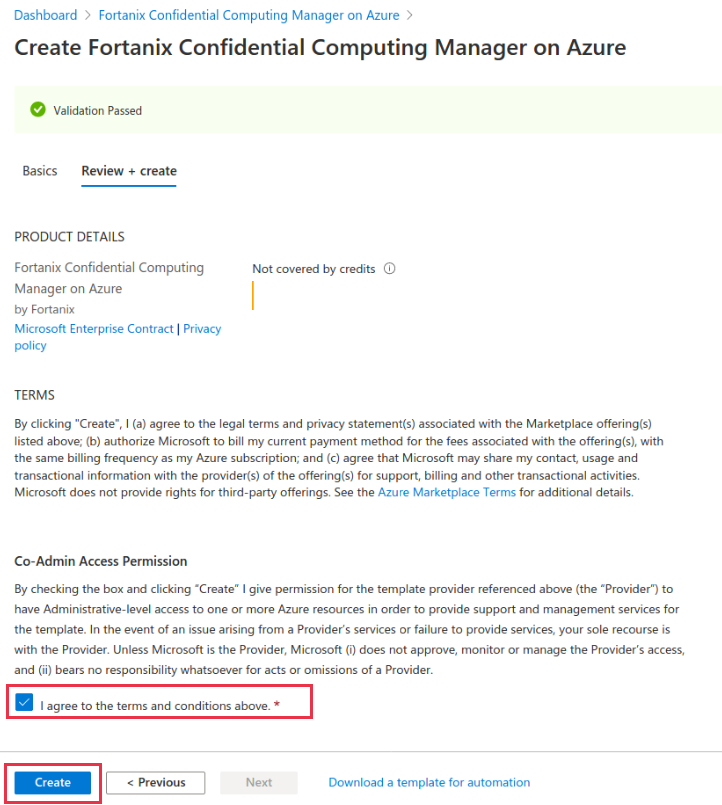
Review the details and once the validation passes, select the I agree to the terms and conditions above check box, and then select Create to create the managed application.
The Fortanix CCM deployment will start and notifies that the deployment is in progress.
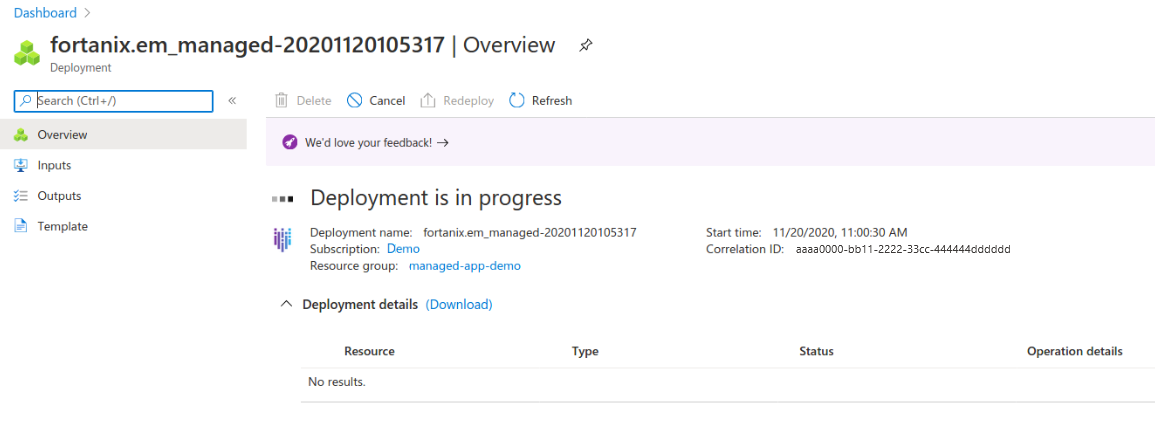
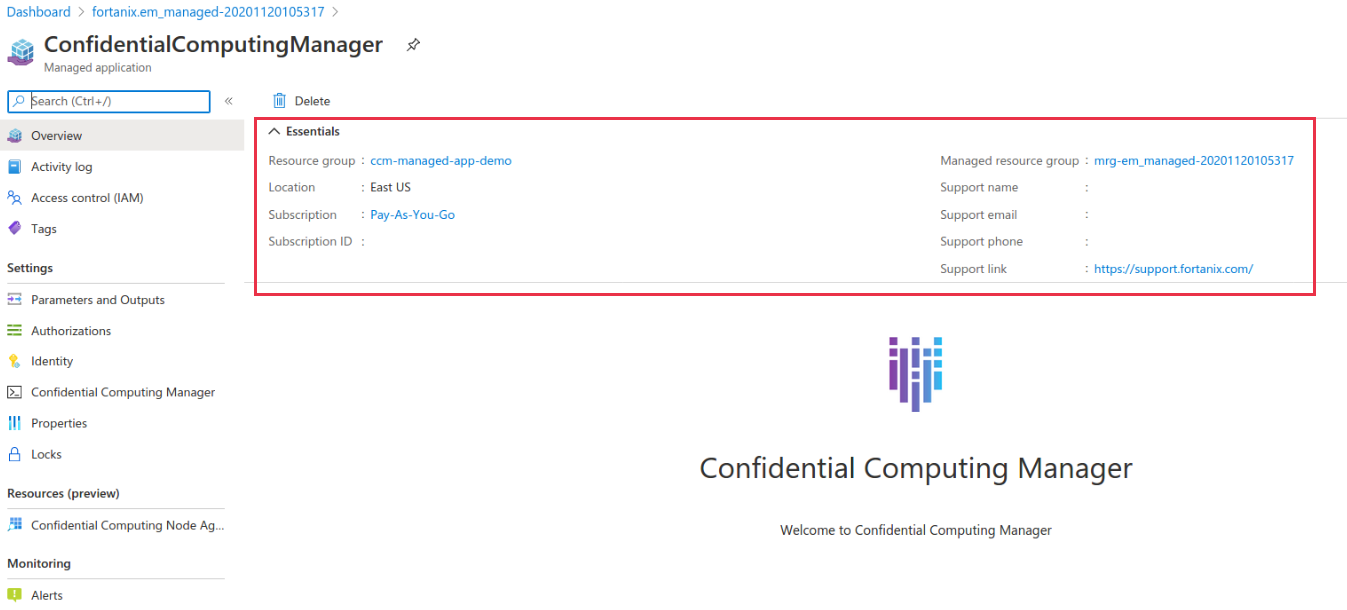
When the deployment is complete, select Go to resource button to go to the deployed CCM-managed application's "Overview" page to enroll the compute node.
![Screenshot that shows a successful deployment in the Azure portal.]](media/how-to-fortanix-confidential-computing-manager/fortanix-resource.png)
Enroll the compute node in Fortanix CCM
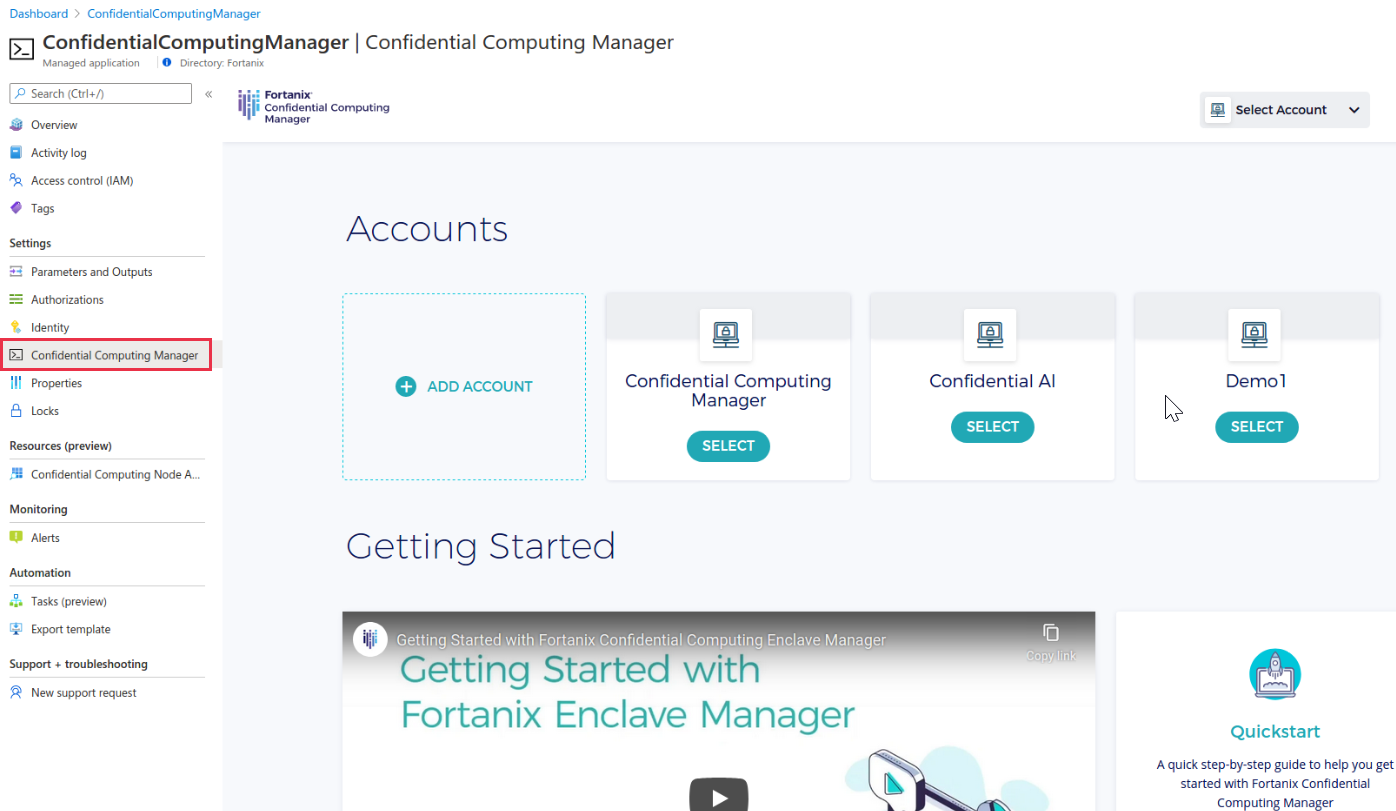
Select Confidential Computing Manager from the left navigation menu. Log in to Fortanix CCM and create an account as you see in Figure 9.
For more details on how to sign up, log in and create an account in CCM refer to CCM Getting Started.
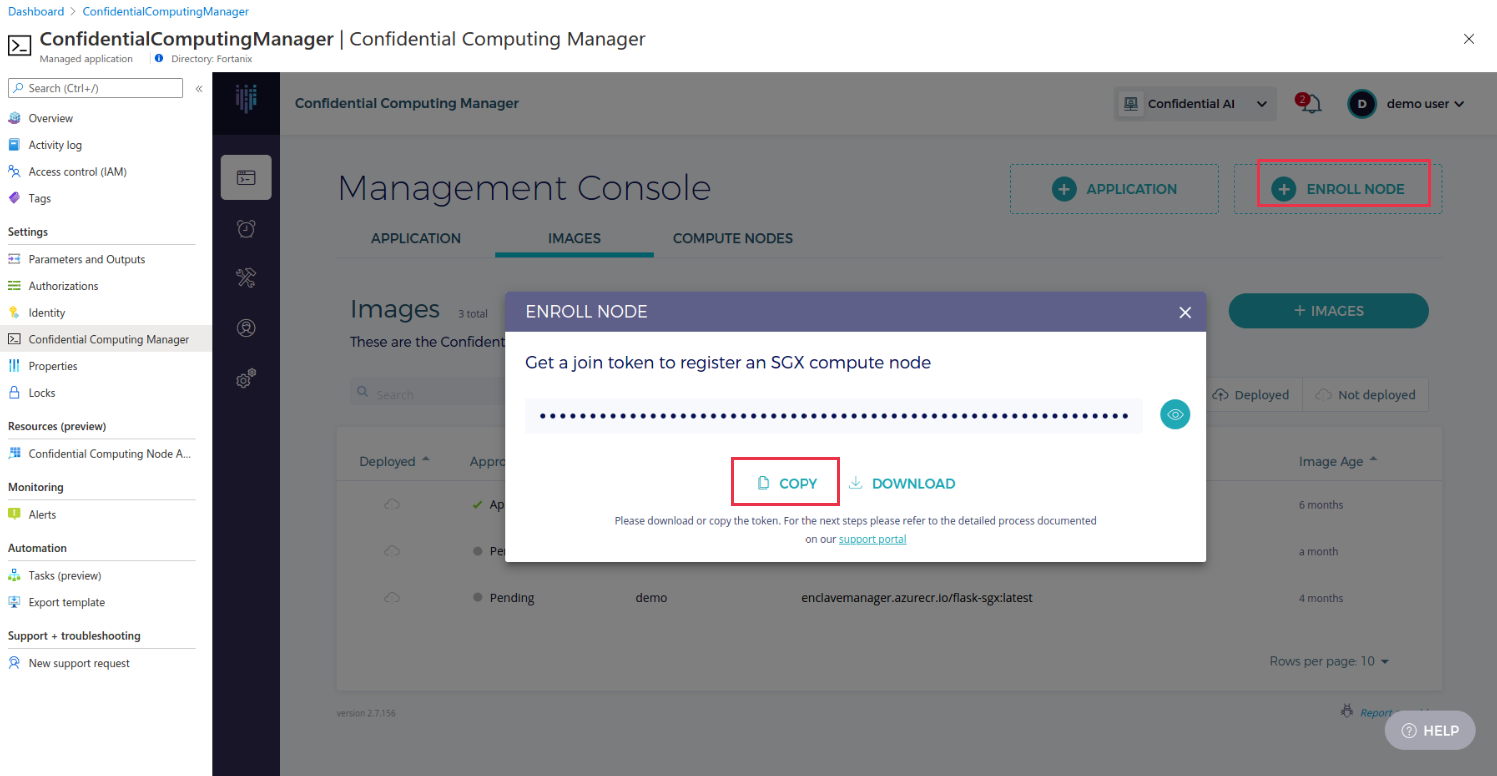
To get the Join Token from the CCM Management Console, first select the ENROLL NODE button. Then, in the ENROLL NODE window, select the COPY button to copy the join token.
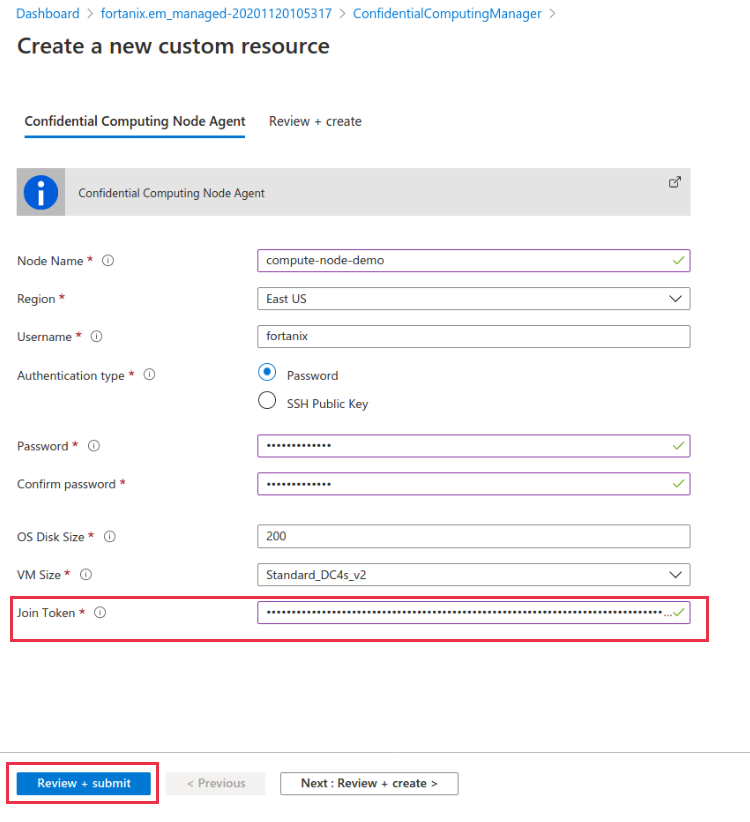
Now to enroll a node agent, select the Confidential Computing Node Agent tab and select Add to add a CCM node agent.

In the CCM node agent form, fill all the required fields. Paste the join token that you copied in Step 2 in Join Token. Select Review + submit to confirm.
For more information on how to enroll a CCM compute node, see Enroll Compute Node.
After the validation passes, select Submit to complete the node agent creation.

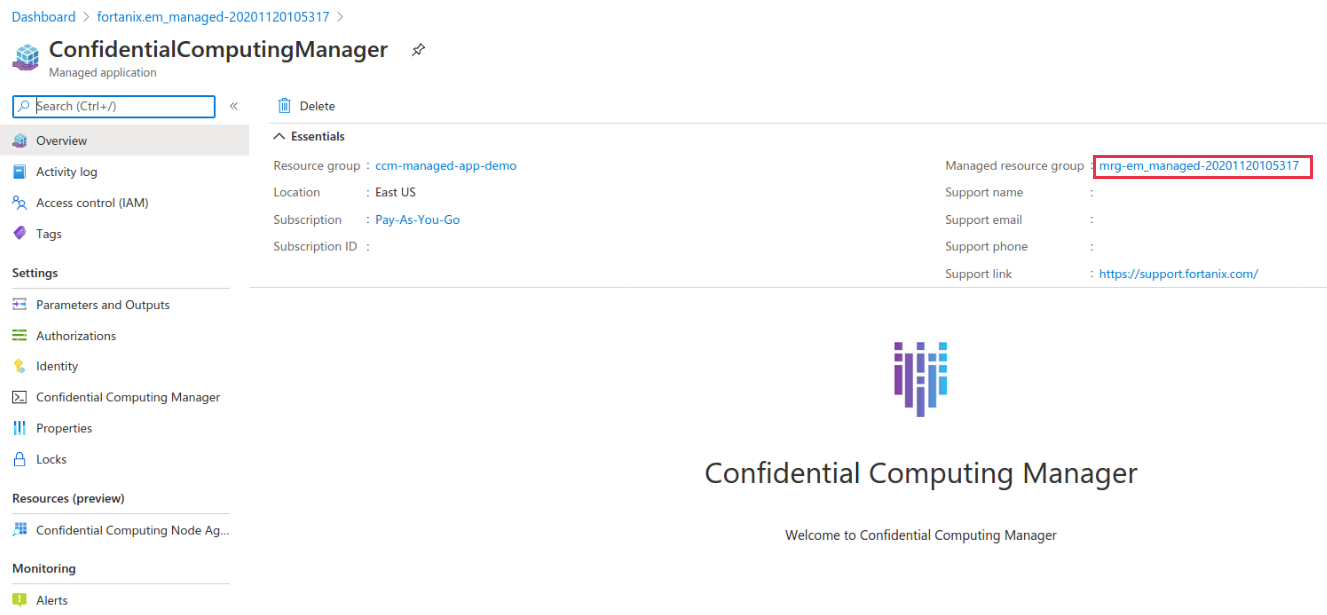
To check the deployment status, go to the Overview tab, and select Managed resource group link.
Now you will notice that the deployment status is still in progress and will take a few minutes for the node agent to be successfully enrolled.

When the node agent enrollment is successful, the status changes to "Succeeded".

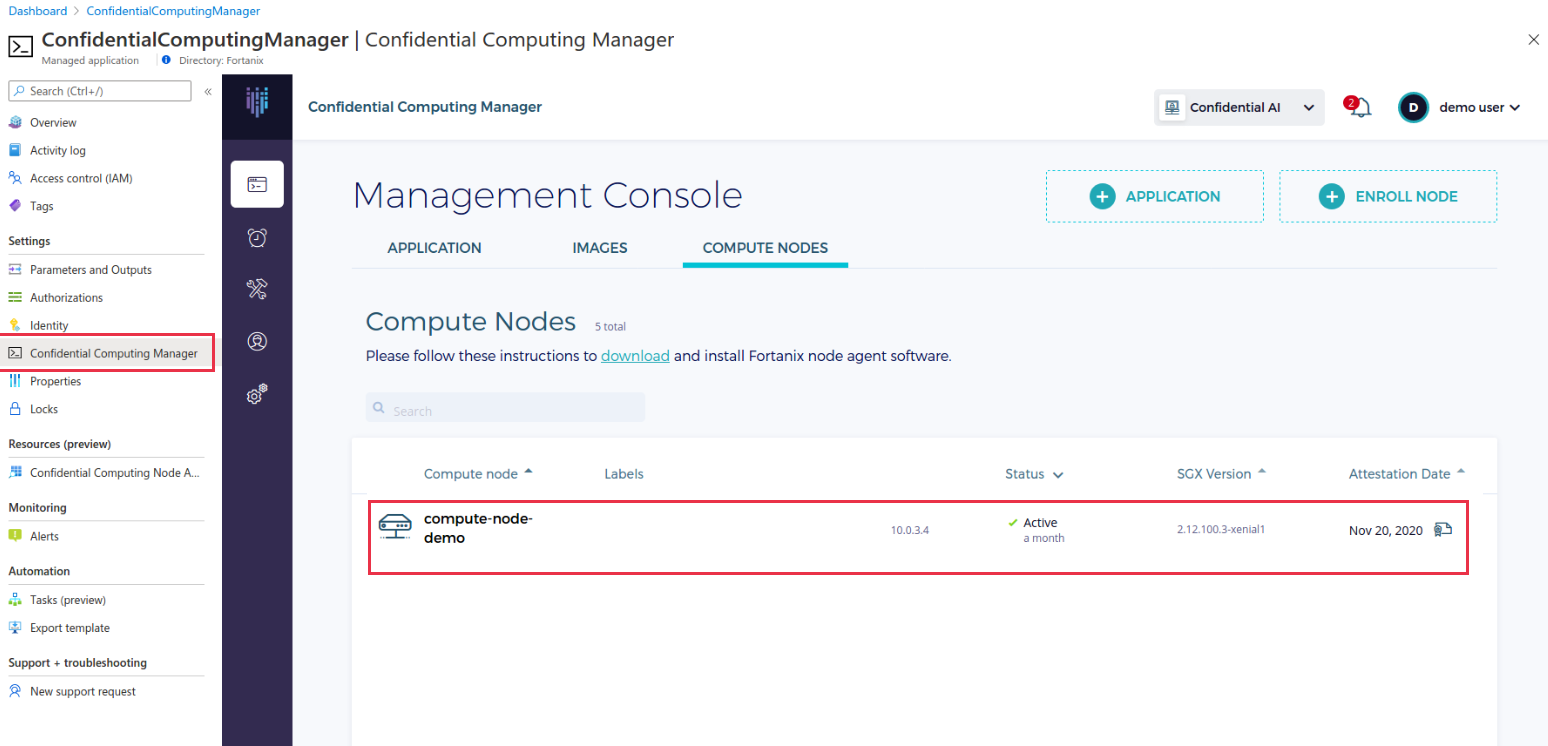
Now in the CCM-managed application, go to the Compute Nodes pages and you will notice that the node is in an Active state and enrolled successfully.
Clean up resources
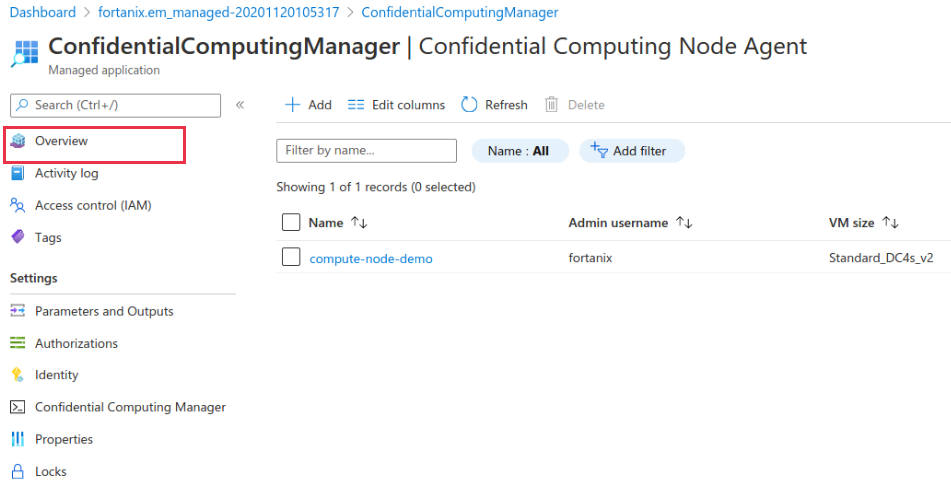
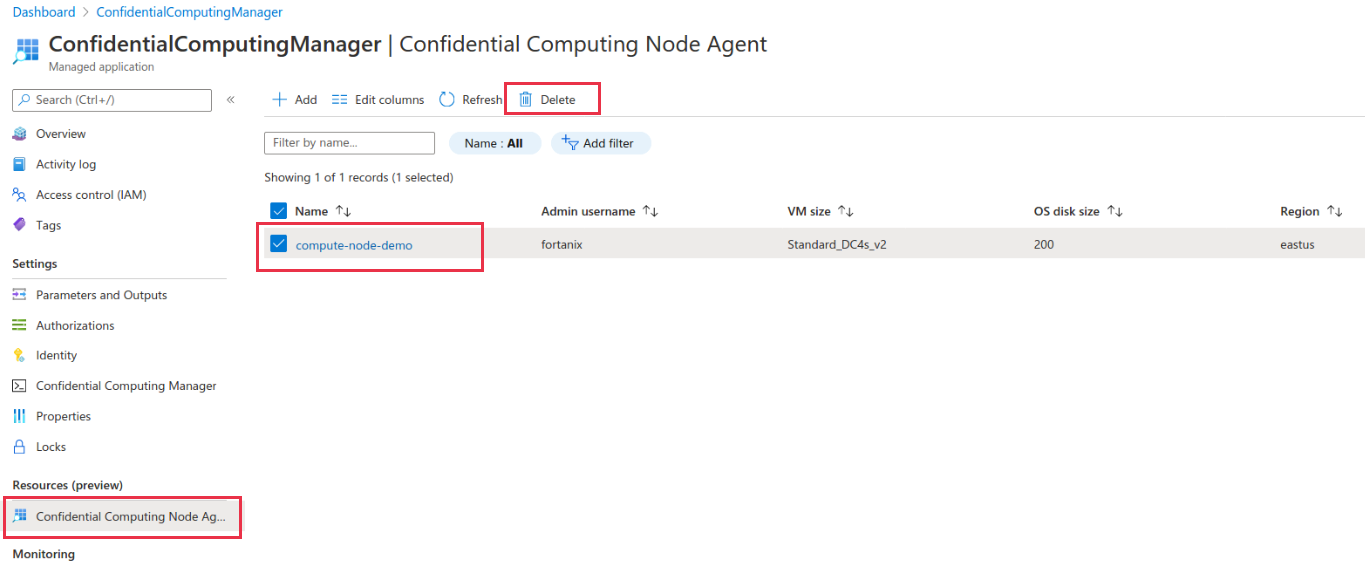
The user also can delete a CCM node agent from the Confidential Computing Node Agent page. To delete the node agent, select the node agent and select the Delete button on the top bar.
Next steps
In this quickstart, you enrolled a node using an Azure managed app to Fortanix's Confidential Computing Manager. The node enrollment allows you to convert your application image to run on top of a confidential computing virtual machine. For more information about confidential computing virtual machines on Azure, see Solutions on Virtual Machines.
To learn more about Azure's confidential computing offerings, see Azure confidential computing.
Learn how to complete similar tasks using other third-party offerings on Azure, like Anjuna and Scone.
Feedback
Coming soon: Throughout 2024 we will be phasing out GitHub Issues as the feedback mechanism for content and replacing it with a new feedback system. For more information see: https://aka.ms/ContentUserFeedback.
Submit and view feedback for