Note
Access to this page requires authorization. You can try signing in or changing directories.
Access to this page requires authorization. You can try changing directories.
Important
This preview capability is subject to the Supplemental Terms of Use for Microsoft Azure Previews. During preview, this capability is only available in Azure public regions.
For automation and integration, AI agents need tools that can securely call other services and systems. However, building and maintaining separately managed Model Context Protocol (MCP) servers, defining tools, and managing credentials for each integration adds significant overhead and complexity. Connector Namespace addresses this problem by centrally hosting and managing MCP servers as connectors for you. In a connector namespace resource, you can create an MCP server connector by choosing a prebuilt connector, which provides actions as tools that agents and Azure services can securely call - without needing custom server code or other infrastructure.
In a connector namespace, you can create the following kinds of MCP server connectors:
| Type | Description |
|---|---|
| Managed | This MCP server connector automatically includes all actions from your selected prebuilt connector for agents to call as tools. Needs minimal setup. |
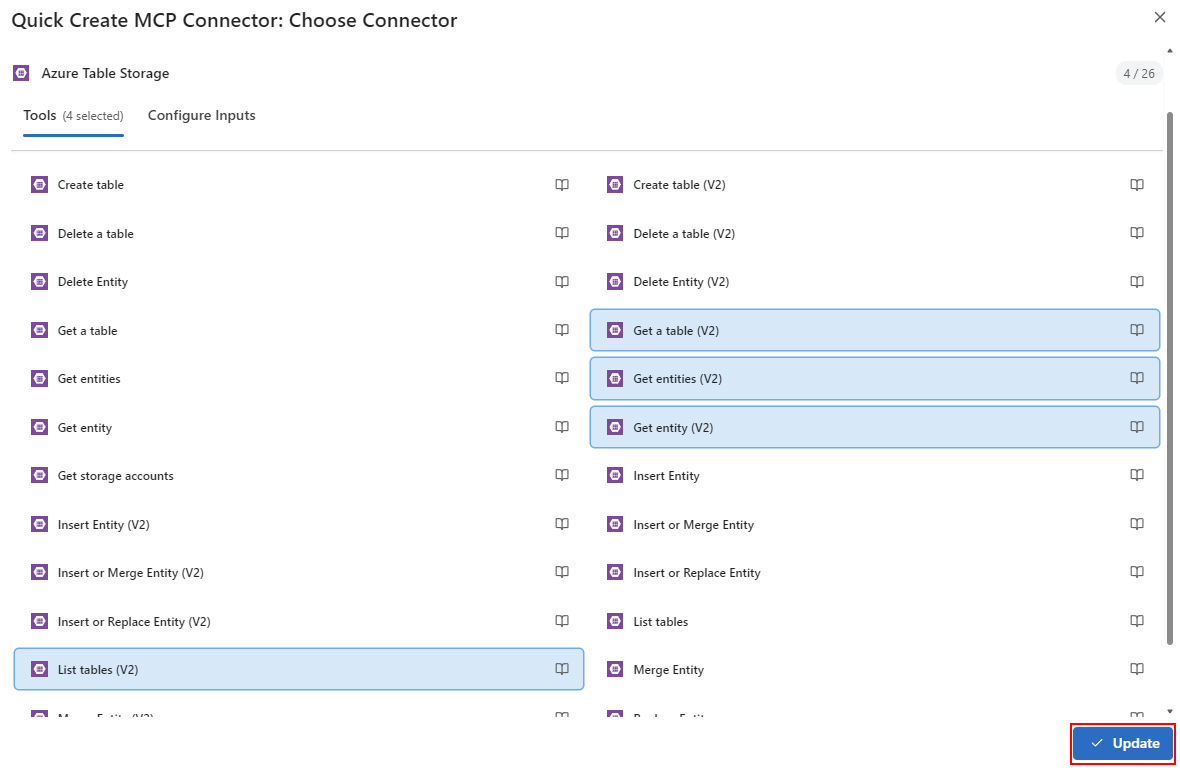
| Configurable | This MCP server connector includes only the actions you choose from your selected prebuilt connector for agents to call as tools. You can also control whether agents or humans provide tool inputs. |
This guide shows how to create both managed and configurable MCP server connectors in a connector namespace and validate your new connectors in the playground. For configurable MCP server connectors, you also learn how to choose specific actions to include as tools and specify whether agents or humans provide tool inputs.
For more information, see What is Connector Namespace.
Prerequisites
- An Azure account and subscription. Get a free Azure account.
- Access to the Azure portal with permissions to create connector namespaces and reusable connections.
- Credentials for the service or system for which you want to create a reusable connection in the connector namespace.
- An existing connector namespace resource in the Azure portal.
- Access to the Connector Namespaces portal.
- The capability to create reusable connections for the services you want during the connector creation process, or you have existing connections to use when creating your MCP server connectors.
Limitations and known issues
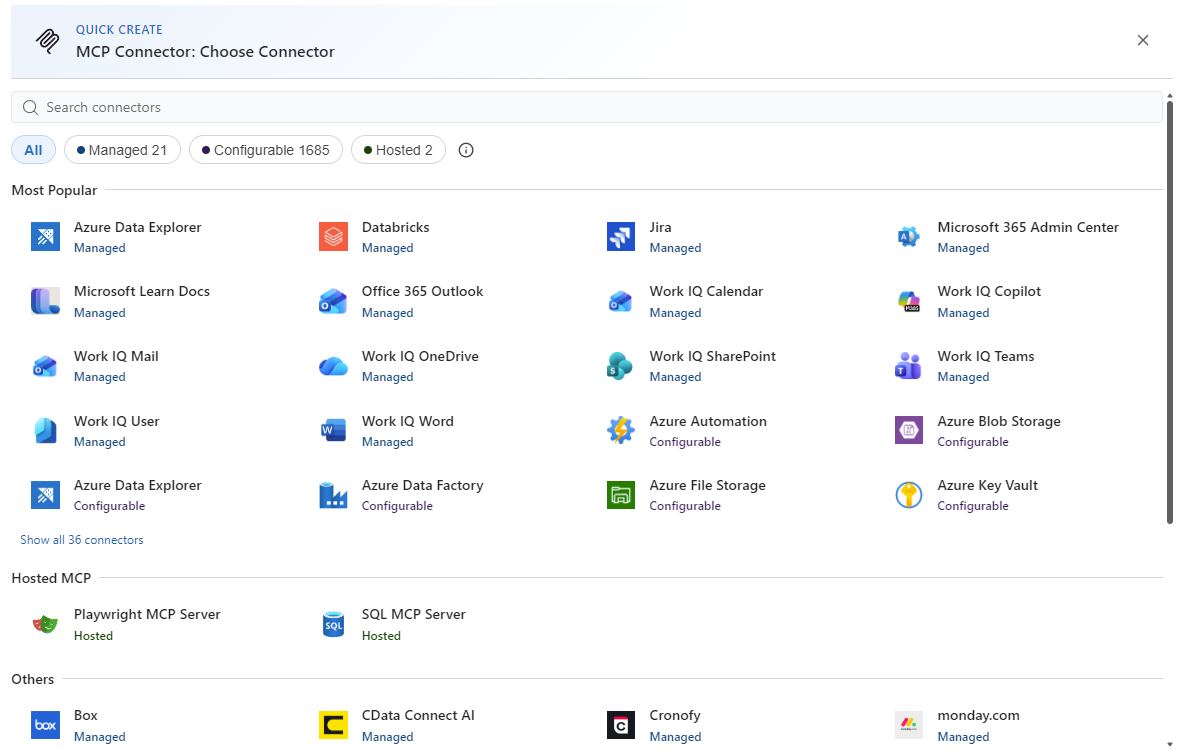
This release supports choosing only one connector to create your MCP server connector.
Create an MCP server connector
In the Azure portal search box, enter
connector namespaces, and select Connector Namespaces.Find and select your connector namespace resource.
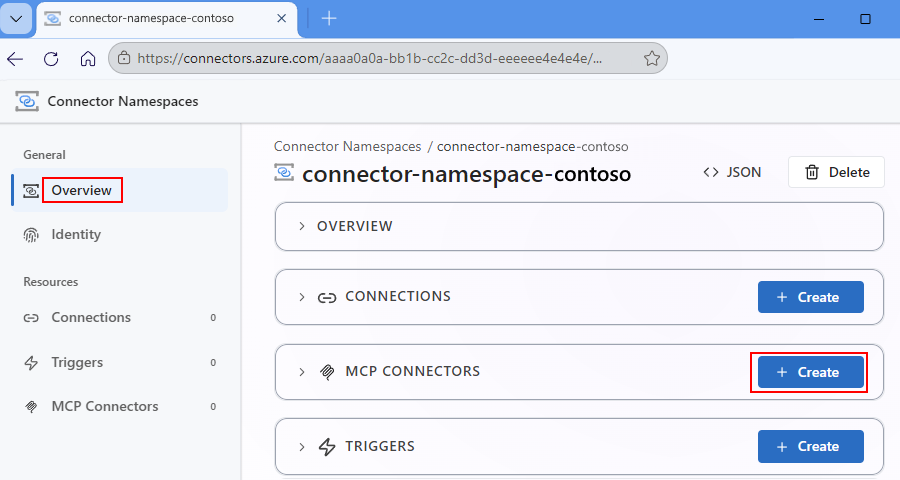
The Connector Namespaces portal opens and shows your connector namespace overview page.
On the namespace overview page, in the MCP connectors section, select + Create.
For example:
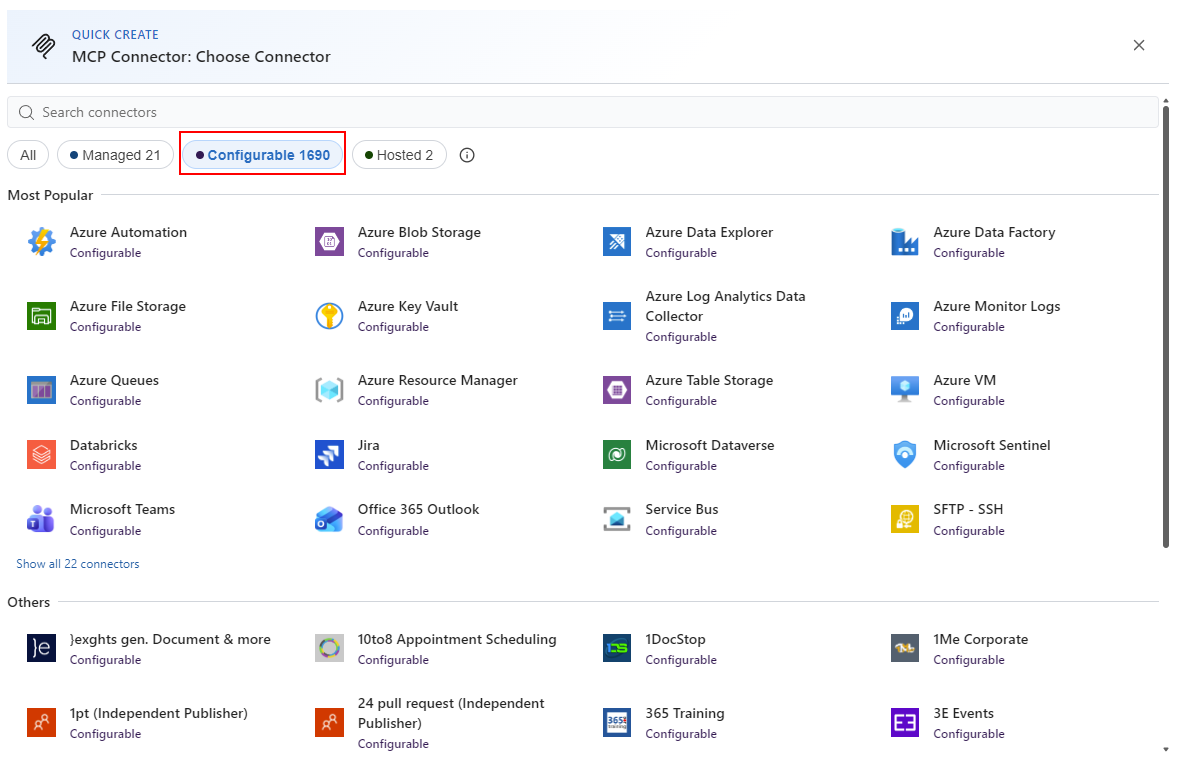
The following window opens and shows prebuilt connectors where you can choose one to create your MCP server:
Continue with the steps for a managed or configurable connector.
The following steps create an MCP server connector from a selected prebuilt connector that includes all its actions for agents to use as tools:
In the MCP Connector - Choose Connector window, under the search box, select Managed to view Azure-managed connectors.
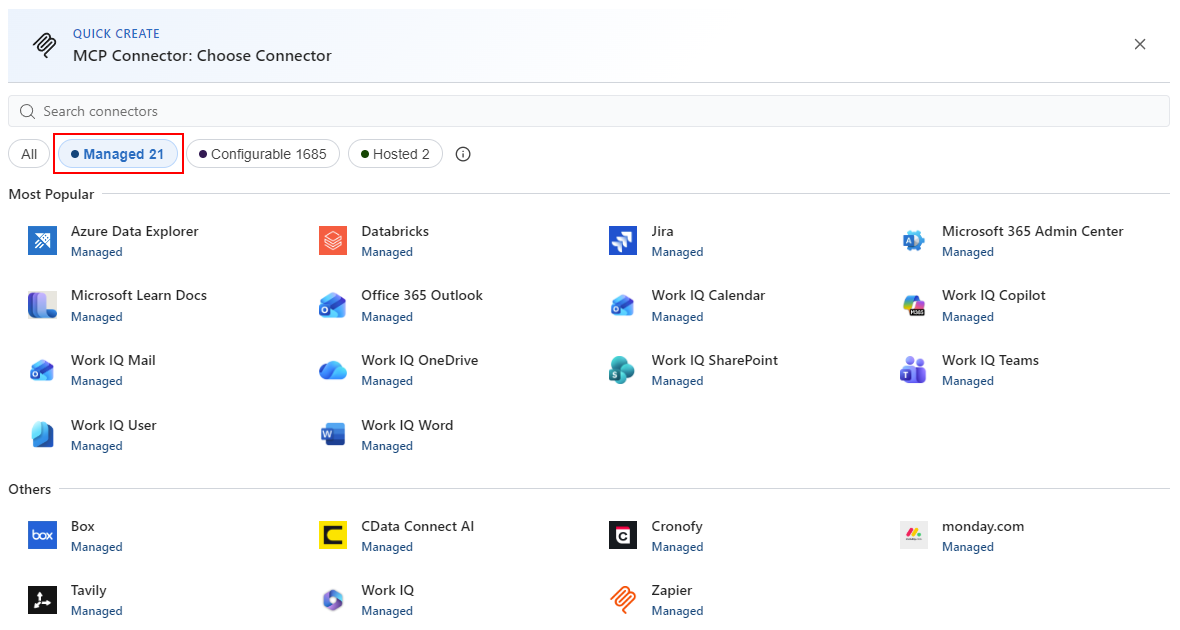
Find and select the managed connector you want, such as Office 365 Outlook.
Follow the prompt to authenticate the connection with your credentials.
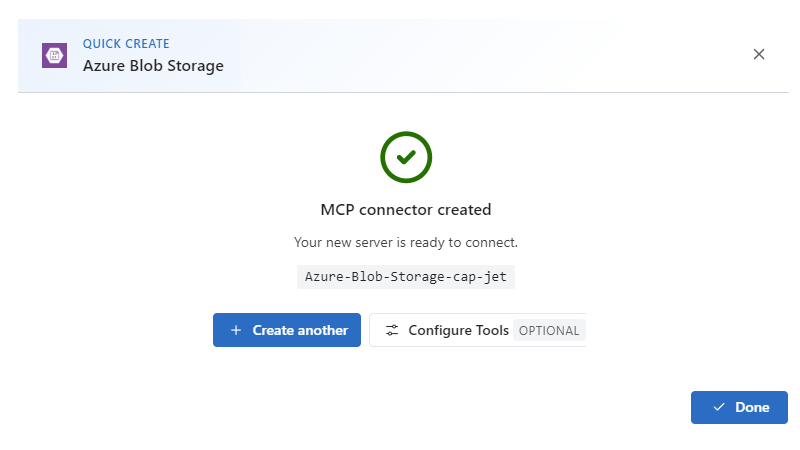
After the portal creates your connector, select Create another or Done.
Continue to Test your MCP server connector.
Test your MCP server connector
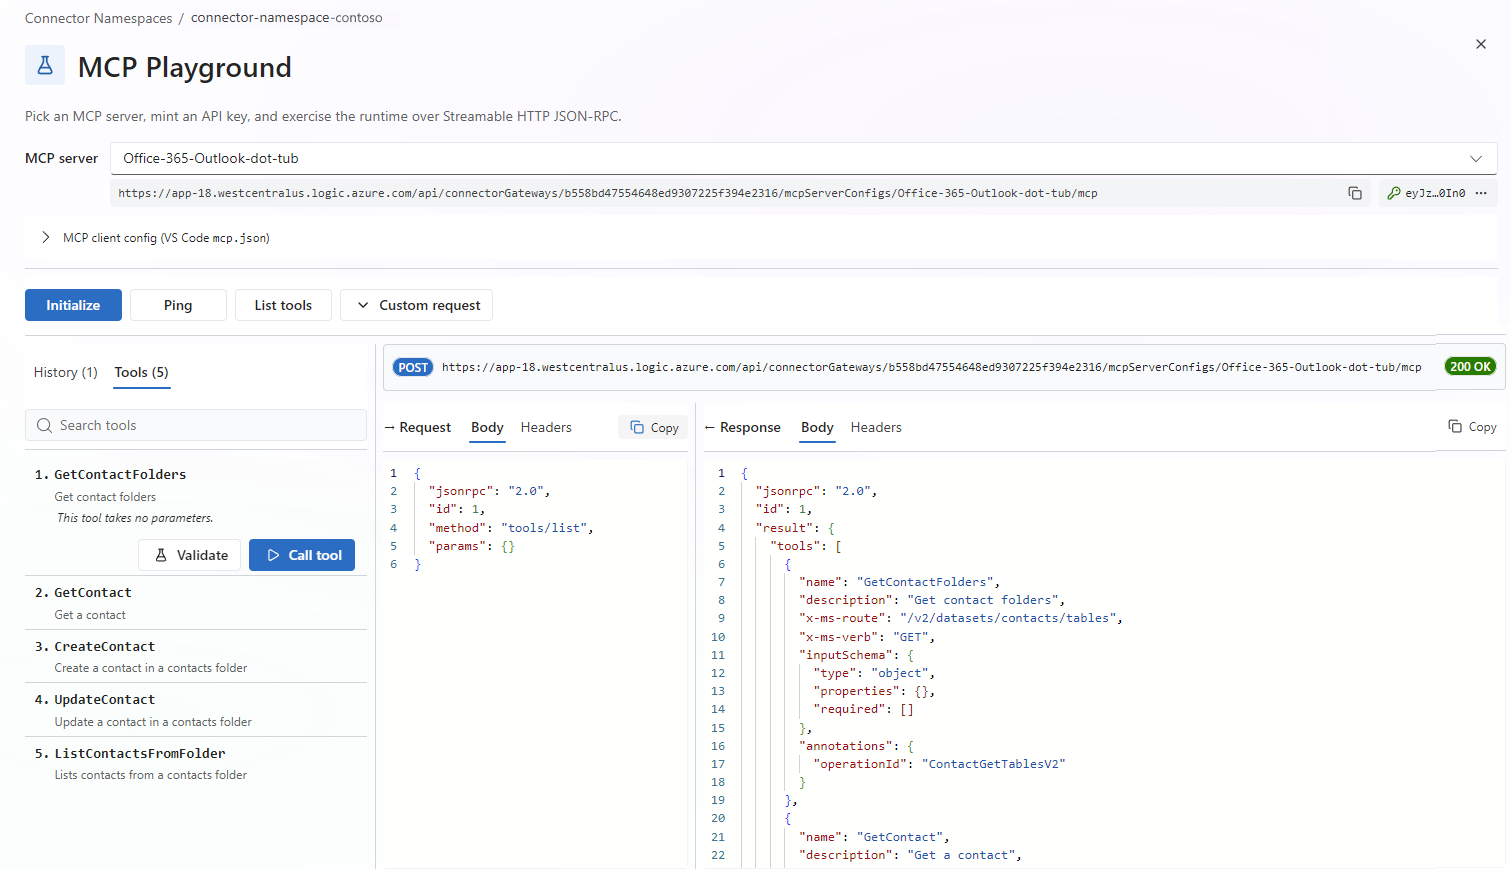
You don't need a separate MCP client to test your MCP server connector and tools. Instead, use the built-in playground to initialize the MCP server, view the enabled tools, run tool calls, and review the request and response results.
In the Connector Namespaces portal, go to your MCP server connector.
Before you start testing, allow access to the playground:
On the Settings tab, in the Authentication section, find the API key setting.
Change API key from Disabled to Enabled.
Next to your MCP server connector name, select the now enabled Playground button.
To interact with the connector tools, run the following commands:
Command Action Initialize Start the MCP server. List tools List the enabled tools. Call tool Under the command bar, on the Tools tab, expand each tool, select Call tool, and provide the required parameter inputs. To confirm that your MCP server connector works the way you expect, review the request and response data in the tool results.
For example: