Note
Access to this page requires authorization. You can try signing in or changing directories.
Access to this page requires authorization. You can try changing directories.
In this quickstart, you learn to deploy a container app from a prebuilt artifact file. The example in this article deploys a Java application using a JAR file, which includes a Java-specific manifest file. Your job is to create a backend web API service that returns a static collection of music albums. After completing this quickstart, you can continue to Communication between microservices to learn how to deploy a front end application that calls the API.
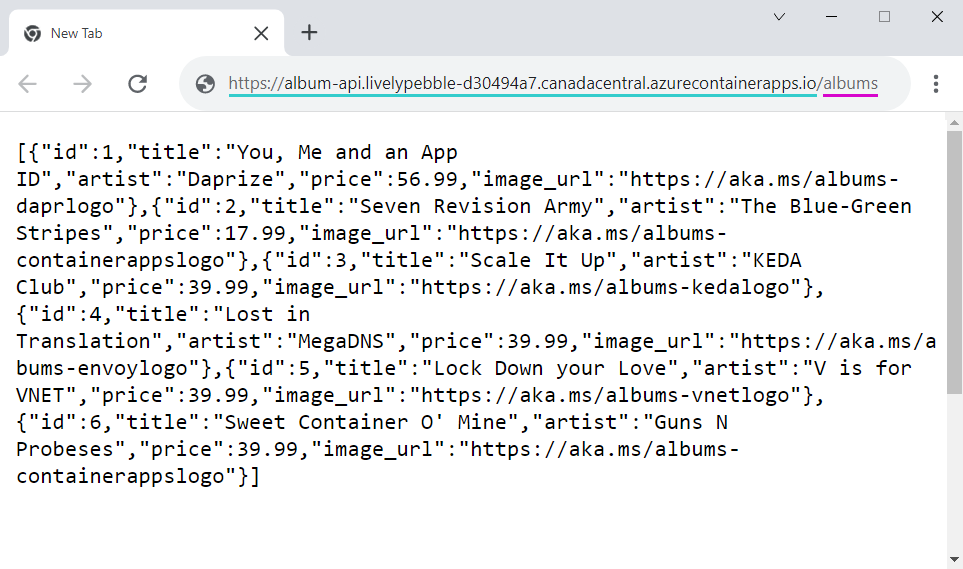
The following screenshot shows the output from the album API service you deploy.
Prerequisites
| Requirement | Instructions |
|---|---|
| Azure account | If you don't have one, create an account for free. You need the Contributor or Owner permission on the Azure subscription to proceed. Refer to Assign Azure roles using the Azure portal for details. |
| GitHub Account | Get one for free. |
| git | Install git |
| Azure CLI | Install the Azure CLI. |
| Java | Install the JDK, recommend 17, or later |
| Maven | Install the Maven. |
Setup
To sign in to Azure from the CLI, run the following command and follow the prompts to complete the authentication process.
az login
To ensure you're running the latest version of the CLI, run the upgrade command.
az upgrade
Next, install or update the Azure Container Apps extension for the CLI.
If you receive errors about missing parameters when you run az containerapp commands in Azure CLI or cmdlets from the Az.App module in PowerShell, be sure you have the latest version of the Azure Container Apps extension installed.
az extension add --name containerapp --upgrade
Note
Starting in May 2024, Azure CLI extensions no longer enable preview features by default. To access Container Apps preview features, install the Container Apps extension with --allow-preview true.
az extension add --name containerapp --upgrade --allow-preview true
Now that the current extension or module is installed, register the Microsoft.App and Microsoft.OperationalInsights namespaces.
az provider register --namespace Microsoft.App
az provider register --namespace Microsoft.OperationalInsights
Create environment variables
Now that your Azure CLI setup is complete, you can define the environment variables that are used throughout this article.
Define the following variables in your bash shell.
RESOURCE_GROUP="album-containerapps"
LOCATION="canadacentral"
ENVIRONMENT="env-album-containerapps"
API_NAME="album-api"
SUBSCRIPTION=<YOUR_SUBSCRIPTION_ID>
If necessary, you can query for your subscription ID.
az account list --output table
Prepare the GitHub repository
Begin by cloning the sample repository.
Use the following git command to clone the sample app into the code-to-cloud folder:
git clone https://github.com/azure-samples/containerapps-albumapi-java code-to-cloud
cd code-to-cloud
Build a JAR file
Note
The Java sample only supports a Maven build, which results in an executable JAR file. The build uses default settings as passing in environment variables is unsupported.
Build the project with Maven.
mvn clean package -DskipTests
Run the project locally
java -jar target\containerapps-albumapi-java-0.0.1-SNAPSHOT.jar
To verify application is running, open a browser and go to http://localhost:8080/albums. The page returns a list of the JSON objects.
Deploy the artifact
Build and deploy your first container app from your local JAR file with the containerapp up command.
This command:
- Creates the resource group
- Creates an Azure Container Registry
- Builds the container image and push it to the registry
- Creates the Container Apps environment with a Log Analytics workspace
- Creates and deploys the container app using a public container image
The up command uses the Docker file in the root of the repository to build the container image. The EXPOSE instruction in the Docker file defines the target port. A Docker file, however, isn't required to build a container app.
Note
Note: When using containerapp up in combination with a Docker-less code base, use the --location parameter so that application runs in a location other than US East.
az containerapp up \
  --name $API_NAME \
  --resource-group $RESOURCE_GROUP \
  --location $LOCATION \
  --environment $ENVIRONMENT \
  --artifact ./target/containerapps-albumapi-java-0.0.1-SNAPSHOT.jar \
  --ingress external \
  --target-port 8080 \
  --subscription $SUBSCRIPTION
Verify deployment
Copy the FQDN to a web browser. From your web browser, go to the /albums endpoint of the FQDN.
Deploy a WAR file
You can also deploy your container app from a WAR file.
Clean up resources
If you're not going to continue to use this application, you can delete the Azure Container Apps instance and all the associated services by removing the resource group.
Follow these steps to remove the resources you created:
az group delete \
  --resource-group $RESOURCE_GROUP
Tip
Having issues? Let us know on GitHub by opening an issue in the Azure Container Apps repo.