Quickstart: Build and deploy from local source code to Azure Container Apps
This article demonstrates how to build and deploy a microservice to Azure Container Apps from local source code using the programming language of your choice. In this quickstart, you create a backend web API service that returns a static collection of music albums.
Note
This sample application is available in two versions. One version where the source contains a Dockerfile. The other version has no Dockerfile. Select the version that best reflects your source code. If you are new to containers, select the No Dockerfile option at the top.
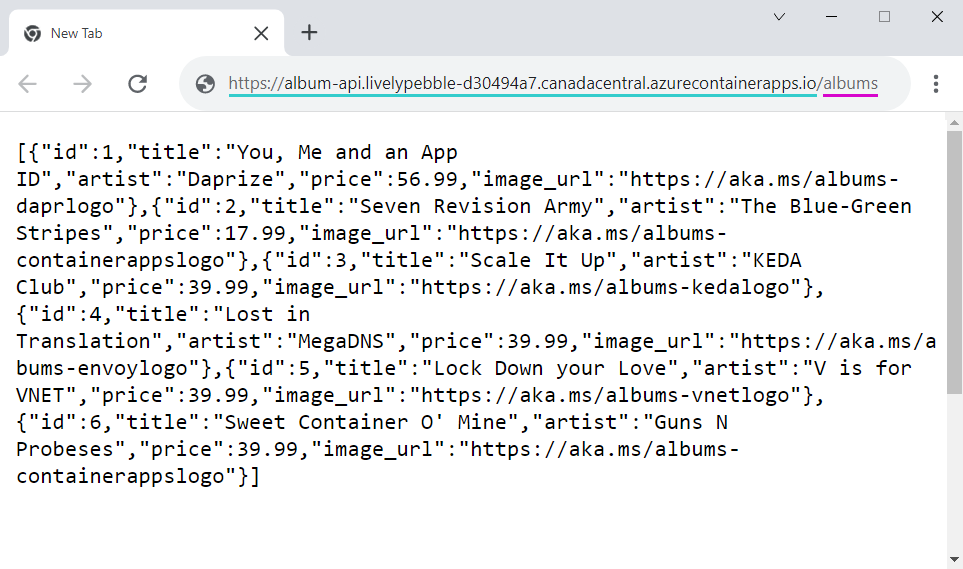
The following screenshot shows the output from the album API service you deploy.
Prerequisites
To complete this project, you need the following items:
| Requirement | Instructions |
|---|---|
| Azure account | If you don't have one, create an account for free. You need the Contributor or Owner permission on the Azure subscription to proceed. Refer to Assign Azure roles using the Azure portal for details. |
| Azure CLI | Install the Azure CLI. |
Setup
To sign in to Azure from the CLI, run the following command and follow the prompts to complete the authentication process.
az login
Ensure you're running the latest version of the CLI via the upgrade command.
az upgrade
Next, install or update the Azure Container Apps extension for the CLI.
az extension add --name containerapp --upgrade
Register the Microsoft.App and Microsoft.OperationalInsights namespaces if you haven't already registered them in your Azure subscription.
az provider register --namespace Microsoft.App
az provider register --namespace Microsoft.OperationalInsights
Now that your Azure CLI setup is complete, you can define the environment variables that are used throughout this article.
Define the following variables in your bash shell.
export RESOURCE_GROUP="album-containerapps"
export LOCATION="canadacentral"
export ENVIRONMENT="env-album-containerapps"
export API_NAME="album-api"
Get the sample code
Download and extract the API sample application in the language of your choice.
Download the source code to your machine.
Extract the download and change into the containerapps-albumapi-csharp-main/src folder.
Download the source code to your machine.
Extract the download and change into the containerapps-albumapi-csharp-buildpack/src folder.
Build and deploy the container app
Build and deploy your first container app with the containerapp up command. This command will:
- Create the resource group
- Create an Azure Container Registry
- Build the container image and push it to the registry
- Create the Container Apps environment with a Log Analytics workspace
- Create and deploy the container app using the built container image
- Create the resource group
- Create a default registry as part of your environment
- Detect the language and runtime of your application and build the image using the appropriate Buildpack
- Push the image into the Azure Container Apps default registry
- Create the Container Apps environment with a Log Analytics workspace
- Create and deploy the container app using the built container image
The up command uses the Dockerfile in the root of the repository to build the container image. The EXPOSE instruction in the Dockerfile defined the target port, which is the port used to send ingress traffic to the container.
If the up command doesn't find a Dockerfile, it automatically uses Buildpacks to turn your application source into a runnable container. Since the Buildpack is trying to run the build on your behalf, you need to tell the up command which port to send ingress traffic to.
In the following code example, the . (dot) tells containerapp up to run in the src directory of the extracted sample API application.
az containerapp up \
  --name $API_NAME \
  --location $LOCATION \
  --environment $ENVIRONMENT \
  --source .
az containerapp up \
  --name $API_NAME \
  --location $LOCATION \
  --environment $ENVIRONMENT \
  --ingress external \
  --target-port 8080 \
  --source .
Important
In order to deploy your container app to an existing resource group, include --resource-group yourResourceGroup to the containerapp up command.
Verify deployment
Copy the FQDN to a web browser. From your web browser, go to the /albums endpoint of the FQDN.
Clean up resources
If you're not going to continue on to the Deploy a frontend tutorial, you can remove the Azure resources created during this quickstart with the following command.
Caution
The following command deletes the specified resource group and all resources contained within it. If the group contains resources outside the scope of this quickstart, they are also deleted.
az group delete --name $RESOURCE_GROUP
Tip
Having issues? Let us know on GitHub by opening an issue in the Azure Container Apps repo.
Next steps
After completing this quickstart, you can continue to Tutorial: Communication between microservices in Azure Container Apps to learn how to deploy a front end application that calls the API.
Feedback
Coming soon: Throughout 2024 we will be phasing out GitHub Issues as the feedback mechanism for content and replacing it with a new feedback system. For more information see: https://aka.ms/ContentUserFeedback.
Submit and view feedback for