Note
Access to this page requires authorization. You can try signing in or changing directories.
Access to this page requires authorization. You can try changing directories.
In this quickstart, you use the Azure portal to create an Azure Container Apps environment and deploy your first container app.
Container Apps provides a way to run microservices and containerized applications on a serverless platform. With Container Apps, you can enjoy the benefits of running containers while leaving behind the concerns of manually configuring cloud infrastructure and complex container orchestrators.
Prerequisites
An Azure account with an active subscription. If you don't already have one, you can create an account for free.
The
Microsoft.Appresource provider registered in your Azure subscription.
Setup
Begin by signing in to the Azure portal.
Create a container app
To create your container app, start at the Azure portal home page.
In the top search bar, search for Container Apps.
In the search results, select Container Apps.
Select Create > Container App.
Configure basic information
On the Basics tab, take the following steps:
Under Project details, take the actions listed in the table:
Setting Action Subscription Select your Azure subscription. Resource group Select Create new and enter my-container-apps. Container app name Enter my-container-app. Optimize for Azure Functions Leave the checkbox unselected. Select it only if you want to create a function app. Deployment source Select Container image. Under Container Apps environment, take the actions listed in the table:
Setting Action Region Select a region near you. Container Apps environment Use the default value.
Configure container information
Select Next: Container.
Select Use quickstart image.
Deploy the container app
At the bottom of the page, select Review + create.
- If no errors are found, the Create button is available.
- If there are errors, any tab that contains an error is marked with a red dot. Go to each of those tabs. Fields containing an error are highlighted in red or marked with a red X. Fix all errors, and then select Review + create again.
Select Create.
A page with the message Deployment is in progress is displayed. After the deployment finishes successfully, the message Your deployment is complete appears.
Verify the deployment
Select Go to resource to view your new container app.
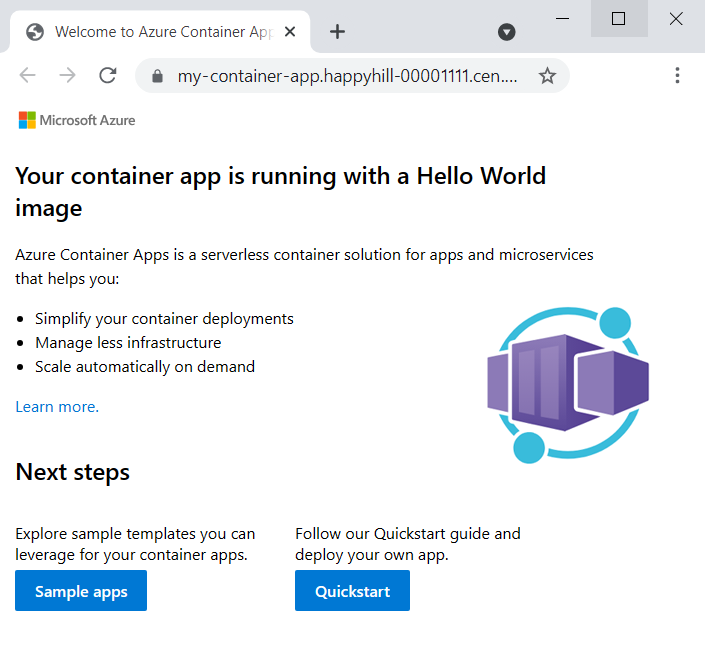
Next to Application Url, select the link to view your application.
The following page appears in your browser.
Clean up resources
If you're not going to continue to use this application, you can delete the container app and all the associated services by removing the resource group.
In the Azure portal, go to the Overview page for your container app. Under Essentials, select the my-container-apps resource group.
On the resource group Overview page, select Delete resource group.
In the Delete a resource group dialog, enter the resource group name, my-container-apps.
Select Delete, and then confirm your selection.
The process to delete the resource group can take a few minutes to finish.
Tip
Having issues? Let us know on GitHub by opening an issue in the Azure Container Apps repo.