Tutorial: Build and deploy your app to Azure Container Apps
This article demonstrates how to build and deploy a microservice to Azure Container Apps from a source repository using your preferred programming language.
This is the first tutorial in the series of articles that walk you through how to use core capabilities within Azure Container Apps. The first step is to create a back end web API service that returns a static collection of music albums.
Note
You can also build and deploy this app using the az containerapp up by following the instructions in the Quickstart: Build and deploy an app to Azure Container Apps from a repository article. The az containerapp up command is a fast and convenient way to build and deploy your app to Azure Container Apps using a single command. However, it doesn't provide the same level of customization for your container app.
The next tutorial in the series will build and deploy the front end web application to Azure Container Apps.
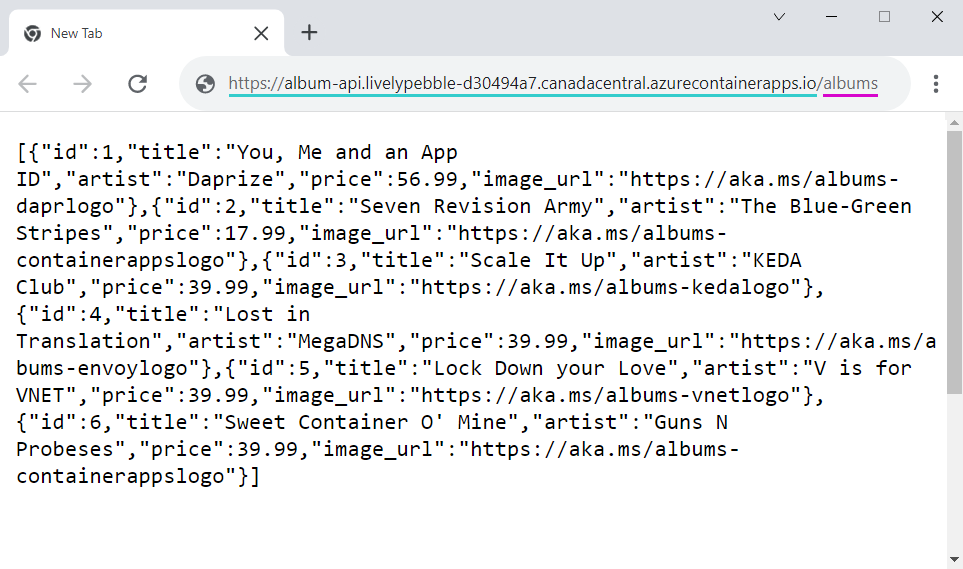
The following screenshot shows the output from the album API deployed in this tutorial.
Prerequisites
To complete this project, you need the following items:
| Requirement | Instructions |
|---|---|
| Azure account | If you don't have one, create an account for free. You need the Contributor or Owner permission on the Azure subscription to proceed. Refer to Assign Azure roles using the Azure portal for details. |
| GitHub Account | Sign up for free. |
| git | Install git |
| Azure CLI | Install the Azure CLI. |
| Docker Desktop | Docker provides installers that configure the Docker environment on macOS, Windows, and Linux. From your command prompt, type docker to ensure Docker is running. |
Setup
To sign in to Azure from the CLI, run the following command and follow the prompts to complete the authentication process.
az login
To ensure you're running the latest version of the CLI, run the upgrade command.
az upgrade
Next, install or update the Azure Container Apps extension for the CLI.
If you receive errors about missing parameters when you run az containerapp commands in Azure CLI or cmdlets from the Az.App module in Azure PowerShell, be sure you have the latest version of the Azure Container Apps extension installed.
az extension add --name containerapp --upgrade
Note
Starting in May 2024, Azure CLI extensions no longer enable preview features by default. To access Container Apps preview features, install the Container Apps extension with --allow-preview true.
az extension add --name containerapp --upgrade --allow-preview true
Now that the current extension or module is installed, register the Microsoft.App and Microsoft.OperationalInsights namespaces.
Note
Azure Container Apps resources have migrated from the Microsoft.Web namespace to the Microsoft.App namespace. Refer to Namespace migration from Microsoft.Web to Microsoft.App in March 2022 for more details.
az provider register --namespace Microsoft.App
az provider register --namespace Microsoft.OperationalInsights
Create environment variables
Now that your Azure CLI setup is complete, you can define the environment variables that are used throughout this article.
Define the following variables in your bash shell.
RESOURCE_GROUP="album-containerapps"
LOCATION="canadacentral"
ENVIRONMENT="env-album-containerapps"
API_NAME="album-api"
FRONTEND_NAME="album-ui"
GITHUB_USERNAME="<YOUR_GITHUB_USERNAME>"
Before you run this command, make sure to replace <YOUR_GITHUB_USERNAME> with your GitHub username.
Next, define a container registry name unique to you.
ACR_NAME="acaalbums"$GITHUB_USERNAME
Prepare the GitHub repository
Navigate to the repository for your preferred language and fork the repository.
Select the Fork button at the top of the album API repo to fork the repo to your account.
Now you can clone your fork of the sample repository.
Use the following git command to clone your forked repo into the code-to-cloud folder:
git clone https://github.com/$GITHUB_USERNAME/containerapps-albumapi-csharp.git code-to-cloud
Next, change the directory into the root of the cloned repo.
cd code-to-cloud/src
Create an Azure resource group
Create a resource group to organize the services related to your container app deployment.
az group create \
  --name $RESOURCE_GROUP \
  --location "$LOCATION"
Create an Azure Container Registry
After the album API container image is built, create an Azure Container Registry (ACR) instance in your resource group to store it.
az acr create \
  --resource-group $RESOURCE_GROUP \
  --name $ACR_NAME \
  --sku Basic \
  --admin-enabled true
Build your application
With ACR tasks, you can build and push the docker image for the album API without installing Docker locally.
Build the container with ACR
Run the following command to initiate the image build and push process using ACR. The . at the end of the command represents the docker build context, meaning this command should be run within the src folder where the Dockerfile is located.
az acr build --registry $ACR_NAME --image $API_NAME .
Output from the az acr build command shows the upload progress of the source code to Azure and the details of the docker build and docker push operations.
Build your application
The following steps, demonstrate how to build your container image locally using Docker and push the image to the new container registry.
Build the container with Docker
The following command builds a container image for the album API and tags it with the fully qualified name of the ACR login server. The . at the end of the command represents the docker build context, meaning this command should be run within the src folder where the Dockerfile is located.
docker build --tag $ACR_NAME.azurecr.io/$API_NAME .
Push the image to your container registry
First, sign in to your Azure Container Registry.
az acr login --name $ACR_NAME
Now, push the image to your registry.
docker push $ACR_NAME.azurecr.io/$API_NAME
Create a Container Apps environment
The Azure Container Apps environment acts as a secure boundary around a group of container apps.
Create the Container Apps environment using the following command.
az containerapp env create \
  --name $ENVIRONMENT \
  --resource-group $RESOURCE_GROUP \
  --location "$LOCATION"
Deploy your image to a container app
Now that you have an environment created, you can create and deploy your container app with the az containerapp create command.
Create and deploy your container app with the following command.
az containerapp create \
  --name $API_NAME \
  --resource-group $RESOURCE_GROUP \
  --environment $ENVIRONMENT \
  --image $ACR_NAME.azurecr.io/$API_NAME \
  --target-port 8080 \
  --ingress external \
  --registry-server $ACR_NAME.azurecr.io \
  --query properties.configuration.ingress.fqdn
By setting
--ingresstoexternal, your container app is accessible from the public internet.The
target-portis set to8080to match the port that the container is listening to for requests.Without a
queryproperty, the call toaz containerapp createreturns a JSON response that includes a rich set of details about the application. Adding a query parameter filters the output to just the app's fully qualified domain name (FQDN).
Verify deployment
Copy the FQDN to a web browser. From your web browser, navigate to the /albums endpoint of the FQDN.
Clean up resources
If you're not going to continue on to the Communication between microservices tutorial, you can remove the Azure resources created during this quickstart. Run the following command to delete the resource group along with all the resources created in this quickstart.
az group delete --name $RESOURCE_GROUP
Tip
Having issues? Let us know on GitHub by opening an issue in the Azure Container Apps repo.
Next steps
This quickstart is the entrypoint for a set of progressive tutorials that showcase the various features within Azure Container Apps. Continue on to learn how to enable communication from a web front end that calls the API you deployed in this article.
Feedback
Coming soon: Throughout 2024 we will be phasing out GitHub Issues as the feedback mechanism for content and replacing it with a new feedback system. For more information see: https://aka.ms/ContentUserFeedback.
Submit and view feedback for