Note
Access to this page requires authorization. You can try signing in or changing directories.
Access to this page requires authorization. You can try changing directories.
The Azure Container Apps service enables you to run microservices and containerized applications on a serverless platform. With Container Apps, you enjoy the benefits of running containers while you leave behind the concerns of manually configuring cloud infrastructure and complex container orchestrators.
In this tutorial, you create a secure Container Apps environment and deploy your first container app.
Note
You can also deploy this app using the az containerapp up by following the instructions in the Quickstart: Deploy your first container app with containerapp up article. The az containerapp up command is a fast and convenient way to build and deploy your app to Azure Container Apps using a single command. However, it doesn't provide the same level of customization for your container app.
Prerequisites
- An Azure account with an active subscription.
- If you don't have one, you can create one for free.
- Install the Azure CLI.
Setup
To sign in to Azure from the CLI, run the following command and follow the prompts to complete the authentication process.
az login
To ensure you're running the latest version of the CLI, run the upgrade command.
az upgrade
Next, install or update the Azure Container Apps extension for the CLI.
If you receive errors about missing parameters when you run az containerapp commands in Azure CLI or cmdlets from the Az.App module in PowerShell, be sure you have the latest version of the Azure Container Apps extension installed.
az extension add --name containerapp --upgrade
Note
Starting in May 2024, Azure CLI extensions no longer enable preview features by default. To access Container Apps preview features, install the Container Apps extension with --allow-preview true.
az extension add --name containerapp --upgrade --allow-preview true
Now that the current extension or module is installed, register the Microsoft.App and Microsoft.OperationalInsights namespaces.
az provider register --namespace Microsoft.App
az provider register --namespace Microsoft.OperationalInsights
Set environment variables
Set the following environment variables. Replace the <placeholders> with your values.
RESOURCE_GROUP="<new-resource-group>"
LOCATION="<location>"
CONTAINERAPPS_ENVIRONMENT="<containerapps-environment>"
Create an Azure resource group
Create a resource group to organize the services related to your container app deployment.
az group create \
  --name $RESOURCE_GROUP \
  --location $LOCATION
Create an environment
An environment in Azure Container Apps creates a secure boundary around a group of container apps. Container Apps deployed to the same environment are deployed in the same virtual network and write logs to the same Log Analytics workspace.
To create the environment, run the following command:
az containerapp env create \
  --name $CONTAINERAPPS_ENVIRONMENT \
  --resource-group $RESOURCE_GROUP \
  --location "$LOCATION"
Create a container app
Now that you have an environment created, you can deploy your first container app. With the containerapp create command, deploy a container image to Azure Container Apps.
az containerapp create \
  --name my-container-app \
  --resource-group $RESOURCE_GROUP \
  --environment $CONTAINERAPPS_ENVIRONMENT \
  --image mcr.microsoft.com/k8se/quickstart:latest \
  --target-port 80 \
  --ingress external \
  --query properties.configuration.ingress.fqdn
Note
Make sure the value for the --image parameter is in lower case.
By setting --ingress to external, you make the container app available to public requests.
Verify deployment
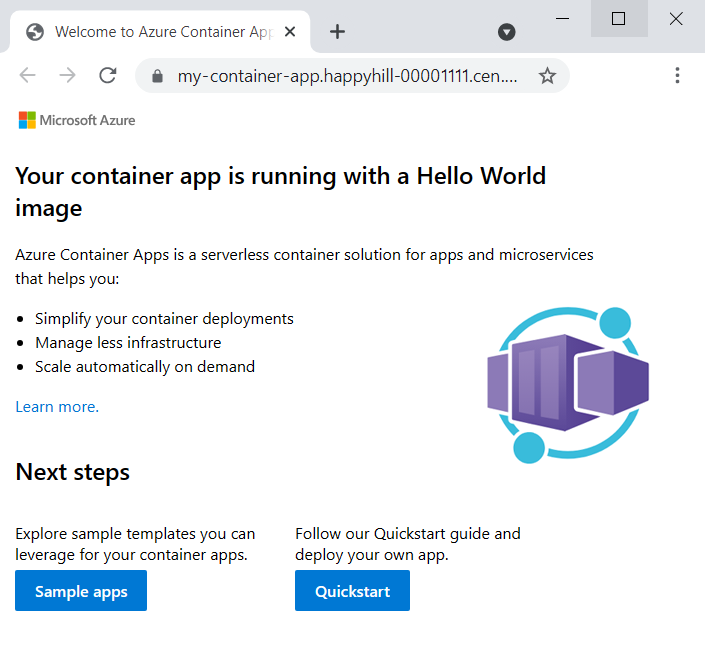
The create command returns the fully qualified domain name for the container app. Copy this location to a web browser.
The following message is displayed when the container app is deployed:
Clean up resources
If you're not going to continue to use this application, run the following command to delete the resource group along with all the resources created in this tutorial.
Caution
The following command deletes the specified resource group and all resources contained within it. If resources outside the scope of this tutorial exist in the specified resource group, they're also deleted.
az group delete --name $RESOURCE_GROUP
Tip
Having issues? Let us know on GitHub by opening an issue in the Azure Container Apps repo.