Enable Artifact Cache - Azure portal
This article is part two of a six-part tutorial series. Part one provides an overview of Artifact Cache, its features, benefits, and limitations. This article walks you through the steps of enabling Artifact Cache by using the Azure portal without authentication.
Prerequisites
- Sign in to the Azure portal
Configure Artifact Cache - Azure portal
Follow the steps to create cache rule in the Azure portal.
Navigate to your Azure Container Registry.
In the side Menu, under the Services, select Cache.
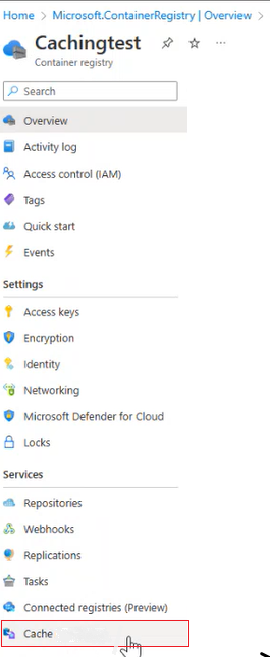
Select Create Rule.

A window for New cache rule appears.
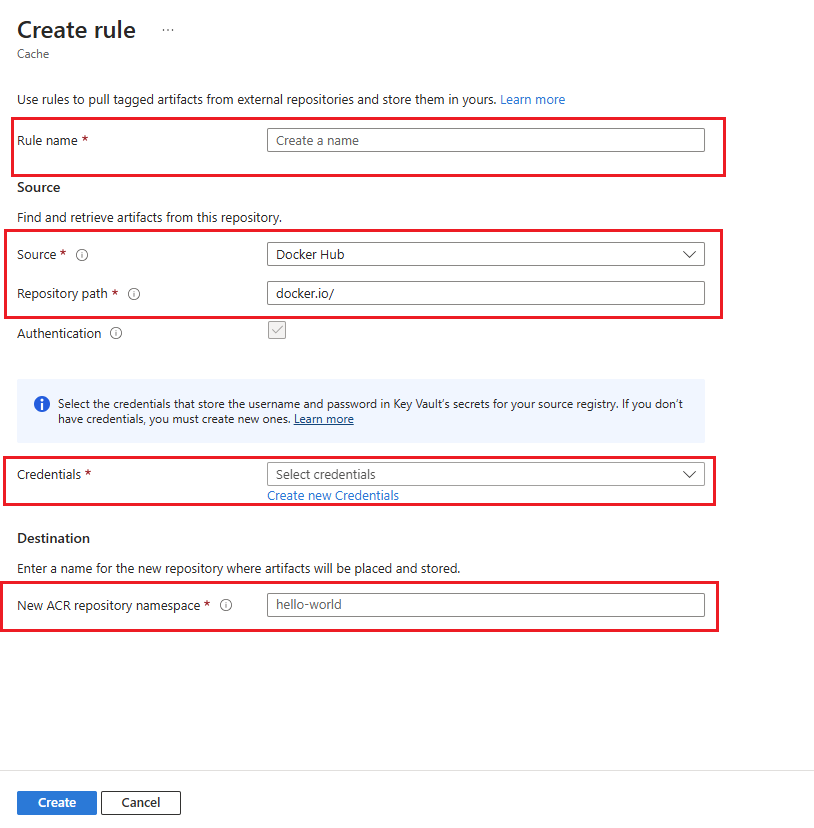
Enter the Rule name.
Select Source Registry from the dropdown menu.
Enter the Repository Path to the artifacts you want to cache.
You can skip Authentication, if you aren't accessing a private repository or performing an authenticated pull.
Under the Destination, Enter the name of the New ACR Repository Namespace to store cached artifacts.
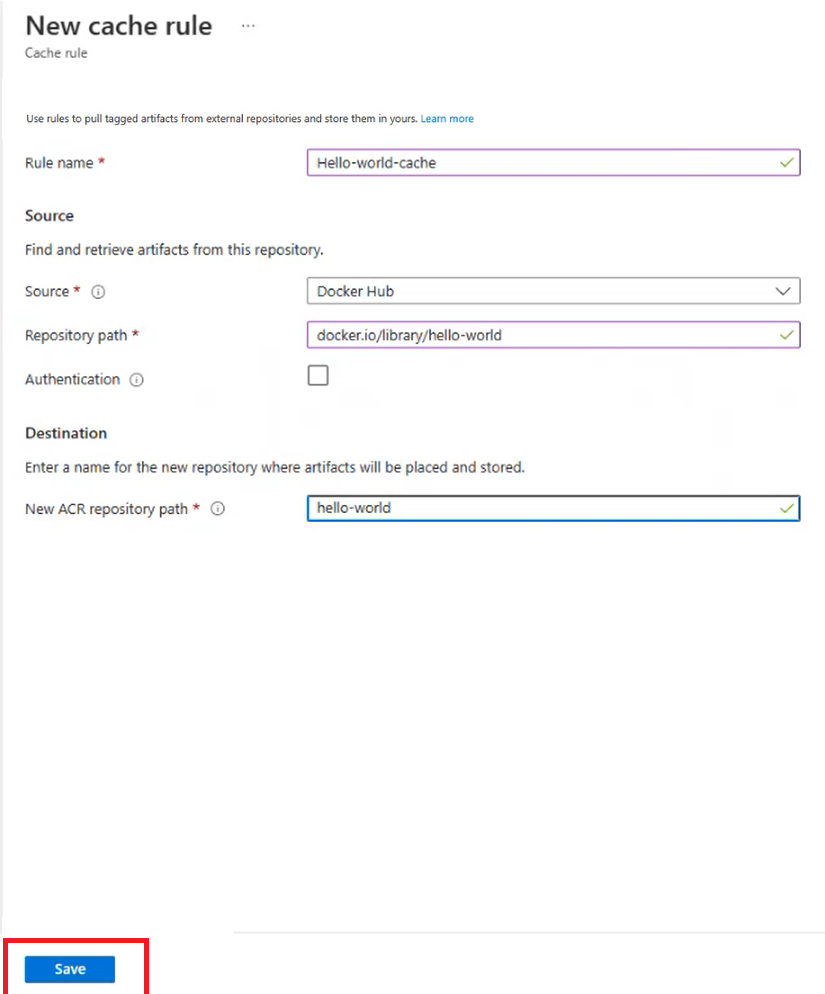
Select on Save
Pull the image from your cache using the Docker command by the registry login server name, repository name, and its desired tag.
- For example, to pull the image from the repository
hello-worldwith its desired taglatestfor a given registry login servermyregistry.azurecr.io.
docker pull myregistry.azurecr.io/hello-world:latest- For example, to pull the image from the repository
Next steps
- Advance to the next article to enable the Artifact Cache using Azure CLI.
Feedback
Coming soon: Throughout 2024 we will be phasing out GitHub Issues as the feedback mechanism for content and replacing it with a new feedback system. For more information see: https://aka.ms/ContentUserFeedback.
Submit and view feedback for