Note
Access to this page requires authorization. You can try signing in or changing directories.
Access to this page requires authorization. You can try changing directories.
APPLIES TO:
![]() Cassandra
Cassandra
This article demonstrates creating a sample application that uses Spring Data to store and retrieve information using the Azure Cosmos DB for Apache Cassandra.
Prerequisites
The following prerequisites are required in order to complete the steps in this article:
- An Azure subscription; if you don't already have an Azure subscription, you can activate your MSDN subscriber benefits or sign up for a free Azure account.
- A supported Java Development Kit (JDK). For more information about the JDKs available for use when developing on Azure, see Java support on Azure and Azure Stack.
- Apache Maven, version 3.0 or later.
- Curl or similar HTTP utility to test functionality.
- A Git client.
Note
The samples mentioned below implement custom extensions for a better experience when using Azure Cosmos DB for Apache Cassandra. They include custom retry and load balancing policies, as well as implementing recommended connection settings. For a more extensive exploration of how the custom policies are used, see Java samples for version 3 and version 4.
Create an Azure Cosmos DB for Apache Cassandra account
From the Azure portal menu or the home page, select Create a resource.
On the New page, search for and select Azure Cosmos DB.
On the Azure Cosmos DB page, select Create.
On the API page, under the Cassandra section, select Create.
The API determines the type of account to create. Azure Cosmos DB provides five APIs: NoSQL for document databases, Gremlin for graph databases, MongoDB for document databases, Azure Table, and Cassandra. You must create a separate account for each API.
Select Cassandra because in this tutorial you're creating a table that works with the API for Cassandra.
To learn more about the API for Cassandra, see What is Azure Cosmos DB for Apache Cassandra?.
On the Create Azure Cosmos DB Account page, enter the basic settings for the new Azure Cosmos DB account.
Setting Value Description Subscription Your subscription. Select the Azure subscription that you want to use for this Azure Cosmos DB account. Resource Group Create new.
Then enter the same name as Account Name.Select Create new. Then enter a new resource group name for your account. For simplicity, use the same name as your Azure Cosmos DB account name. Account Name Enter a unique name. Enter a unique name to identify your Azure Cosmos DB account. Your account URI, cassandra.cosmos.azure.com, appended to your unique account name.
The account name can use only lowercase letters, numbers, and hyphens (-) and must be between 3 and 31 characters long.Location The region closest to your users. Select a geographic location to host your Azure Cosmos DB account. Use the location that's closest to your users to give them the fastest access to the data. Capacity mode Provisioned throughput or Serverless. Select Provisioned throughput to create an account in Provisioned throughput mode. Select Serverless to create an account in Serverless mode. Apply Azure Cosmos DB free tier discount Apply or Do not apply. With the Azure Cosmos DB free tier, you get the first 1,000 RU/s and 25 GB of storage for free in an account. Learn more about the free tier. Limit total account throughput Select to limit throughput of the account. This option is useful if you want to limit the total throughput of the account to a specific value. Note
You can have up to one free tier Azure Cosmos DB account per Azure subscription. You must opt in when you create the account. If you don't see the option to apply the free tier discount, another account in the subscription was enabled with the free tier.

On the Global Distribution tab, configure the following details. Use the default values for this tutorial.
Setting Value Description Geo-Redundancy Disable Enable or disable global distribution on your account by pairing your region with a pair region. You can add more regions to your account later. Multi-region Writes Disable With the multiregion writes capability, you can take advantage of the provisioned throughput for your databases and containers across the globe. Availability Zones Disable Availability zones are isolated locations within an Azure region. Each zone is made up of one or more datacenters equipped with independent power, cooling, and networking. The following options aren't available if you select Serverless as the Capacity mode:
- Apply Free Tier Discount
- Geo-redundancy
- Multi-region Writes
Optionally, you can configure other details on the following tabs:
- Networking: Configure access from a virtual network.
- Backup Policy: Configure either periodic or continuous backup policy.
- Encryption: Use either a service-managed key or a customer-managed key.
- Tags: Tags are name/value pairs that you can use to categorize resources and view consolidated billing by applying the same tag to multiple resources and resource groups.
Select Review + create.
Review the account settings, and then select Create. It takes a few minutes to create the account. Wait for the portal page to display Your deployment is complete.
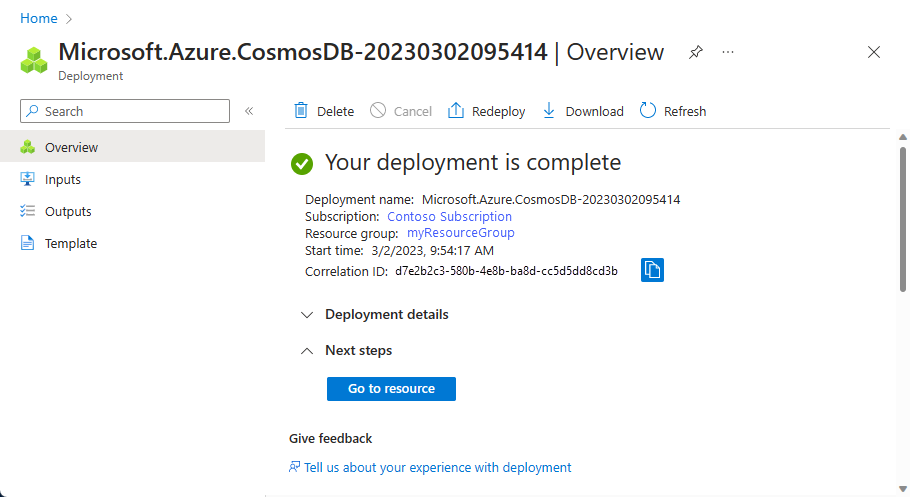
Select Go to resource to go to the Azure Cosmos DB account page.
Configure the sample application
The following procedure configures the test application.
Open a command shell and clone either of the following examples:
For Java version 3 driver and corresponding Spring version:
git clone https://github.com/Azure-Samples/spring-data-cassandra-on-azure-extension-v3.gitFor Java version 4 driver and corresponding Spring version:
git clone https://github.com/Azure-Samples/spring-data-cassandra-on-azure-extension-v4.gitNote
Although the usage described below is identical for both Java version 3 and version 4 samples above, the way in which they have been implemented in order to include custom retry and load balancing policies is different. We recommend reviewing the code to understand how to implement custom policies if you are making changes to an existing Spring Java application.
Locate the application.properties file in the resources directory of the sample project, or create the file if it does not already exist.
Open the application.properties file in a text editor, and add or configure the following lines in the file, and replace the sample values with the appropriate values from earlier:
spring.data.cassandra.contact-points=<Account Name>.cassandra.cosmos.azure.com
spring.data.cassandra.port=10350
spring.data.cassandra.username=<Account Name>
spring.data.cassandra.password=********
Where:
Parameter Description spring.data.cassandra.contact-pointsSpecifies the Contact Point from earlier in this article. spring.data.cassandra.portSpecifies the Port from earlier in this article. spring.data.cassandra.usernameSpecifies your Username from earlier in this article. spring.data.cassandra.passwordSpecifies your Primary Password from earlier in this article. Save and close the application.properties file.
Package and test the sample application
Browse to the directory that contains the .pom file to build and test the application.
Build the sample application with Maven; for example:
mvn clean packageStart the sample application; for example:
java -jar target/spring-data-cassandra-on-azure-0.1.0-SNAPSHOT.jarCreate new records using
curlfrom a command prompt like the following examples:curl -s -d "{\"name\":\"dog\",\"species\":\"canine\"}" -H "Content-Type: application/json" -X POST http://localhost:8080/pets curl -s -d "{\"name\":\"cat\",\"species\":\"feline\"}" -H "Content-Type: application/json" -X POST http://localhost:8080/petsYour application should return values like the following:
Added Pet{id=60fa8cb0-0423-11e9-9a70-39311962166b, name='dog', species='canine'}.

Added Pet{id=72c1c9e0-0423-11e9-9a70-39311962166b, name='cat', species='feline'}.
Retrieve all of the existing records using
curlfrom a command prompt like the following examples:curl -s http://localhost:8080/petsYour application should return values like the following:
[{"id":"60fa8cb0-0423-11e9-9a70-39311962166b","name":"dog","species":"canine"},{"id":"72c1c9e0-0423-11e9-9a70-39311962166b","name":"cat","species":"feline"}]
Clean up resources
When you're done with your app and Azure Cosmos DB account, you can delete the Azure resources you created so you don't incur more charges. To delete the resources:
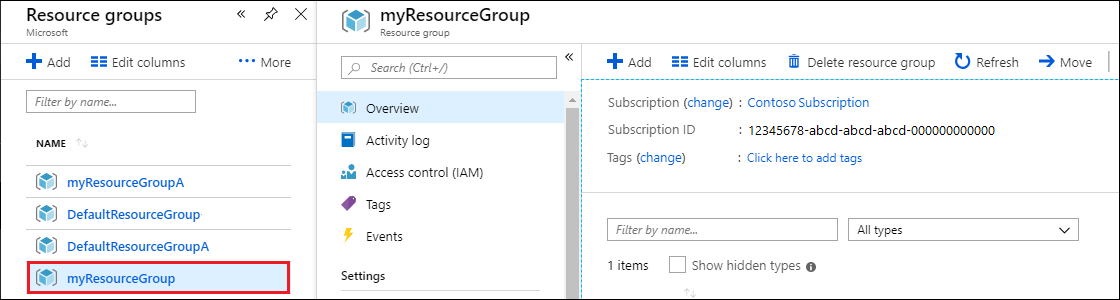
In the Azure portal Search bar, search for and select Resource groups.
From the list, select the resource group you created for this quickstart.
On the resource group Overview page, select Delete resource group.
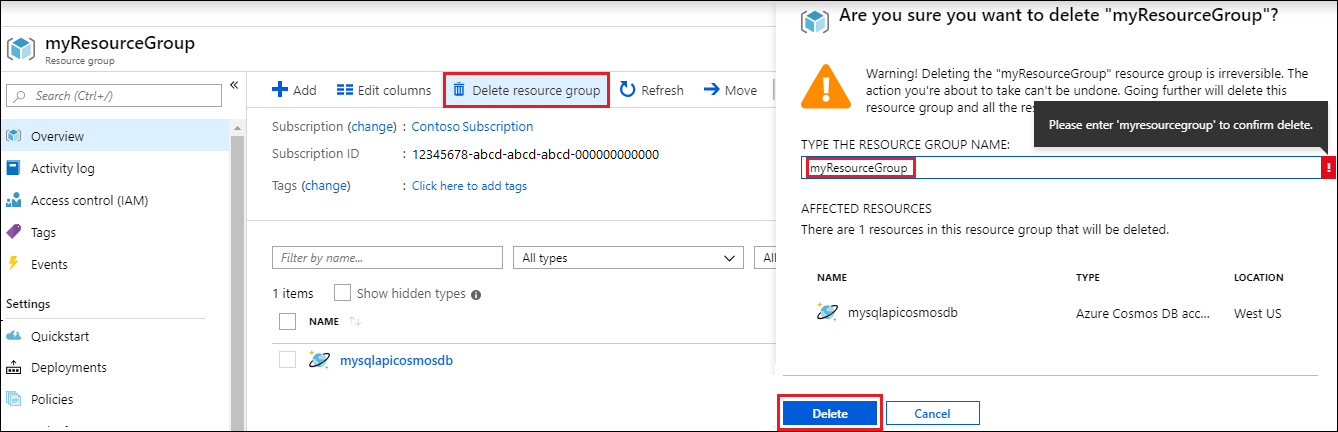
In the next window, enter the name of the resource group to delete, and then select Delete.
Next steps
To learn more about Spring and Azure, continue to the Spring on Azure documentation center.
Additional Resources
For more information about using Azure with Java, see the Azure for Java Developers and the Working with Azure DevOps and Java.