Note
Access to this page requires authorization. You can try signing in or changing directories.
Access to this page requires authorization. You can try changing directories.
Important
Azure Cosmos DB for PostgreSQL is on a retirement path and no longer recommended for new projects. Instead, use one of these two services:
For PostgreSQL workloads: use the Elastic Clusters feature of Azure Database For PostgreSQL to use the horizontal scale-out and distributed PostgreSQL features contained within the open source Citus extension. For migration guidance, see migrate to Azure Database for PostgreSQL with Elastic Cluster.
For NoSQL workloads, use Azure Cosmos DB for NoSQL for a distributed database solution that includes a 99.999% availability service level agreement (SLA), instant autoscale, and automatic failover across multiple regions.
In this tutorial, you use Azure Cosmos DB for PostgreSQL as the storage backend for multiple microservices, demonstrating a sample setup and basic operation of such a cluster. Learn how to:
- Create a cluster
- Create roles for your microservices
- Use psql utility to create roles and distributed schemas
- Create tables for the sample services
- Configure services
- Run services
- Explore the database
Prerequisites
If you don't have an Azure subscription, create a free account before you begin.
Create a cluster
Sign in to the Azure portal and follow these steps to create an Azure Cosmos DB for PostgreSQL cluster:
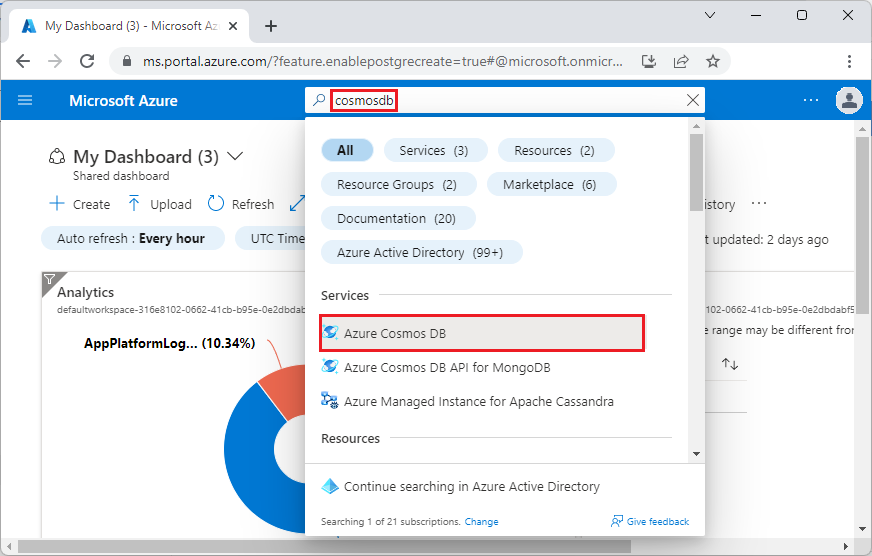
Go to Create an Azure Cosmos DB for PostgreSQL cluster in the Azure portal.


On the Create an Azure Cosmos DB for PostgreSQL cluster form:
Fill out the information on the Basics tab.
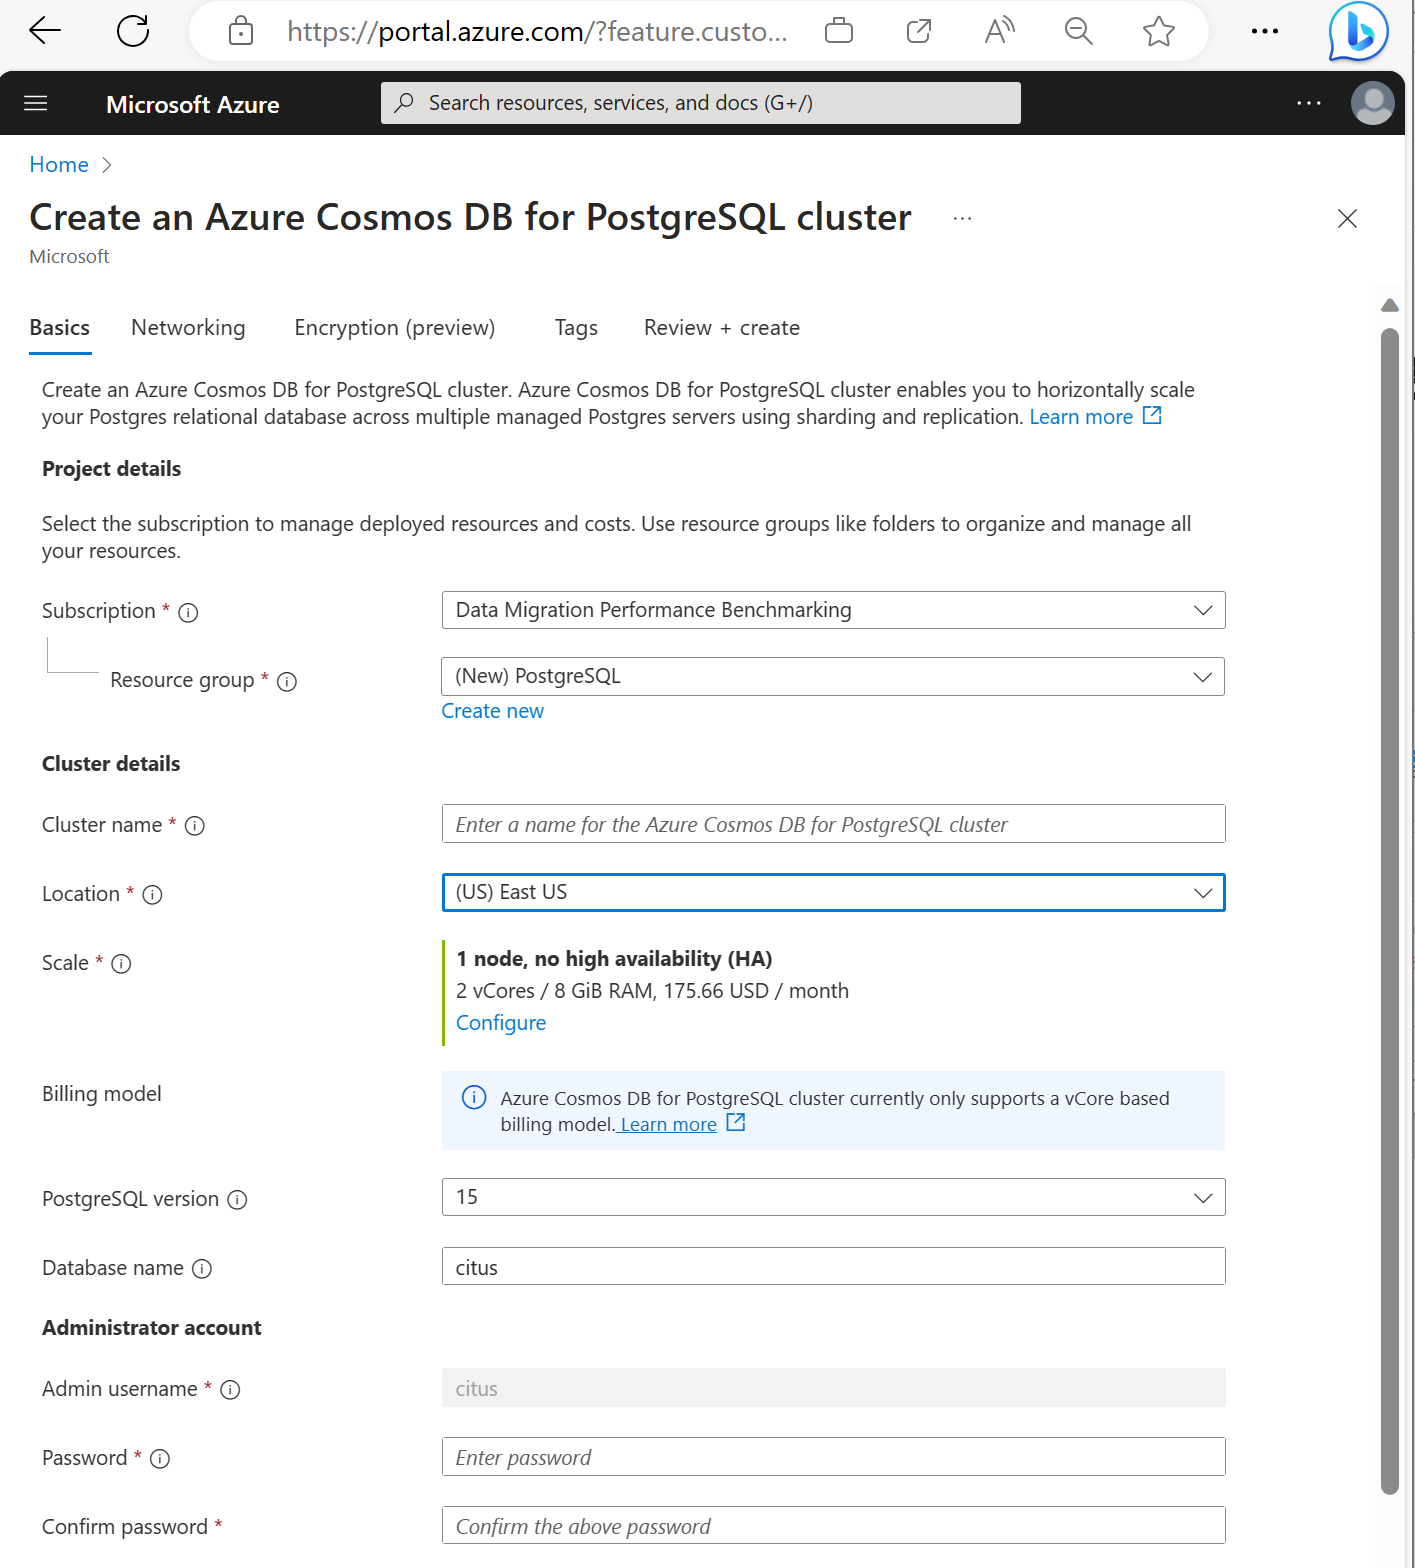
Most options are self-explanatory, but keep in mind:
- The cluster name determines the DNS name your applications use to connect, in the form
<node-qualifier>-<clustername>.<uniqueID>.postgres.cosmos.azure.com. - You can choose a major PostgreSQL version such as 15. Azure Cosmos DB for PostgreSQL always supports the latest Citus version for the selected major Postgres version.
- The admin username must be the value
citus. - You can leave database name at its default value 'citus' or define your only database name. You can't rename database after cluster provisioning.
- The cluster name determines the DNS name your applications use to connect, in the form
Select Next : Networking at the bottom of the screen.
On the Networking screen, select Allow public access from Azure services and resources within Azure to this cluster.

Select Review + create, and when validation passes, select Create to create the cluster.
Provisioning takes a few minutes. The page redirects to monitor deployment. When the status changes from Deployment is in progress to Your deployment is complete, select Go to resource.
Create roles for your microservices
Distributed schemas are relocatable within an Azure Cosmos DB for PostgreSQL cluster. The system can rebalance them as a whole unit across the available nodes, allowing to efficiently share resources without manual allocation.
By design, microservices own their storage layer, we don’t make any assumptions on the type of tables and data that they create and store. We provide a schema for every service and assume that they use a distinct ROLE to connect to the database. When a user connects, their role name is put at the beginning of the search_path, so if the role matches with the schema name you don’t need any application changes to set the correct search_path.
We use three services in our example:
- user
- time
- ping
Follow the steps describing how to create user roles and create the following roles for each service:
userservicetimeservicepingservice
Use psql utility to create distributed schemas
Once connected to the Azure Cosmos DB for PostgreSQL using psql, you can complete some basic tasks.
There are two ways in which a schema can be distributed in Azure Cosmos DB for PostgreSQL:
Manually by calling citus_schema_distribute(schema_name) function:
CREATE SCHEMA AUTHORIZATION userservice;
CREATE SCHEMA AUTHORIZATION timeservice;
CREATE SCHEMA AUTHORIZATION pingservice;

SELECT citus_schema_distribute('userservice');
SELECT citus_schema_distribute('timeservice');
SELECT citus_schema_distribute('pingservice');
This method also allows you to convert existing regular schemas into distributed schemas.
Note
You can only distribute schemas that do not contain distributed and reference tables.
Alternative approach is to enable citus.enable_schema_based_sharding configuration variable:
SET citus.enable_schema_based_sharding TO ON;

CREATE SCHEMA AUTHORIZATION userservice;
CREATE SCHEMA AUTHORIZATION timeservice;
CREATE SCHEMA AUTHORIZATION pingservice;
The variable can be changed for the current session or permanently in coordinator node parameters. With the parameter set to ON, all created schemas are distributed by default.
You can list the currently distributed schemas by running:
select * from citus_schemas;
 schema_name | colocation_id | schema_size | schema_owner
-------------+---------------+-------------+--------------
 userservice |             5 | 0 bytes     | userservice
 timeservice |             6 | 0 bytes     | timeservice
 pingservice |             7 | 0 bytes     | pingservice
(3 rows)
Create tables for the sample services
You now need to connect to the Azure Cosmos DB for PostgreSQL for every microservice. You can use the \c command to swap the user within an existing psql instance.
\c citus userservice
CREATE TABLE users (
    id SERIAL PRIMARY KEY,
    name VARCHAR(255) NOT NULL,
    email VARCHAR(255) NOT NULL
);
\c citus timeservice
CREATE TABLE query_details (
    id SERIAL PRIMARY KEY,
    ip_address INET NOT NULL,
    query_time TIMESTAMP NOT NULL
);
\c citus pingservice
CREATE TABLE ping_results (
    id SERIAL PRIMARY KEY,
    host VARCHAR(255) NOT NULL,
    result TEXT NOT NULL
);
Configure services
In this tutorial, we use a simple set of services. You can obtain them by cloning this public repository:
git clone https://github.com/citusdata/citus-example-microservices.git
$ tree
.
├── LICENSE
├── README.md
├── ping
│   ├── app.py
│   ├── ping.sql
│   └── requirements.txt
├── time
│   ├── app.py
│   ├── requirements.txt
│   └── time.sql
└── user
    ├── app.py
    ├── requirements.txt
    └── user.sql
Before you run the services however, edit user/app.py, ping/app.py and time/app.py files providing the connection configuration for your Azure Cosmos DB for PostgreSQL cluster:
# Database configuration
db_config = {
    'host': 'c-EXAMPLE.EXAMPLE.postgres.cosmos.azure.com',
    'database': 'citus',
    'password': 'SECRET',
    'user': 'pingservice',
    'port': 5432
}
After making the changes, save all modified files and move on to the next step of running the services.
Run services
Change into every app directory and run them in their own python env.
cd user
pipenv install
pipenv shell
python app.py
Repeat the commands for time and ping service, after which you can use the API.
Create some users:
curl -X POST -H "Content-Type: application/json" -d '[
  {"name": "John Doe", "email": "john@example.com"},
  {"name": "Jane Smith", "email": "jane@example.com"},
  {"name": "Mike Johnson", "email": "mike@example.com"},
  {"name": "Emily Davis", "email": "emily@example.com"},
  {"name": "David Wilson", "email": "david@example.com"},
  {"name": "Sarah Thompson", "email": "sarah@example.com"},
  {"name": "Alex Miller", "email": "alex@example.com"},
  {"name": "Olivia Anderson", "email": "olivia@example.com"},
  {"name": "Daniel Martin", "email": "daniel@example.com"},
  {"name": "Sophia White", "email": "sophia@example.com"}
]' http://localhost:5000/users
List the created users:
curl http://localhost:5000/users
Get current time:
Get current time:
Run the ping against example.com:
curl -X POST -H "Content-Type: application/json" -d '{"host": "example.com"}' http://localhost:5002/ping
Explore the database
Now that you called some API functions, data has been stored and you can check if citus_schemas reflects what is expected:
select * from citus_schemas;
 schema_name | colocation_id | schema_size | schema_owner
-------------+---------------+-------------+--------------
 userservice |             1 | 112 kB      | userservice
 timeservice |             2 | 32 kB       | timeservice
 pingservice |             3 | 32 kB       | pingservice
(3 rows)
When you created the schemas, you didn’t tell Azure Cosmos DB for PostgreSQL on which machines to create the schemas. It was done automatically. You can see where each schema resides with the following query:
  select nodename,nodeport, table_name, pg_size_pretty(sum(shard_size))
    from citus_shards
group by nodename,nodeport, table_name;
nodename  | nodeport |         table_name         | pg_size_pretty
-----------+----------+---------------------------+----------------
 localhost |     9701 | timeservice.query_details | 32 kB
 localhost |     9702 | userservice.users         | 112 kB
 localhost |     9702 | pingservice.ping_results  | 32 kB
For brevity of the example output on this page, instead of using nodename as displayed in Azure Cosmos DB for PostgreSQL we replace it with localhost. Assume that localhost:9701 is worker one and localhost:9702 is worker two. Node names on the managed service are longer and contain randomized elements.
You can see that the time service landed on node localhost:9701 while the user and ping service share space on the second worker localhost:9702. The example apps are simplistic, and the data sizes here are ignorable, but let’s assume that you're annoyed by the uneven storage space utilization between the nodes. It would make more sense to have the two smaller time and ping services reside on one machine while the large user service resides alone.
You can easily rebalance the cluster by disk size:
select citus_rebalance_start();
NOTICE:  Scheduled 1 moves as job 1
DETAIL:  Rebalance scheduled as background job
HINT:  To monitor progress, run: SELECT * FROM citus_rebalance_status();
 citus_rebalance_start
-----------------------
                     1
(1 row)
When done, you can check how our new layout looks:
  select nodename,nodeport, table_name, pg_size_pretty(sum(shard_size))
    from citus_shards
group by nodename,nodeport, table_name;
 nodename  | nodeport |         table_name        | pg_size_pretty
-----------+----------+---------------------------+----------------
 localhost |     9701 | timeservice.query_details | 32 kB
 localhost |     9701 | pingservice.ping_results  | 32 kB
 localhost |     9702 | userservice.users         | 112 kB
(3 rows)
According to expectations, the schemas have been moved and we have a more balanced cluster. This operation has been transparent for the applications. You don’t even need to restart them, they continue serving queries.
Next steps
In this tutorial, you learned how to create distributed schemas, ran microservices using them as storage. You also learned how to explore and manage schema-based sharded Azure Cosmos DB for PostgreSQL.
- Learn about cluster node types