Note
Access to this page requires authorization. You can try signing in or changing directories.
Access to this page requires authorization. You can try changing directories.
As a Global Administrator in Microsoft Entra ID, you might not have access to all billing accounts in your directory. This article describes the ways that you can elevate your access to all billing accounts.
Elevating your access to manage all billing accounts gives you the ability to view and manage cost and billing for your accounts. You can view invoices, charges, products that are purchased, and the users that have access to the billing accounts. If you want to elevate your access to manage subscriptions, management groups, and resources, see Elevate access to manage all Azure subscriptions and management groups.
Note
Elevated access only works for Microsoft Customer Agreement (MCA) and Microsoft Partner Agreement (MPA) billing account types. As a Global Administrator you can't elevate your access to manage billing accounts for Enterprise Agreement (EA) and Microsoft Online Service Program (MOSP) types. To learn more about billing accounts, see Billing accounts and scopes in the Azure portal.
Why elevate your access?
If you’re a Global Administrator, there might be times when you want to do the following actions:
- See all users who have created individual billing accounts in your organization.
- View invoices and charges for all individual billing accounts created in your organization.
- Regain access to a billing account when a user has lost access.
- Perform billing administration for an account when other administrators aren't available.
How does elevated access work?
All Global Administrators in Microsoft Entra ID get read-only access to all Microsoft Customer Agreement (MCA) and Microsoft Partner Agreement (MPA) billing accounts in their Microsoft Entra ID. They can view all billing accounts and the corresponding cost and billing information. Along with a read-only view, they get permission to manage role assignments on the billing accounts. They can add themselves as owners of the billing accounts to elevate themselves.
Elevate access to manage billing accounts
- Sign in to the Azure portal.
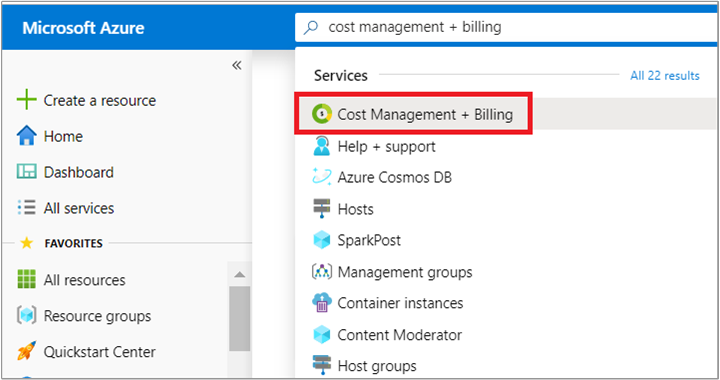
- Search for Cost Management + Billing.
- Select Billing scopes on the left side of the page.
- On the Billing scopes page, select the box to view all billing accounts.

Note
The billing scopes page shows only 200 scopes. However, you can use the search box in the page to search for accounts that are not part of the list.
- Select a Microsoft Customer Agreement or a Microsoft Partner Agreement billing account from the list. As a Global administrator, you have read access to the billing account. To elevate yourself to perform write operations, follow steps 6 to 8.
- Select Access Control (IAM) on the left side of the page.
- Select Add at the top of the page.
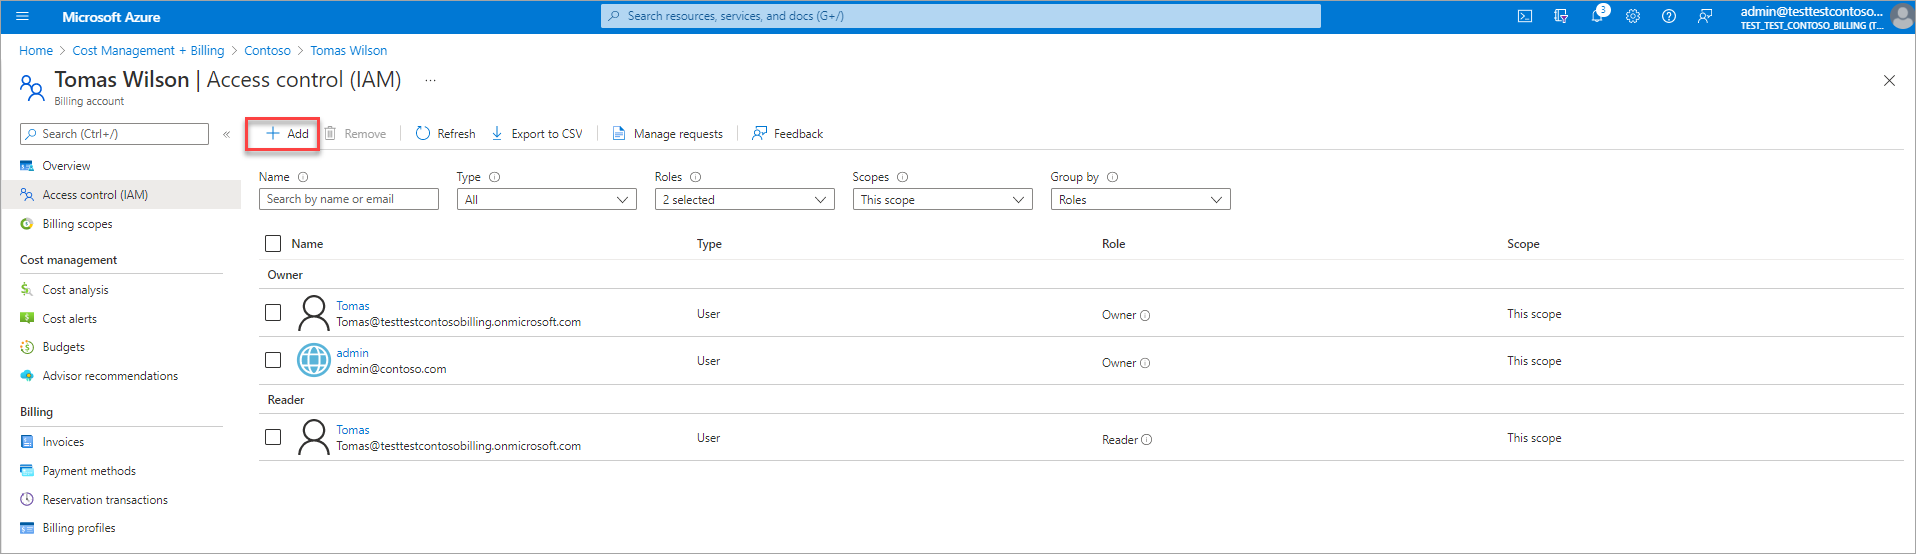
- In the Add permission window, in the Role list, select Billing account owner. Under the Select area, select your user name, and then select Add at the bottom of the window.


Need help? contact support
If you need help, contact support to get your issue resolved quickly.