Note
Access to this page requires authorization. You can try signing in or changing directories.
Access to this page requires authorization. You can try changing directories.
Azure Data Explorer allows you to control access to databases and tables using a role-based access control model. Under this model, principals (users, groups, and apps) are mapped to roles. Principals can access resources according to the roles they're assigned. For a list of available roles, see role-based access control.
This article describes the available roles and how to assign principals to those roles using the Azure portal. For information on how to set database permissions with management commands, see Manage database security roles.
Note
To create and delete a database, you need at least Contributor Azure Resource Manager (ARM) permissions on the cluster. To assign ARM permissions, see Assign Azure roles using the Azure portal.
Add database principals
Sign in to the Azure portal.
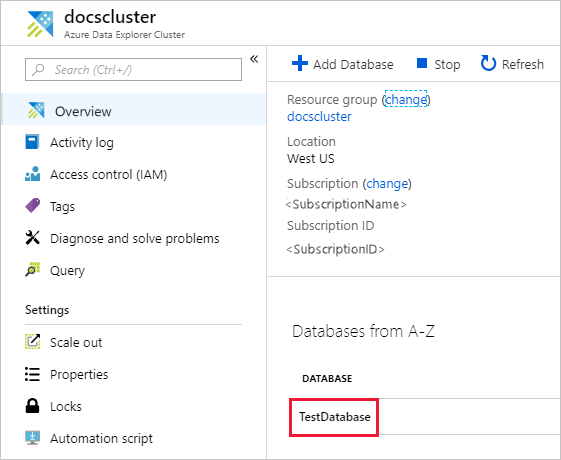
Go to your Azure Data Explorer cluster.
In the Overview section, select the database where you want to manage permissions. For roles that apply to all databases, skip this phase and go directly to the next step.
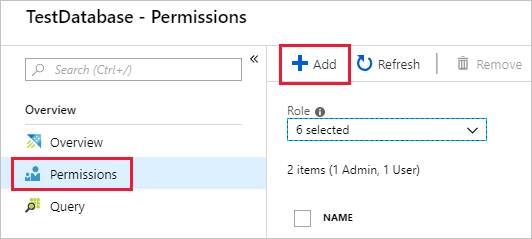
Select Permissions then Add.
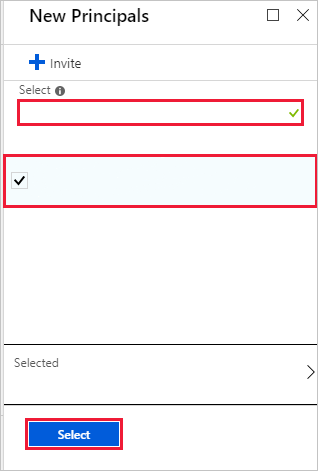
Look up the principal, select it, then Select.
Remove database principals
Sign in to the Azure portal.
Go to your Azure Data Explorer cluster.
In the Overview section, select the database where you want to manage permissions. For roles that apply to all databases, go directly to the next step.
Select Permissions, and then select the principal to remove.
Select Remove.
Related content
- Learn about Azure Data Explorer role-based access control.
- To set cluster level permissions, see Manage cluster permissions.
- To set permissions for a database with management commands, see Manage database security roles.
- To grant a principal view access to a subset of tables, see Manage table view access.