Note
Access to this page requires authorization. You can try signing in or changing directories.
Access to this page requires authorization. You can try changing directories.
APPLIES TO:  Azure Data Factory
Azure Synapse Analytics
Azure Data Factory
Azure Synapse Analytics
Tip
Try out Data Factory in Microsoft Fabric, an all-in-one analytics solution for enterprises. Microsoft Fabric covers everything from data movement to data science, real-time analytics, business intelligence, and reporting. Learn how to start a new trial for free!
This article describes a solution template that you can use to detect and mask PII data in your data flow with Azure AI services.
About this solution template
This template retrieves a dataset from Azure Data Lake Storage Gen2 source. Then, a request body is created with a derived column and an external call transformation calls Azure AI services and masks PII before loading to the destination sink.
The template contains one activity:
- Data flow to detect and mask PII data
This template defines 3 parameters:
- sourceFileSystem is the folder path where files are read from the source store. You need to replace the default value with your own folder path.
- sourceFilePath is the subfolder path where files are read from the source store. You need to replace the default value with your own subfolder path.
- sourceFileName is the name of the file that you would like to transform. You need to replace the default value with your own file name.
Prerequisites
- Azure AI services resource endpoint URL and Key (create a new resource here)
How to use this solution template
Go to template PII detection and masking by scrolling through the template gallery or filter for the template.

Use the drop down to create a New connection to your source storage store or choose an existing connection. The source storage store is where you want to read files from.
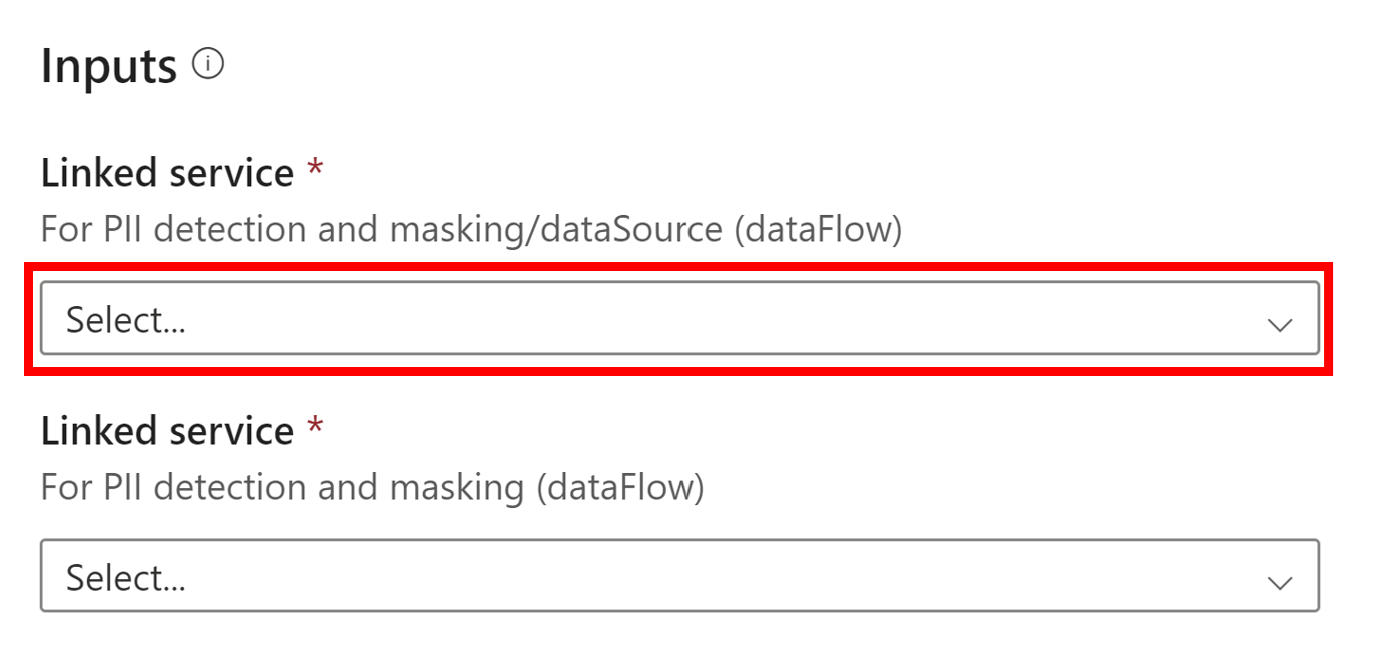
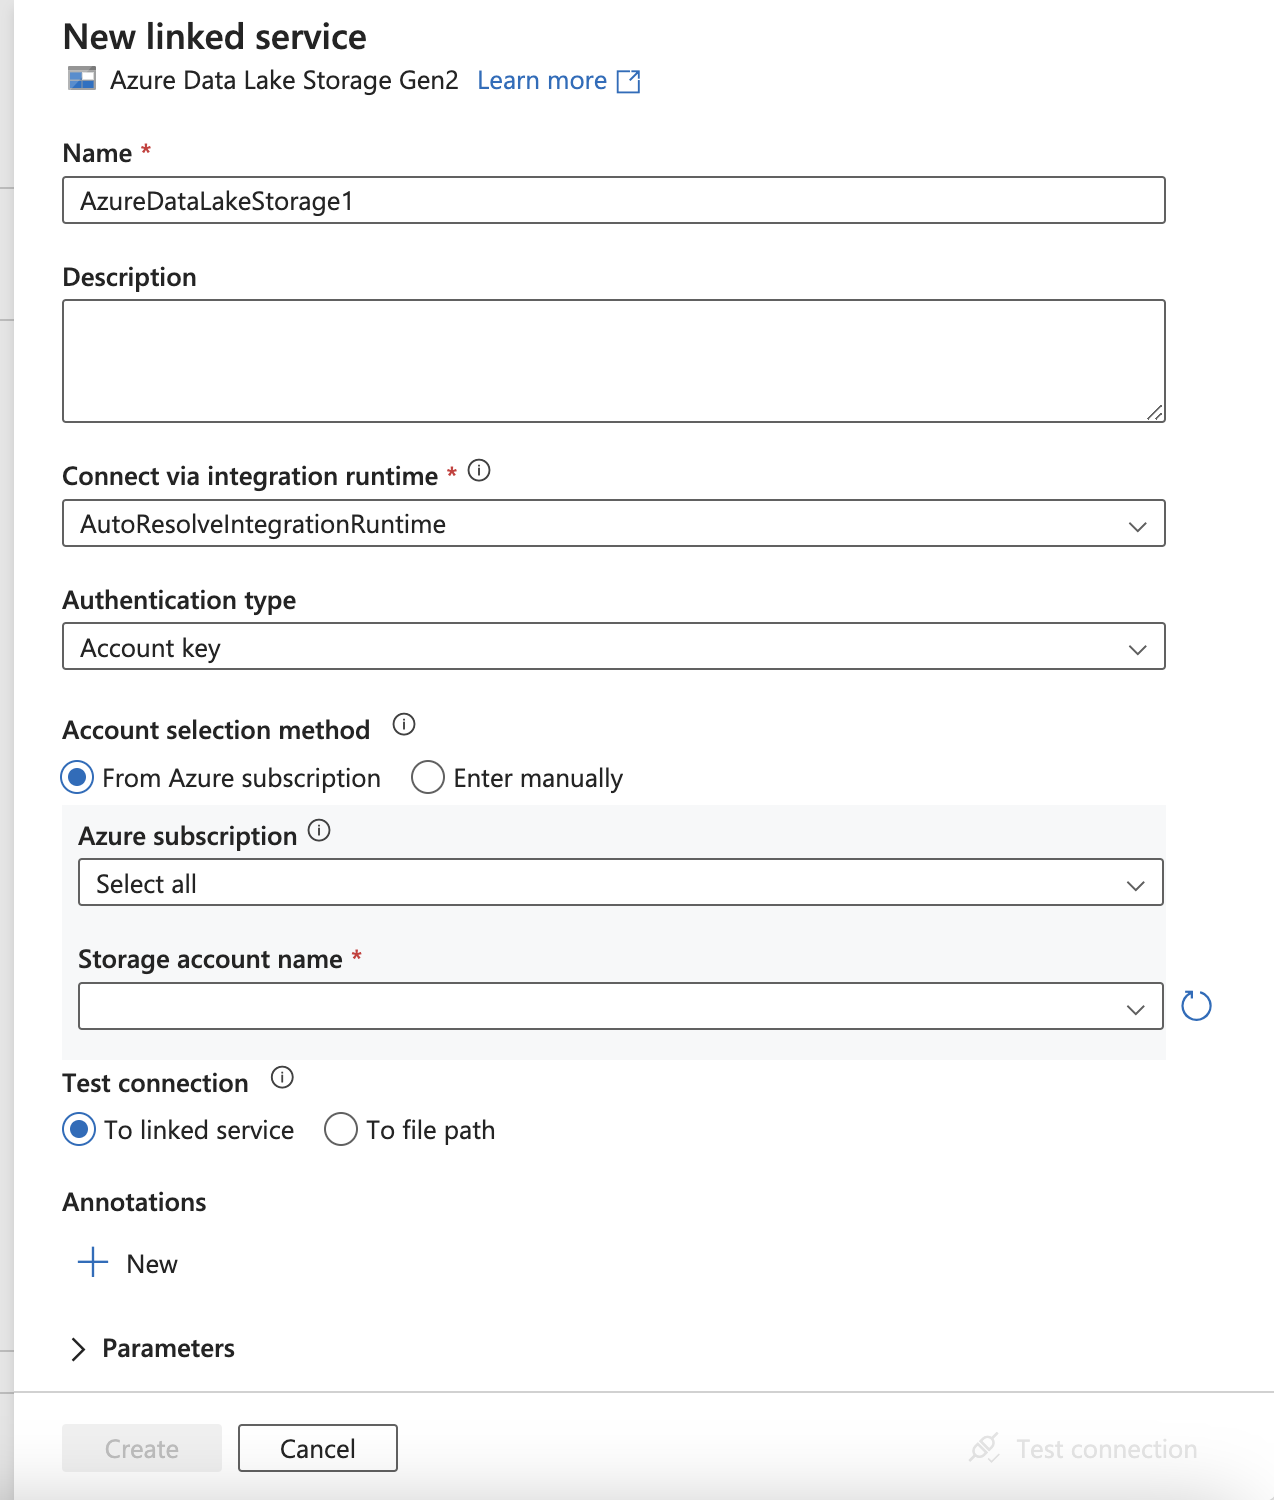
Clicking New will require you to create a new linked service connection.
Use the drop down to create a New connection to your Azure AI services resource or choose an existing connection. You will need an endpoint URL and resource key to create this connection.
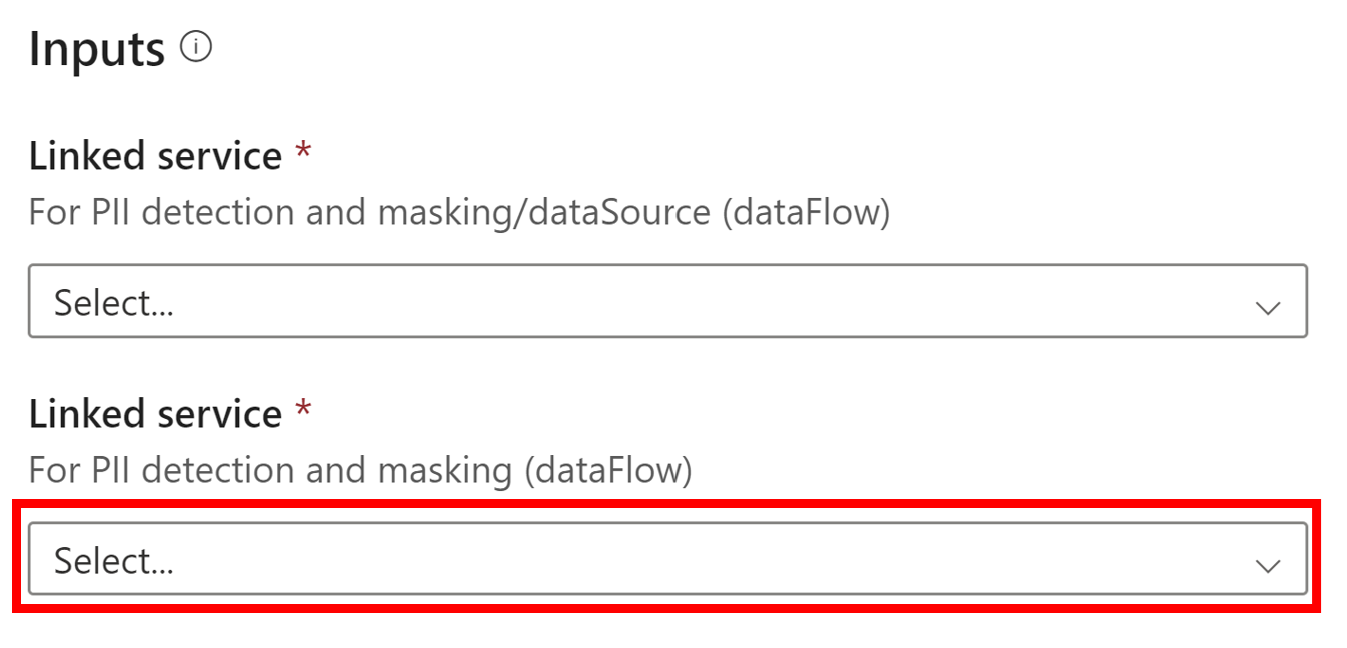
Clicking New will require you to create a new linked service connection. Make sure to enter your resource's endpoint URL and the resource key under the Auth header Ocp-Apim-Subscription-Key.

Select Use this template to create the pipeline.
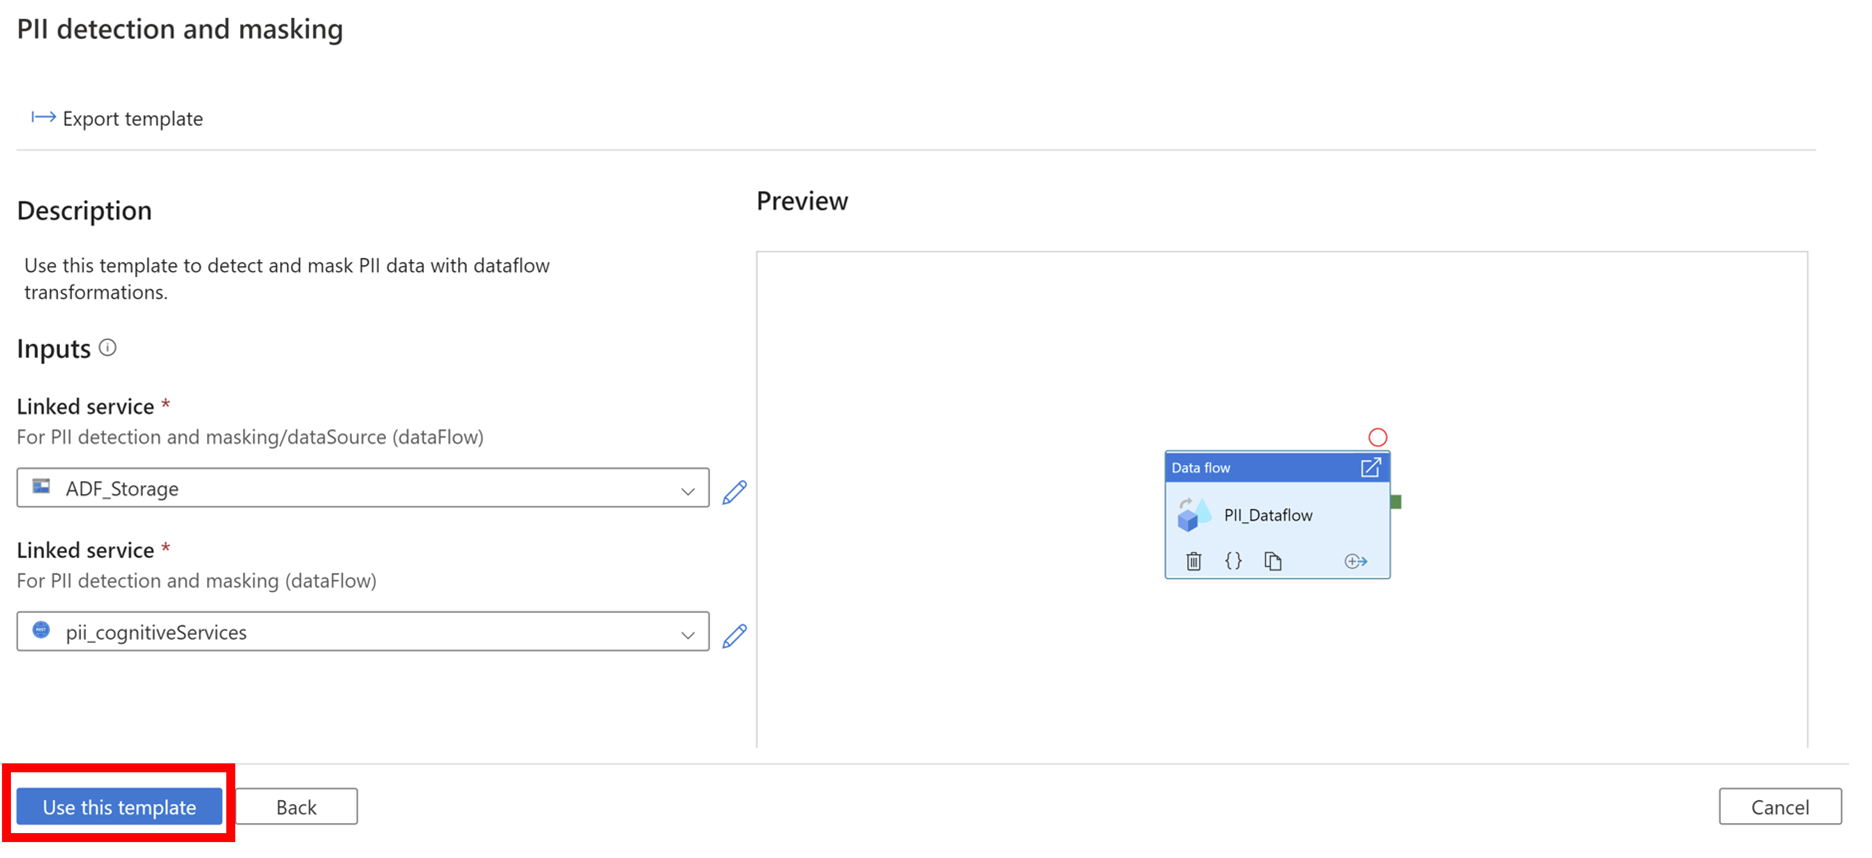
You should see the following pipeline:
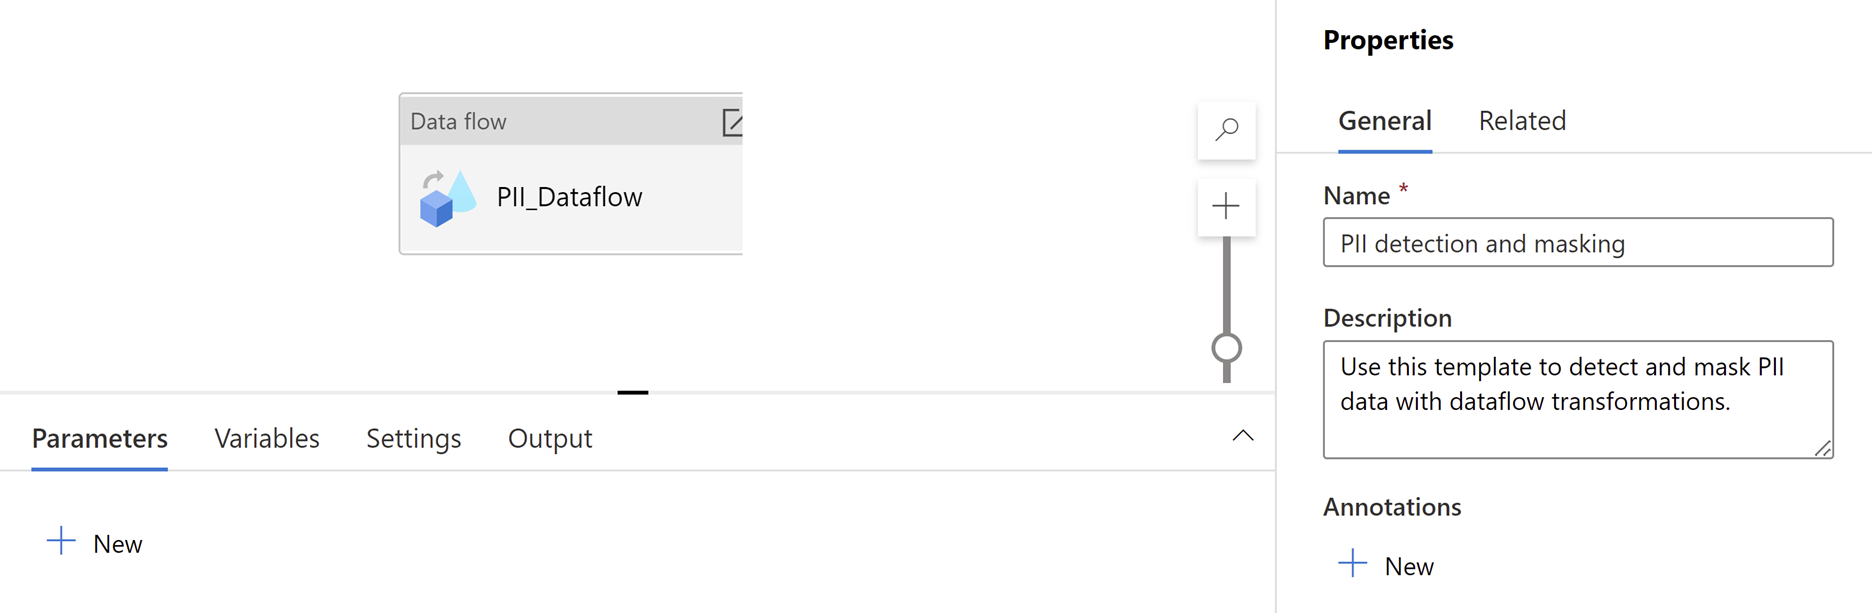
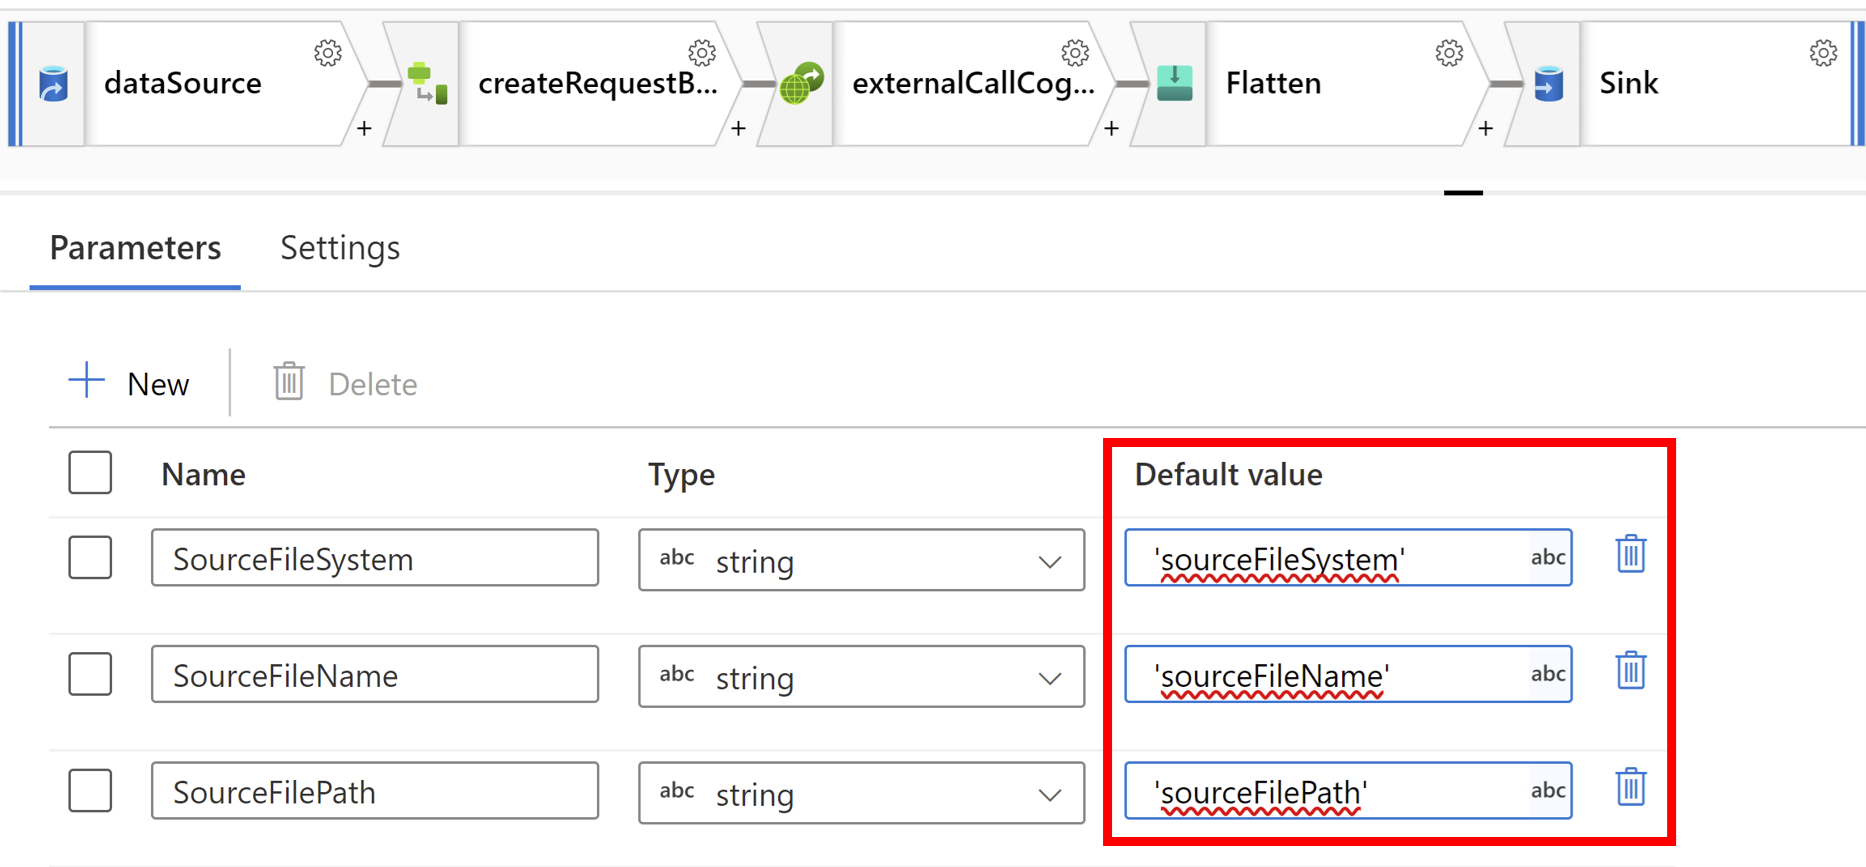
Clicking into the dataflow activity will show the following dataflow:

Turn on Data flow debug.

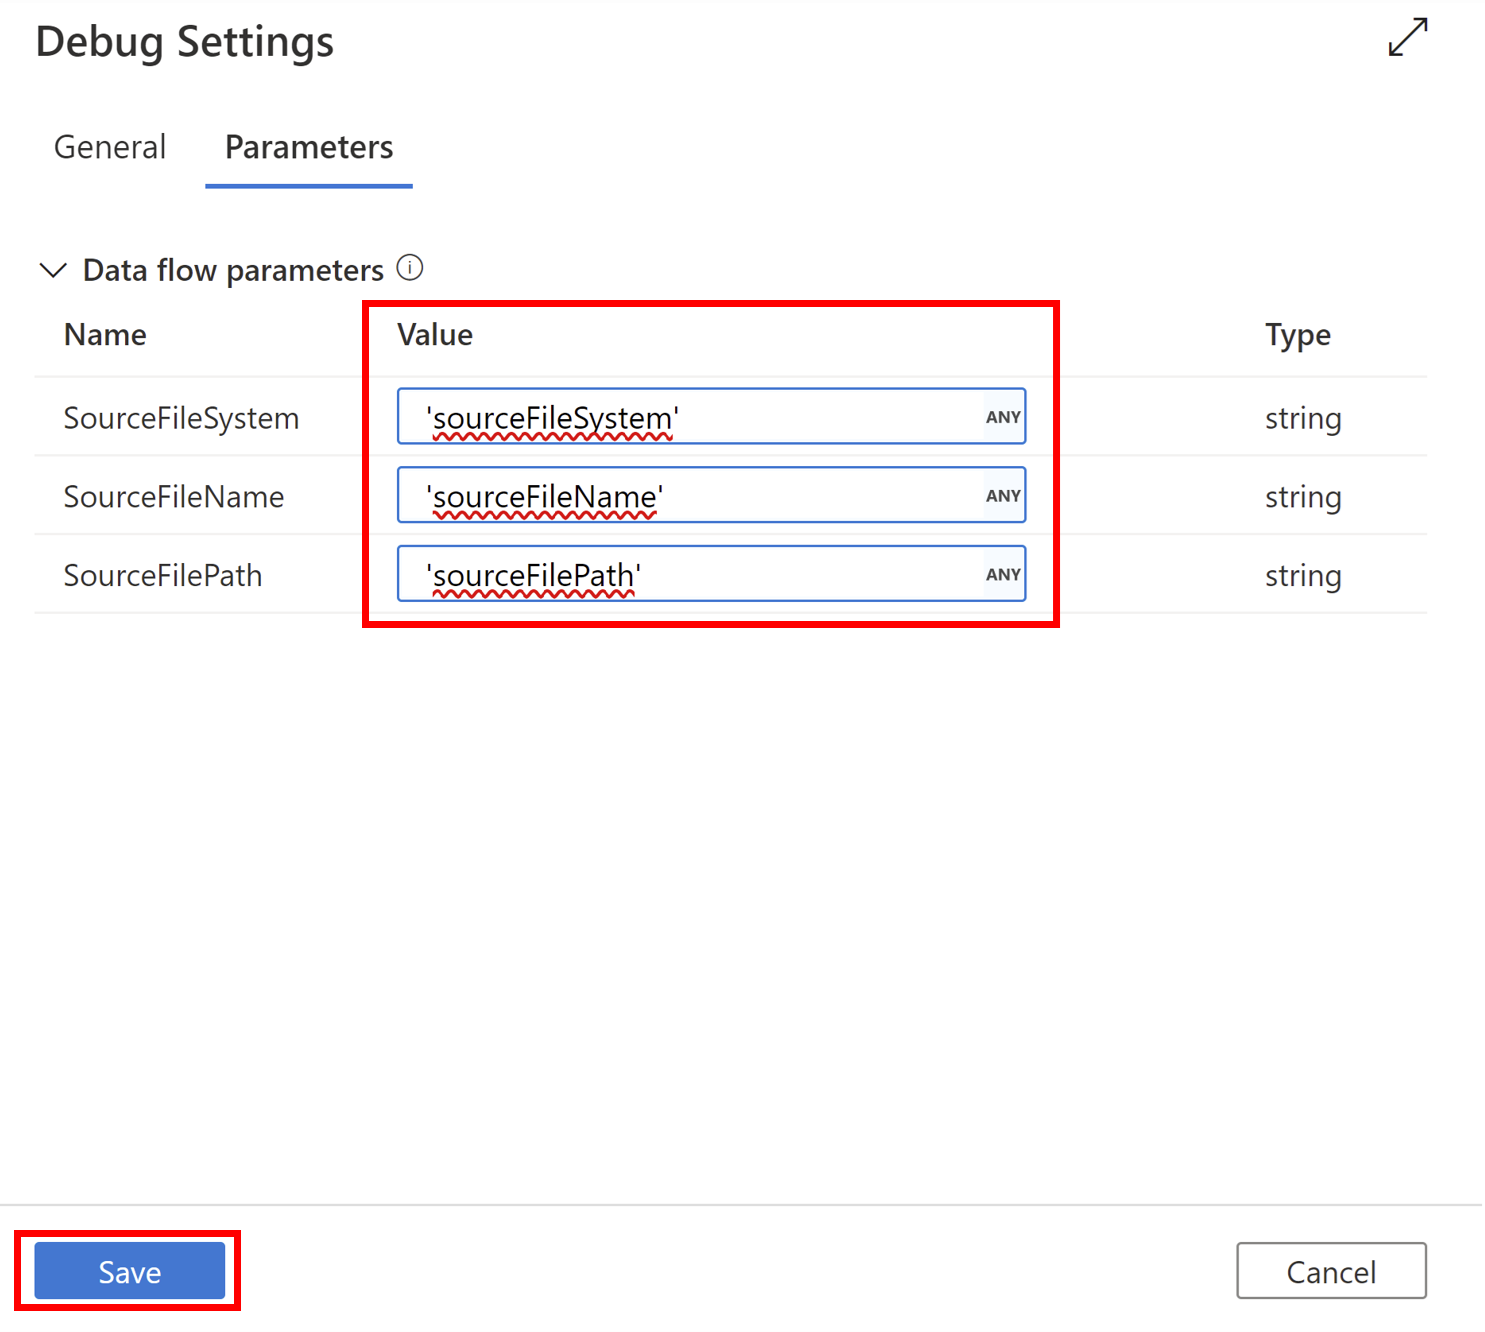
Update Parameters in Debug Settings and Save.

Preview the results in Data Preview.

When data preview results are as expected, update the Parameters.
Return to pipeline and select Debug. Review results and publish.
