Note
Access to this page requires authorization. You can try signing in or changing directories.
Access to this page requires authorization. You can try changing directories.
You can add recipient when you create a new share or to an existing share. From Azure Data Share UI, you can add recipient using the Azure sign-in email of the user. From API, you can use a combination of user/service principal and tenant ID. When a tenant ID is specified, the invitation can only be accepted into this tenant. Also from API, you can create an invitation without sending an email to the recipient.
Add recipient to an existing share
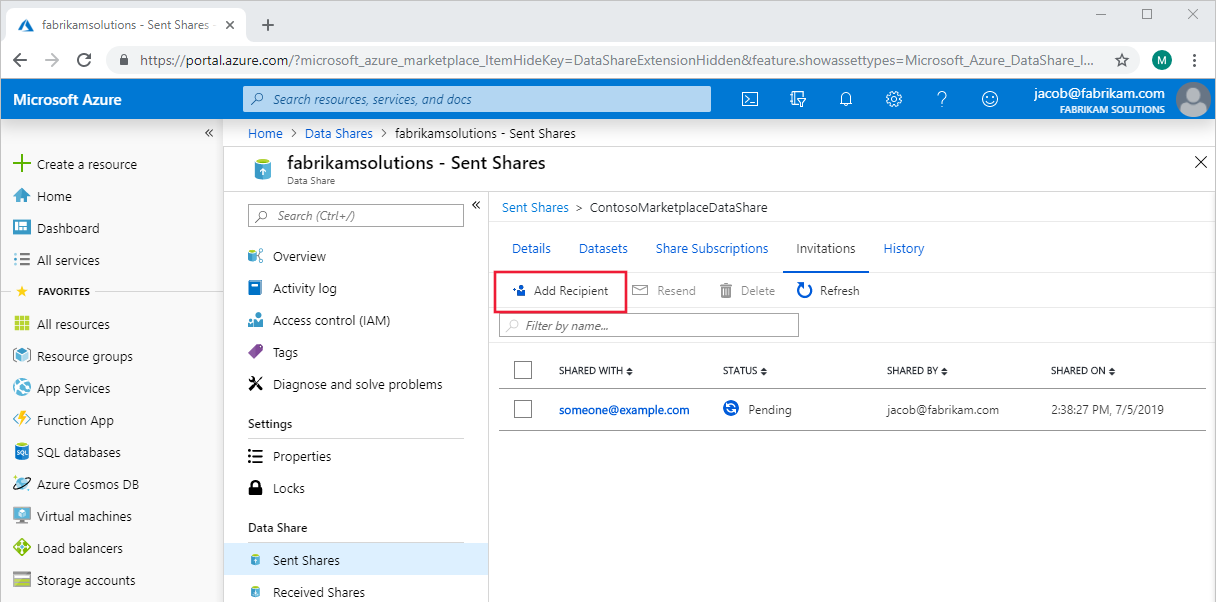
In Azure Data Share, navigate to your sent share and select the Invitations tab. Listed here are all of the recipients of invitations to this data share. To add a new one, select Add Recipient.
A panel will pop out on the right side of the page. Select Add Recipient and then fill in the email of your new recipient on the blank line. Make sure to use recipient's Azure sign-in email (using their email alias won't work).
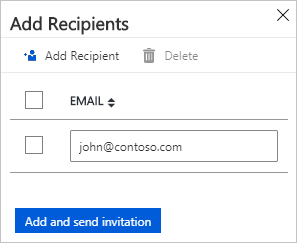
Select Add and send invitation. The new recipient(s) will be sent invitation emails to this share.
Related content
Learn more about how to delete an invitation to a share.