Note
Access to this page requires authorization. You can try signing in or changing directories.
Access to this page requires authorization. You can try changing directories.
APPLIES TO:  Azure Stack Edge Pro - GPUAzure Stack Edge Pro 2Azure Stack Edge Pro RAzure Stack Edge Mini R
This article applies to Azure Stack Edge and Azure Data Box Gateway both of which are managed by the Azure Stack Edge / Azure Data Box Gateway service. If you encounter any issues with your service, you can create a service request for technical support. This article walks you through:
- How to create a support request.
- How to manage a support request lifecycle from within the portal.
Create a support request
Do the following steps to create a support request:
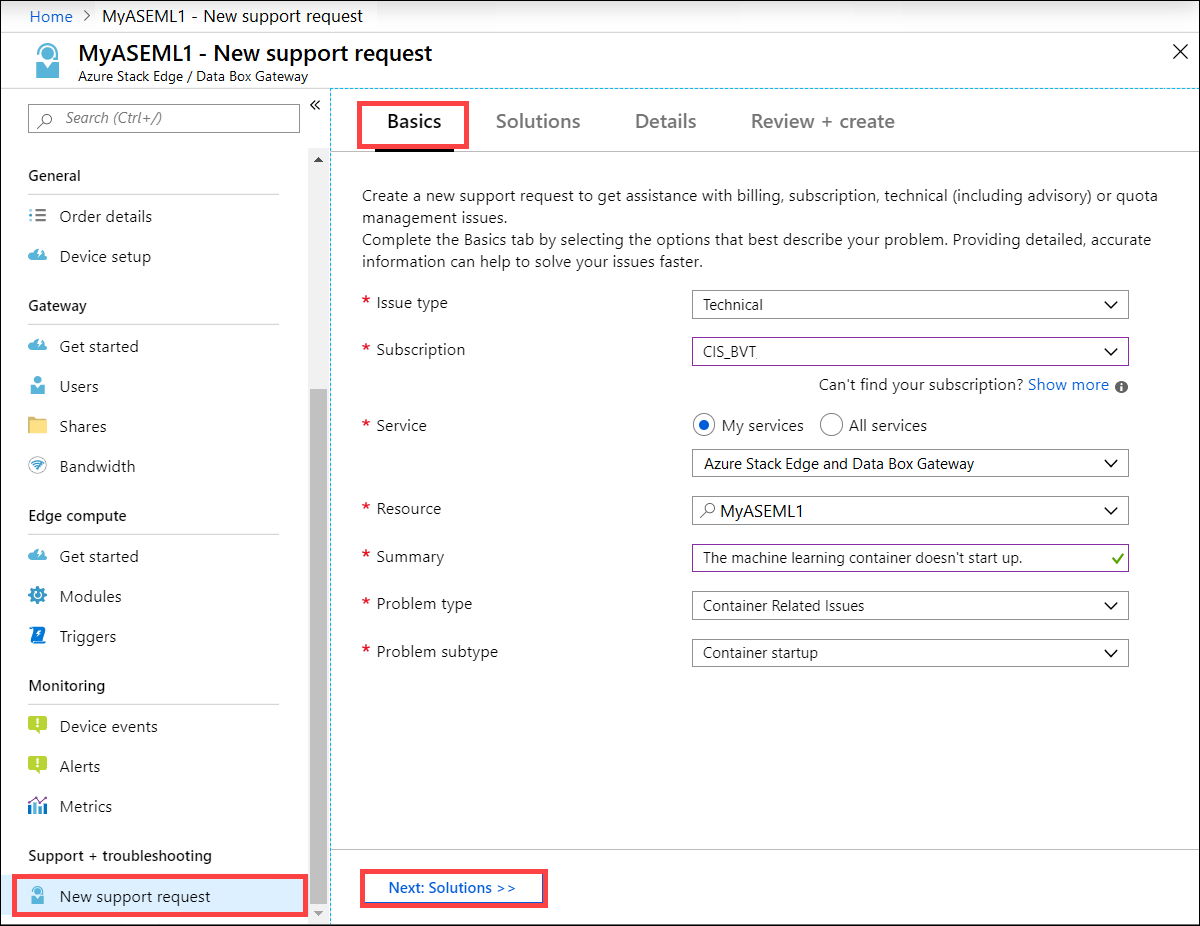
Go to your Azure Stack Edge or Data Box Gateway order. Navigate to Support + troubleshooting section and then select New support request.
In New support request, on the Basics tab, take the following steps:
From the Issue type dropdown list, select Technical.
Choose your Subscription.
Under Service, check My Services. From the dropdown list, select Azure Stack Edge and Data Box Gateway.
Select your Resource. This corresponds to the name of your order.
Give a brief Summary of the issue you are experiencing.
Select your Problem type.
Based on the problem type you selected, choose a corresponding Problem subtype.
Select Next: Solutions >>.
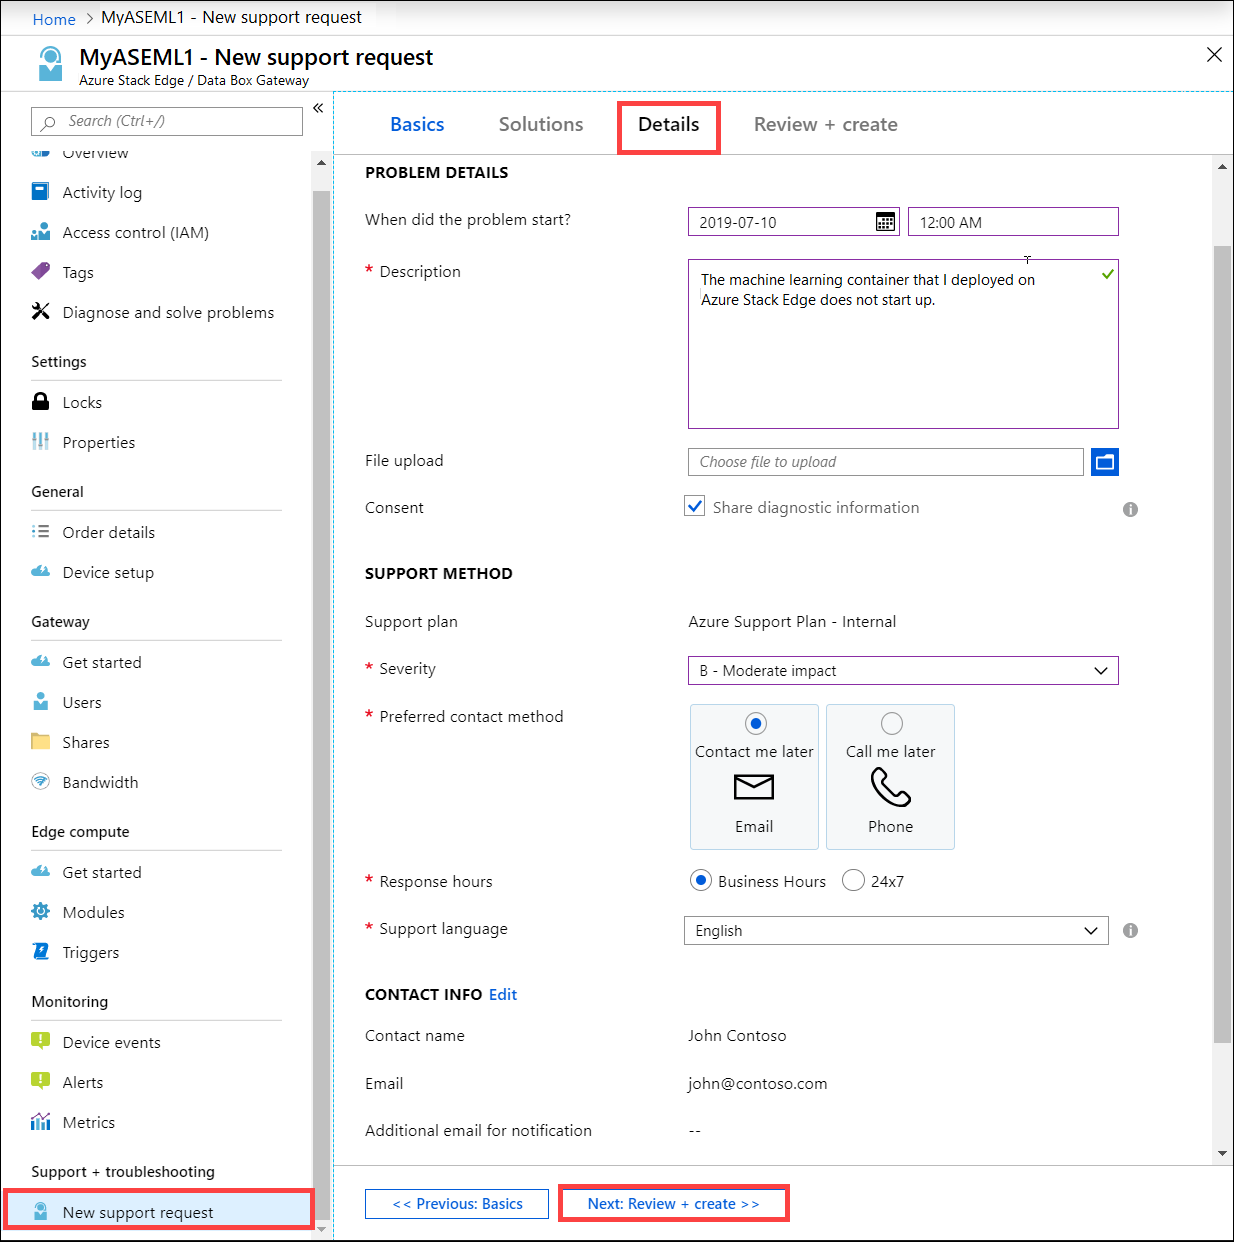
On the Details tab, take the following steps:
Provide the start date and time for the problem.
Supply a Description for your problem.
In the File upload, select the folder icon to browse any other files you want to upload.
Check Share diagnostic information.
Based on your subscription, a Support plan is automatically populated.
From the dropdown list, select the Severity.
Specify a Preferred contact method.
The Response hours are automatically selected based on your subscription plan.
Provide the language you prefer for Support.
In the Contact information, provide your name, email, phone, optional contact, country/region. Microsoft Support uses this information to reach out to you for further information, diagnosis, and resolution.
Select Next: Review + Create >>.
On the Review + Create tab, review the information related to Support ticket. Select Create.
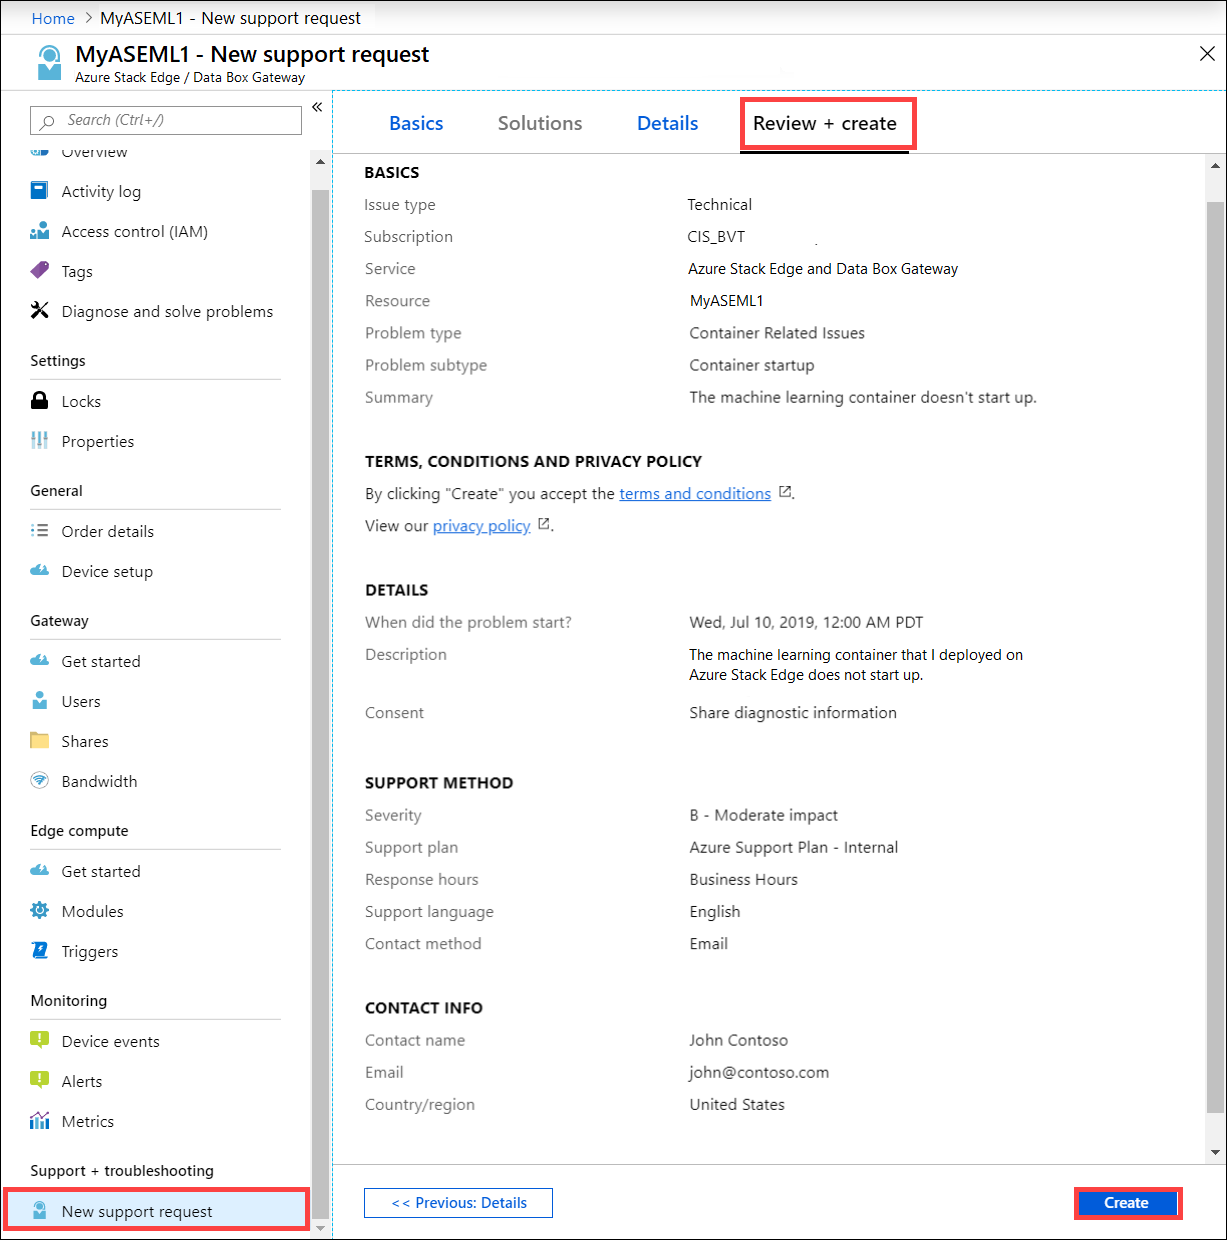
After you create the Support ticket, a Support engineer will contact you as soon as possible to proceed with your request.
Get hardware support
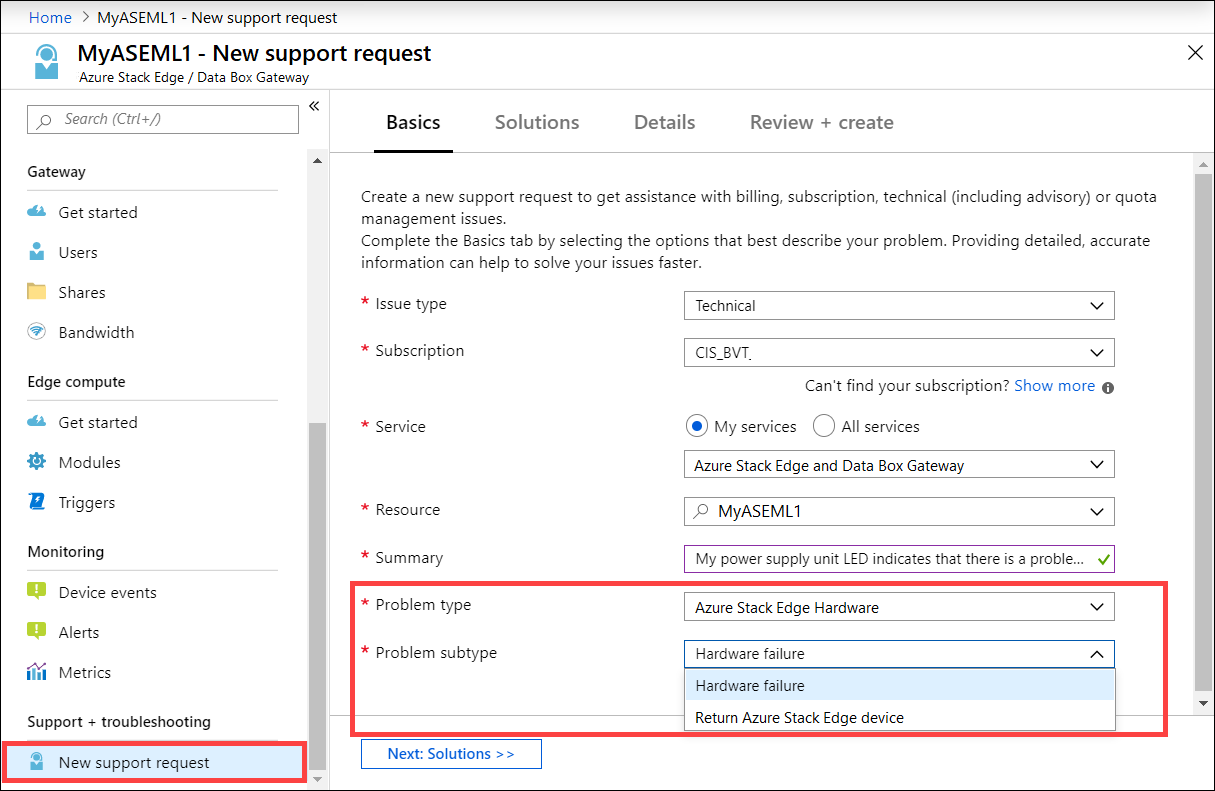
This information only applies to Azure Stack device. The process to report hardware issues is as follows:
Open a Support ticket from the Azure portal for a hardware issue. Under Problem type, select Azure Stack Hardware. Choose the Problem subtype as Hardware failure.
After you have created the Support ticket, a Support engineer will contact you as soon as possible to proceed with your request.
If Microsoft Support determines that this is a hardware issue, then one of the following actions occurs:
- A Field Replacement Unit (FRU) for the failed hardware part is sent. Currently, power supply units and solid-state drives are the only supported FRUs.
- Only FRUs are replaced within the next business day, everything else requires a full system replacement (FSR) to be shipped.
If it is determined that a FRU replacement is needed by 1 PM local time (Monday to Friday), an onsite technician is dispatched the next business day to your location to perform a FRU replacement. A full system replacement typically will take much longer because the parts are shipped from our factory and could be subject to transportation and customs delays.
Manage a support request
After creating a support ticket, you can manage the lifecycle of the ticket from within the portal.
To manage your support requests
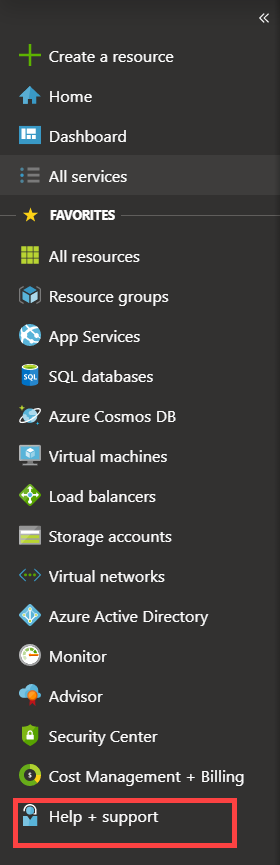
To get to the help and support page, navigate to Browse > Help + support.
A tabular listing of Recent support requests is displayed in Help + support.
Select and click a support request. You can view the status and the details for this request. Click + New message if you want to follow up on this request.