Note
Access to this page requires authorization. You can try signing in or changing directories.
Access to this page requires authorization. You can try changing directories.
APPLIES TO:  Azure Stack Edge Pro - GPUAzure Stack Edge Pro 2Azure Stack Edge Pro RAzure Stack Edge Mini R
The Custom Script Extension downloads and runs scripts or commands on virtual machines running on your Azure Stack Edge Pro devices. This article details how to install and run the Custom Script Extension by using an Azure Resource Manager template.
About custom script extension
The Custom Script Extension is useful for post-deployment configuration, software installation, or any other configuration/management task. You can download scripts from Azure Storage or another accessible internet location, or you can provide scripts or commands to the extension runtime.
The Custom Script Extension integrates with Azure Resource Manager templates. You can also run it by using Azure CLI, PowerShell, or the Azure Virtual Machines REST API.
OS for Custom Script Extension
Supported OS for Custom Script Extension on Windows
The Custom Script Extension for Windows will run on the following OSs. Other versions may work but haven't been tested in-house on VMs running on Azure Stack Edge Pro devices.
| Distribution | Version |
|---|---|
| Windows Server 2019 | Core |
| Windows Server 2016 | Core |
Supported OS for Custom Script Extension on Linux
The Custom Script Extension for Linux will run on the following OSs. Other versions may work but haven't been tested in-house on VMs running on Azure Stack Edge Pro devices.
| Distribution | Version |
|---|---|
| Linux: Ubuntu | 18.04 LTS |
| Linux: Red Hat Enterprise Linux | 7.4, 7.5, 7.7 |
Prerequisites
Download the VM templates and parameters files to your client machine. Unzip the download into a directory you’ll use as a working directory.
You should have a VM created and deployed on your device. To create VMs, follow all the steps in Deploy VM on your Azure Stack Edge Pro using templates.
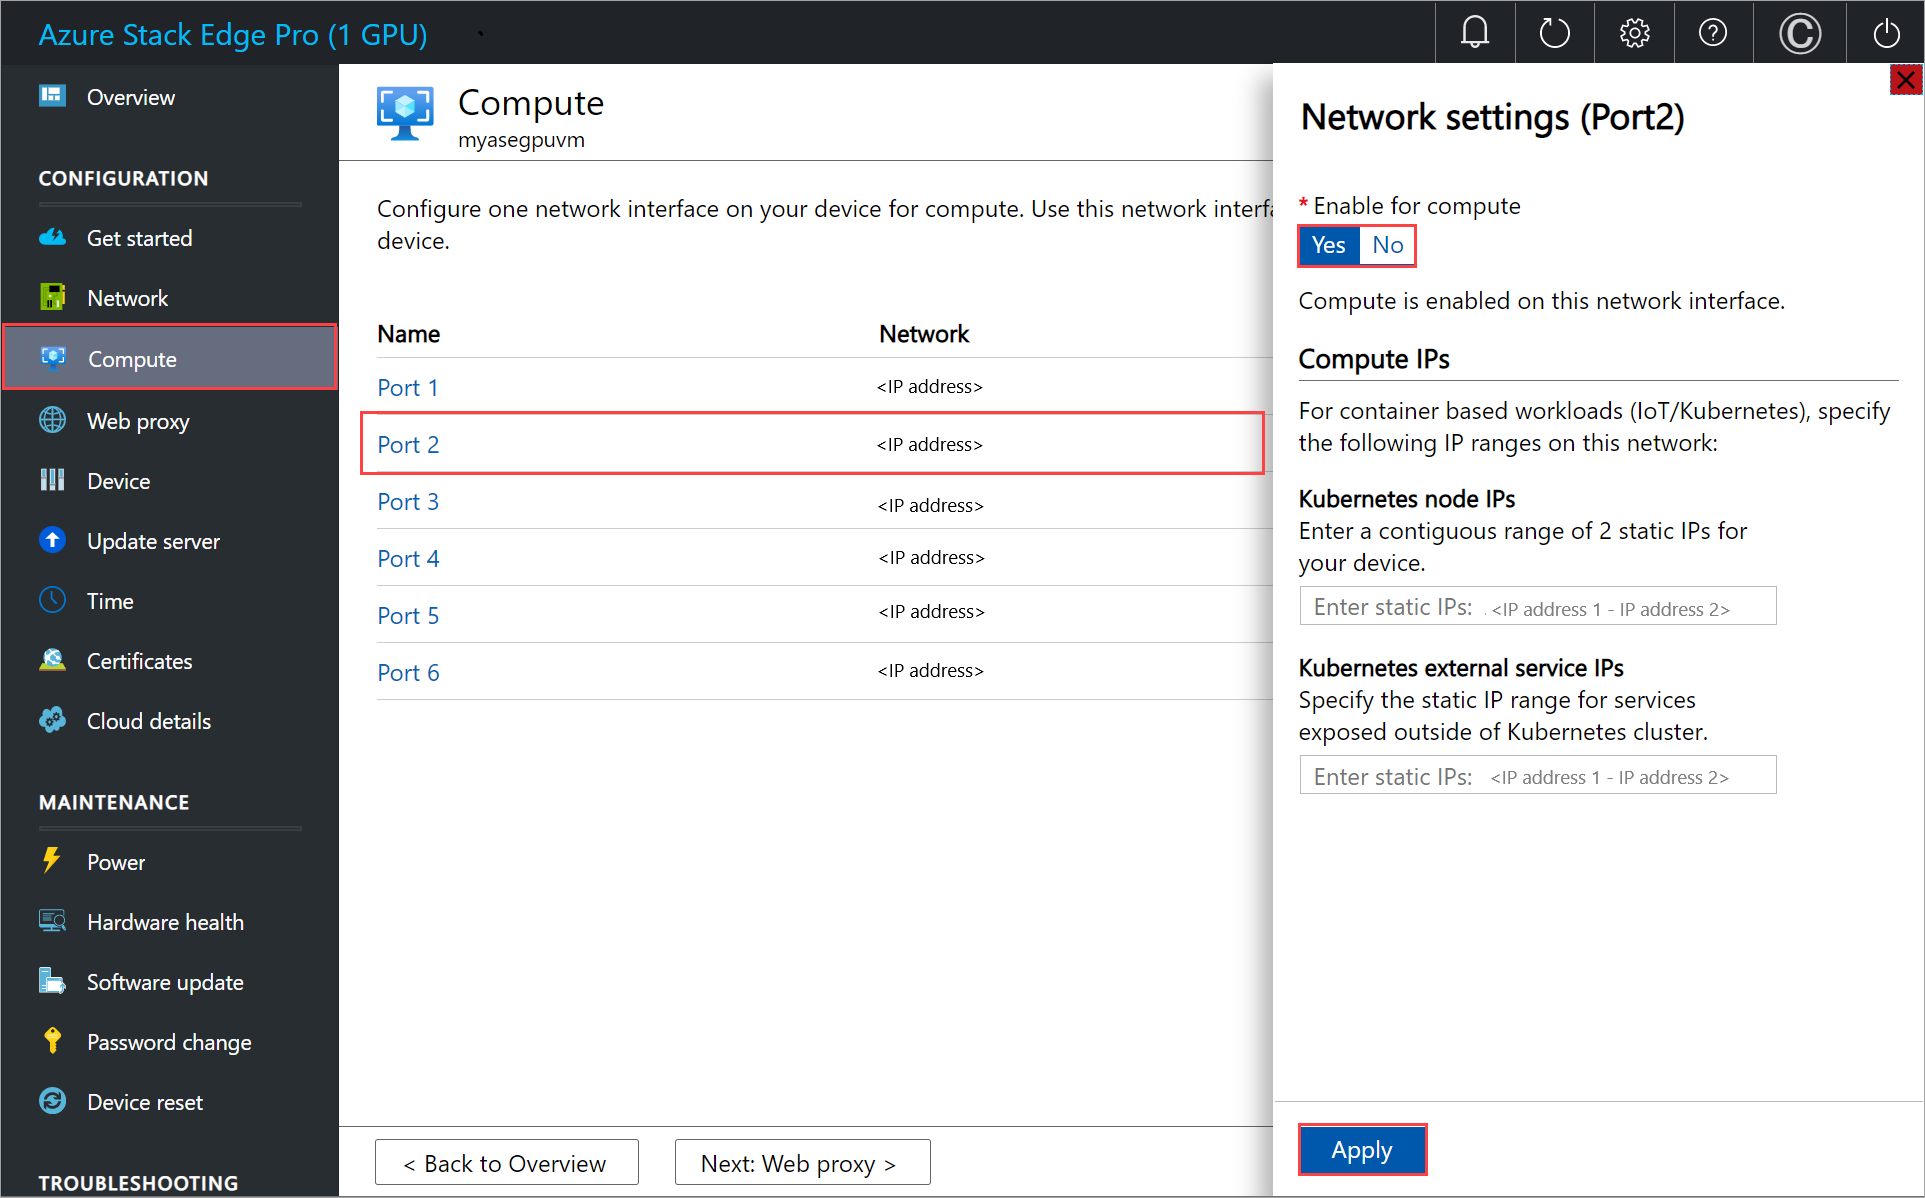
If you need to download a script such as from GitHub or Azure Storage externally, while configuring compute network, enable the port that is connected to the Internet for compute. This allows you to download the script.
In the following example, Port 2 was connected to the internet and was used to enable the compute network. If you identified that Kubernetes isn't needed in the earlier step, you can skip the Kubernetes node IP and external service IP assignment.
Install Custom Script Extension
Depending on the operating system for your VM, you could install Custom Script Extension for Windows or for Linux.
Custom Script Extension for Windows
To deploy Custom Script Extension for Windows for a VM running on your device, edit the addCSExtWindowsVM.parameters.json parameters file and then deploy the template addCSextensiontoVM.json.
Edit parameters file
The file addCSExtWindowsVM.parameters.json takes the following parameters:
{
    "$schema": "https://schema.management.azure.com/schemas/2019-04-01/deploymentParameters.json#",
    "contentVersion": "1.0.0.0",
    "parameters": {
        "vmName": {
            "value": "<Name of VM>"
        },
        "extensionName": {
            "value": "<Name of extension>"
        },
        "publisher": {
            "value": "Microsoft.Compute"
        },
        "type": {
            "value": "CustomScriptExtension"
        },
        "typeHandlerVersion": {
            "value": "1.10"
        },
        "settings": {
            "value": {
                "commandToExecute" : "<Command to execute>"
            }
        }
    }
}
Provide your VM name, name for the extension and the command that you want to execute.
Here's the sample parameter file that was used in this article.
{
    "$schema": "https://schema.management.azure.com/schemas/2019-04-01/deploymentParameters.json#",
    "contentVersion": "1.0.0.0",
    "parameters": {
        "vmName": {
            "value": "VM5"
        },
        "extensionName": {
            "value": "CustomScriptExtension"
        },
        "publisher": {
            "value": "Microsoft.Compute"
        },
        "type": {
            "value": "CustomScriptExtension"
        },
        "typeHandlerVersion": {
            "value": "1.10"
        },
        "settings": {
            "value": {
                "commandToExecute" : "md C:\\Users\\Public\\Documents\\test"
            }
        }
    }
}
Deploy template
Deploy the template addCSextensiontoVM.json. This template deploys extension to an existing VM. Run the following command:
$templateFile = "<Path to addCSExtensiontoVM.json file>"
$templateParameterFile = "<Path to addCSExtWindowsVM.parameters.json file>"
$RGName = "<Resource group name>"
New-AzureRmResourceGroupDeployment -ResourceGroupName $RGName -TemplateFile $templateFile -TemplateParameterFile $templateParameterFile -Name "<Deployment name>"
Note
The extension deployment is a long running job and takes about 10 minutes to complete.
Here's a sample output:
PS C:\WINDOWS\system32> $templateFile = "C:\12-09-2020\ExtensionTemplates\addCSExtensiontoVM.json"
PS C:\WINDOWS\system32> $templateParameterFile = "C:\12-09-2020\ExtensionTemplates\addCSExtWindowsVM.parameters.json"
PS C:\WINDOWS\system32> $RGName = "myasegpuvm1"
PS C:\WINDOWS\system32> New-AzureRmResourceGroupDeployment -ResourceGroupName $RGName -TemplateFile $templateFile -TemplateParameterFile $templateParameterFile -Name "deployment7"

DeploymentName          : deployment7
ResourceGroupName       : myasegpuvm1
ProvisioningState       : Succeeded
Timestamp               : 12/17/2020 10:07:44 PM
Mode                    : Incremental
TemplateLink            :
Parameters              :
                          Name             Type                       Value
                          ===============  =========================  ==========
                          vmName           String                     VM5
                          extensionName    String                     CustomScriptExtension
                          publisher        String                     Microsoft.Compute
                          type             String                     CustomScriptExtension
                          typeHandlerVersion  String                     1.10
                          settings         Object                     {
                            "commandToExecute": "md C:\\Users\\Public\\Documents\\test"
                          }

Outputs                 :
DeploymentDebugLogLevel :

PS C:\WINDOWS\system32>
Track deployment
To check the deployment state of extensions for a given VM, run the following command:
Get-AzureRmVMExtension -ResourceGroupName <Name of resource group> -VMName <Name of VM> -Name <Name of the extension>
Here's a sample output:
PS C:\WINDOWS\system32> Get-AzureRmVMExtension -ResourceGroupName myasegpuvm1 -VMName VM5 -Name CustomScriptExtension

ResourceGroupName       : myasegpuvm1
VMName                  : VM5
Name                    : CustomScriptExtension
Location                : dbelocal
Etag                    : null
Publisher               : Microsoft.Compute
ExtensionType           : CustomScriptExtension
TypeHandlerVersion      : 1.10
Id                      : /subscriptions/aaaa0a0a-bb1b-cc2c-dd3d-eeeeee4e4e4e/resourceGroups/myasegpuvm1/providers/Microsoft.Compute/virtualMachines/VM5/extensions/CustomScriptExtension
PublicSettings          : {
                            "commandToExecute": "md C:\\Users\\Public\\Documents\\test"
                          }
ProtectedSettings       :
ProvisioningState       : Creating
Statuses                :
SubStatuses             :
AutoUpgradeMinorVersion : True
ForceUpdateTag          :

PS C:\WINDOWS\system32>
Note
When the deployment is complete, the ProvisioningState changes to Succeeded.
Extension output is logged to files found under the following folder on the target virtual machine.
C:\WindowsAzure\Logs\Plugins\Microsoft.Compute.CustomScriptExtension
The specified files are downloaded into the following folder on the target virtual machine.
C:\Packages\Plugins\Microsoft.Compute.CustomScriptExtension\1.*\Downloads\<n>
where n is a decimal integer, which may change between executions of the extension. The 1.* value matches the actual, current typeHandlerVersion value of the extension. For example, the actual directory in this instance was C:\Packages\Plugins\Microsoft.Compute.CustomScriptExtension\1.10.9\Downloads\0.
In this instance, the command to execute for the custom extension was: md C:\\Users\\Public\\Documents\\test. When the extension is successfully installed, you can verify that the directory was created in the VM at the specified path in the command.
Custom Script Extension for Linux
To deploy Custom Script Extension for Windows for a VM running on your device, edit the addCSExtLinuxVM.parameters.json parameters file and then deploy the template addCSExtensiontoVM.json.
Edit parameters file
The file addCSExtLinuxVM.parameters.json takes the following parameters:
{
    "$schema": "https://schema.management.azure.com/schemas/2019-04-01/deploymentParameters.json#",
    "contentVersion": "1.0.0.0",
    "parameters": {
        "vmName": {
            "value": "<Name of your VM>"
        },
        "extensionName": {
            "value": "<Name of your extension>"
        },
        "publisher": {
            "value": "Microsoft.Azure.Extensions"
        },
        "type": {
            "value": "CustomScript"
        },
        "typeHandlerVersion": {
            "value": "2.0"
        },
        "settings": {
            "value": {
                "commandToExecute" : "<Command to execute>"
            }
        }
    }
}
Provide your VM name, name for the extension and the command that you want to execute.
Here's a sample parameter file that was used in this article:
$templateFile = "<Path to addCSExtensionToVM.json file>"
$templateParameterFile = "<Path to addCSExtLinuxVM.parameters.json file>"
$RGName = "<Resource group name>"
New-AzureRmResourceGroupDeployment -ResourceGroupName $RGName -TemplateFile $templateFile -TemplateParameterFile $templateParameterFile -Name "<Deployment name>"
Note
The extension deployment is a long running job and takes about 10 minutes to complete.
Here's a sample output:
PS C:\WINDOWS\system32> $templateFile = "C:\12-09-2020\ExtensionTemplates\addCSExtensionToVM.json"
PS C:\WINDOWS\system32> $templateParameterFile = "C:\12-09-2020\ExtensionTemplates\addCSExtLinuxVM.parameters.json"
PS C:\WINDOWS\system32> $RGName = "myasegpuvm1"
PS C:\WINDOWS\system32> New-AzureRmResourceGroupDeployment -ResourceGroupName $RGName -TemplateFile $templateFile -TemplateParameterFile $templateParameterFile -Name "deployment99"

DeploymentName          : deployment99
ResourceGroupName       : myasegpuvm1
ProvisioningState       : Succeeded
Timestamp               : 12/18/2020 1:55:23 AM
Mode                    : Incremental
TemplateLink            :
Parameters              :
                          Name             Type                       Value
                          ===============  =========================  ==========
                          vmName           String                     VM6
                          extensionName    String                     LinuxCustomScriptExtension
                          publisher        String                     Microsoft.Azure.Extensions
                          type             String                     CustomScript
                          typeHandlerVersion  String                     2.0
                          settings         Object                     {
                            "commandToExecute": "sudo echo 'some text' >> /home/Administrator/file2.txt"
                          }

Outputs                 :
DeploymentDebugLogLevel :

PS C:\WINDOWS\system32>
The commandToExecute was set to create a file file2.txt in the /home/Administrator directory and the contents of the file are some text. In this case, you can verify that the file was created in the specified path.
Administrator@VM6:~$ dir
file2.txt
Administrator@VM6:~$ cat file2.txt
some text
Administrator@VM6:
Track deployment status
Template deployment is a long running job. To check the deployment state of extensions for a given VM, open another PowerShell session (run as administrator). Run the following command:
Get-AzureRmVMExtension -ResourceGroupName myResourceGroup -VMName <VM Name> -Name <Extension Name>
Here's a sample output:
PS C:\WINDOWS\system32> Get-AzureRmVMExtension -ResourceGroupName myasegpuvm1 -VMName VM5 -Name CustomScriptExtension

ResourceGroupName       : myasegpuvm1
VMName                  : VM5
Name                    : CustomScriptExtension
Location                : dbelocal
Etag                    : null
Publisher               : Microsoft.Compute
ExtensionType           : CustomScriptExtension
TypeHandlerVersion      : 1.10
Id                      : /subscriptions/aaaa0a0a-bb1b-cc2c-dd3d-eeeeee4e4e4e/resourceGroups/myasegpuvm1/providers/Microsoft.Compute/virtualMachines/VM5/extensions/CustomScriptExtension
PublicSettings          : {
                            "commandToExecute": "md C:\\Users\\Public\\Documents\\test"
                          }
ProtectedSettings       :
ProvisioningState       : Creating
Statuses                :
SubStatuses             :
AutoUpgradeMinorVersion : True
ForceUpdateTag          :

PS C:\WINDOWS\system32>
Note
When the deployment is complete, the ProvisioningState changes to Succeeded.
The extension execution output is logged to the following file: /var/lib/waagent/custom-script/download/0/.
Remove Custom Script Extension
To remove the Custom Script Extension, use the following command:
Remove-AzureRmVMExtension -ResourceGroupName <Resource group name> -VMName <VM name> -Name <Extension name>
Here's a sample output:
PS C:\WINDOWS\system32> Remove-AzureRmVMExtension -ResourceGroupName myasegpuvm1 -VMName VM6 -Name LinuxCustomScriptExtension
Virtual machine extension removal operation
This cmdlet will remove the specified virtual machine extension. Do you want to continue?
[Y] Yes  [N] No  [S] Suspend  [?] Help (default is "Y"): Yes
RequestId IsSuccessStatusCode StatusCode ReasonPhrase
--------- ------------------- ---------- ------------
                         True         OK OK