Note
Access to this page requires authorization. You can try signing in or changing directories.
Access to this page requires authorization. You can try changing directories.
Important
This feature is in Public Preview.
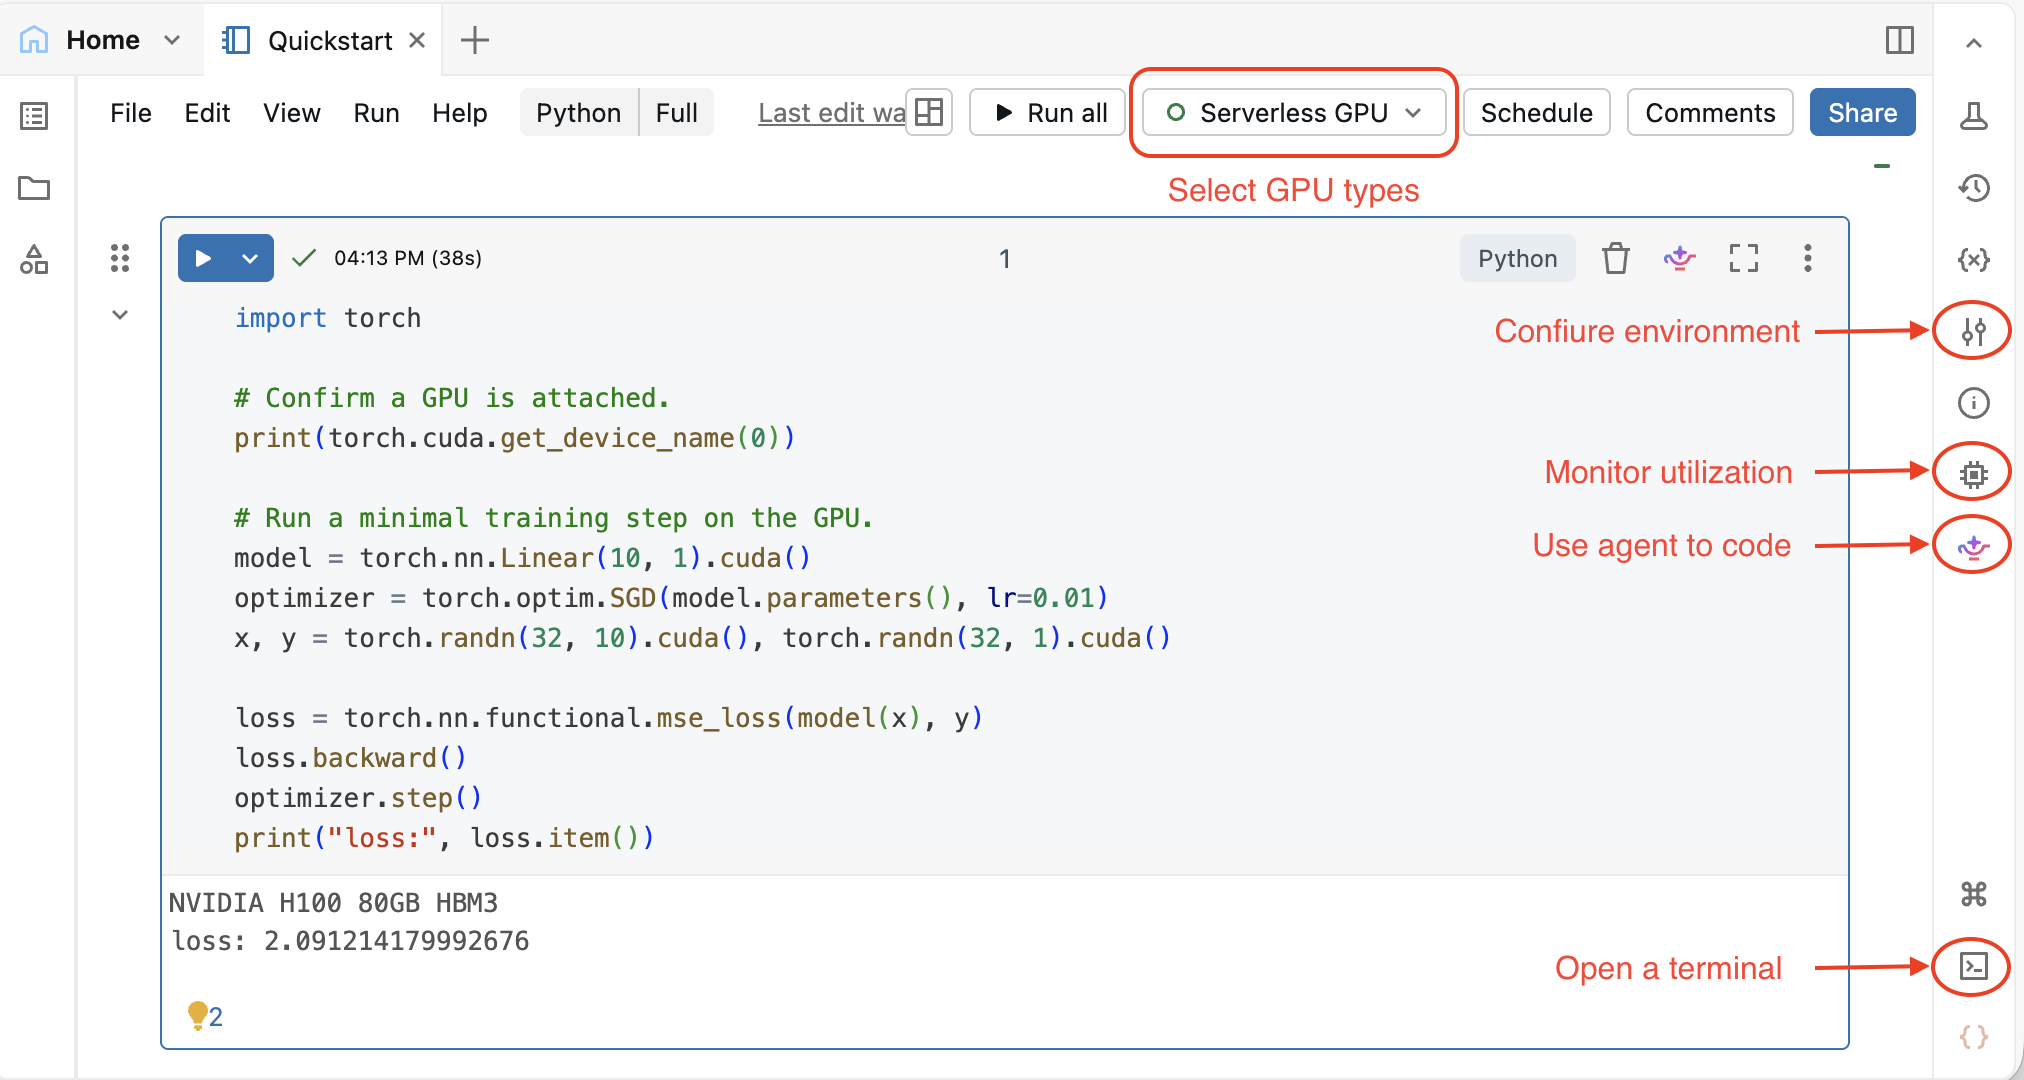
Use AI Runtime to go from an empty notebook to PyTorch on a GPU in a few clicks. Attach a notebook to Serverless GPU with no cluster to set up, and get GPU monitoring, a terminal on the GPU node, and Genie Code built in.
Before you begin
Your workspace must have AI Runtime enabled and be in a supported region. See Requirements.
Step 1: Attach a notebook to a GPU
- Create or open a notebook.
- From the compute drop-down at the top of the notebook, select Serverless GPU.
- In the Accelerator field, select 1xA10.
- Click Apply, and then Confirm.
Tip
Start with 1xA10 for development and small workloads. Move to 1xH100 or 8xH100 when you need more GPU memory or multi-GPU distributed training. See Hardware options.
Step 2: Run your first GPU code
The default Databricks AI environment comes with PyTorch, Transformers, vLLM, pandas, and many more packages preinstalled. For the full list, see the Databricks AI environment.
Run the following notebook to confirm the GPU is attached and run one training step:
AI Runtime quickstart notebook
You are now training on serverless GPU compute.
Explore the GPU notebook
The notebook comes with tooling to help you work on the GPU. You can switch base environments, monitor GPU utilization, open a terminal on the GPU node, and use Genie Code to write and debug your code.
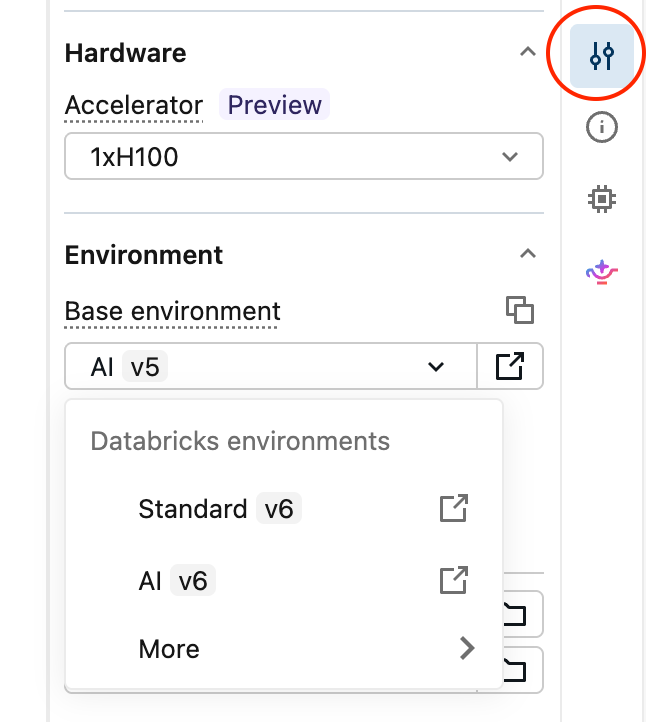
Switch environments
Click Environment in the right panel to pick a different base environment or accelerator. See Set up your environment.
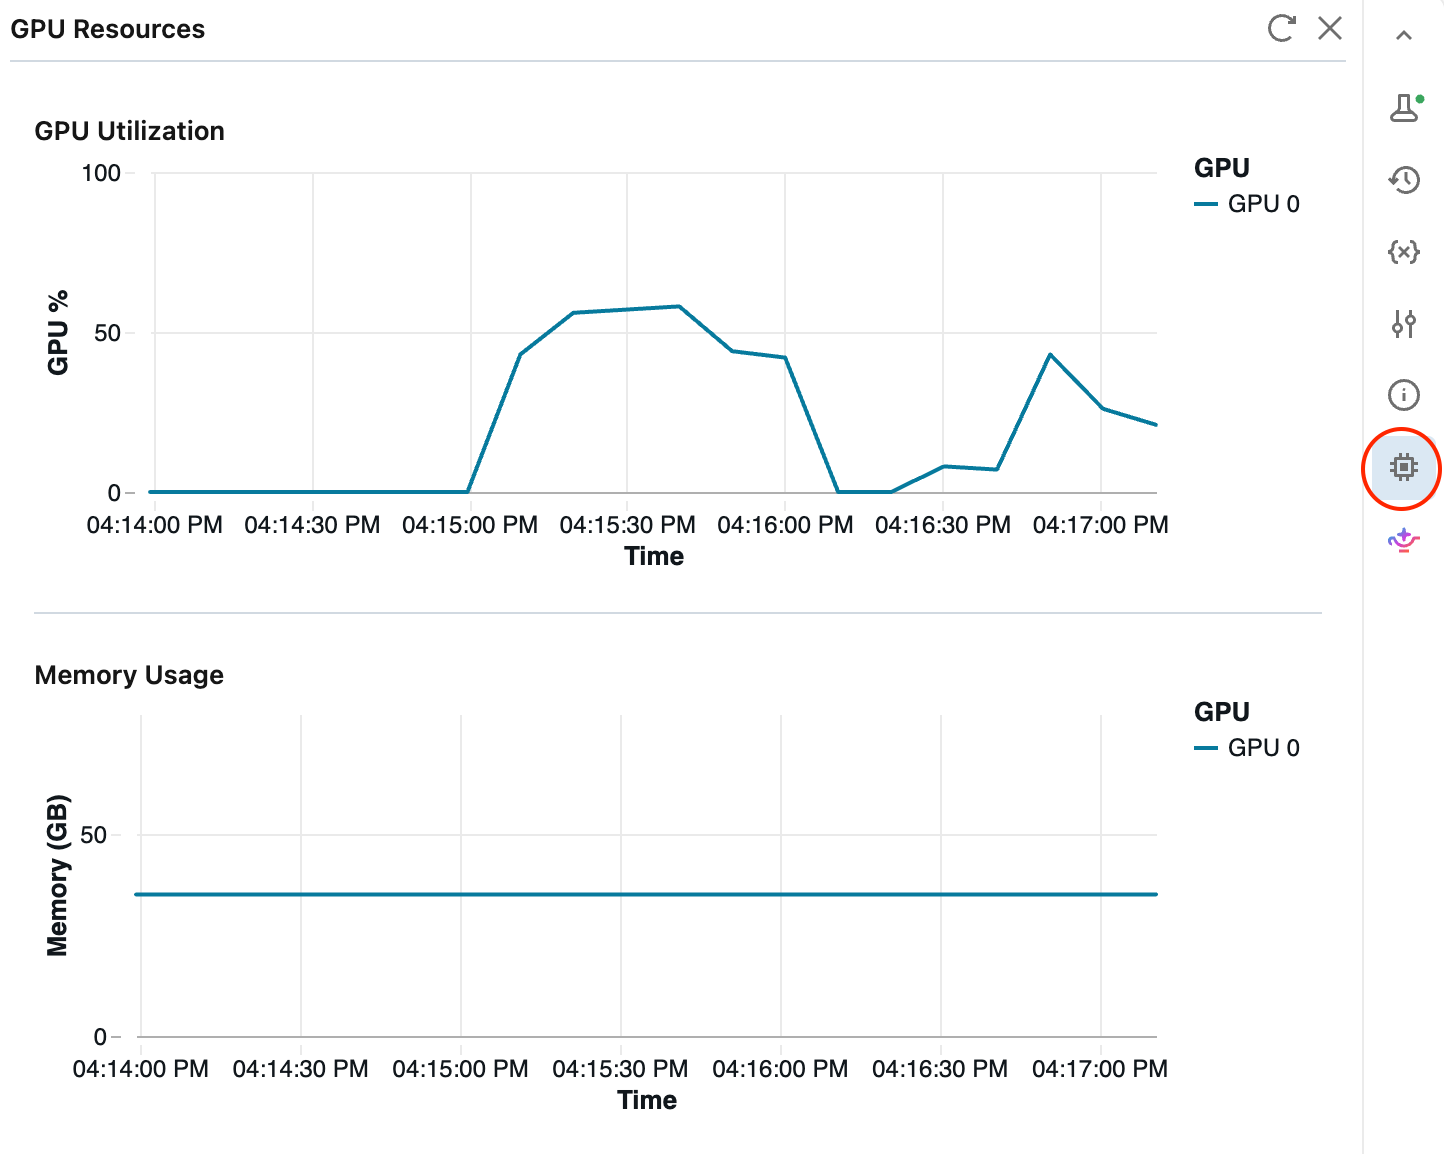
Watch GPU utilization
Click GPU resources in the right panel to see live GPU utilization and memory while your code runs. See Monitor GPU resources.
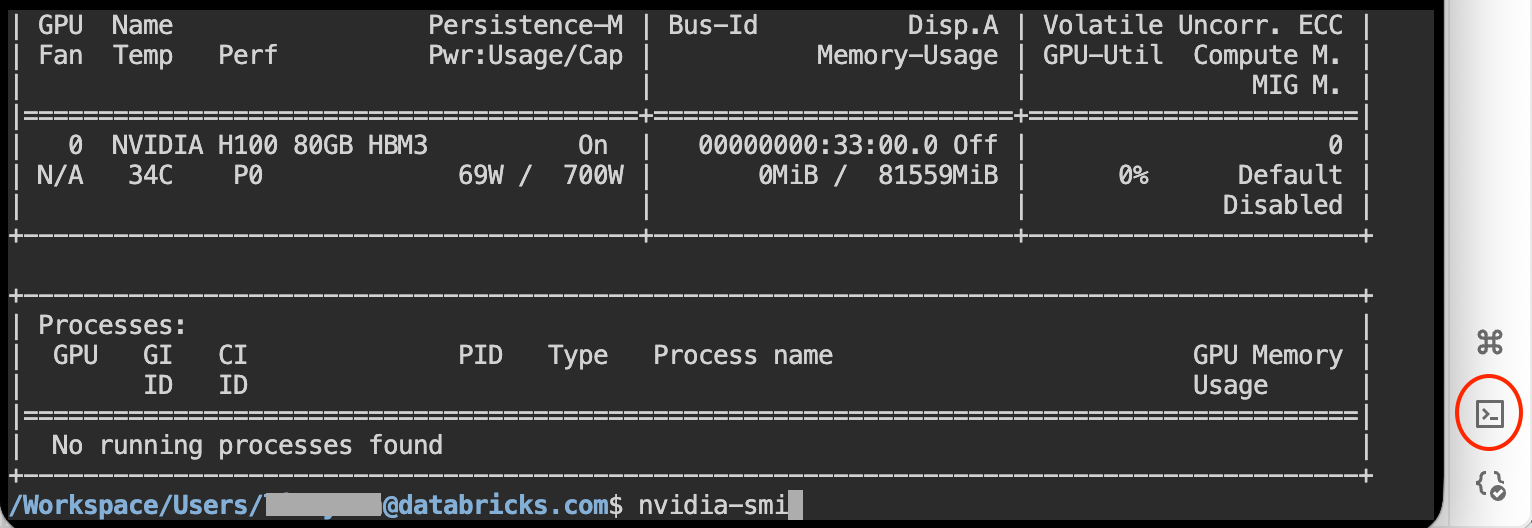
Open a terminal on the GPU node
Click Terminal at the bottom right to get a shell on the GPU node. Run nvidia-smi, inspect files, or debug processes directly. See Run shell commands in Azure Databricks web terminal.
Let Genie Code write and debug for you
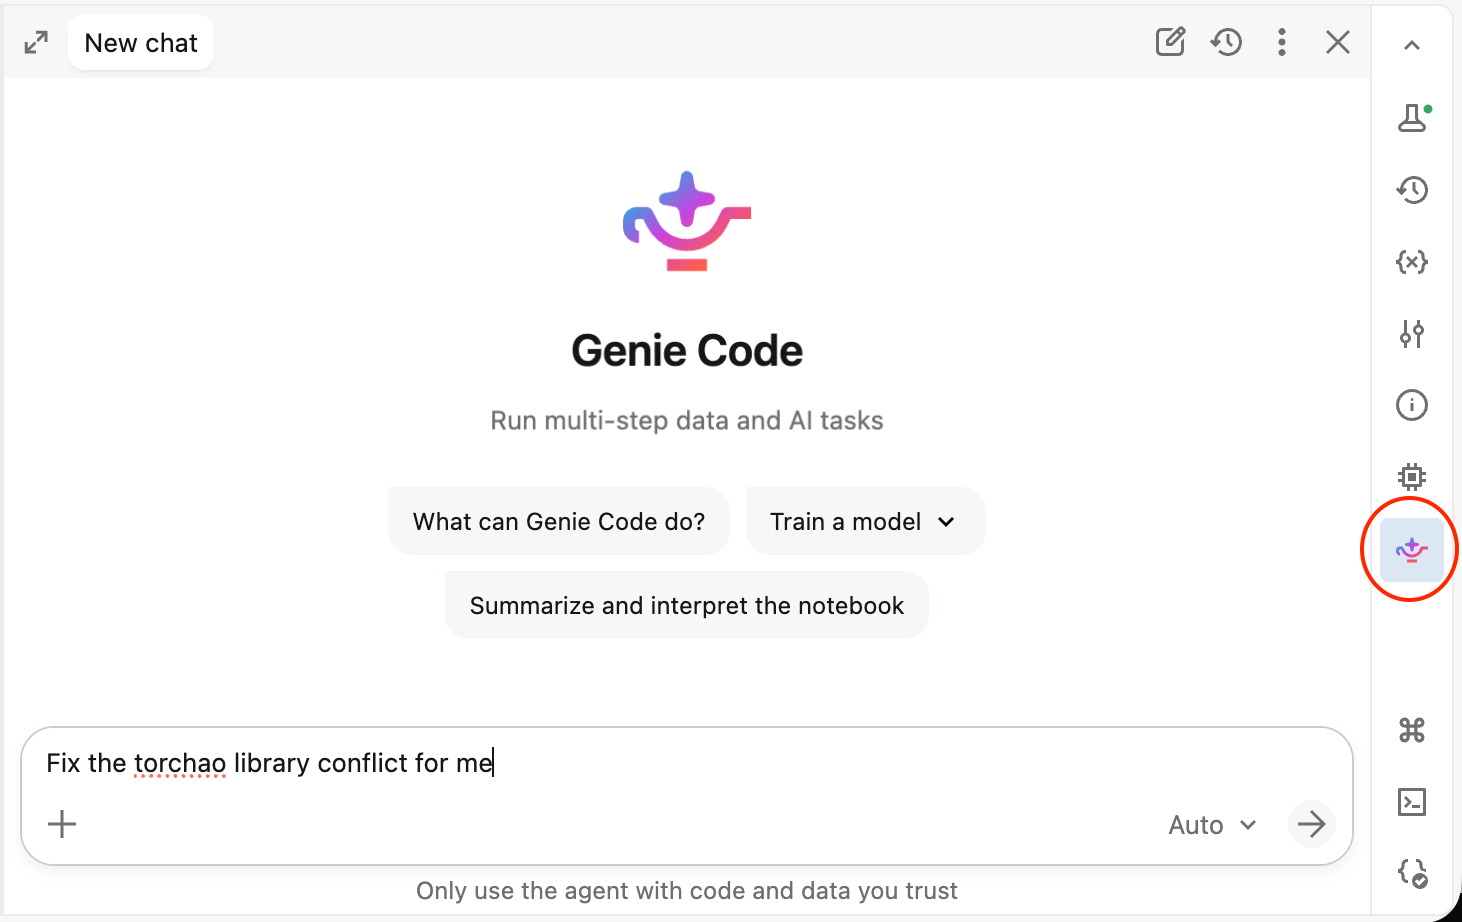
Click Genie Code in the right panel and describe what you want. The agent can write training code, fix dependency conflicts, and debug GPU failures. See Use Genie Code with AI Runtime.
Next steps
- Clone an end-to-end notebook from AI Runtime example notebooks.
- Scale across multiple GPUs with Distributed training in notebooks.