Note
Access to this page requires authorization. You can try signing in or changing directories.
Access to this page requires authorization. You can try changing directories.
You can manage notebooks using the UI, the CLI, and the Workspace API. This page focuses on performing notebook tasks using the UI. For the other methods, see Databricks CLI and the Workspace API reference.
Enable tabs for notebooks and files
For better navigation between workspace notebooks and files, enable the tabs experience. Go to Settings > Developer, scroll down to Experimental features, and turn on Tabs for notebooks and files.

The tabs experience allows for quick switching between open notebooks, queries, and files without having to navigate to the workspace file browser, or have multiple browser tabs open. You can also open and create notebooks in a new tab.
Create a notebook
Use the New button in the sidebar
To create a new notebook in your default folder, click + New in the left sidebar and select Notebook from the menu.
Databricks creates and opens a new, blank notebook in the Drafts folder of your home workspace. After you name the notebook, it moves out of the Drafts folder into your home workspace folder. The default language is the language you most recently used. In workspaces enabled for Unity Catalog, the notebook automatically connects to serverless compute. Otherwise, the notebook is attached to the compute resource that you most recently used.
Create a notebook in any folder
You can create a new notebook in any folder (for example, in the Shared folder) following these steps:
- In the sidebar, click
 Workspace.
 - Right-click on the name of any folder and select Create > Notebook. A blank notebook opens in the workspace.
Create a notebook in a new tab
If you have tabs for notebooks and files enabled, you can also create a new notebook from any open workspace file by clicking the + icon to the right of the last tab.
Open a notebook
In your workspace, click a notebook to open it.
If you have tabs for notebooks and files enabled, you can open a notebook in a new tab by clicking the + icon on the tabs bar or by clicking a notebook from the workspace browser on the left side panel.
Clone a notebook
To clone a notebook:
- With the notebook open, click File in the notebook toolbar, then click Clone....
- (Optional) Edit the new name for the notebook.
- (Optional) Click Browse to change the workspace location to clone the notebook to. By default, the notebook is cloned to the same location as the current notebook.
- (Optional) Uncheck Include outputs to exclude cell outputs from the cloned notebook. By default, outputs are included.
- Click Clone.
Delete a notebook
See Work with folders and folder objects and Manage workspace objects for information about how to access the workspace menu and delete notebooks or other items in the workspace.
Copy notebook path or URL
To get the notebook file path or URL without opening the notebook, right-click the notebook name and select Copy > Path or Copy > URL.
Rename a notebook
To change the title of an open notebook, click the title and edit inline or click File > Rename.
Control access to a notebook
If your Azure Databricks account has the Premium plan, you can use Workspace access control to control who has access to a notebook.
Configure editor settings
To configure editor settings:
- Click your username at the top right of the workspace and select Settings from the drop-down menu.
- In the Settings sidebar, select Developer.
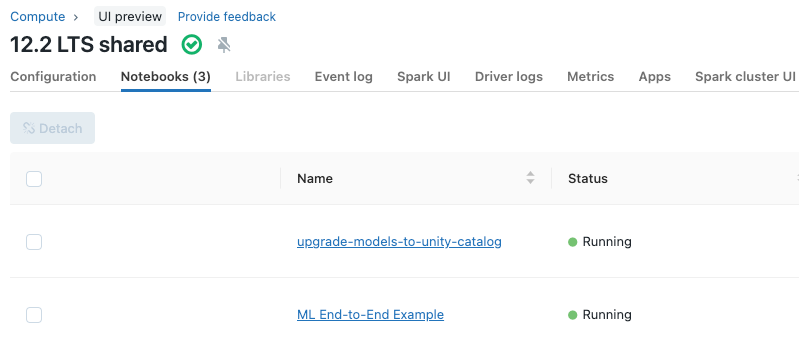
View notebooks attached to a cluster
The Notebooks tab on the cluster details page displays notebooks that have recently been attached to a cluster. The tab also displays the status of the notebook, along with the last time a command was run from the notebook.