How to switch Azure DDoS Protection tiers using Azure portal
In this guide, we walk through the steps to switch between Network Protection and IP Protection tiers using Azure portal. This guide follows the Application running on load-balanced virtual machines architecture. To learn more about the different architectures, see Azure DDoS Protection reference architectures.
Prerequisites
- An Azure account with an active subscription. Create an account for free.
- DDoS Network Protection must be enabled on a virtual network or DDoS IP Protection must be enabled on a public IP address.
Switch Azure DDoS Protection tiers
Switch to Network Protection
Services must be added to the DDoS protection plan to be protected by Network Protection. Once the service is added to the DDoS protection plan, the tier will automatically transition to Network Protection from IP Protection. You don't need disable IP protection during this transition.
Sign in to the Azure portal.
In the search box at the top of the portal, enter DDoS protection plans. Select your DDoS protection plan.
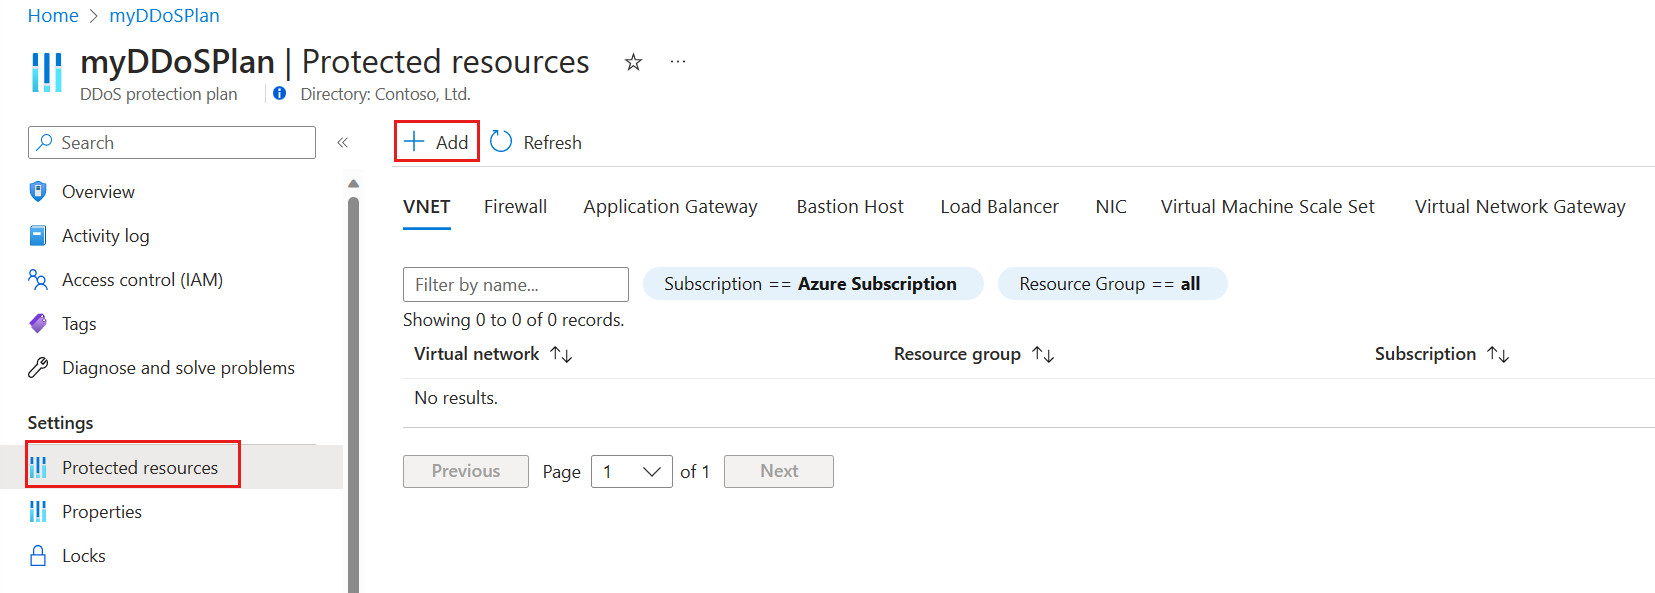
In the Settings pane, select the Protected Resources tab, then select Add.
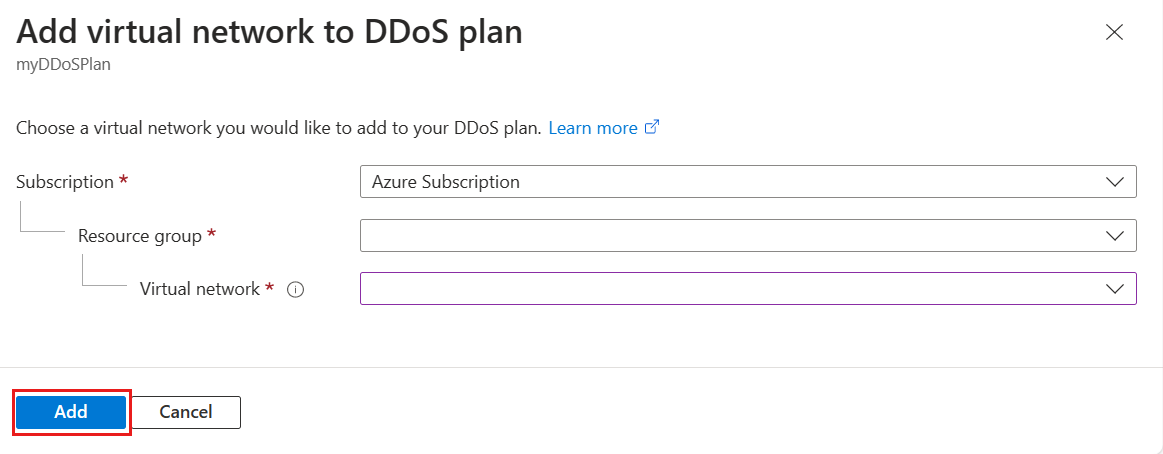
In the Add virtual network to DDoS plan pane, select the Subscription and Resource group that contains the virtual network, then select the Virtual network that contains the protected resources. Select Add.


Validate DDoS Protection status
To validate the status of your protected resource follow the steps below.
Select All resources on the top, left of the portal.
Enter public IP address in the Filter box. When public IP address appear in the results, select it.
Select your public IP Address from the list.
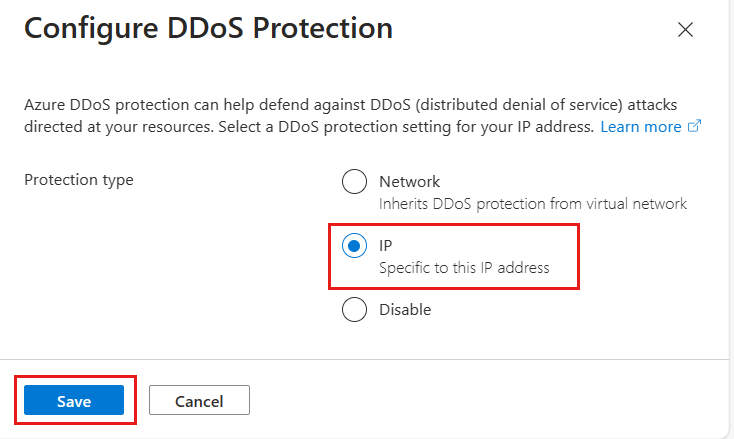
In the Overview page, select the Properties tab in the middle of the page, then select DDoS protection.
View Protection status and verify your public IP is protected.

Next steps
- Learn how to configure diagnostic logging.
Feedback
Coming soon: Throughout 2024 we will be phasing out GitHub Issues as the feedback mechanism for content and replacing it with a new feedback system. For more information see: https://aka.ms/ContentUserFeedback.
Submit and view feedback for