Set up continuous export with Azure Policy
Continuous export of Microsoft Defender for Cloud security alerts and recommendations can help you analyze the data in Log Analytics or Azure Event Hubs. You can set up continuous export in Defender for Cloud at scale, by using provided Azure Policy templates.
Tip
Defender for Cloud also offers the option to do a onetime, manual export to a comma-separated values (CSV) file. Learn how to download a CSV file.
Prerequisites
You need a Microsoft Azure subscription. If you don't have an Azure subscription, you can sign up for a free subscription.
You must enable Microsoft Defender for Cloud on your Azure subscription.
Required roles and permissions:
Security Admin or Owner for the resource group
Write permissions for the target resource.
If you use the Azure Policy DeployIfNotExist policies, you must have permissions that let you assign policies.
To export data to Event Hubs, you must have Write permissions on the Event Hubs policy.
To export to a Log Analytics workspace:
- If it has the SecurityCenterFree solution, you must have a minimum of Read permissions for the workspace solution:
Microsoft.OperationsManagement/solutions/read. - If it doesn't have the SecurityCenterFree solution, you must have write permissions for the workspace solution:
Microsoft.OperationsManagement/solutions/action.
Learn more about Azure Monitor and Log Analytics workspace solutions.
- If it has the SecurityCenterFree solution, you must have a minimum of Read permissions for the workspace solution:
Set up continuous export at scale with Azure Policy
Automating your organization's monitoring and incident response processes can help you reduce the time it takes to investigate and mitigate security incidents.
To deploy your continuous export configurations across your organization, use the provided Azure Policy DeployIfNotExist policies to create and configure continuous export procedures.
To implement these policies:
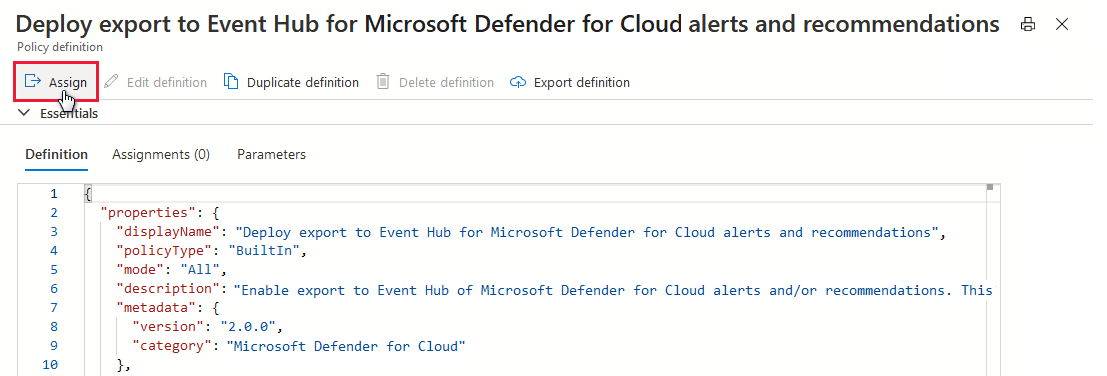
Select a policy to apply:
Goal Policy Policy ID Continuous export to Event Hubs Deploy export to Event Hubs for Microsoft Defender for Cloud alerts and recommendations cdfcce10-4578-4ecd-9703-530938e4abcb Continuous export to Log Analytics workspace Deploy export to Log Analytics workspace for Microsoft Defender for Cloud alerts and recommendations ffb6f416-7bd2-4488-8828-56585fef2be9 Select Assign.
Select each tab and set the parameters to meet your requirements:
On the Basics tab, set the scope for the policy. To use centralized management, assign the policy to the management group that contains the subscriptions that use the continuous export configuration.
On the Parameters tab, set the resource group name, location and Event Hub details.
Optionally, to apply this assignment to existing subscriptions, select the Remediation tab, and then select the option to create a remediation task.
Review the summary page, and then select Create.
Next step
Feedback
Coming soon: Throughout 2024 we will be phasing out GitHub Issues as the feedback mechanism for content and replacing it with a new feedback system. For more information see: https://aka.ms/ContentUserFeedback.
Submit and view feedback for