Note
Access to this page requires authorization. You can try signing in or changing directories.
Access to this page requires authorization. You can try changing directories.
This page provides a simple onboarding experience to connect Azure DevOps environments to Microsoft Defender for Cloud, and automatically discover Azure DevOps repositories.
By connecting your Azure DevOps environments to Defender for Cloud, you extend the security capabilities of Defender for Cloud to your Azure DevOps resources and improve security posture. Learn more.
Prerequisites
To complete this quickstart, you need:
- An Azure account with Defender for Cloud onboarded. If you don't already have an Azure account, create one for free.
- Note that API calls that Defender for Cloud performs count against the Azure DevOps global consumption limit.
- Review common questions about DevOps security in Defender for Cloud.
Important
Defender for Cloud performs operations in Azure DevOps using the identity that authorizes the connector (a user or service account you choose). Activities such as repository reads, pull request annotations, and build metadata queries are attributed to that identity in Azure DevOps audit logs, usage dashboards, and PR timelines. To avoid confusion and ensure continuity, we recommend using a dedicated service account (for example, MDC-DevOps-Connector) with the minimum required permissions instead of a personal account.
Availability
| Aspect | Details |
|---|---|
| Release state: | General Availability. |
| Pricing: | For pricing, see the Defender for Cloud pricing page. You can also estimate costs with the Defender for Cloud cost calculator. |
| Required permissions: | - Contributor to create a connector on the Azure subscription. - Project Collection Administrator on the Azure DevOps Organization. - Basic or Basic + Test Plans Access Level on the Azure DevOps Organization. Make sure you have BOTH Project Collection Administrator permissions and Basic Access Level for all Azure DevOps organizations you wish to onboard. Stakeholder Access Level is not sufficient. Third-party application access via OAuth, which must be set to On on the Azure DevOps Organization. Learn more about OAuth and how to enable it in your organizations. |
| Regions and availability: | Refer to the support and prerequisites section for region support and feature availability. |
| Clouds: |  Commercial
Commercial
Commercial  National (Azure Government, Microsoft Azure operated by 21Vianet)
 |
Note
Security Reader role can be applied on the Resource Group/Azure DevOps connector scope to avoid setting highly privileged permissions on a Subscription level for read access of DevOps security posture assessments.
Note
The Azure DevOps connector is created under the Microsoft.Security/securityConnectors resource type.
Defender for DevOps also uses additional resources under the Microsoft.Security resource provider (for example, security assessments).
For governance scenarios that use tenant-level policy exemptions, scope exemptions to Microsoft.Security/* to ensure full Defender for DevOps functionality.
Connect your Azure DevOps organization
Note
After connecting Azure DevOps to Defender for Cloud, the Microsoft Defender for DevOps Container Mapping extension will be automatically shared and installed on all connected Azure DevOps organizations. This extension allows Defender for Cloud to extract metadata from pipelines, such as a container's digest ID and name. This metadata is used to connect DevOps entities with their related cloud resources. Learn more about container mapping.
To connect your Azure DevOps organization to Defender for Cloud by using a native connector:
Sign in to the Azure portal.
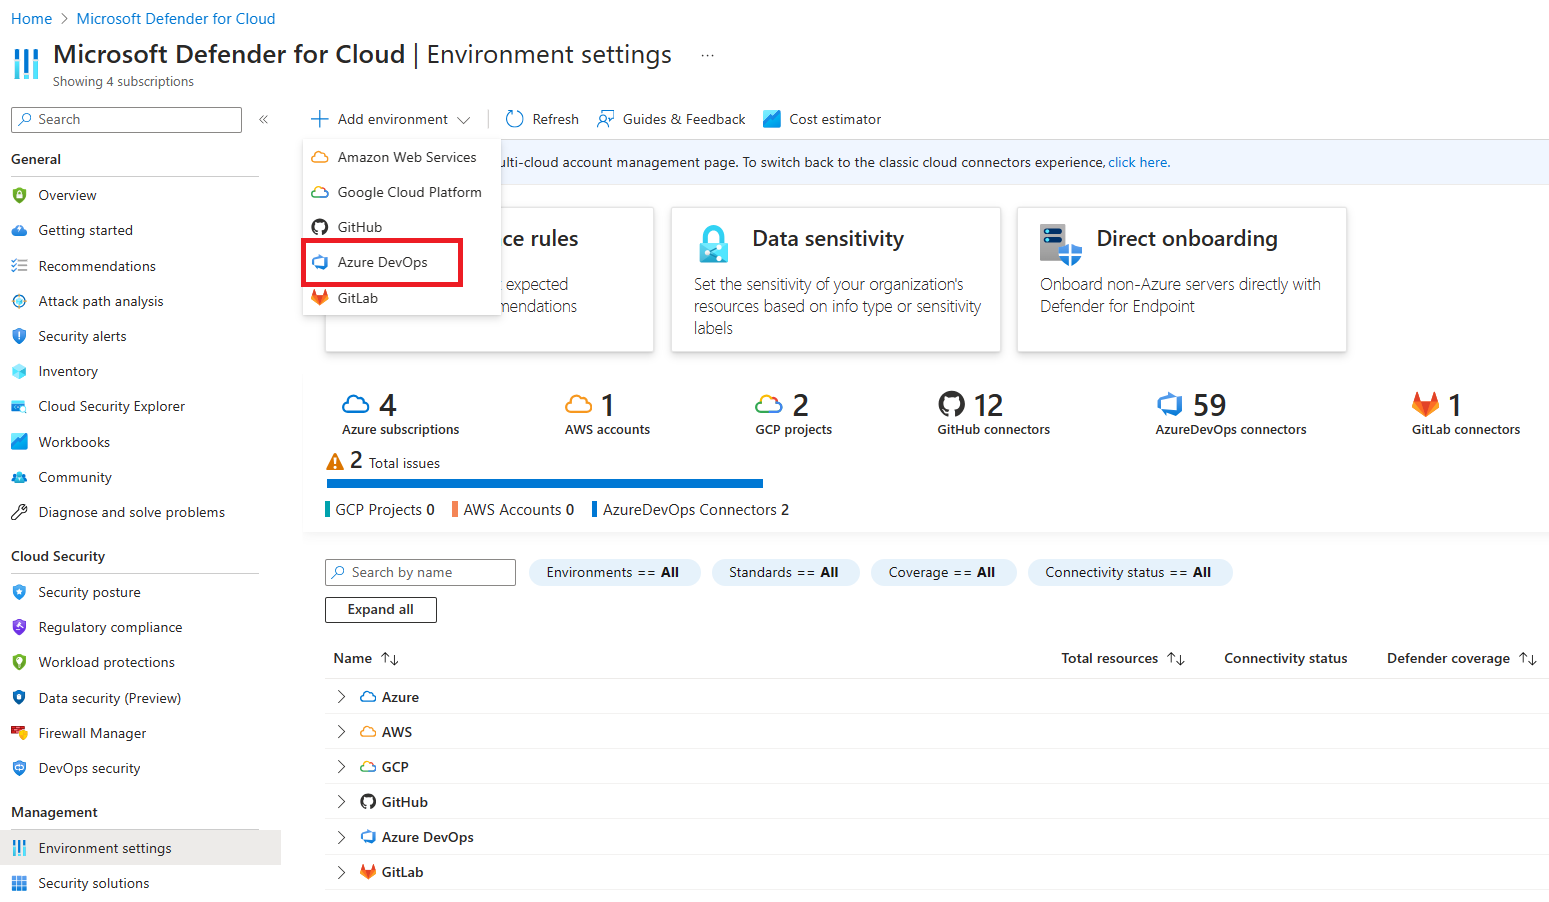
Go to Microsoft Defender for Cloud > Environment settings.
Select Add environment.
Select Azure DevOps.
Enter a name, subscription, resource group, and region.
The subscription is the location where Microsoft Defender for Cloud creates and stores the Azure DevOps connection.
Select Next: Configure access.
Select Authorize. Ensure you're authorizing the correct Azure Tenant using the drop-down menu in Azure DevOps and by verifying you're in the correct Azure Tenant in Defender for Cloud.
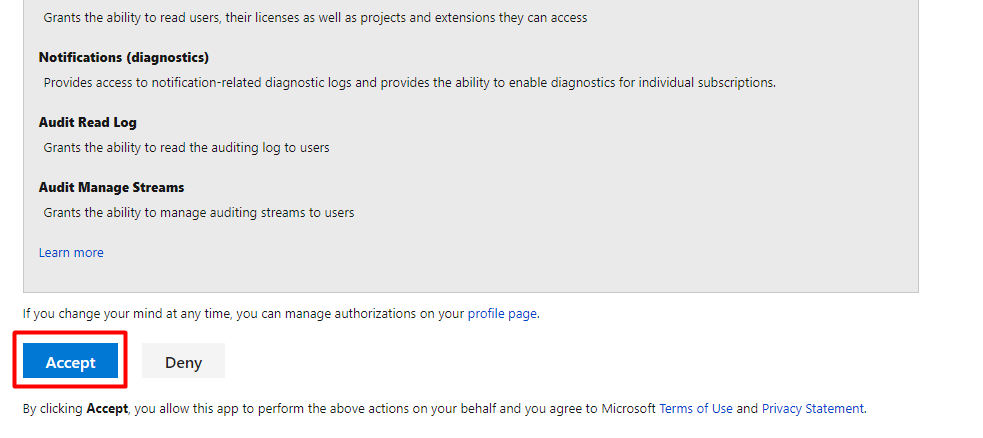
In the popup dialog, read the list of permission requests, and then select Accept.
For Organizations, select one of the following options:
- Select all existing organizations to auto-discover all projects and repositories in organizations you're currently a Project Collection Administrator in.
- Select all existing and future organizations to auto-discover all projects and repositories in all current and future organizations you're a Project Collection Administrator in.
Note
Third-party application access via OAuth must be set to
Onon for each Azure DevOps Organization. Learn more about OAuth and how to enable it in your organizations.Since Azure DevOps repositories are onboarded at no extra cost, autodiscover is applied across the organization to ensure Defender for Cloud can comprehensively assess the security posture and respond to security threats across your entire DevOps ecosystem. Organizations can later be manually added and removed through Microsoft Defender for Cloud > Environment settings.
Select Next: Review and generate.
Review the information, and then select Create.


Note
To ensure proper functionality of advanced DevOps posture capabilities in Defender for Cloud, only one instance of an Azure DevOps organization can be onboarded to the Azure Tenant you're creating a connector in.
Upon successful onboarding, DevOps resources (e.g., repositories, builds) will be present within the Inventory and DevOps security pages. It might take up to 8 hours for resources to appear. Security scanning recommendations might require an additional step to configure your pipelines. Refresh intervals for security findings vary by recommendation and details can be found on the Recommendations page.
How Defender for Cloud uses your identity
After you authorize the connection, Defender for Cloud uses the permissions of the account that created the connector to run operations in Azure DevOps.
Operations such as repository inventory, build metadata reads, pull request annotations, and agentless code scanning all run under that identity. Agentless code scanning retrieves code and infrastructure-as-code definitions for analysis, and its API calls also count against the identity’s usage quotas.
In Azure DevOps, these operations appear as if they were performed by that account, and are visible in audit logs, usage dashboards, and PR timelines.
If the authorizing account is removed or loses access, automated operations will stop until the connector is re-authorized.
Note
Defender for Cloud API calls are included in the Azure DevOps global consumption limit for the identity that authorized the connector. Defender for Cloud manages API usage carefully to avoid exceeding limits, and most customers never experience throttling.
Next steps
Learn more about DevOps security in Defender for Cloud.
Configure the Microsoft Security DevOps task in your Azure Pipelines.
Explore agentless code scanning to detect code and IaC vulnerabilities across your repositories without pipeline changes or agents, with findings surfaced directly in Defender for Cloud.