Tutorial: Analyze an IoT/OT firmware image
This tutorial describes how to use Defender for IoT's Firmware analysis page to upload a firmware image for security analysis and view analysis results.
Note
The Defender for IoT Firmware analysis page is in PREVIEW. The Azure Preview Supplemental Terms include other legal terms that apply to Azure features that are in beta, preview, or otherwise not yet released into general availability.
Prerequisites
Note
The Defender for IoT Firmware analysis feature is automatically available if you currently access Defender for IoT using the Security Admin, Contributor, or Owner role. If you only have the Security Reader role or want to use Firmware analysis as a standalone feature, then your Admin must give the Firmware Analysis Admin role. For additional information, please see Defender for IoT Firmware Analysis Azure RBAC.
- If you don't have an Azure subscription, create a free account before you begin.
- If you have a subscription but don't have a resource group where you could upload your firmware images, create a resource group.
- If you already have a subscription and resource group, move on to the next section.
To use the Firmware analysis page to analyze your firmware security, your firmware image must have the following prerequisites:
You must have access to the compiled firmware image.
Your image must be an unencrypted, Linux-based firmware image.
Your image must be less than 5 GB in size.
Onboard your subscription to use Defender for Firmware Analysis
Note
To onboard a subscription to use Defender for Firmware analysis, you must be an Owner, Contributor, Firmware Analysis Admin, or Security Admin at the subscription level. To learn more about roles and their capabilities in Defender for Firmware Analysis, visit Defender for IoT Firmware Analysis Roles, Scopes, and Capabilities.
If this is your first interaction with Firmware analysis, then you'll need to onboard your subscription to the service and select a region in which to upload and store your firmware images.
Sign into the Azure portal and go to Defender for IoT.
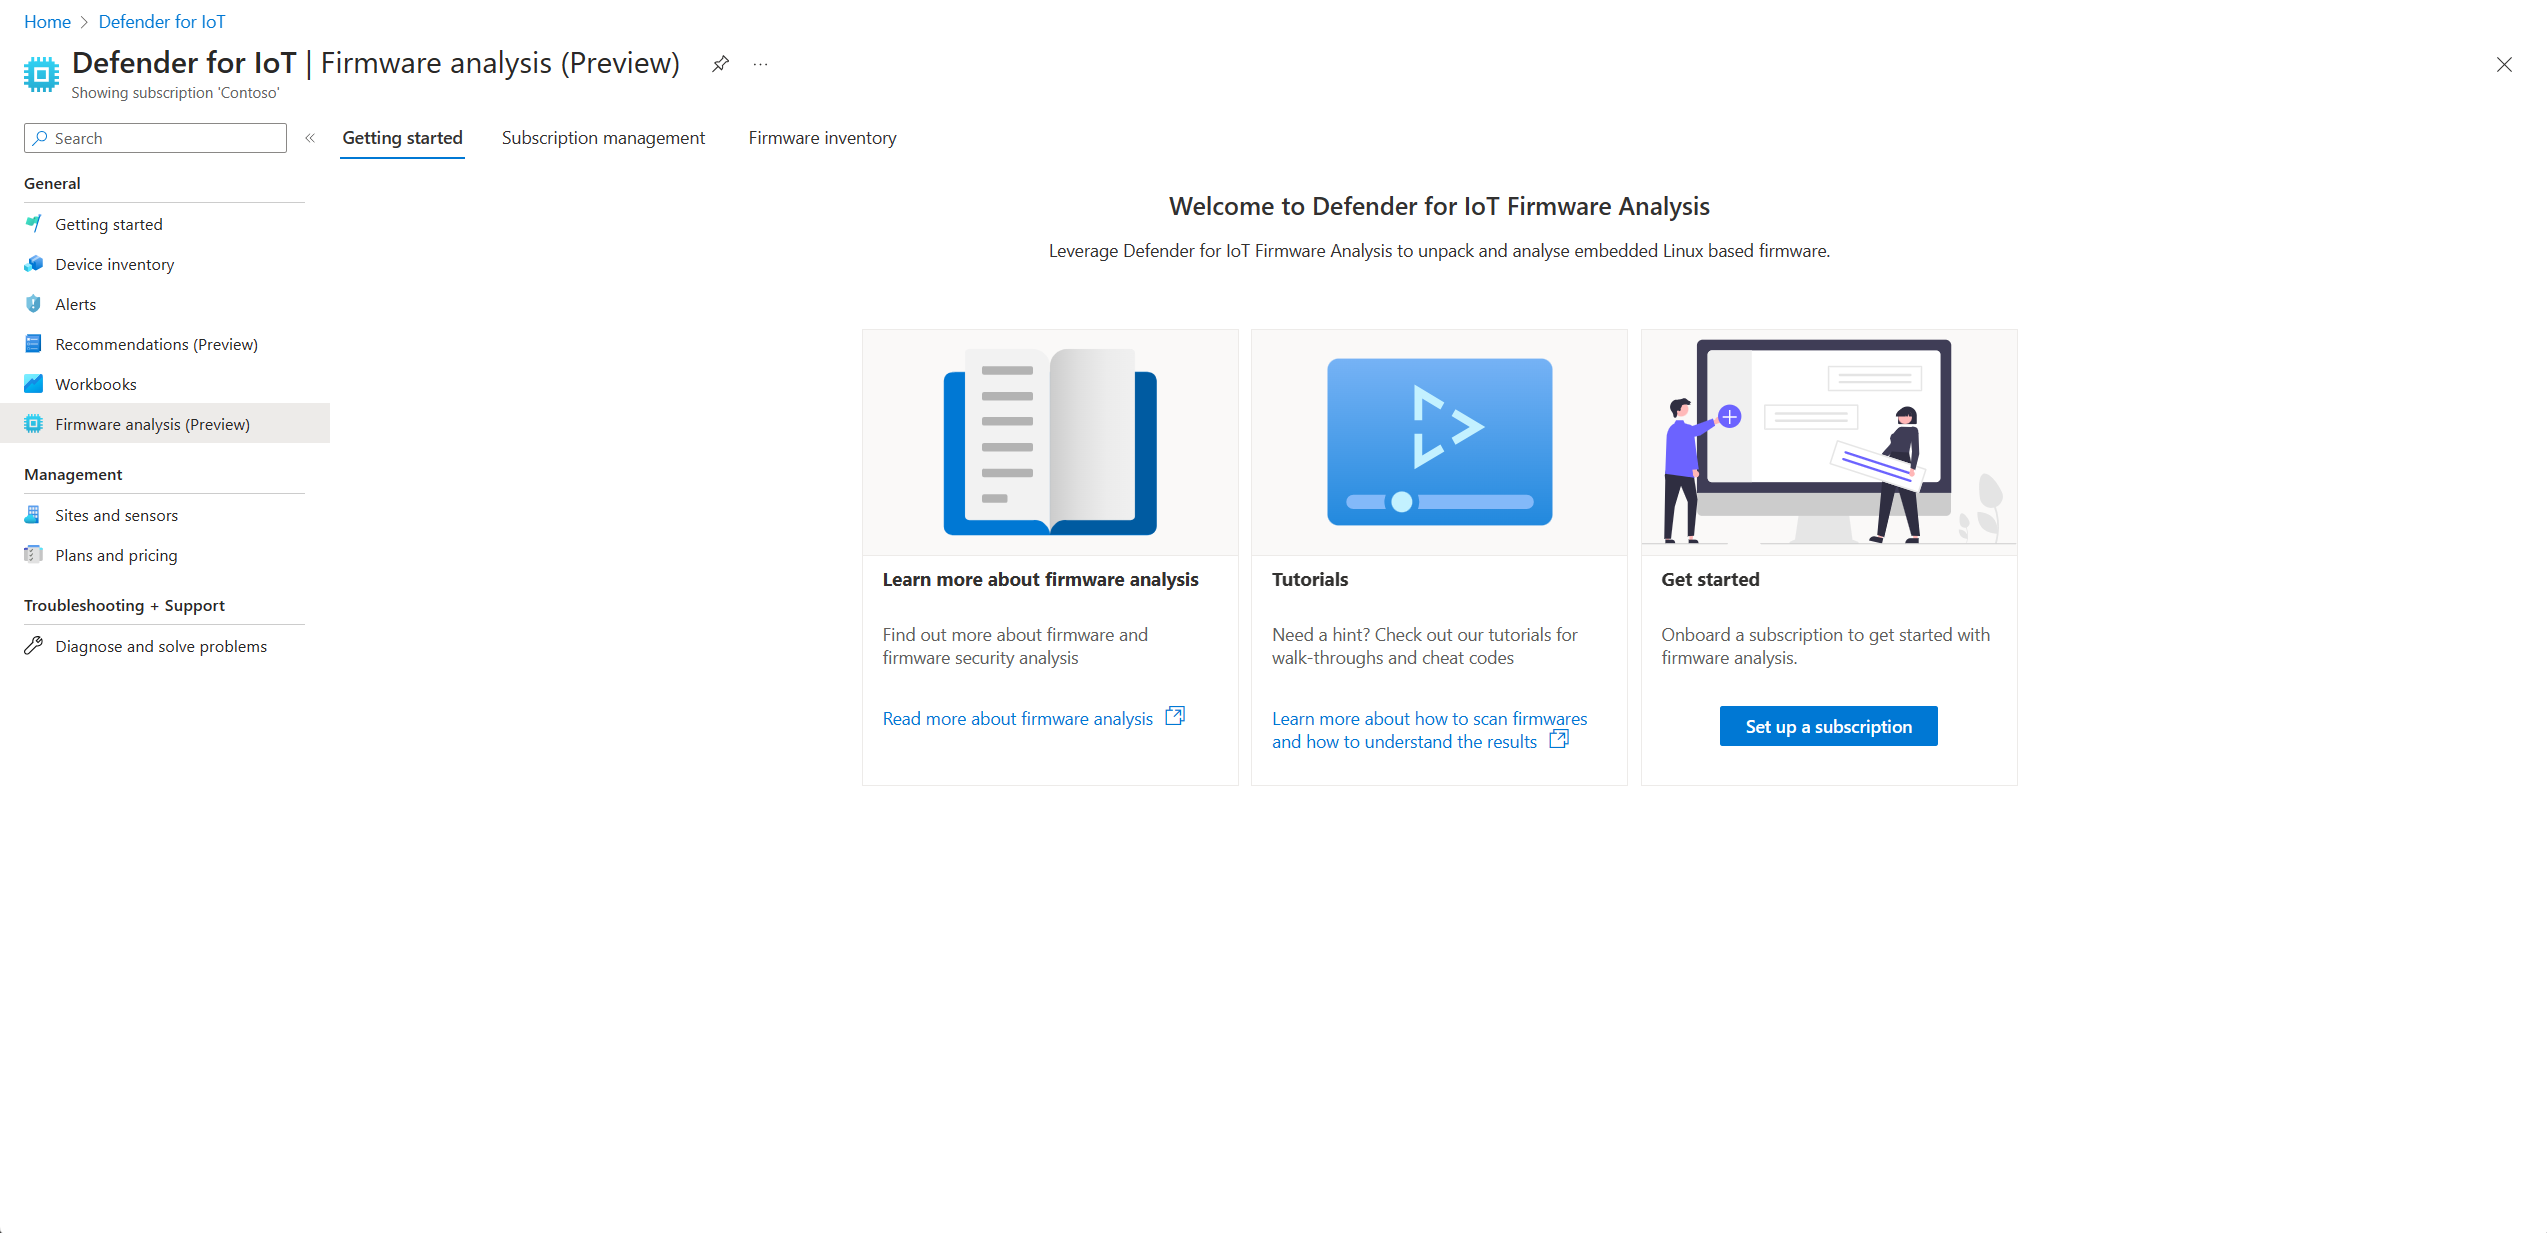
Select Set up a subscription in the Get Started card, or select the Subscription management subtab.
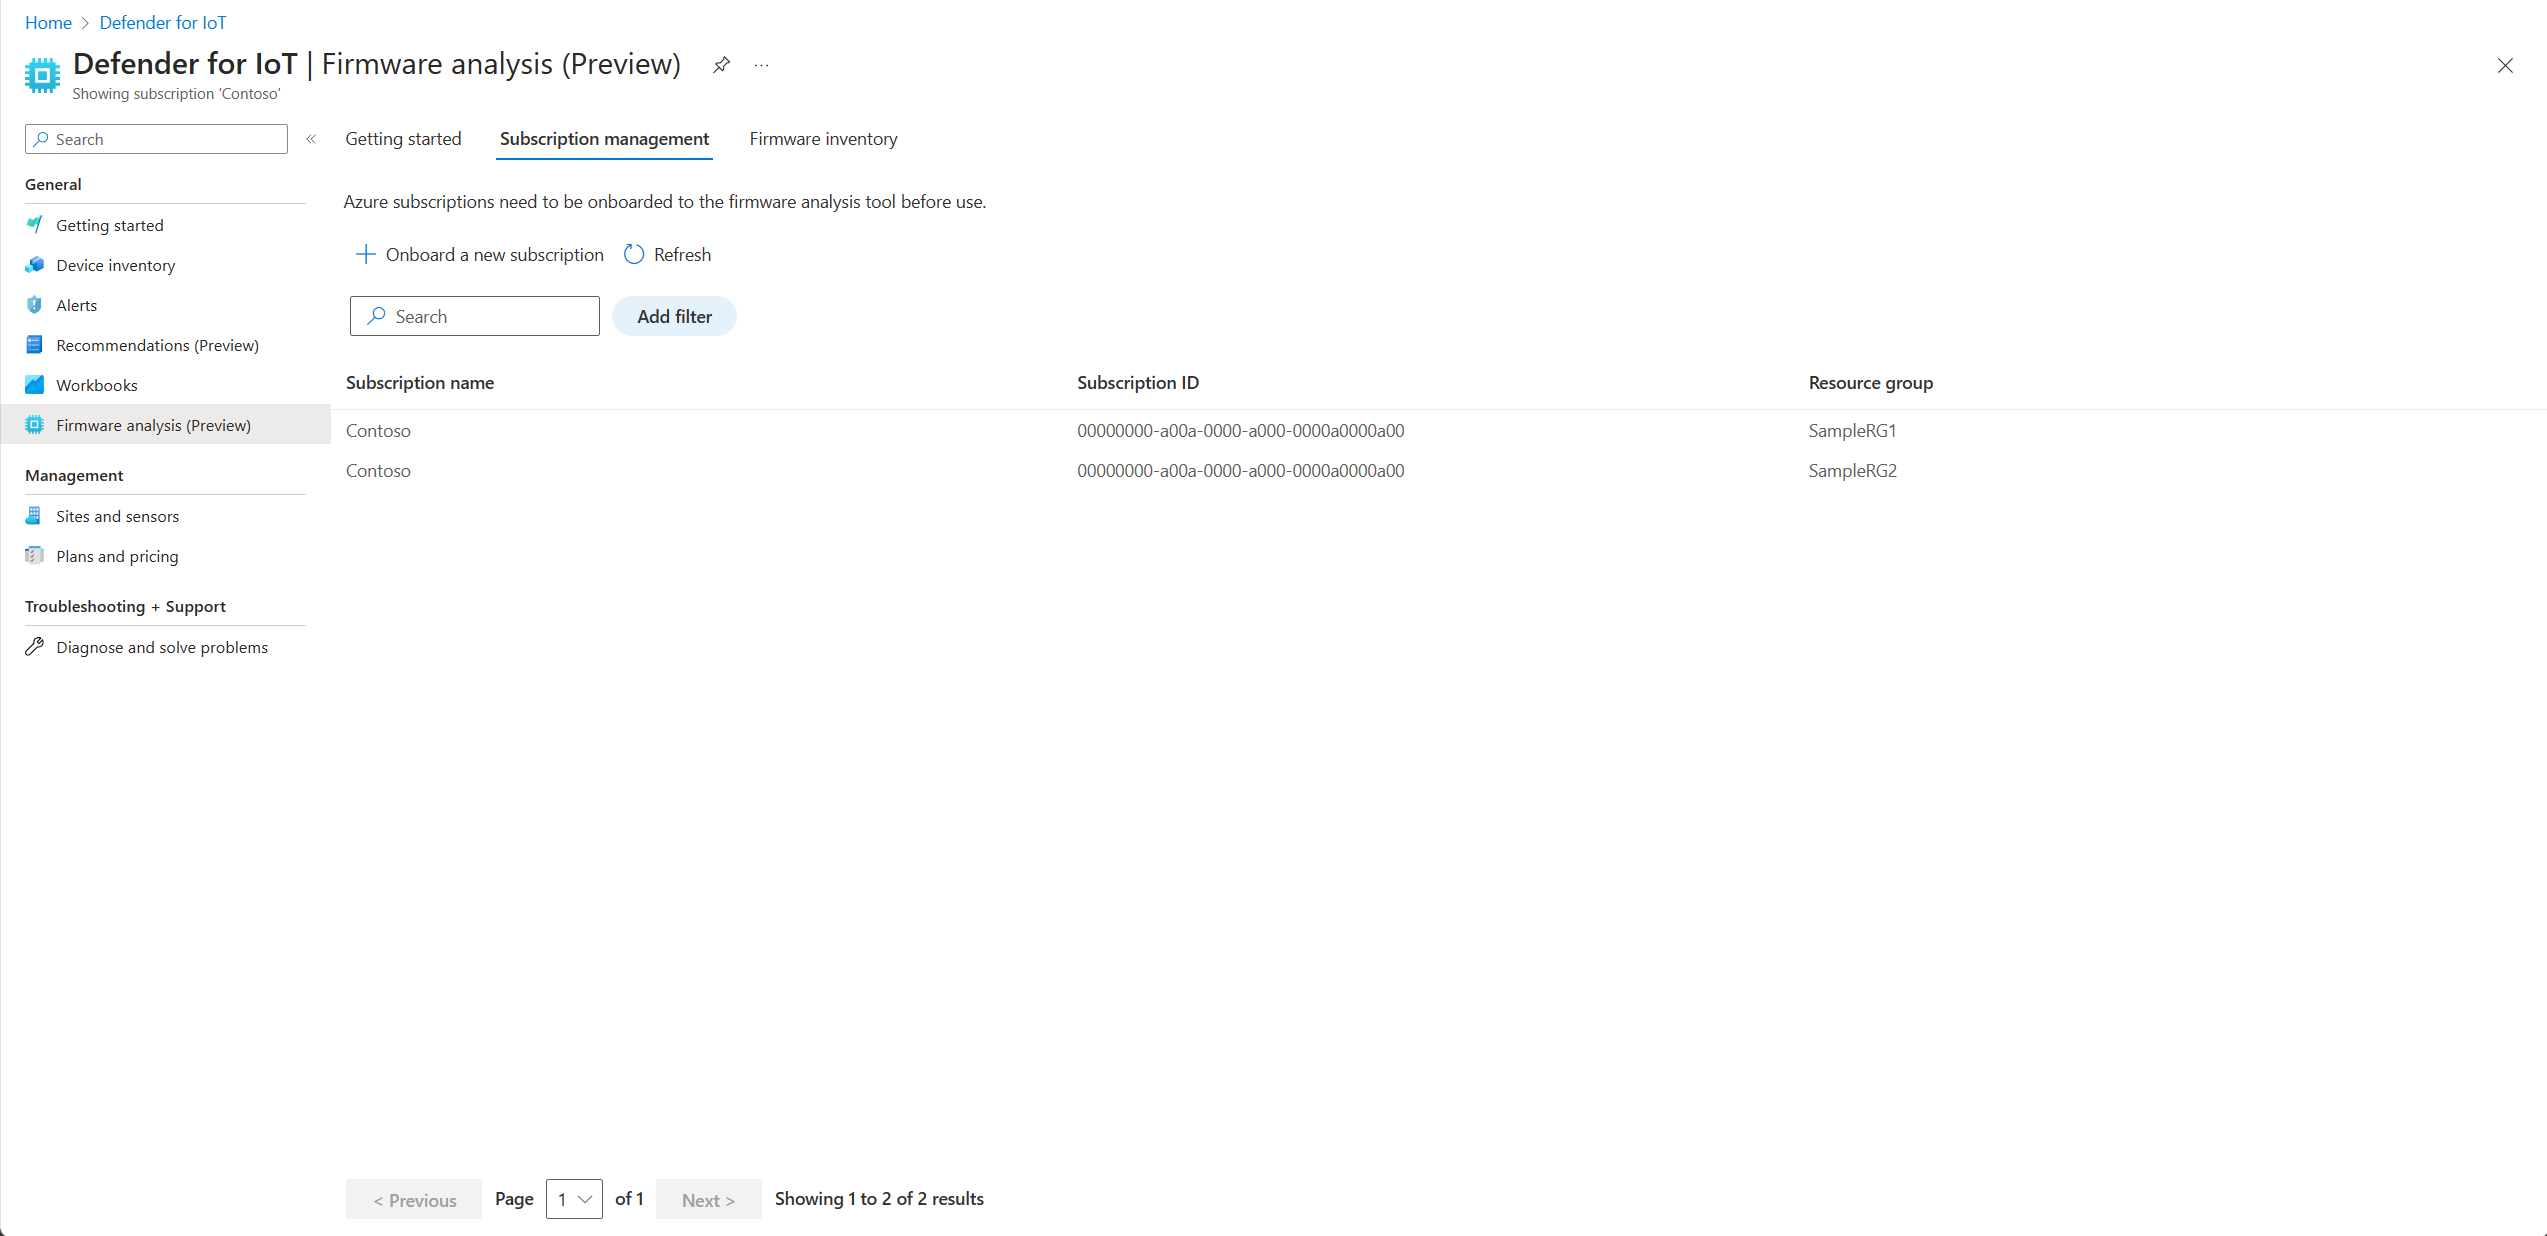
Select Onboard a new subscription
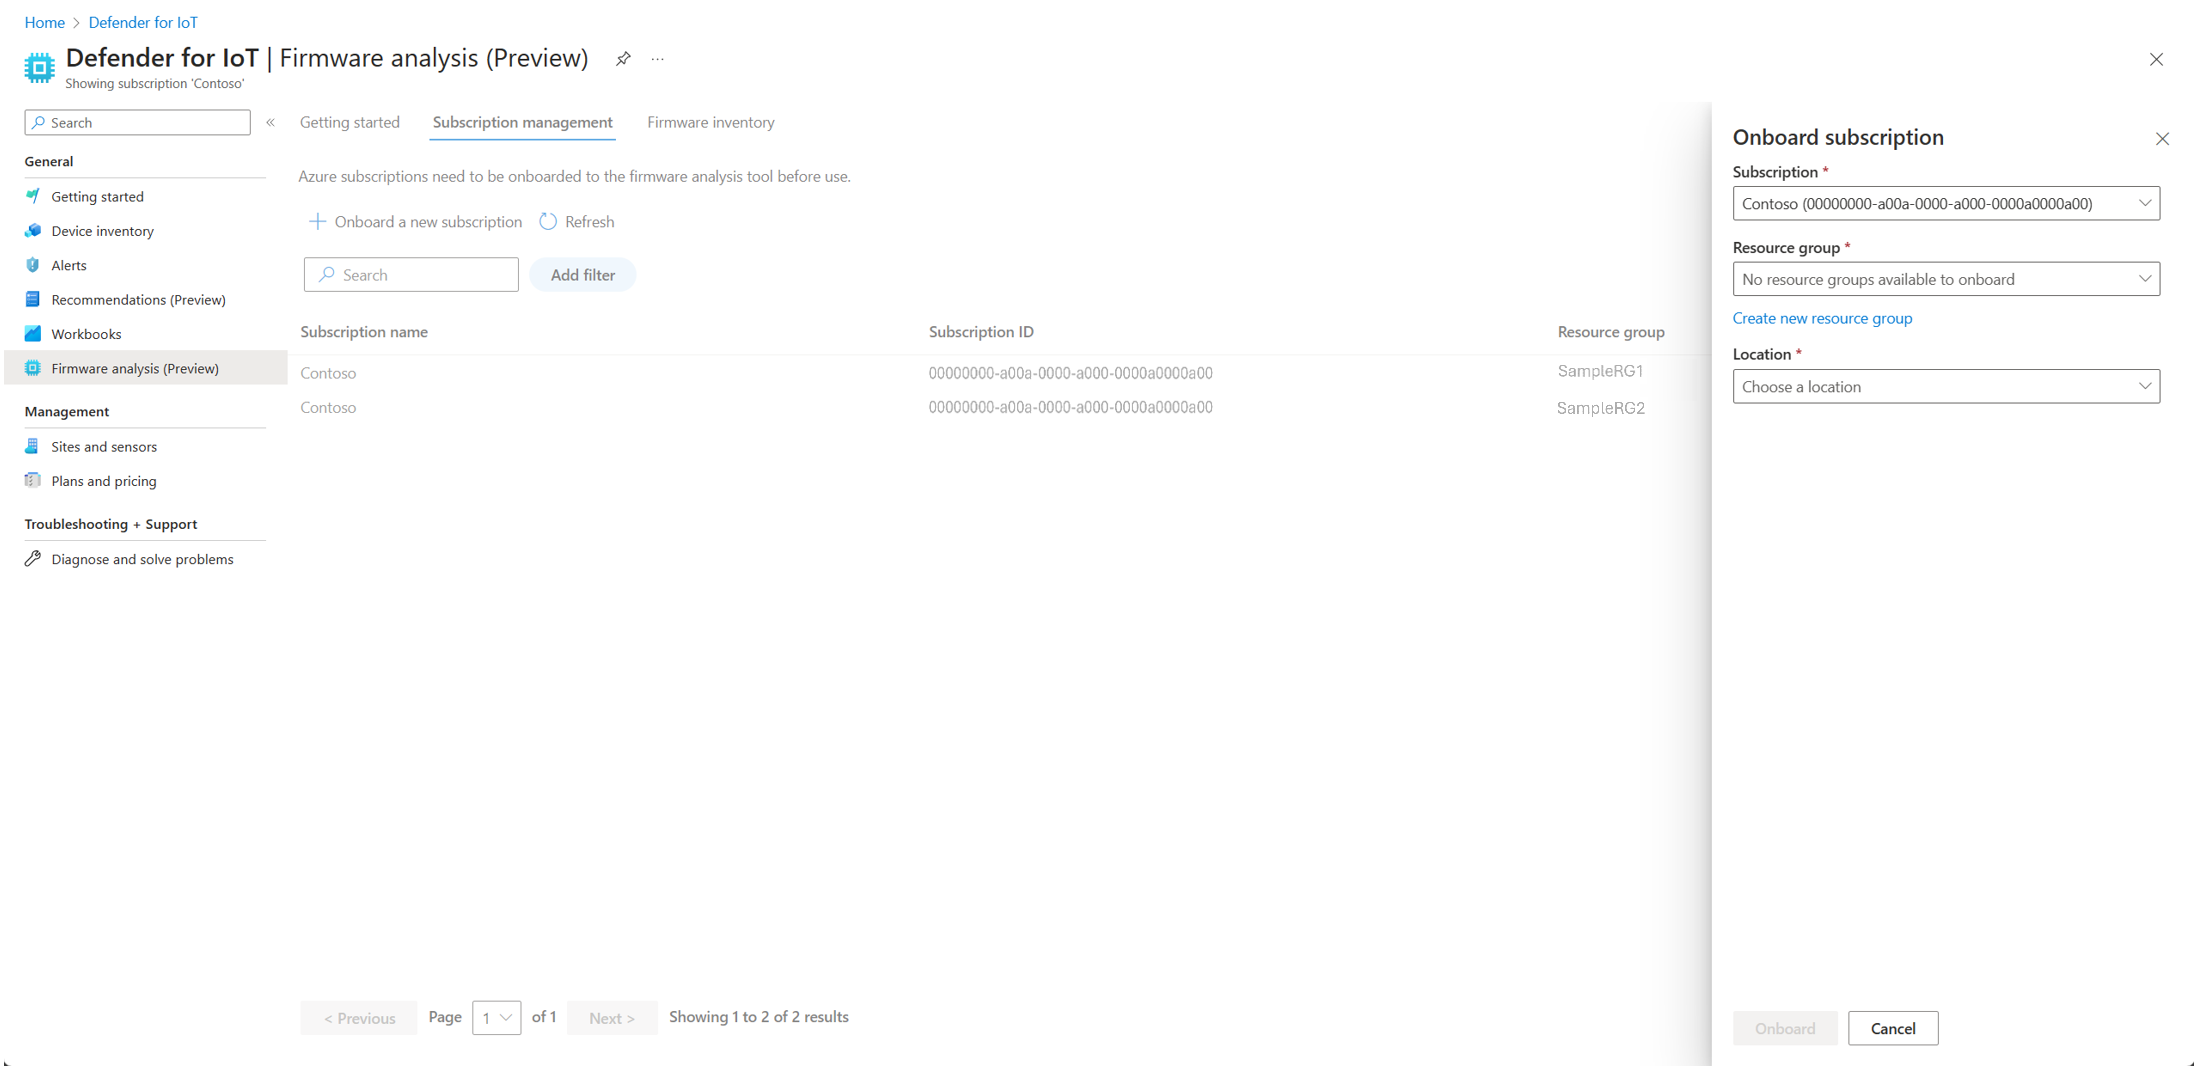
In the Onboard subscription pane, select a subscription from the drop-down list.
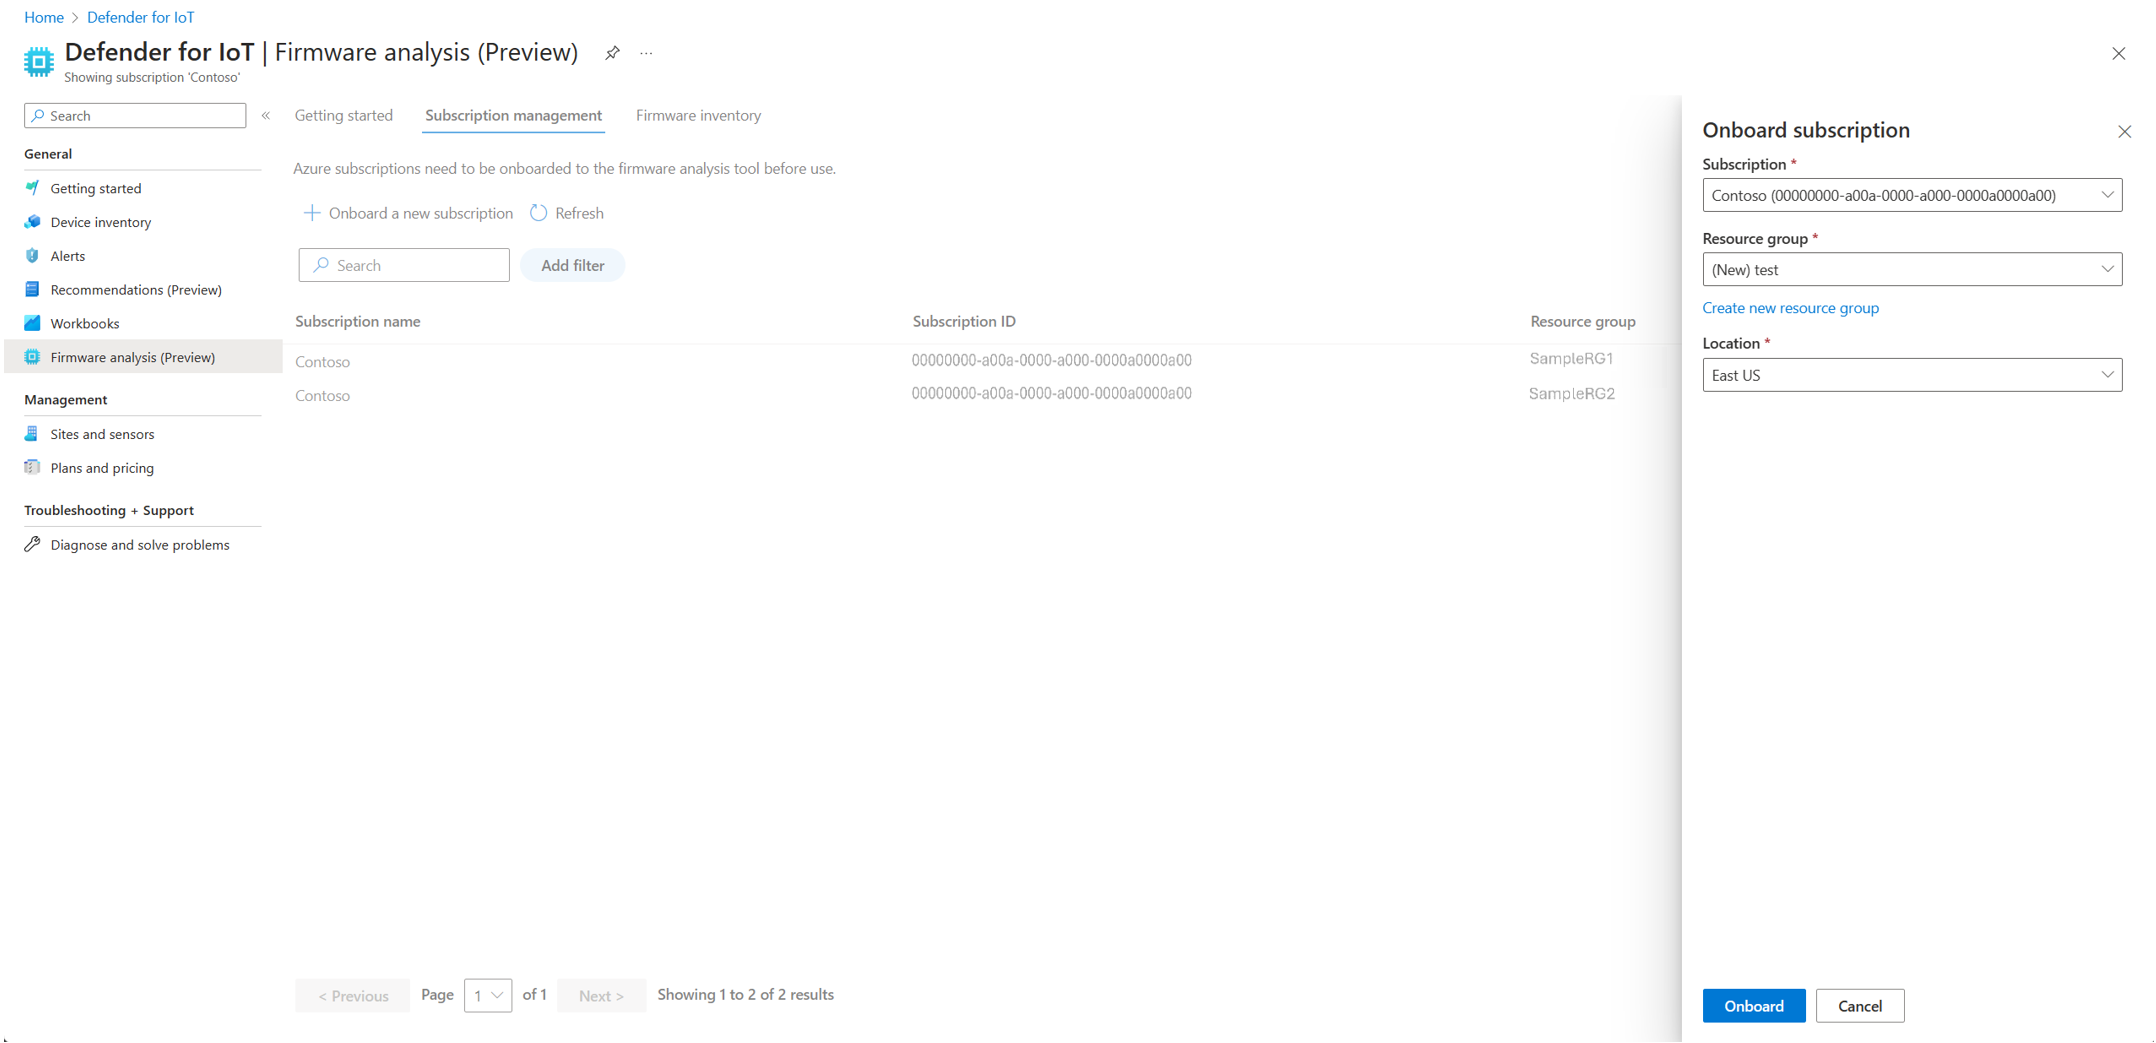
Select a resource group from the Resource group drop-down or create a new resource group.
Select a region to use for storage in the Location drop-down.
Select Onboard to onboard your subscription to Defender for Firmware Analysis.


Upload a firmware image for analysis
If you've just onboarded your subscription, are signed into the Azure portal, and already in the Defender for IoT portal, skip to step two.
Sign into the Azure portal and go to Defender for IoT.
Select Firmware analysis > Firmware inventory > Upload.
In the Upload a firmware image pane, select Choose file. Browse to and select the firmware image file you want to upload.
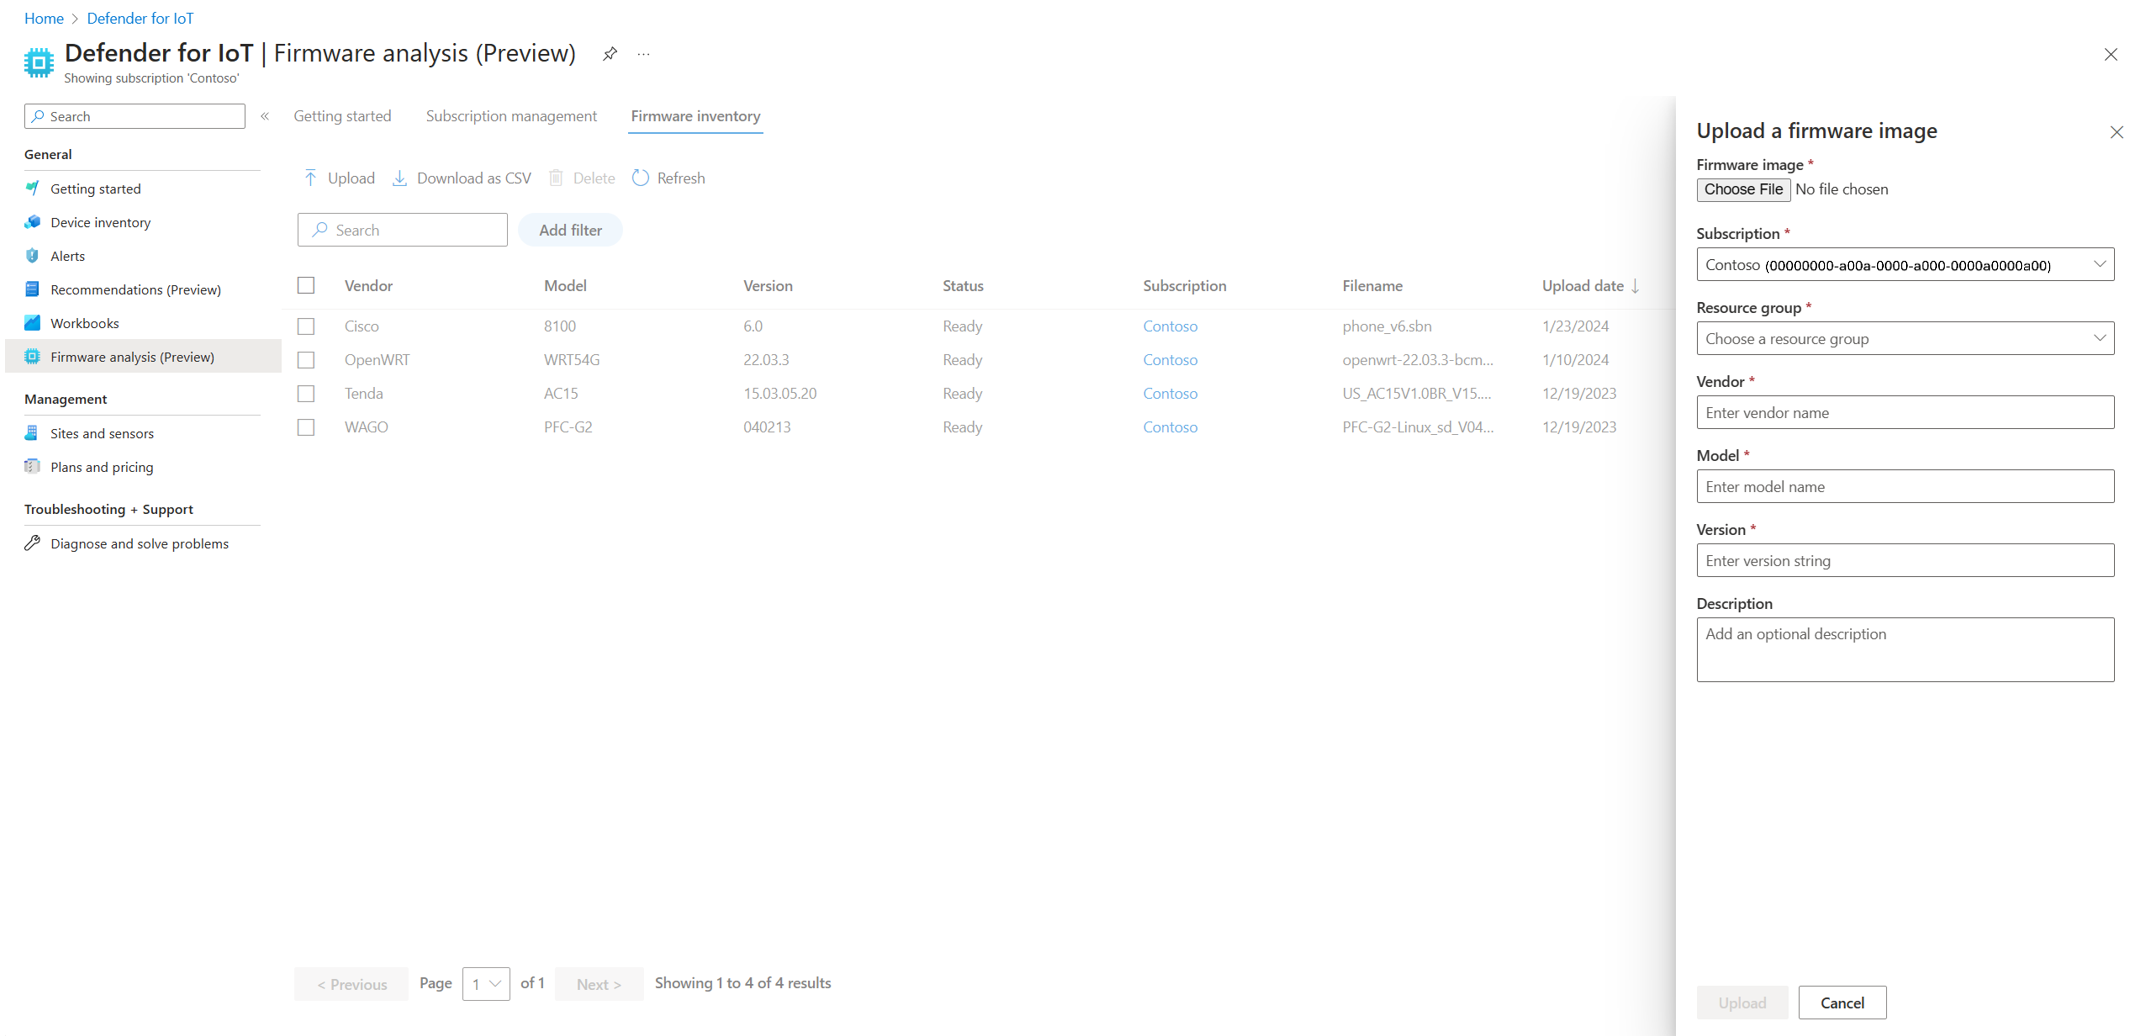
Select a Subscription that you have onboarded onto Defender for IoT Firmware Analysis. Then select a Resource group that you would like to upload your firmware image to.
Enter the following details:
- The firmware's vendor
- The firmware's model
- The firmware's version
- An optional description of your firmware
Select Upload to upload your firmware for analysis.
Your firmware appears in the grid on the Firmware inventory page.

View firmware analysis results
The analysis time will vary based on the size of the firmware image and the number of files discovered in the image. While the analysis is taking place, the status will say Extracting and then Analyzing. When the status is Ready, you can see the firmware analysis results.
Sign into the Azure portal and go to Microsoft Defender for IoT > Firmware analysis > Firmware inventory.
Select the row of the firmware you want to view. The Firmware overview pane shows basic data about the firmware on the right.
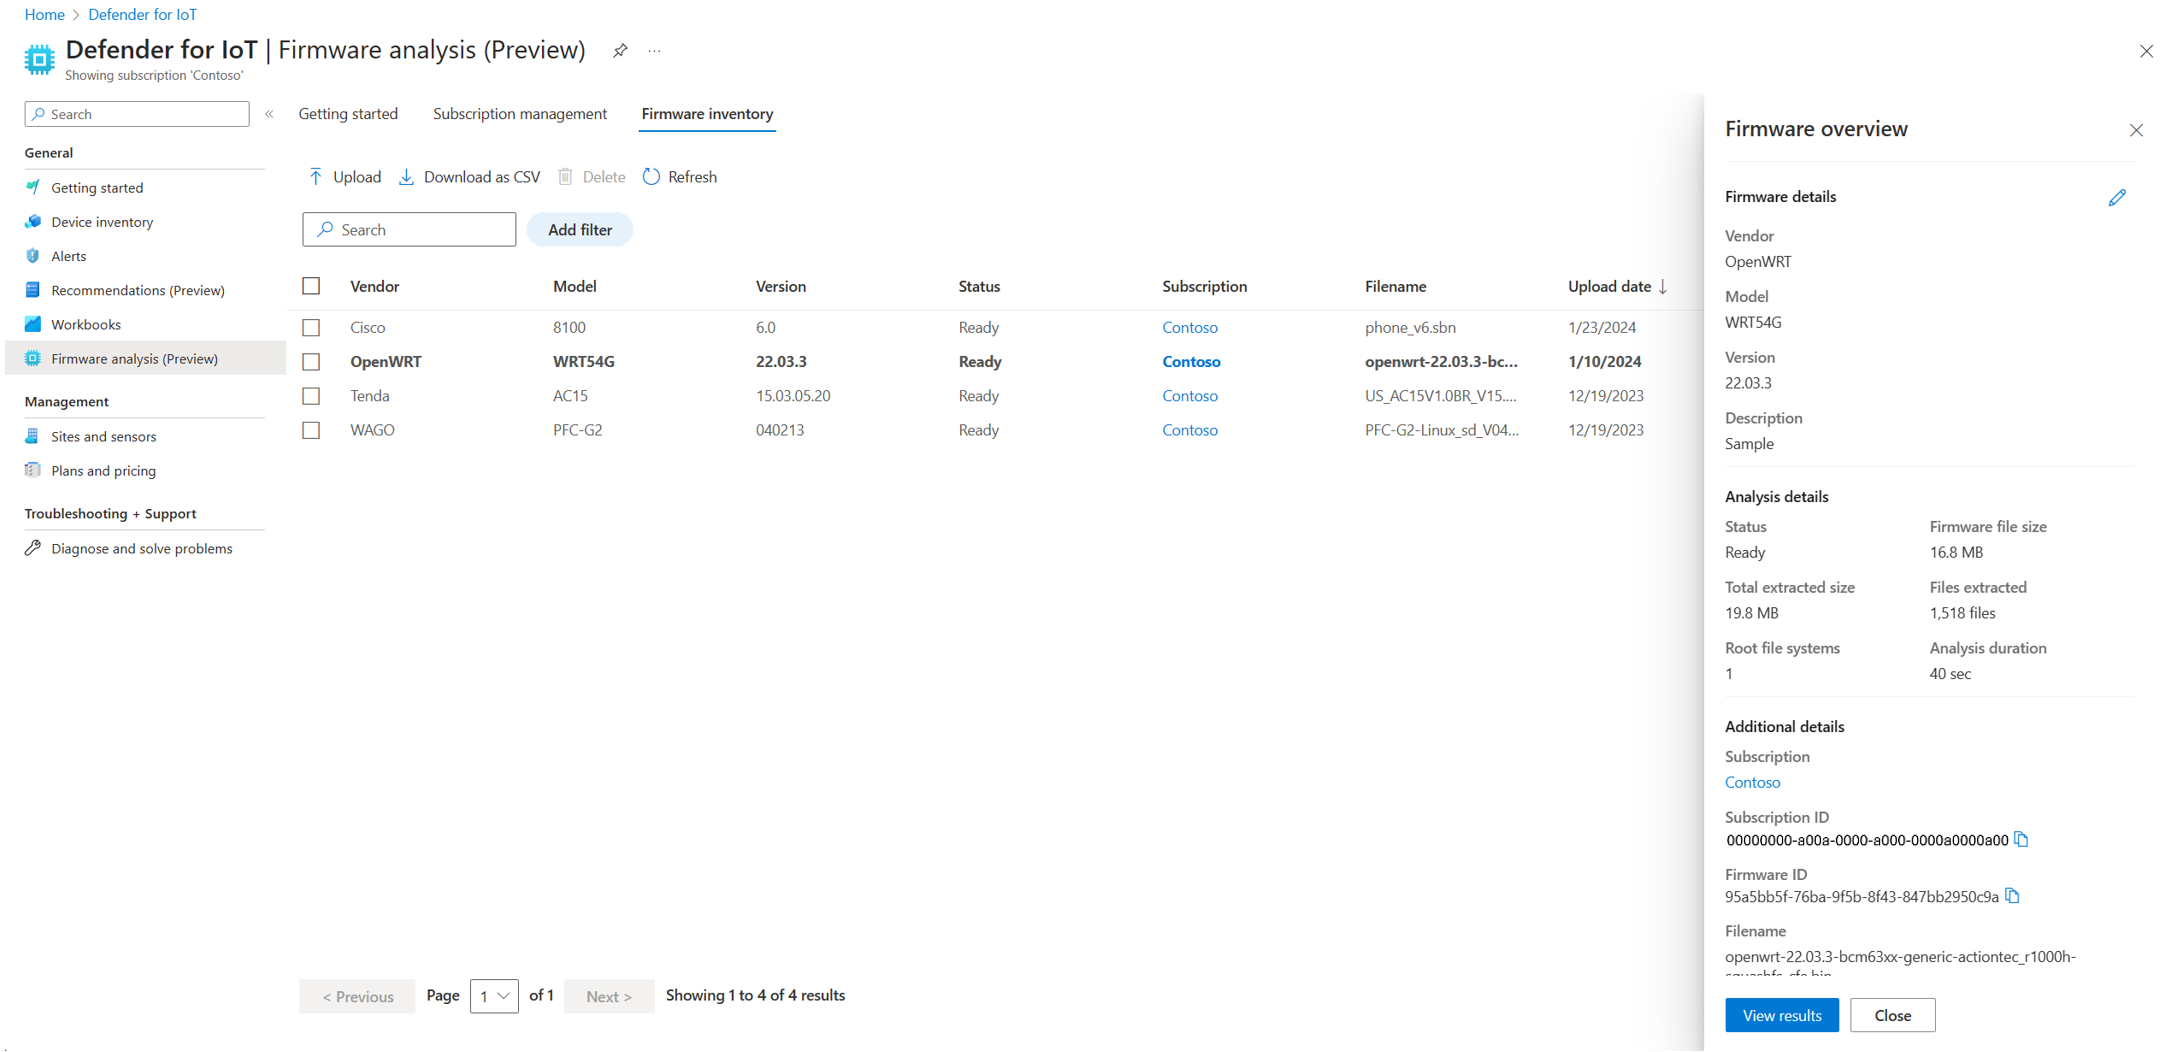
Select View results to drill down for more details.
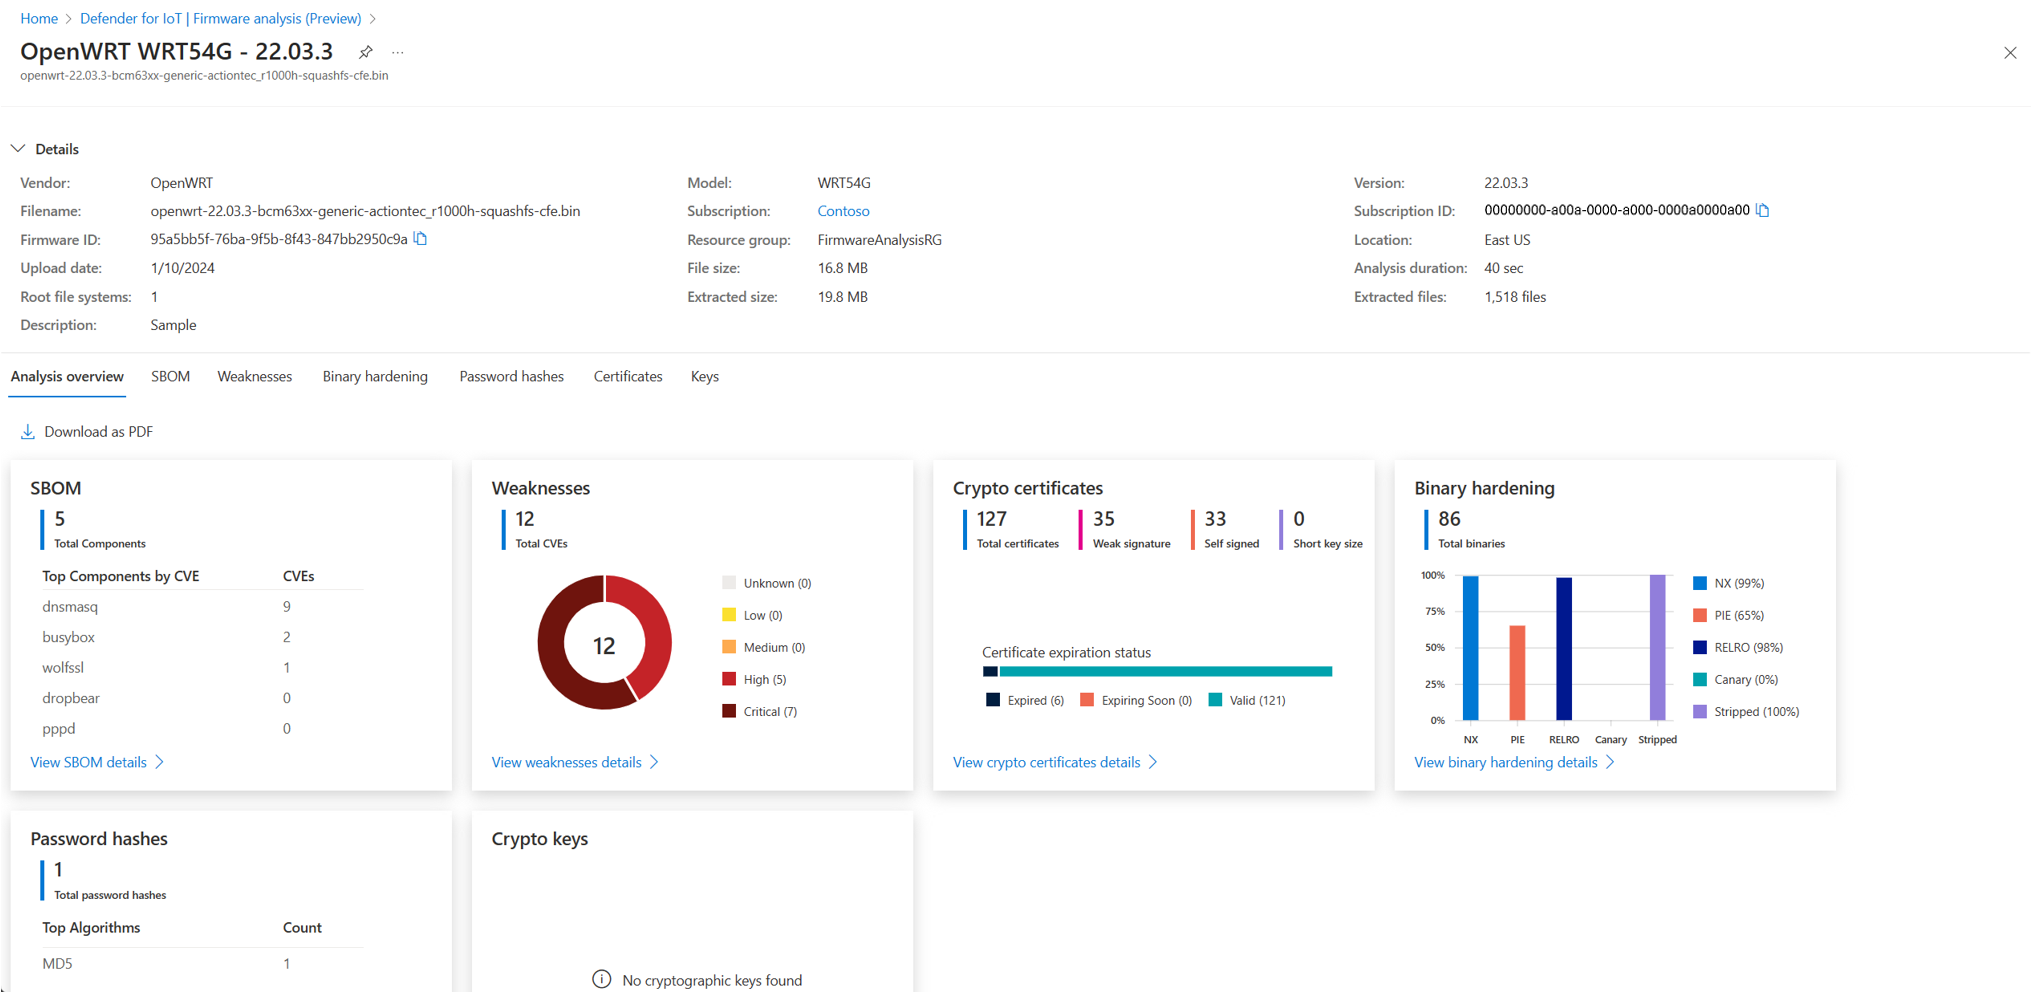
The firmware details page shows security analysis results on the following tabs:
Name Description Overview View an overview of all of the analysis results. Software Components View a software bill of materials with the following details:
- A list of open source components used to create firmware image
- Component version information
- Component license
- Executable path of the binaryWeaknesses View a listing of common vulnerabilities and exposures (CVEs).
Select a specific CVE to view more details.Binary Hardening View if executables compiled using recommended security settings:
- NX
- PIE
- RELRO
- CANARY
- STRIPPED
Select a specific binary to view more details.Password Hashes View embedded accounts and their associated password hashes.
Select a specific user account to view more details.Certificates View a list of TLS/SSL certificates found in the firmware.
Select a specific certificate to view more details.Keys View a list of public and private crypto keys in the firmware.
Select a specific key to view more details.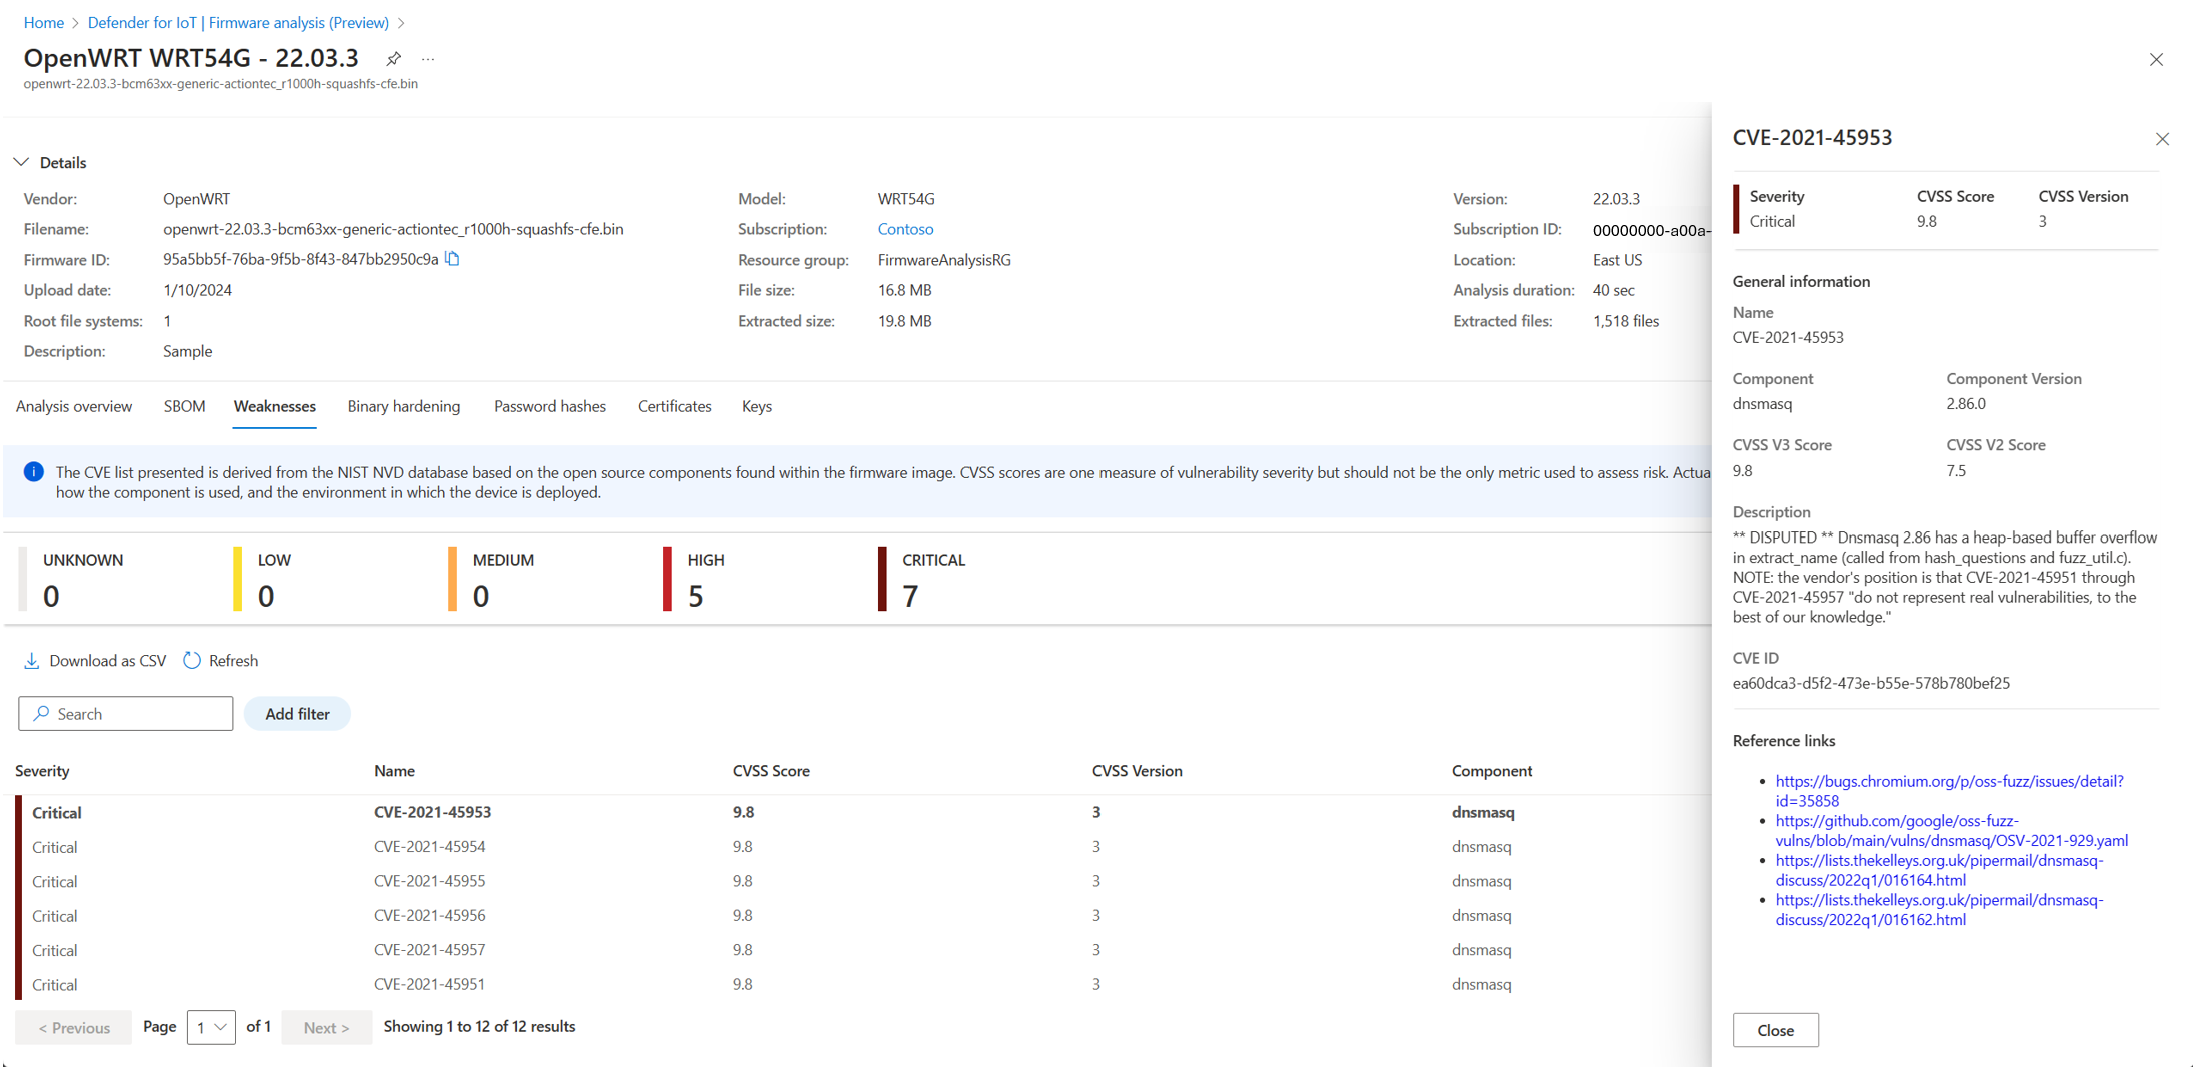


Delete a firmware image
Delete a firmware image from Defender for IoT when you no longer need it analyzed.
After you delete an image, there's no way to retrieve the image or the associated analysis results. If you need the results, you'll need to upload the firmware image again for analysis.
To delete a firmware image:
- Select the checkbox for the firmware image you want to delete and then select Delete.
Next steps
For more information, see Firmware analysis for device builders.
To use the Azure CLI commands for Defender for IoT Firmware Analysis, refer to the Azure CLI Quickstart, and see Azure PowerShell Quickstart to use the Azure PowerShell commands. See Quickstart: Upload firmware using Python to run a Python script using the SDK to upload and analyze firmware images.
Visit FAQs about Defender for IoT Firmware Analysis for answers to frequent questions.
Feedback
Coming soon: Throughout 2024 we will be phasing out GitHub Issues as the feedback mechanism for content and replacing it with a new feedback system. For more information see: https://aka.ms/ContentUserFeedback.
Submit and view feedback for