Note
Access to this page requires authorization. You can try signing in or changing directories.
Access to this page requires authorization. You can try changing directories.
In this article, you learn how to manage environments in Azure Deployment Environments (ADE). As a developer, you can create and manage your environments from the developer portal or by using the Azure CLI.
In Azure Deployment Environments, a platform engineer gives developers access to projects and the environment types that are associated with them. After a developer has access, they can create deployment environments based on the preconfigured environment types. The permissions are defined in the specific environment type.
Prerequisites
- Access to a project that has at least one environment type.
- The Deployment Environments User role, the DevCenter Project Admin role, or a built-in role that has the required permissions to create an environment.
Create an environment by using the developer portal
The developer portal provides a graphical interface for development teams to create new environments and manage existing environments in Azure Deployment Environments. You can create, redeploy, and delete your environments as needed in the developer portal.
When you create a deployment environment, ADE uses the environment definition to define the resources for your environment and creates a resource group to store them.
To create a deployment environment in the developer portal, follow these steps:
Sign in to the developer portal.
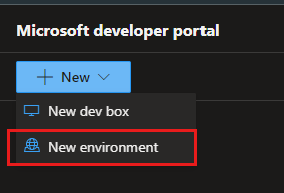
On the New menu at the top right, select New environment.
In the Add an environment pane, enter or select the following information:
Field Value Name Enter a descriptive name for your environment. Project Select the project you want to create the environment in. If you have access to more than one project, you see a list of the available projects. Type Select the environment type you want to create. If you have access to more than one environment type, you see a list of the available types. Environment definitions Select the environment definition you want to use to create the environment. You see a list of the environment definitions available in the catalogs associated with your dev center. 
If your environment is configured to accept parameters, you can enter them on a separate pane.

Select Create. The environment tile is shown in the developer portal immediately, displaying the Creating... status while creation is in progress.
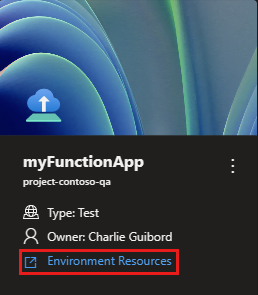
To view the resources that were created for the environment, select Environment Resources.
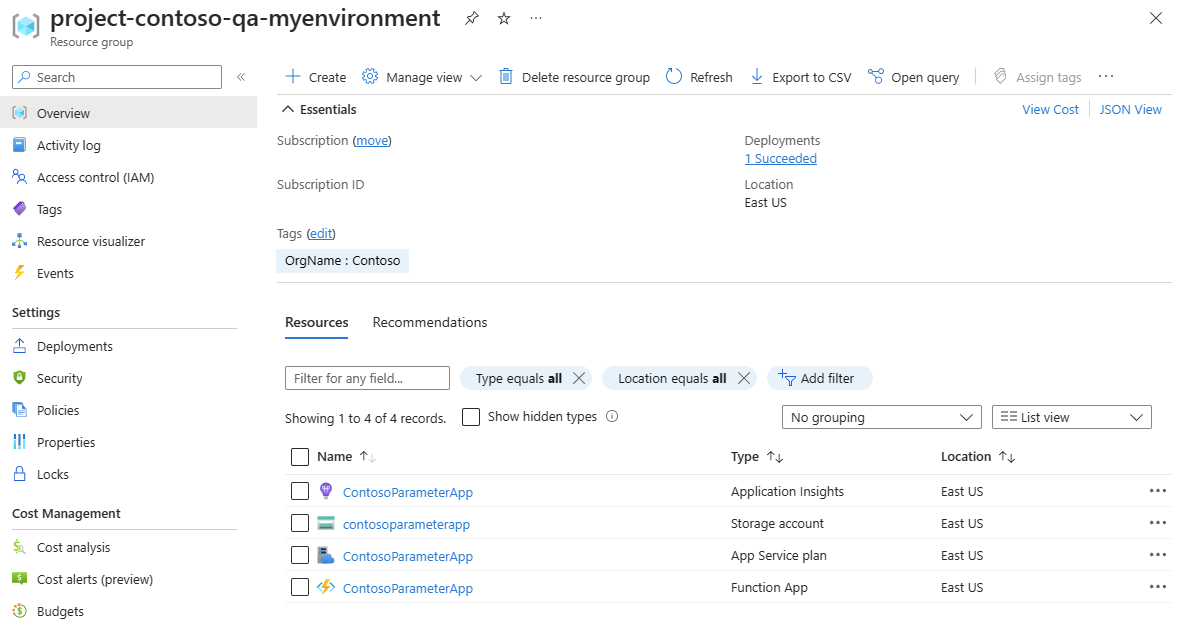
You can view the resources in your environment listed in the Azure portal.


Redeploy an environment by using the developer portal
When you need to update your deployment environment, you can redeploy it. The redeployment process updates any existing resources with changed properties or creates any new resources based on the latest configuration of the environment definition.
Sign in to the developer portal.
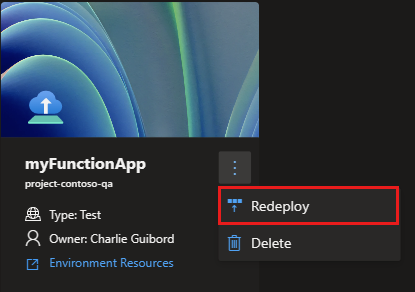
On the environment you want to redeploy, select the options menu next to the environment name, then choose Redeploy.
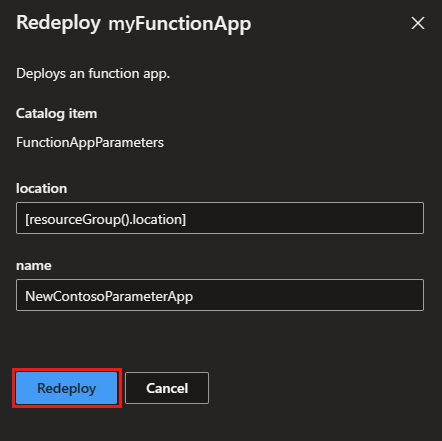
If parameters are defined on the environment definition, you're prompted to make any changes you want to make. After you make your changes, select Redeploy.
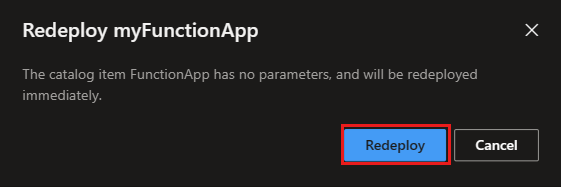
If your environment doesn't include configurable parameters, you see the Redeploy <environment name> message. Select Redeploy.
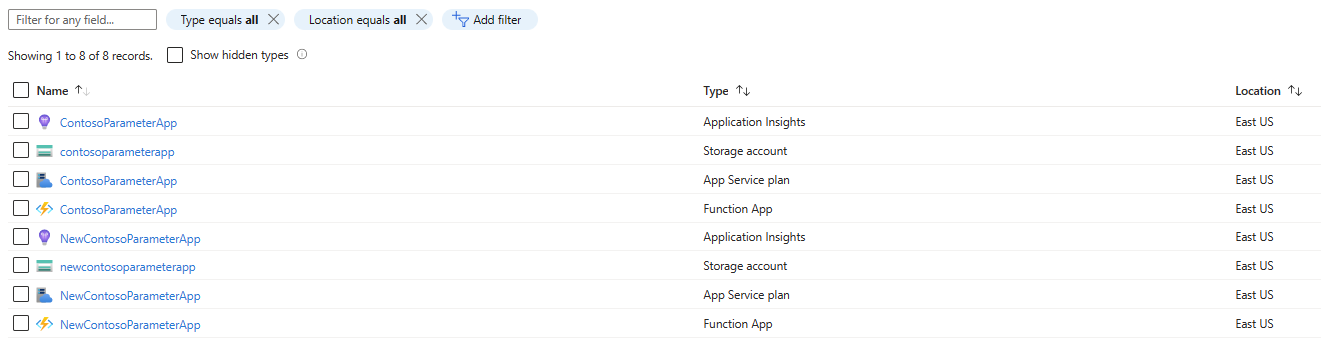
The environment displays the Redeploying... status while the redeployment takes place. To view the redeployed resources, select Environment Resources.
The environment resources are displayed in the Azure portal.


Delete an environment by using the developer portal
You can delete your deployment environment completely when you don't need it anymore. ADE uses the resource group and environment definition to identify and delete the resources created for the deployment environment.
Sign in to the developer portal.
On the environment you want to redeploy, select the options menu next to the environment name, then choose Delete.
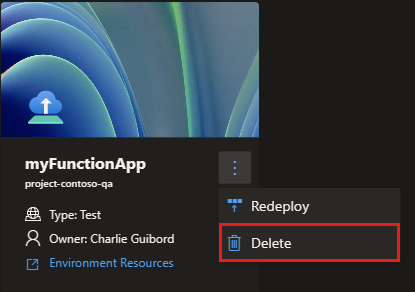
In the confirmation message, select Delete
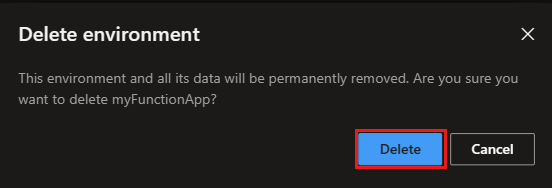
The environment tile displays the status Deleting... while the deletion is in progress.


Force delete an environment
An attempt to delete a deployment environment might fail due to issues like the environment definition being missing or inaccessible. It can also fail if the Azure Container Registry (ACR) that holds a custom runner isn't available, if Azure Deployment Environments (ADE) can't access the runner, or if updates cause the runner to function incorrectly.
If the deletion fails, you can forcibly delete the environment. Force delete deletes the environment, its deployment resource group, and all resources in the deployment resource group. Any resources created outside the resource group are orphaned; force delete doesn't delete them.
To forcibly delete an environment from the CLI, follow these steps:
Open the CLI.
Run the following command to forcibly delete the environment:
az devcenter dev environment delete --name <environment-name> --dev-center <dev-center-name> --project-name <project-name> --forceReplace
<environment-name>with the name of the environment you want to delete,<dev-center-name>with the name of your dev center, and<project-name>with the name of the project that the environment belongs to.
For more information about the az devcenter dev environment delete command, see az devcenter dev environment delete.
Important
The force delete feature is currently in PREVIEW. For more information about the preview status, see the Supplemental Terms of Use for Microsoft Azure Previews. The document defines legal terms that apply to Azure features that are in beta, preview, or otherwise not yet released into general availability.
Manage an environment by using the Azure CLI
The Azure CLI provides a command-line interface for speed and efficiency when you create multiple similar environments, or for platforms where resources like memory are limited. You can use the devcenter Azure CLI extension to create, list, deploy, or delete an environment in Azure Deployment Environments.
To learn how to manage your environments by using the CLI, see Create and access an environment by using the Azure CLI.
For reference documentation about the devcenter Azure CLI extension, see az devcenter.