Note
Access to this page requires authorization. You can try signing in or changing directories.
Access to this page requires authorization. You can try changing directories.
In this article, you learn how to set an expiration, or end date for a deployment environment. On the expiration date, Azure Deployment Environments automatically deletes the environment and all its resources. If your timeline changes, you can change the expiration date.
Working with many deployment environments across multiple projects can be challenging. Scheduled deletion helps you manage your environments by automatically deleting them on a specific date at a specific time. Using automatic expiry and deletion helps you keep track of your active and inactive environments and helps you avoid paying for environments that you no longer need.
As a developer, you can view and schedule the expiration dates for your environment through the developer portal. You can schedule an environment for deletion when you create it, or at a later time. You can also change the expiration date and time for an environment that you created.
Deployment Environments provides platform engineers with a centralized way of viewing and managing deletion schedules for environments in Azure portal. As as user with Project Admin permissions, you can schedule any environment in your project for deletion, regardless of who created it. You can also change the expiration date and time for any environment in your project.
Prerequisites
- To schedule your own environment for automatic deletion, you must have the Deployment Environments User role.
- To schedule any environment in your project for automatic deletion, you must have the DevCenter Project Admin role.
Add an environment
Schedule an expiration date and time as you create an environment through the developer portal.
Sign in to the developer portal.
From the New menu at the top left, select New environment.
In the Add an environment pane, select the following information:
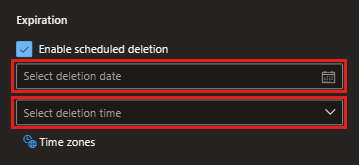
Field Value Name Enter a descriptive name for your environment. Project Select the project you want to create the environment in. If you have access to more than one project, you see a list of the available projects. Type Select the environment type you want to create. If you have access to more than one environment type, you see a list of the available types. Definition Select the environment definition you want to use to create the environment. You see a list of the environment definitions available from the catalogs associated with your dev center. Expiration Select Enable scheduled deletion. 
If your environment is configured to accept parameters, you're able to enter them on a separate pane. In this example, you don't need to specify any parameters.
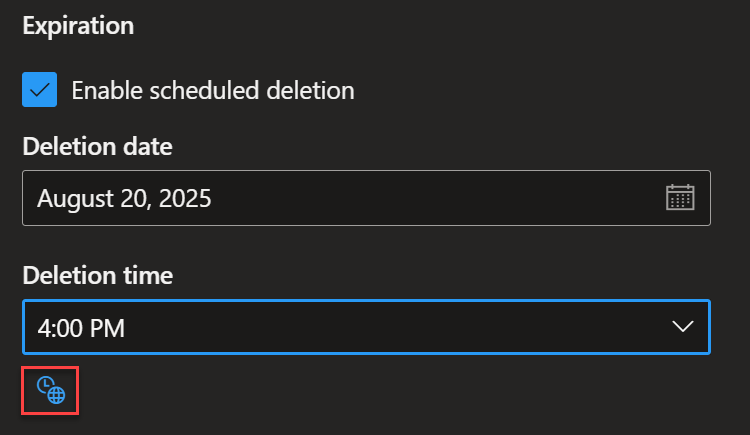
Under Expiration, select a deletion date, and then select a deletion time. The date and time you select is the date and time that the environment and all its resources are deleted. If you want to change the date or time, you can do so later.
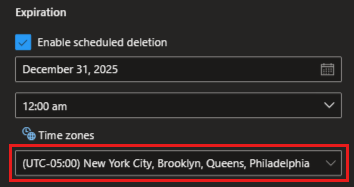
You can also specify a time zone for the expiration date and time. Select Time zones to see a list of time zones.
Make sure that the time zone reflects the time zone you want to use for the expiration date and time. Select the time zone you want to use.
Select Create. You see your environment in the developer portal immediately, with an indicator that shows creation in progress.


Change an environment expiration date and time
Plans change, projects change, and timelines change. If you need to change the expiration date and time for an environment, you can do so in the developer portal.
Sign in to the developer portal.
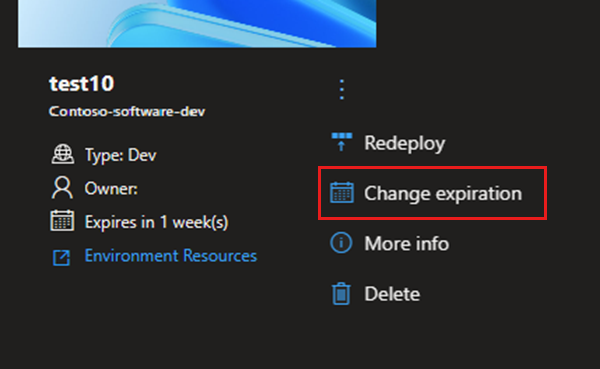
On the environment you want to change, select the Actions menu, and then select Change expiration.
In Change expiration, you can change any of the following options:
- Clear Enable scheduled deletion to disable scheduled deletion.
- Select a new date for expiration.
- Select a new time for expiration.
- Select a new time zone for expiration.
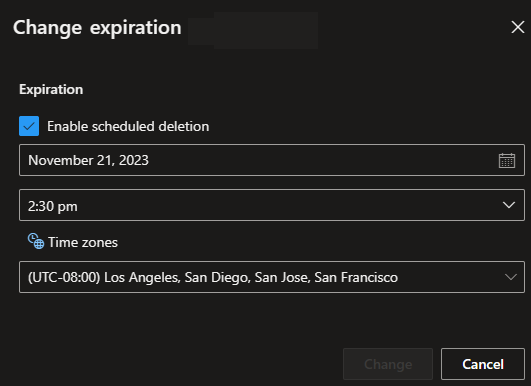
When you've set the new expiration date and time, select Change.


Schedule an environment for deletion as a project admin
Developers might not always know when an environment is no longer needed. As a project admin, you can schedule any environment in your project for deletion, regardless of who created it.
Sign in to the Azure portal, and select the project that contains the environment you want to schedule for deletion.
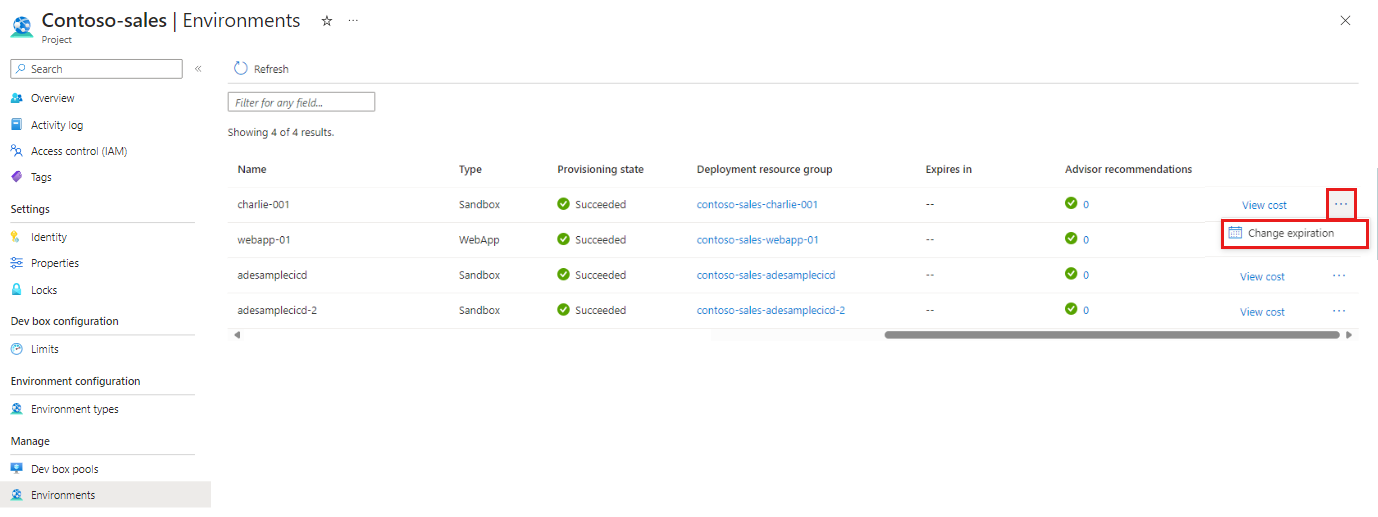
In the left-hand menu, select Environments.
In the list of environments, for the environment you want to schedule for deletion, scroll right, and then select ... > Change expiration.
On the Change expiration date pane, select Enable scheduled deletion.
Select the date and time you want the environment to expire and be deleted, and then select Save.
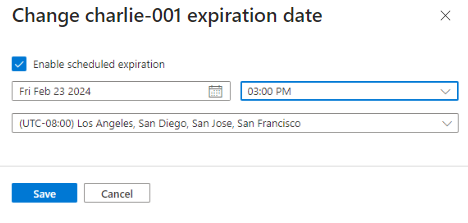
The environment is now scheduled for deletion on the date and time you specified.

