Note
Access to this page requires authorization. You can try signing in or changing directories.
Access to this page requires authorization. You can try changing directories.
Important
Dev Box is now in maintenance mode, with no additional features planned. Microsoft's investments for developer cloud environments are focused on Windows 365, which provides a unified, scalable solution for developer scenarios.
Customers should consider Windows 365 as the recommended path forward for virtualized developer environments. Dev Box will remain supported for existing usage, and guidance will be provided to help customers transition.
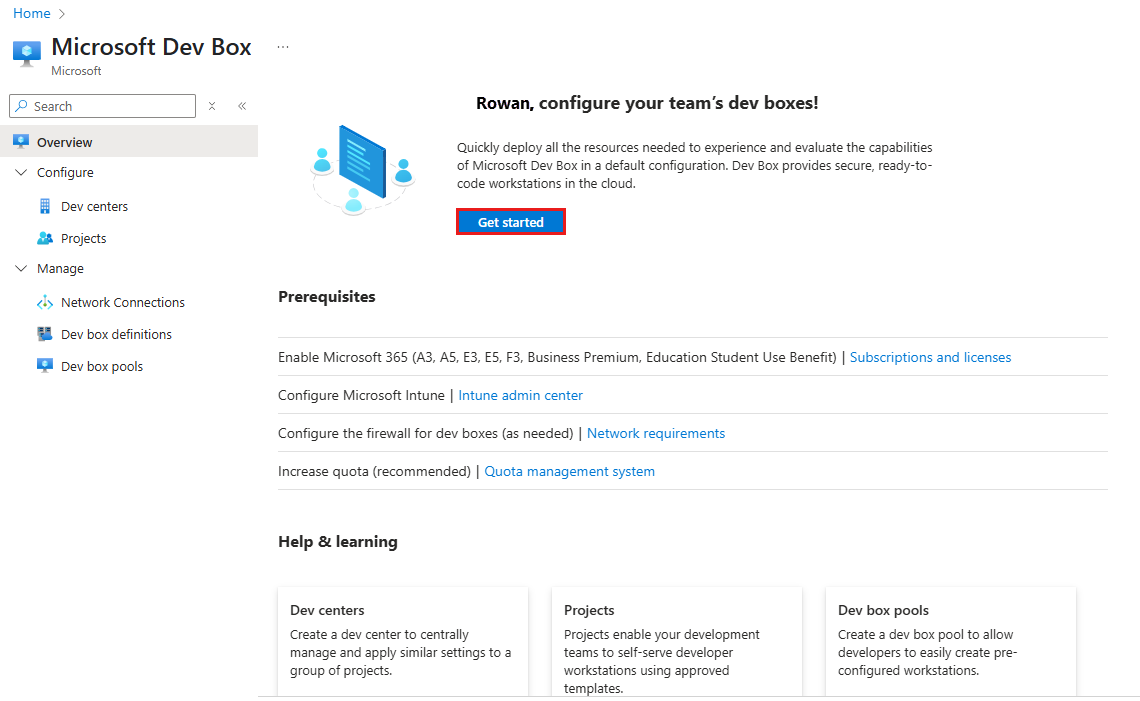
This article explains how to use the Get Started template to set up Microsoft Dev Box in your Azure subscription. The Get Started template is a preconfigured template that lets you quickly set up a dev box environment with a dev center, project, dev box pool, marketplace image, and related resources.
Prerequisites
| Requirement | Details |
|---|---|
| Azure subscription | If you don't have an Azure subscription, create a free account. |
| Role | Owner or Contributor role on an Azure subscription or resource group. |
| Microsoft Entra ID | Your organization must use Microsoft Entra ID for identity and access management. |
| Microsoft Intune | Your organization must use Microsoft Intune for device management. |
| User licenses | To use Dev Box, each user must be licensed for Windows 11 Enterprise or Windows 10 Enterprise, Microsoft Intune, and Microsoft Entra ID P1. These licenses are available independently and are included in the following subscriptions: - Microsoft 365 F3 - Microsoft 365 E3, Microsoft 365 E5 - Microsoft 365 E3, Microsoft 365 E5 - Microsoft 365 A3, Microsoft 365 A5 - Microsoft 365 Business Premium - Microsoft 365 Education Student Use Benefit |
Use the Get Started template
In the Azure portal, go to Microsoft Dev Box and select Get Started.
In the Basics tab, enter the following values, then select Review + create. The values you enter here create the dev center, project, and dev box pool:
Setting Value Subscription Select the Azure subscription you want to use for the dev box environment. Resource group Select an existing resource group or create a new one. Region Select the Azure region where you want to deploy the dev box environment. Location Select the location for all dev box resources. This value can be same as the Region. Dev Center Name Enter a name for the dev center. The name must be unique within the resource group. Project Name Enter a name for the project. The name must be unique within the dev center. Pool Name Enter a name for the dev box pool. The name must be unique within the project. 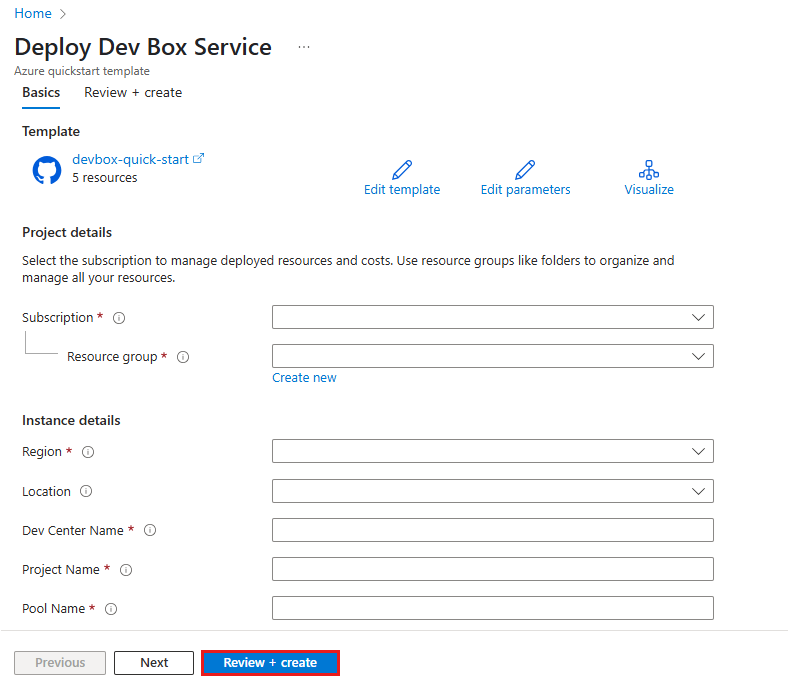
In the Review + Create tab, review the configuration summary, and select Create to deploy the dev box environment.
Wait for the deployment to complete. Monitor the progress in the Notifications pane.
After the deployment completes, select Go to Resource to view the created resources.
The following resources are created in your Azure subscription:
- Dev center: The central hub for managing dev boxes and resources.
- Project: A container for organizing dev boxes and resources within the dev center.
- Dev box pool: A collection of dev boxes that share the same configuration and resources.
- The get started template uses the Visual Studio 2022 Enterprise on Windows 11 Enterprise + Microsoft 365 Apps image from the Microsoft Azure Marketplace with 16 vCPUs, 64-GB RAM, and 512-GB storage.
You can go to the developer portal to create new dev boxes. The developer portal is a web-based interface that allows users to create, manage, and monitor their dev boxes.
To learn more about creating dev boxes through the developer portal, see Quickstart: Create and connect to a dev box by using the Microsoft Dev Box developer portal.
Next steps
In this quickstart, you set up the Microsoft Dev Box resources required for users to create their own dev boxes. To learn how to create and connect to a dev box, go to the next quickstart: