Note
Access to this page requires authorization. You can try signing in or changing directories.
Access to this page requires authorization. You can try changing directories.
In this quickstart, you learn how to use agent mode in GitHub Copilot for Azure to bring your existing application to Azure. It demonstrates how agent mode helps you define Azure infrastructure, deploy your application to Azure, and create a CI/CD pipeline.
Prerequisites
For complete setup instructions, see the Get started article. Make sure that you have the following items:
An Azure account and access to an Azure subscription. For details on how to set them up, see the pricing page for Azure accounts.
A GitHub account and a GitHub Copilot subscription. For details on how to set them up, see Creating an account on GitHub and Quickstart for GitHub Copilot, respectively.
Visual Studio Code. For details on how to download and install it, see Setting up Visual Studio Code.
The GitHub Copilot extension and the GitHub Copilot Chat extension. For instructions on how to install these extensions, see Set up GitHub Copilot in VS Code and Getting started with GitHub Copilot Chat in VS Code, respectively.
Important
GitHub Copilot is a separate subscription managed by GitHub. For questions regarding GitHub Copilot subscriptions and Support, see Getting started with a GitHub Copilot plan.
Define Azure infrastructure for your application
In this section, use GitHub Copilot agent mode to create Bicep deployment files and an azd template for the application.
Open your existing application in Visual Studio Code.
If you want to follow along with this tutorial, you can clone the following repo from GitHub to your local computer:
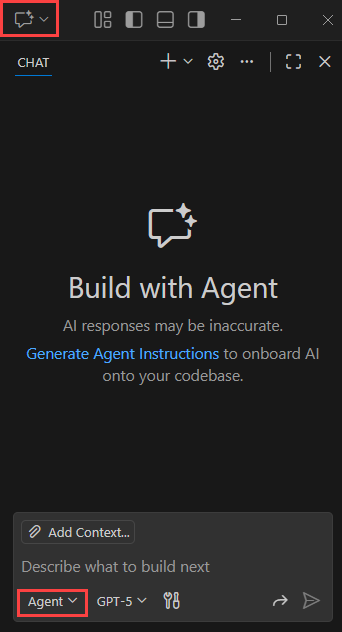
git clone https://github.com/Azure-Samples/storage-blob-upload-from-webapp.gitIn Visual Studio Code, on the Title Bar, select the Open Chat icon (the GitHub Copilot logo) to open the chat pane in the Secondary side bar. To start a new chat session, select the plus icon (+) on the pane's title bar. Then select Agent under the chat text box.
In the chat text box at the bottom of the pane, type the following prompt. Then select Send (paper airplane icon) or select Enter on your keyboard.
Help me deploy my project to AzureImportant
Each time GitHub Copilot for Azure answers the prompt the response's wording and potentially its approach is different due to how large language models (LLMs) generate responses and its approach. It's possible your experience might vary from this article. Take the time to read GitHub Copilot's responses and choose the correct course of action. If you're unsure how to proceed, ask GitHub Copilot what it intends to do and why.
In general, Copilot agent analyzes your project and generates the necessary deployment files.
Copilot agent uses command line tools like azd to perform many tasks, including a predeployment check, dependency checks, and ultimately the deployment itself using the azd up command. The azd up command runs in Visual Studio Code's terminal and prompts you for input like an environment name, a resource group, and more.
If you followed the instructions in this document, you might encounter an error with .NET version; Copilot picks it up and generates a fix for it.
If any errors were encountered during the deployment process, Copilot agent mode can also fix the errors and redeploy the application. Be sure to read the conversation closely and respond appropriately. You can nudge, suggest, and direct Copilot to try different approaches.
Tips
Use Claude Sonnet 4.5 for better results.
Make sure the following GitHub Copilot for Azure tools are selected in the GitHub Copilot tools list:
- Recommend Azure service configuration
- Check Azure pre-deploy settings
- Run AZD Up to deploy to Azure
- Check app status for Azure azd deployment
- Configure Azure deployment pipeline
- Check Azure region availability
- Check Azure quota availability
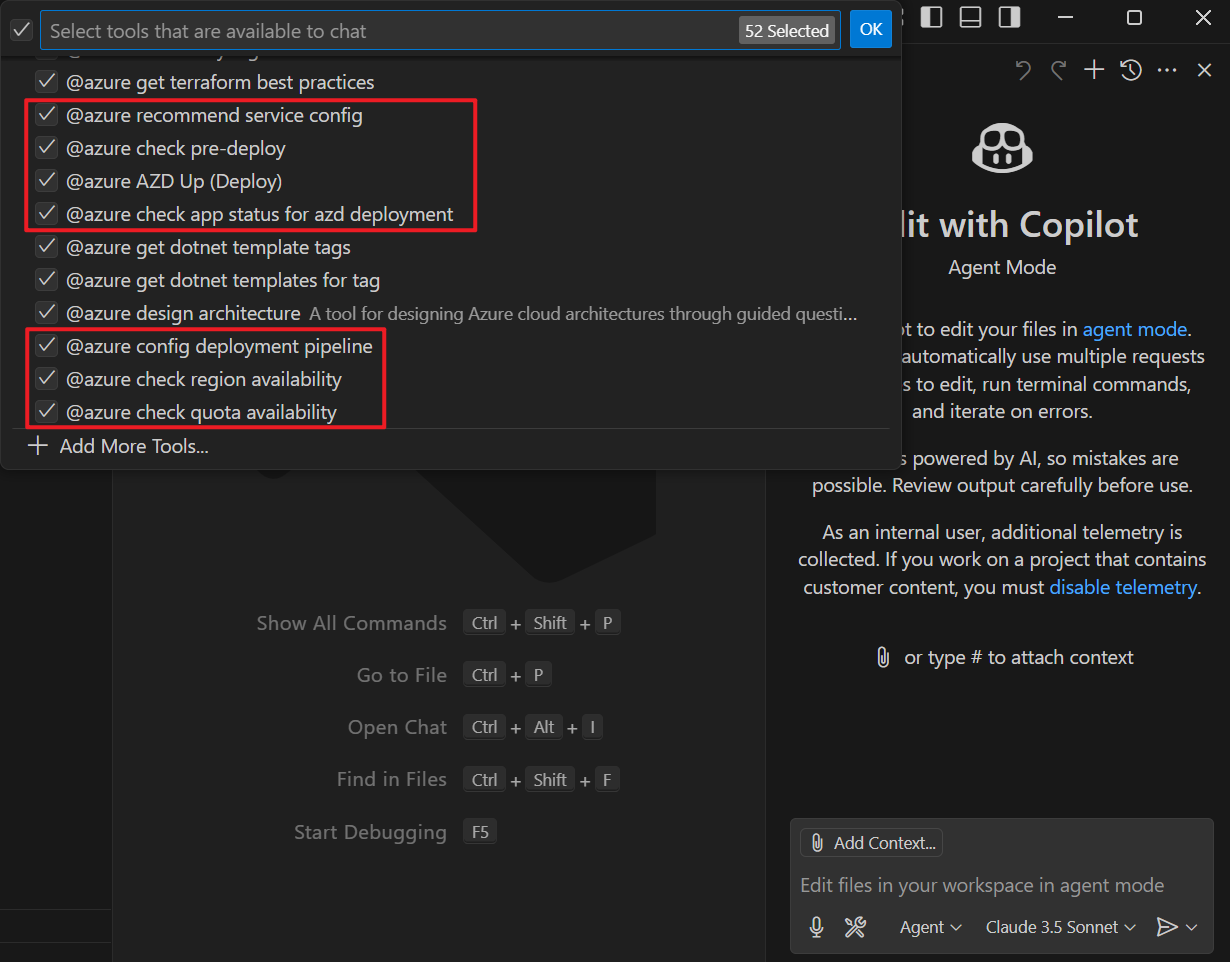
To view a list of tools that are available to your prompts, select the Select tools... button in the chat text box.