Note
Access to this page requires authorization. You can try signing in or changing directories.
Access to this page requires authorization. You can try changing directories.
In this quickstart, use GitHub Copilot to build a React to-do application and deploy it to Azure App Service by using AI-assisted development. When developing locally, start with Copilot Plan mode to create a detailed implementation plan, then switch to agent mode to build and deploy. When using VS Code for the Web, use agent mode throughout. By the end, you have hands-on experience with:
- GitHub Copilot Plan mode to research your project and create implementation plans (local development)
- GitHub Copilot agent mode to scaffold, configure, and deploy a full application
- Azure Skills to enhance Copilot with Azure-specific knowledge and tools
- A working to-do app running on Azure App Service
- An API endpoint for your to-do app
- Azure Developer CLI (azd) to provision and deploy Azure resources from an infrastructure template
Plan mode lets Copilot research your codebase and create a structured implementation plan before you write any code, ensuring your requirements are clear and your approach is sound. Agent mode lets Copilot autonomously run commands, edit files, and iterate on errors. You provide the goal and Copilot determines the steps.
Prerequisites
- An Azure account with an active subscription. Create one for free.
- A GitHub Copilot subscription.
No local installation required. VS Code for the Web (vscode.dev/azure) gives you a browser-based VS Code environment with the Azure Developer CLI, Node.js, and several Azure extensions preinstalled.
Create a new workspace
Open vscode.dev/azure in your browser.
Sign in by using your Azure account when prompted.
In the Terminal window, create a new directory for your project, and change into it.
mkdir todo-app && cd todo-app
Enable Azure Skills
Azure Skills provides Copilot with curated Azure expertise, workflows, and guardrails so the agent can make informed decisions about Azure services, infrastructure, and deployment. The Azure MCP extension installs a companion extension that brings the Azure skills into VS Code. Together they configure the Azure MCP Server, Foundry MCP, and the full skills layer automatically. For more information, see the Azure Skills Plugin repository.
- Open the Command Palette.
- Select MCP: List servers.
- If the Azure MCP server isn't running, start it by selecting Azure MCP > Start server.
Plan your application
Plan mode lets Copilot research your project and generate a detailed implementation plan before writing any code. You review and refine the plan, then hand it off to agent mode for execution.
Open the Copilot Chat view by selecting the chat icon in the Activity Bar.
Sign in to GitHub Copilot if you haven't already. Select the GitHub Copilot logo Sign-in button in the Visual Studio Code status bar and follow the prompts to authenticate with your GitHub account.
Select Plan from the agents dropdown in the chat panel, or type
/planfollowed by your task description.Copy and paste the following prompt into the Copilot chat panel:
/plan
Create a Vite + React single-page application (SPA) to-do app
with the following features:
- Add, remove, and mark complete/incomplete to-do items.
- Use localStorage to persist to-do items between sessions.
- Choose low-cost Azure resources.
- Create a deployment template for Azure Developer CLI (azd).
- Create a README file with instructions on how to test, run, and deploy the app.
Note
If you didn't set up GitHub Copilot yet, you're prompted to sign in to your GitHub account and set up Copilot before you can send the prompt. If you don't have a Copilot subscription, you're associated with a free account that gives you a monthly limit of completions and chat interactions.
Answer any clarifying questions the Plan agent asks after researching your task. For example: TypeScript or JavaScript for the React app? What styling approach should be used? Should the azd template include a GitHub Actions CI/CD workflow?
Review the generated plan. Your plan looks something like this:
Plan: Vite + React To-Do SPA with Azure Deployment
A Vite + React + TypeScript SPA scaffolded inside todo-app, with localStorage persistence,
and deployed to Azure Static Web Apps (Free tier) via azd.
No backend required — all state is client-side.
...
The Plan agent produces a high-level summary, implementation steps, and verification steps. You can submit follow-up prompts to iterate on the plan until it meets your requirements.
Agent mode
Agent mode gives GitHub Copilot the ability to run terminal commands, create and edit files, and self-correct when something goes wrong. You provide a high-level goal, and the agent decides what steps to take.
Select Claude Sonnet 4.6 model, Agent mode, and Autopilot (Preview) in the chat panel.
- The default Auto model lets Copilot choose the best model for each step dynamically. For this quickstart, use a specific model like Claude Sonnet 4.6 for more deterministic behavior so that the steps Copilot takes to implement your plan are more predictable.
- Agent mode and autopilot allow Copilot to run terminal commands and make file changes autonomously. Autopilot mode gives Copilot the ability to self-correct and iterate without needing further input from you. If you prefer more control, choose default approvals mode to approve each step before it executes.
In the chat panel, select Start Implementation or Start with Autopilot to hand off the plan to agent mode for execution. Autopilot mode gives Copilot the ability to iterate without needing further input from you. If you prefer more control, choose default approvals mode to approve each step before it executes.
When Copilot finishes the implementation, you see output in the chat panel similar to this:
All done. Here's a summary of what was built:

App (src/)

src/types.ts — Todo interface
src/hooks/useTodos.ts — addTodo, removeTodo, toggleTodo with localStorage persistence
src/components/TodoForm.tsx, TodoItem.tsx, TodoList.tsx — UI components
src/App.tsx — wired together with task remaining counter
src/App.css / src/index.css — vanilla CSS, light/dark mode
Azure / azd

azure.yaml — host: staticwebapp, dist: dist
infra/main.bicep — subscription-scoped resource group + Static Web App (Free tier)
infra/staticwebapp.bicep, main.parameters.json, abbreviations.json
Docs — README.md with local dev, build, azd up deploy, and azd down teardown instructions.

Build passes with no errors (tsc + Vite). Run npm run dev to start locally,
or azd up to provision and deploy to Azure.
The app is now scaffolded with the specified features, and the Azure infrastructure template is ready for deployment. The README file includes instructions on how to test and deploy the app. Before deploying to Azure, test the app locally to confirm it works as expected.
Test the app
Depending on how you answered questions during planning mode, testing your app locally might depend on the implementation. Review the README file for testing locally.
Assuming the application is a Vite + React SPA as generated in the planning steps, start the development server with the following command:
npm install && npm run dev
The command starts the Vite development server. The terminal output includes the localhost URL where the app is running.
  VITE v5.4.21  ready in 271 ms

  ➜  Local:   http://localhost:5173/
  ➜  Network: use --host to expose
  ➜  press h + enter to show help
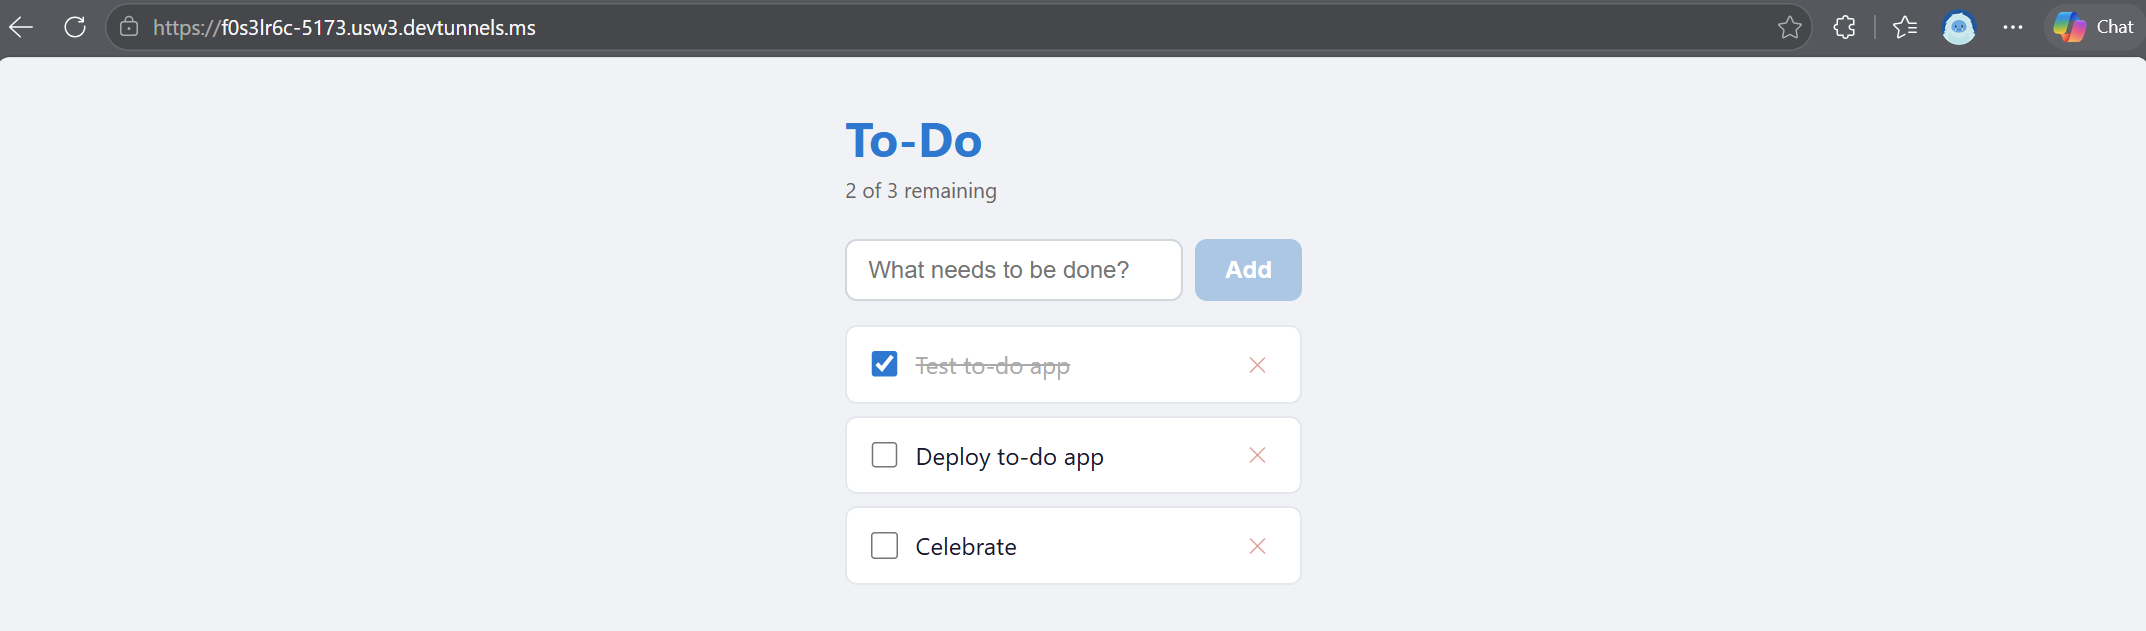
In the Ports tab, open the Forwarded Address port URL in your browser to see the to-do app in a browser.

Test the functionality by adding, toggling, and removing tasks to confirm everything works as expected.

When you're done testing, stop the development server by pressing Ctrl + C in the terminal.
Ask about Azure services
Now that you have a working app, ask the agent about which Azure services would be a good fit for hosting the app and storage for persistent data.
Copy and paste the following prompt:
I want to change the storage persistence. What are my no-cost or low-cost storage options for this app in Azure?
The agent uses Azure Skills to analyze your app's architecture, data storage needs, and API patterns to recommend an appropriate Azure service for hosting your to-do data. The agent considers factors like cost, scalability, ease of integration, and suitability for the app's workload. The agent then explains its recommendation like the following example:
For this to-do app, these are the best no-cost or low-cost Azure persistence options, ordered from cheapest/simple to stronger capability.

1. Azure Cosmos DB for NoSQL with free tier
- Cost profile: can be zero if you stay within free-tier limits.
- Best for: JSON to-do items, easy API fit, good scaling path.
- Pros: schema-flexible, globally available, SDK support, free tier available.
- Cons: RU-based model can become costly if queries are inefficient.
- Good default choice if you want cloud-native persistence with minimal redesign.

2. Azure Table Storage
- Cost profile: typically very low (often cents to a few dollars at small scale).
- Best for: simple key-based to-do storage.
- Pros: cheapest at low volume, straightforward, durable.
- Cons: limited query features versus Cosmos DB/SQL.
- Great choice if your app only needs basic CRUD by id/user partition.
...
Deploy to Azure
After testing the app locally and confirming it works as expected, deploy it to Azure so you can see it running in the cloud.
Since you're using
azdto deploy, sign in to Azure in the terminal if you aren't already. Run:azd auth loginDeploy the application to Azure.
azd upChoose A unique environment name for the deployment when prompted. This name is used to create a resource group in Azure and must be globally unique.
Select the Azure subscription you want to deploy to when prompted.
The azd up command provisions the Azure resources defined in the infra/ folder, builds the application, and deploys it to Azure. The terminal output includes the URL of your deployed app.
Troubleshooting
If the deployment fails or the live site doesn't serve the built production files, use the following prompt to have the agent diagnose and fix the deployment automatically.
Deploy the app using `azd up`. If deployment is misconfigured, diagnose and fix automatically until the live site serves built production files, not source or default pages.
Final verification must confirm HTML references production assets and that the main JS/CSS asset URLs return HTTP 200.
Update the README. Return a concise summary and the app website URL.
During development, you can use GitHub Copilot to help you debug issues. If you encounter an error, copy and paste the error output in the chat window and ask the agent to help you understand and fix the issue.
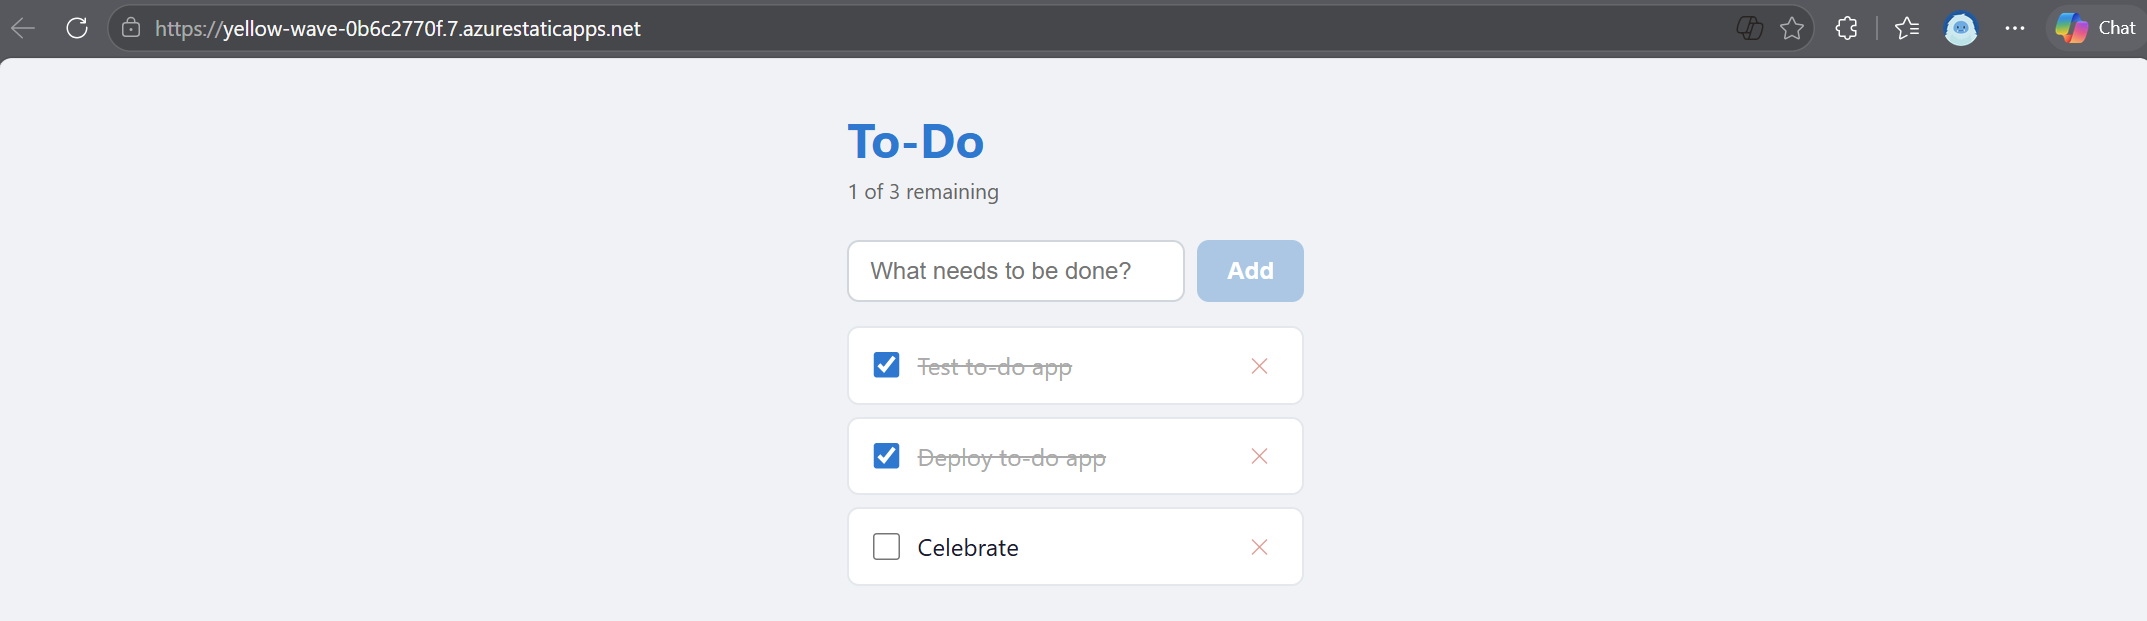
Explore your deployed resources
Use the deployed app URL from the terminal output or GitHub Copilot chat to access it in a browser. Go to your app and test that it's working as expected in the cloud. Add, toggle, and remove tasks to confirm everything works.
You can explore your Azure resources directly in VS Code.
- Open the Azure view by selecting the Azure icon in the Activity Bar.
- On Resources node, select the Group by icon and choose Group by Resource Group to organize resources by their resource groups.
- Expand Resources and find the resource group for the deployment created by
azd up. - Expand the resource group to see the deployed services, such as the App Service hosting your web app and any other resources created by
azd up. - Right-click the web app and select Browse Website to open your deployed to-do app or select View in Portal to see the resource in the Azure Portal and the deployment URL.
Clean up resources
When you're done exploring, delete the Azure resources to avoid incurring charges:
azd down
This command deletes all Azure resources created during deployment, including the resource group.
Next steps
You used GitHub Copilot Plan mode and agent mode to plan, scaffold, and deploy a React to-do app to Azure without writing code manually. Continue building on what you learned:
- GitHub Copilot for Azure documentation - Learn more about AI-assisted Azure development.
- VS Code for the Web for Azure development - Learn more about the browser-based development environment.
- Azure Skills Plugin - Install Azure Skills for enhanced Azure development with Copilot.
- Azure Developer CLI templates - Find templates for different languages and architectures.