Note
Access to this page requires authorization. You can try signing in or changing directories.
Access to this page requires authorization. You can try changing directories.
The Azure Explorer, which is part of the Azure Toolkit for IntelliJ, provides Java developers with an easy-to-use solution for managing virtual machines in their Azure account from inside the IntelliJ integrated development environment (IDE).
This article demonstrates how to create and manage virtual machines through the Azure Explorer on IntelliJ.
Prerequisites
- A supported Java Development Kit (JDK). For more information about the JDKs available for use when developing on Azure, see Java support on Azure and Azure Stack.
- IntelliJ IDEA, Ultimate or Community Edition.
- The Azure Toolkit for IntelliJ. For more information, see Install the Azure Toolkit for IntelliJ. You'll also need to sign in to your Azure account for the Azure Toolkit for IntelliJ. For more information, see Sign-in instructions for the Azure Toolkit for IntelliJ.
Displaying the Azure Explorer Tool Window
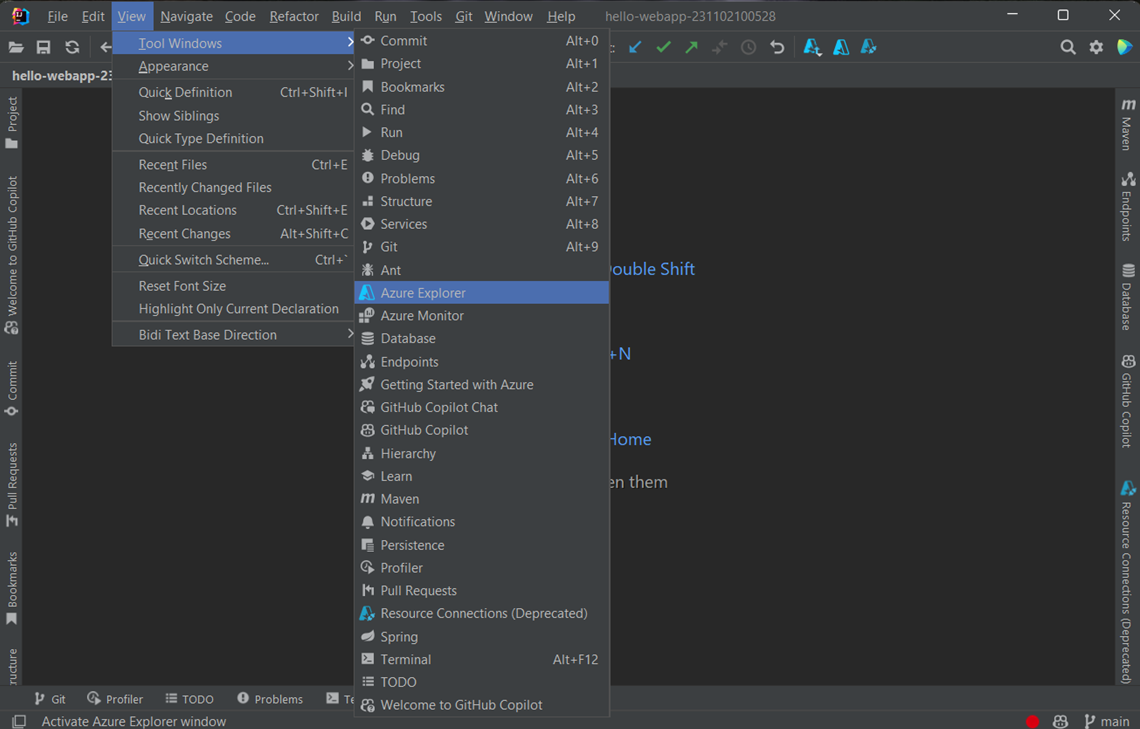
If the Azure Explorer tool window is not visible in IntelliJ, click View, then click Tool Windows, and then click Azure Explorer.
Create a virtual machine
To create a virtual machine by using the Azure Explorer, use the following steps:
Sign in to your Azure account by using the steps in Sign-in instructions for the Azure Toolkit for IntelliJ.
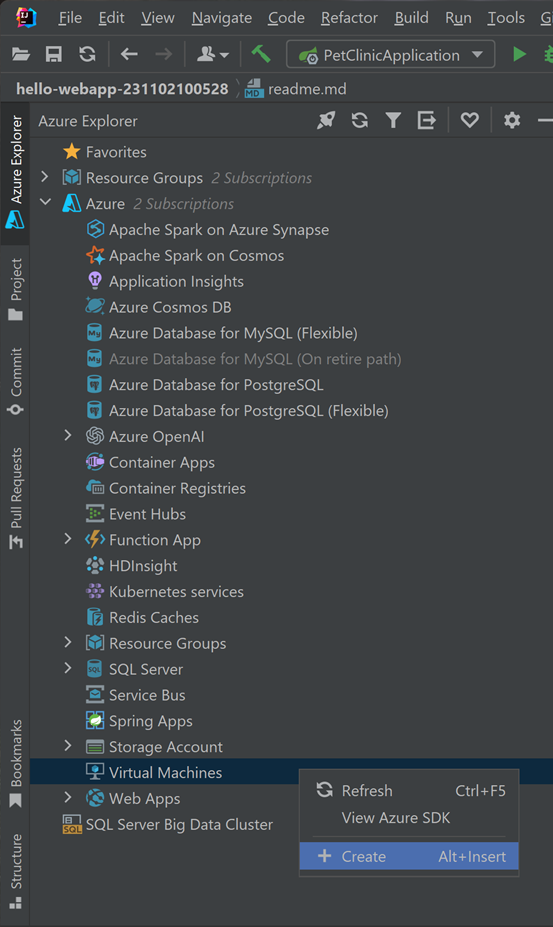
In the Azure Explorer view, expand the Azure node, right-click Virtual Machines, and then click Create.
In the Basic window, enter the following information:
Project Details:
Subscription: Specifies the subscriptions that you'll use for your virtual machine.
Resource group: Specifies the resource group for your virtual machine. Select one of the following options:
Create new: Specifies that you want to create a new resource group and click + to finish.
Use existing: Specifies that you want to select from a list of resource groups that are associated with your Azure account.
Instance Details:
Virtual machine name: Specifies the name for your new virtual machine, which must start with a letter and contain only letters, numbers, and hyphens.
Region: Specifies where your virtual machine will be created - for example, West US.
Availability options: Specifies an optional availability set that your virtual machine can belong to. You can select an existing availability set, or if your virtual machine won't belong to an availability set, select (No infrastructure redundancy required).
Image: Specifies that you'll choose a marketplace image by providing the following information (use Shift+Enter to navigate between fields):
Publisher: Specifies the publisher that created the image that you'll use for your virtual machine - for example, Microsoft.
Offer: Specifies the virtual machine offering to use from the selected publisher - for example, JDK.
Sku: Specifies the stockkeeping unit (SKU) to use from the selected offering - for example, JDK_8.
Image: Specifies which version of the selected image to use.
Size: Specifies the number of cores and memory to allocate for your virtual machine.
Administrator Account:
Authentication type: Specifies the administrator account will use SSH public key or password for authentication.
User name: Specifies the administrator account to create for managing your virtual machine.
Password: Specifies the password for your administrator account. Re-enter your password in the Confirm password box to validate the credential if you use password for authentication.
Inbound Port Rules:
- Select inbound ports: Specifies which virtual machine network ports are accessible from the public internet.
In the Networking window, enter the following information:
Network Interface:
Virtual Network and Subnet: Specifies the virtual network and subnet that your virtual machine will connect to. You can use an existing network and subnet, or you can create a new network and subnet.
Public IP: Specifies an external-facing IP address for your virtual machine. You can choose to create a new IP address or, if your virtual machine won't have a public IP address, you can select (None).
Security group: Specifies an optional networking firewall for your virtual machine. You can select an existing firewall or, if your virtual machine won't use a network firewall, you can select (None).
Select inbound ports: Specifies which virtual machine network ports are accessible from the public internet.
In the Advanced window, enter the following information:
Storage account:
- Storage account: Specifies the storage account to use for storing your virtual machine. You can choose an existing storage account or create a new account. If you choose Create New, you need to specify all necessary options. For more information, you can see Storage Account.
Azure Spot Instance:
- Enable Azure Spot instance: Specifies Azure Spot Virtual Machines to take advantage of your unused capacity at a significant cost savings. For more information, you can see Use Azure Spot Virtual Machines.
Click Finish. Your new virtual machine appears in the Azure Explorer tool window.
Restart a virtual machine
To restart a virtual machine by using the Azure Explorer in IntelliJ, use the following steps:
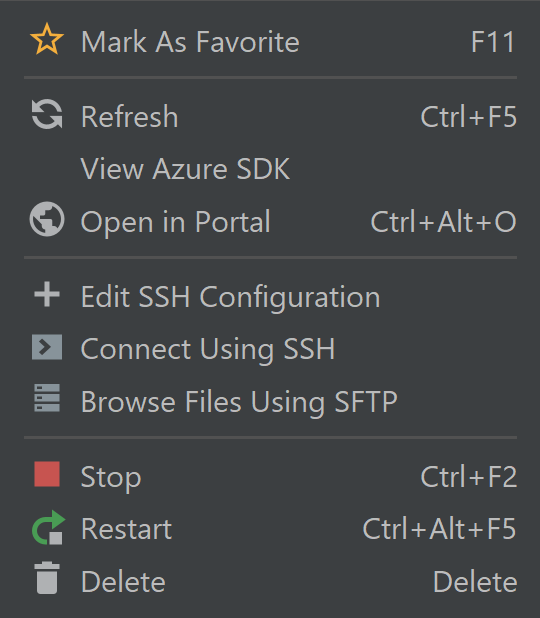
In the Azure Explorer view, right-click the virtual machine, and then select Restart.
Stop a virtual machine
To stop a running virtual machine by using the Azure Explorer in IntelliJ, use the following steps:
- In the Azure Explorer view, right-click the virtual machine, and then select Stop.
Delete a virtual machine
To delete a virtual machine by using the Azure Explorer in IntelliJ, use the following steps:
In the Azure Explorer view, right-click the virtual machine, and then select Delete.
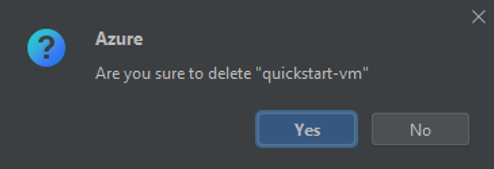
In the confirmation window, click Yes.
Next steps
For more information about Azure virtual-machine sizes and pricing, see the following resources:
- Azure virtual-machine sizes
- Azure virtual-machine pricing
To report bugs or request new features, create issues on our GitHub repository, or ask questions on Stack Overflow with tag azure-java-tools.
For more information about using Java with Azure, see the following links: