Look up a project administrator
Azure DevOps Services | Azure DevOps Server 2022 - Azure DevOps Server 2019
The Project Administrators group is the main administrative security group defined for a project. Members of the Project Administrators group have permissions to perform the following common tasks:
- Delete and rename the project
- Add users and teams to the project
- Add and manage Area Paths and Iteration Paths
- Add and manage shared query folders
- Add members and groups to the Project Administrators group or any other project-level group
- Manage permissions at the project-level or for any object defined for the project.
To add members to the Project Administrators group or change a project-level permission see Change project-level permissions.
For a description of each project-level group, see Security groups, service accounts, and permissions, Project-level groups. To understand how security groups are used to manage permissions, see Get started with permissions, access, and security groups.
Prerequisites
- You must be a member of the Project Collection Valid Users group to look up members of the Project Administrators group. Users added to a project are automatically added to this group.
Show members of the Project Administrators group
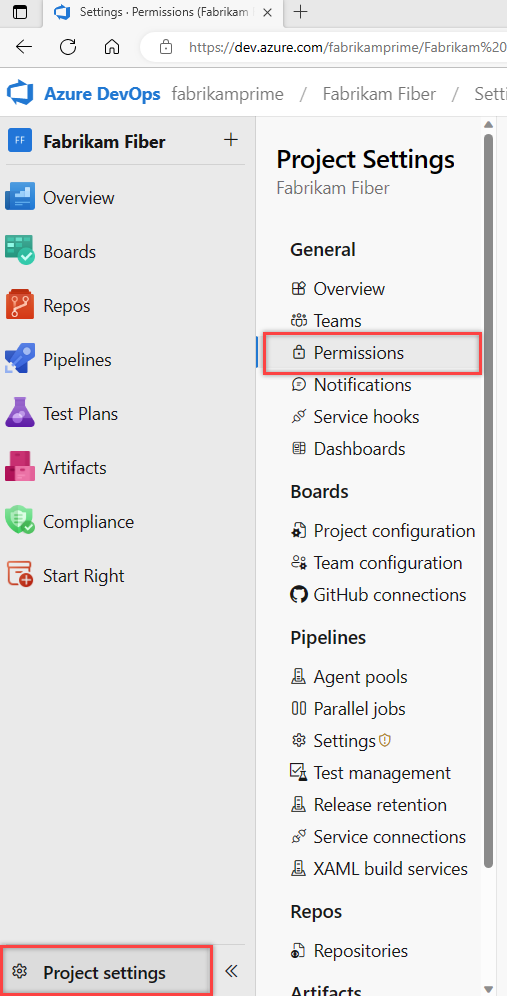
Choose the Project Administrators group from the Project Settings > Permissions page to see members.
Note
To enable the Project Permissions Settings Page preview page, see Enable preview features.
Open the web portal and choose your project. To choose another project, see Switch project, repository, team.
Choose Project settings, and then Permissions.
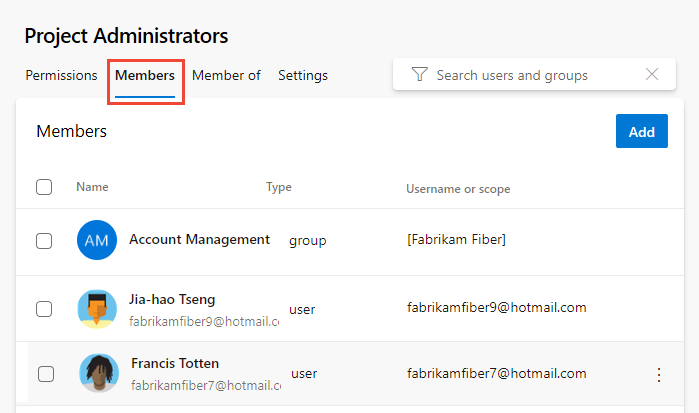
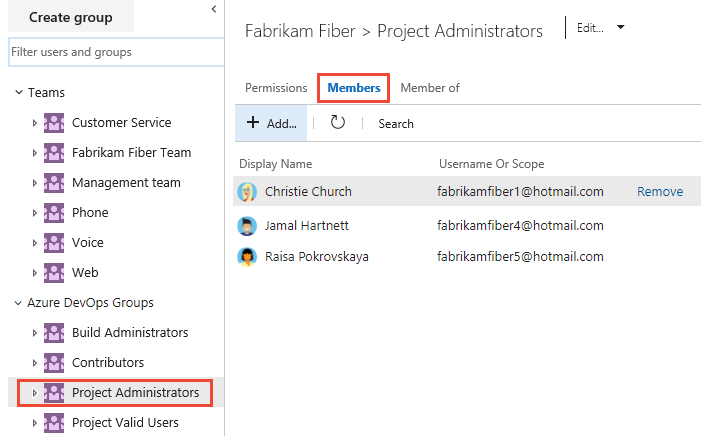
Choose Project Administrators group, and then Members.
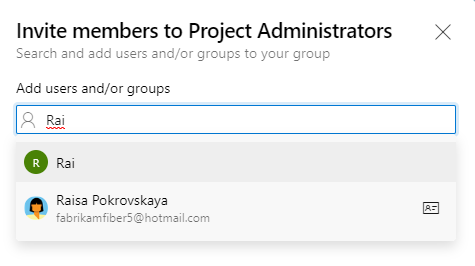
Enter the name of the user account into the text box and then select from the match that appears. You can enter several identities recognized by the system into the Add users and/or groups box. The system automatically searches for matches. Choose the matches that meet your choices.
Note
Users that have limited access, such as Stakeholders, won't be able to access select features even if granted permissions to those features. To learn more, see Permissions and access.
Choose Save.

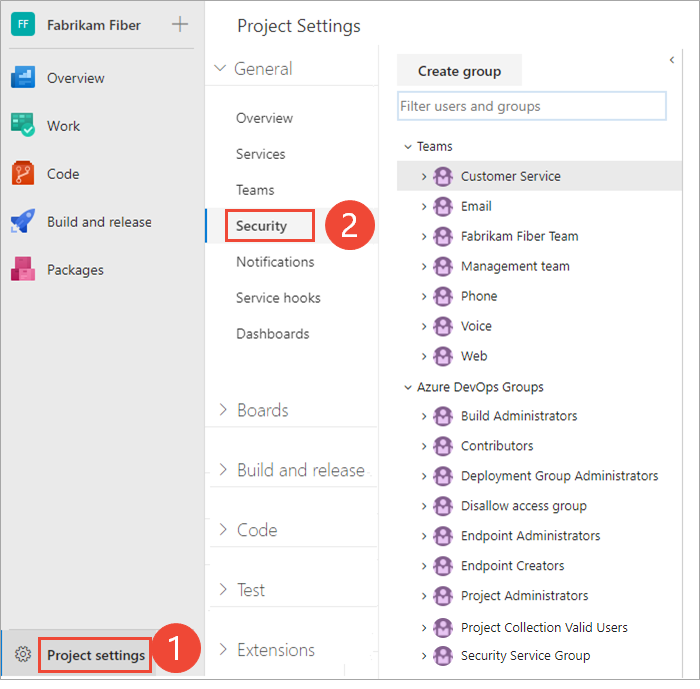
Open the web portal and choose your project. To choose another project, see Switch project, repository, team.
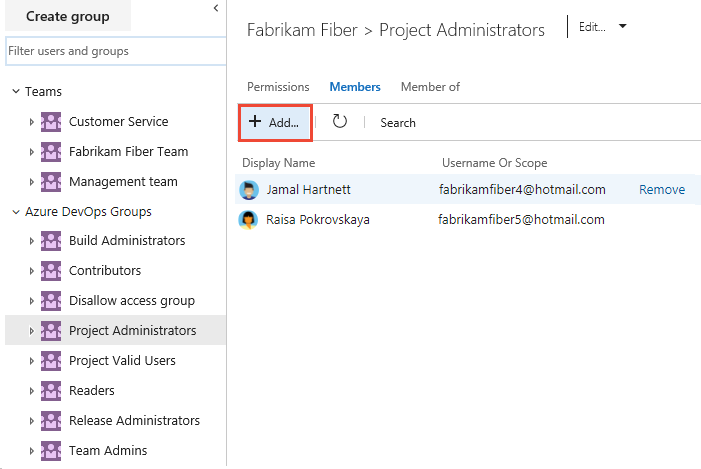
Choose Project Settings, and then Security.
To see the full image, click to expand.
Choose the Members tab. The list of members is shown.
Next steps
Related articles
Feedback
Coming soon: Throughout 2024 we will be phasing out GitHub Issues as the feedback mechanism for content and replacing it with a new feedback system. For more information see: https://aka.ms/ContentUserFeedback.
Submit and view feedback for